In this tutorial, I will show you the process I used to create dissolved text effect in Photoshop. We will use an ice stock photo & a rock stock photo to form the text, then apply transformation and filter effect to it. We will also learn basic image adjustments, layer blending techniques along the way.
The PSD file of this tutorial is available via the PSD Vault VIP members area.
Here is a preview of the final effect I have for this tutorial: (click to enlarge)

PSD Vault VIP Membership
You can download the PSD File for this tutorial via the VIP Members Area for only $6.95/Month (or less)! You will not only get this PSD File, but also 250+ other PSD Files + Extra Goodies + Exclusive Photoshop tutorials there. Signup now and get exclusive!

OK Let’s get started!
To complete this tutorial, you will need the following stocks:
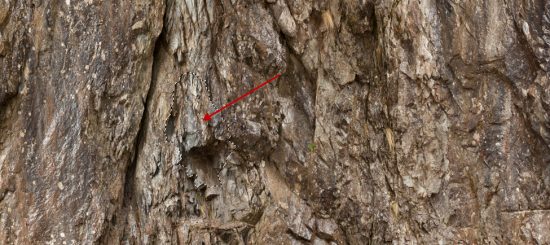
Rock (please download “Image 1” and “Image 2”)
Step 1
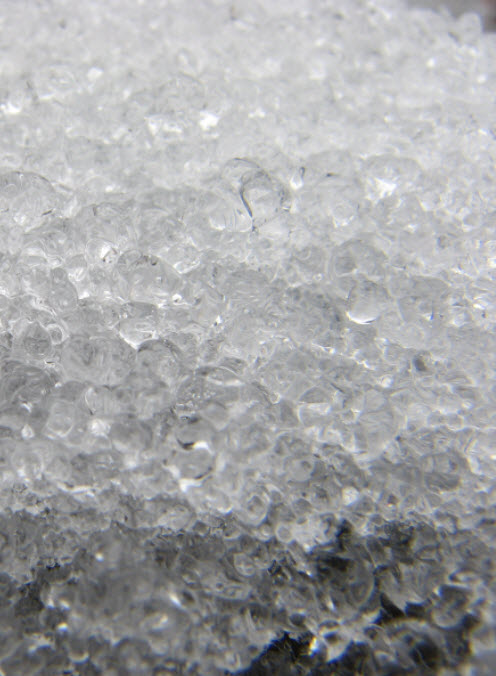
Create a new document sized 880px wide 1200px height with black background. Load the ice stock image into Photoshop, select a portion of it and copy to our document, covering the entire canvas:
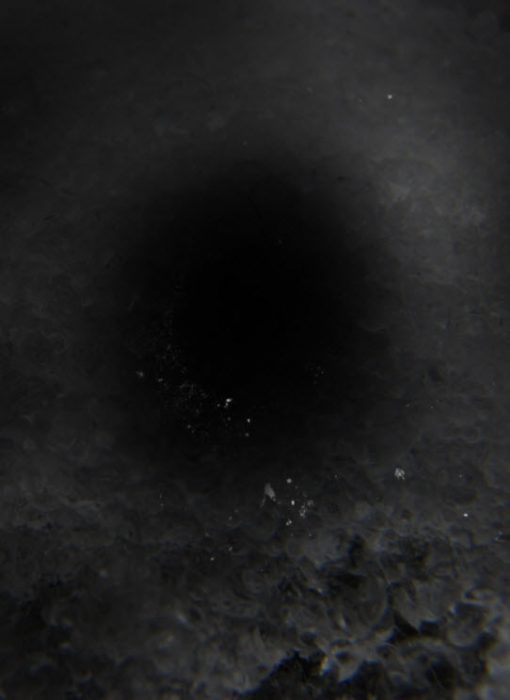
Use a big soft eraser, fade parts of the ice texture as shown below:
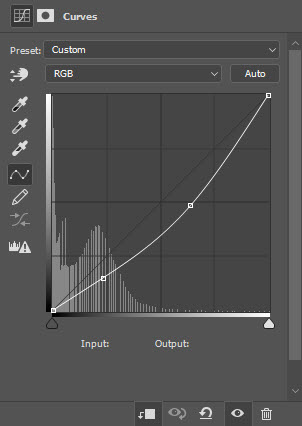
Apply the following image adjustments layer on top of the ice texture:
Levels

Curves
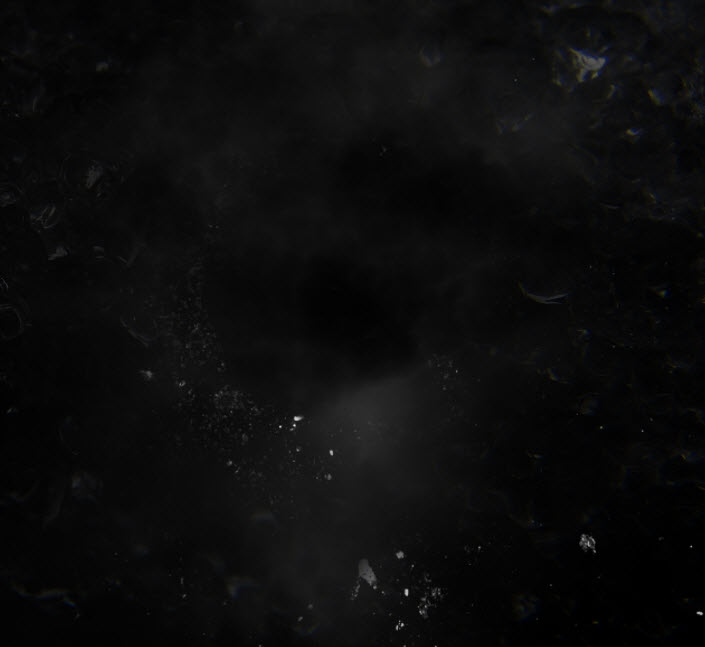
This is the effect after the adjustments:

Paint/render some cloud over the background, and here is the effect so far:
Step 2
Use any font you like, type a letter over to your document:

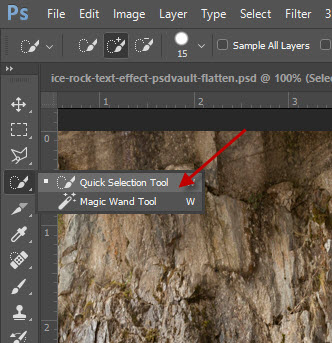
Use the Quick Selection tool:
Select a small piece of rock from both rock stocks:
Copy and paste the selection over to our text:

Repeat the above process and add more rocks around the text:
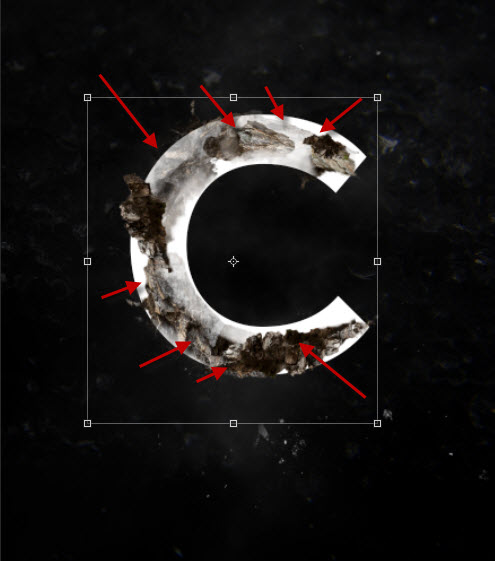
Use a soft eraser with 40% flow, fade part of the rocks as show below:
Turn off the original text layer, and here is the effect so far:
Step 3
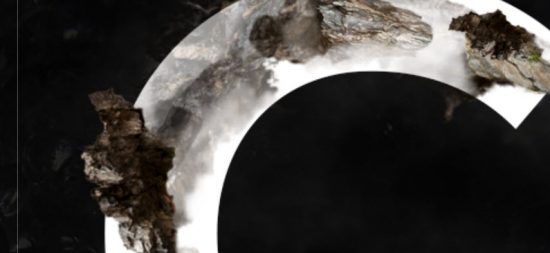
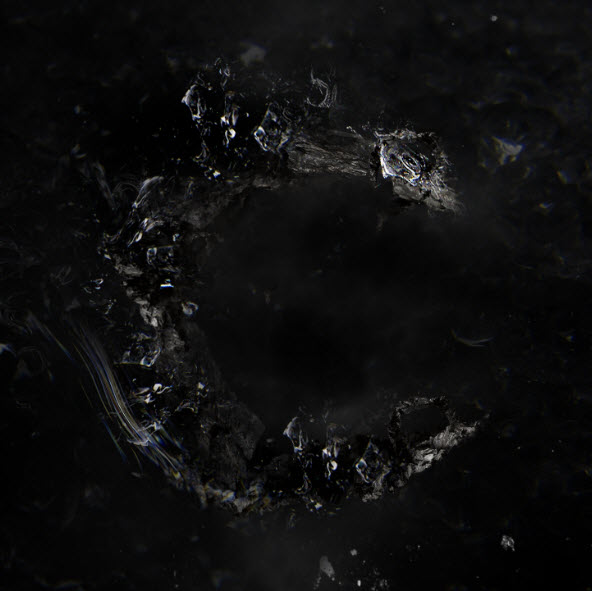
Merge all previous rock layers into one layer. Apply the following adjustment layer on top as clipping masks to the merged rock layer:
Black and White

Levels
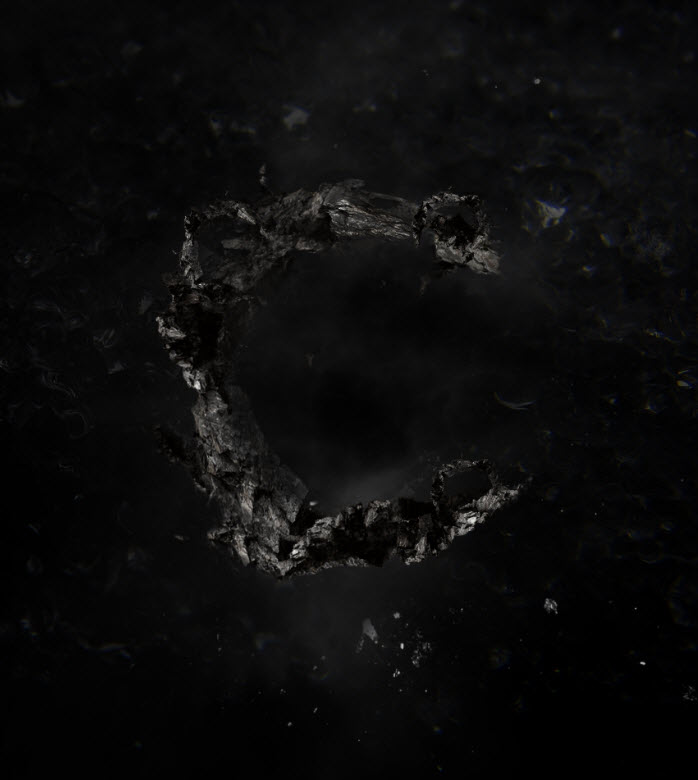
and here is the effect so far:
Step 4
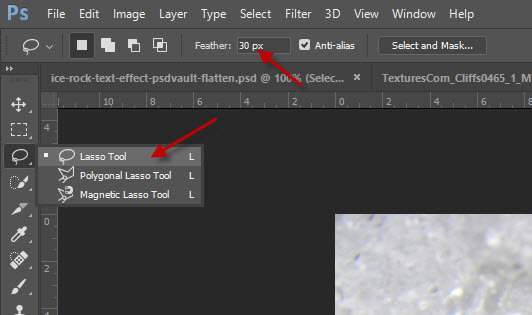
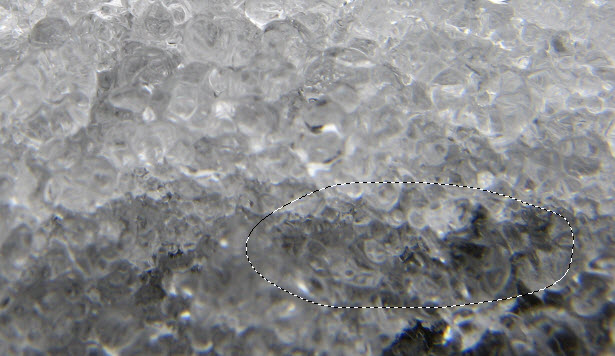
We will apply some water effect over the text in this step. Instead of using another stock image, we can simply go the Ice stock image again, and this time we use the following Lasso Tool with 30px feather:
Select the following portion of the ice texture:
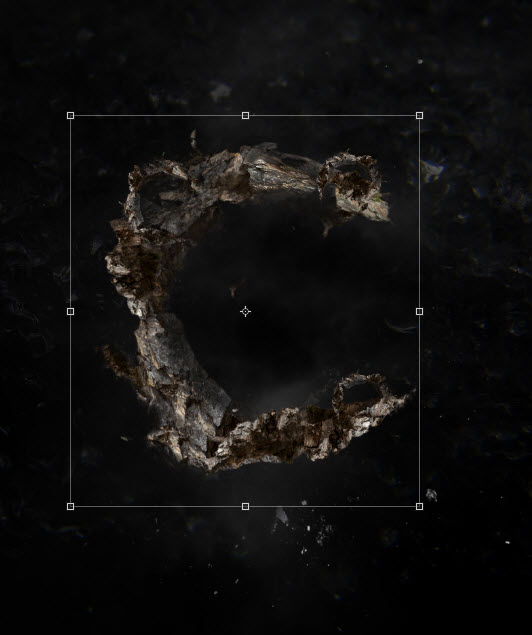
Copy and paste the selection over to our document, resize and cover the area as shown below:

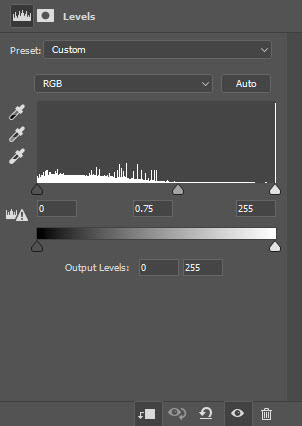
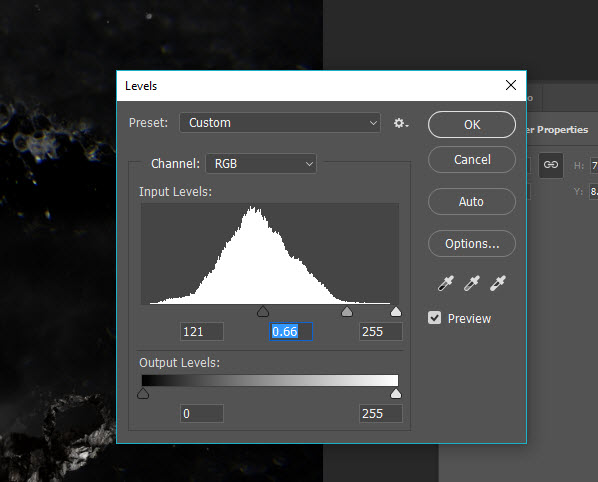
Apply the following levels adjustment on this ice layer:
Then change the layer blending mode to “Lighten” for this ice layer:

Repeat this above process and cover the whole text.
As you can see, we now have water effect over the text:
Step 5
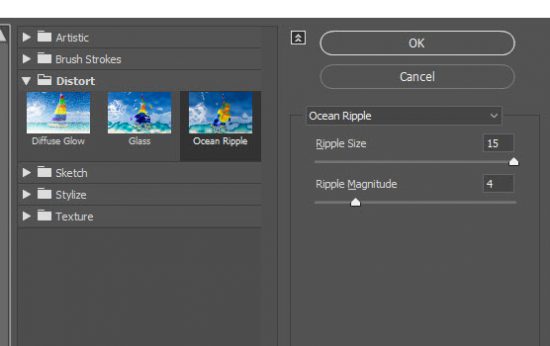
We’re almost done! For final touches to create a dissolved effect, we can flatten the image and duplicate the background layer, go to Filters > Distort > Ocean Ripple and apply the following settings:
And this is my final result: (click to enlarge)
That’s it for this tutorial. Hope you enjoy making this dissolved text effect in Photoshop! If you have any questions for this tutorial, please let me a comment below and I will try my best to answer it.