Close Menu
PSD VaultPSD Vault
  • VIP Area
  • Photoshop Basics
  • Photo Effect
  • Text Effect
  • Premium Tuts
  • Resources
  • Drawing
  • Inspiration
  • Web Graphics
  • Abstract
  • Freebies
  • Advertise
  • Get in Touch
  • About PSD Vault
Facebook Instagram Pinterest YouTube TikTok
Facebook Instagram Pinterest YouTube TikTok RSS
PSD VaultPSD Vault
  • VIP Area
    • Sign Up
    • Log In
  • Photoshop Basics
  • AI
  • Photoshop Error Fixes
  • Video Tutorial
  • Photo Effect
  • Text Effect
  • Premium Tuts
  • Drawing
  • Opinion
PSD VaultPSD Vault
Home»Text Effect»Create Cake with Melted Chocolate Text Effect in Photoshop
Text Effect

Create Cake with Melted Chocolate Text Effect in Photoshop

By James QuDecember 24, 20183 Mins Read
Share
Facebook Twitter LinkedIn Pinterest Email

Christmas is upon us and during this festive season, we tend to surround ourselves with endless amount of dessert (and perhaps put on a few kilos)! Cake and chocolate seems to be everywhere in the supermarkets and this inspires me to create this Cake with Melted Chocolate Text Effect Photoshop tutorial.

This is a beginner level tutorial and should be great for everyone to have a try!

The PSD file of this tutorial is available via the PSD Vault VIP members area.

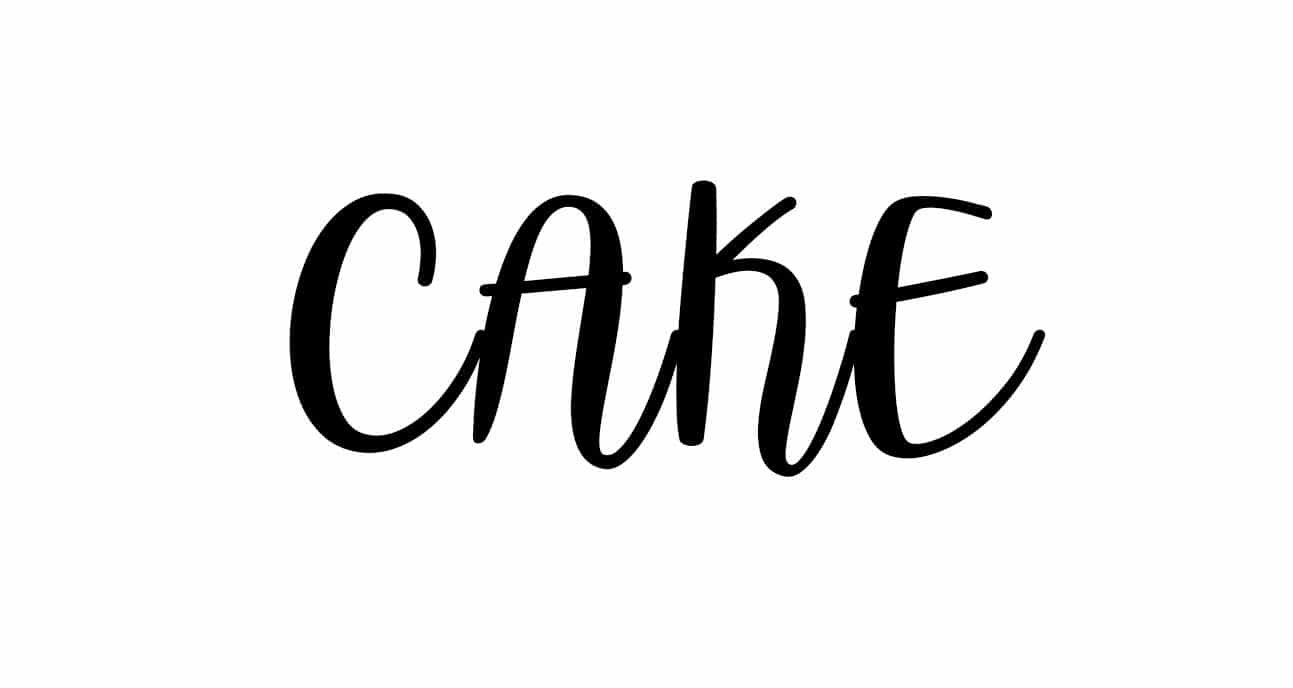
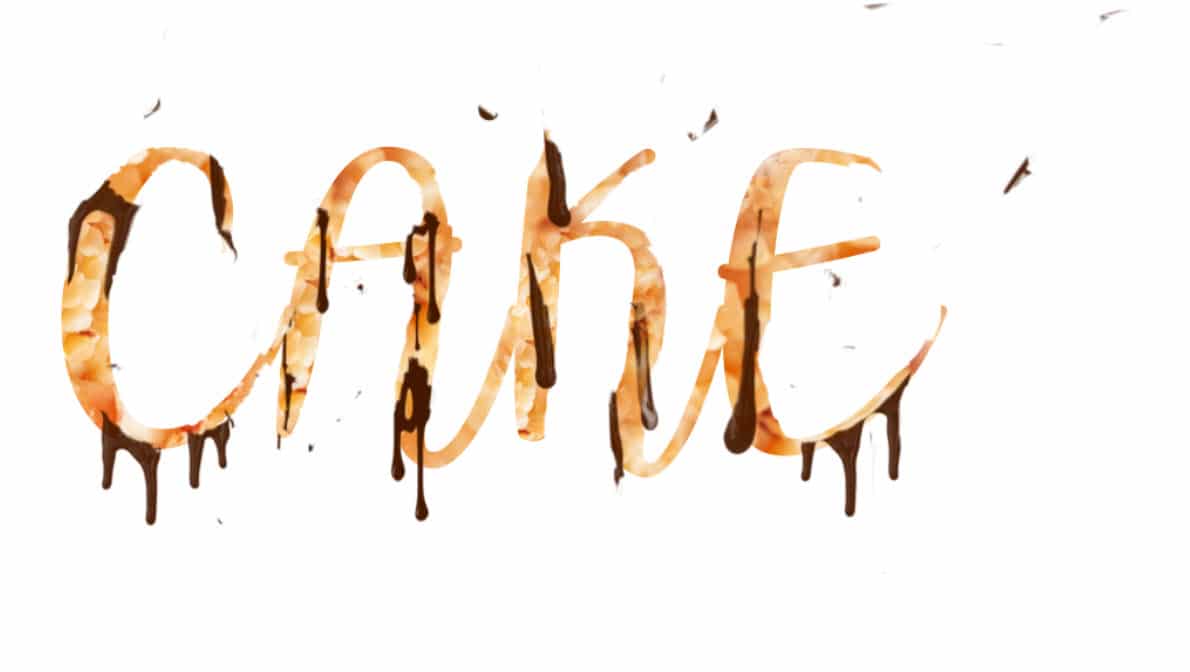
Here is a preview of the final effect I have for this tutorial: (click to enlarge)

PSD Vault VIP Membership

You can download the PSD File for this tutorial via the VIP Members Area for only $6.95/Month (or less)! You will not only get this PSD File, but also 200+ other PSD Files + Extra Goodies + Exclusive Photoshop tutorials there. Signup now and get exclusive!

Let’s get started!

To complete this tutorial, you will need the following stocks:

Font

Cake

Drip Photoshop Brushes

Free Video Tip – Paint Melted Chocolate Effect

If you have any difficulty completing step 3 of this tutorial, please check out this video tutorial on my Youtube Channel:

Step 1 – Type Your Texts

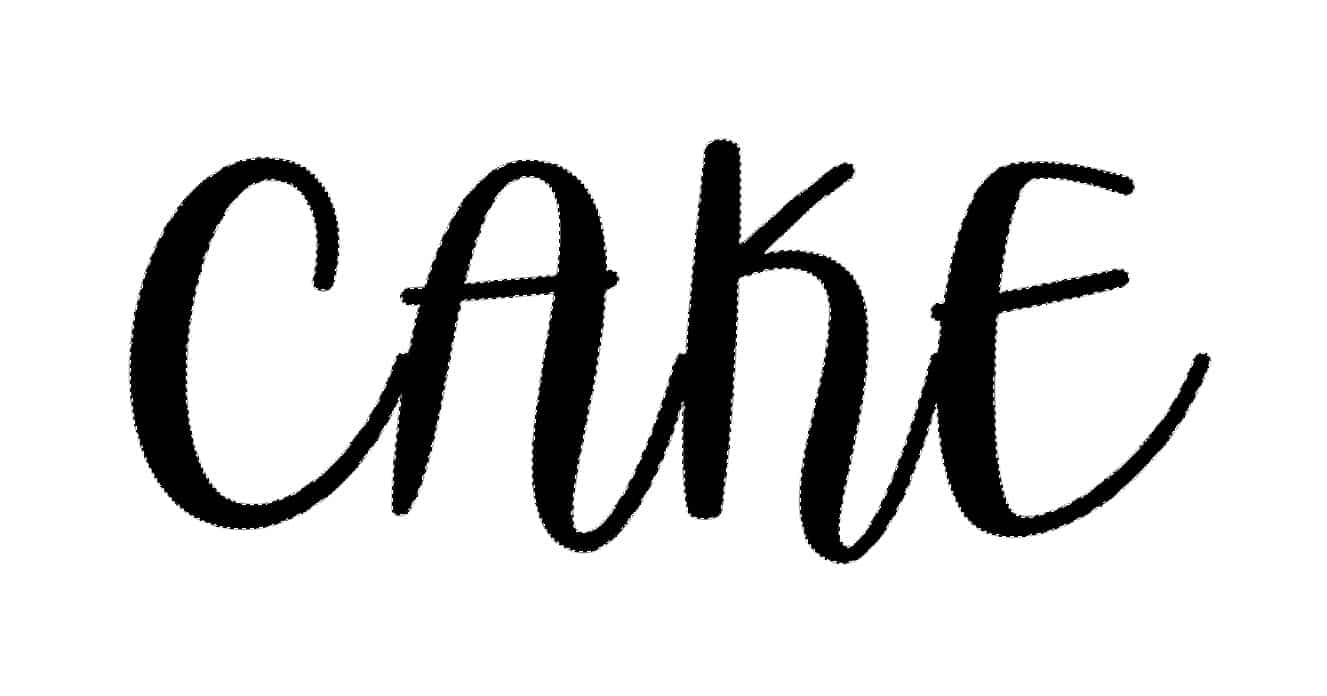
Create a new document sized 1300px * 700px with white background. Use the font you downloaded, type some texts over the document:

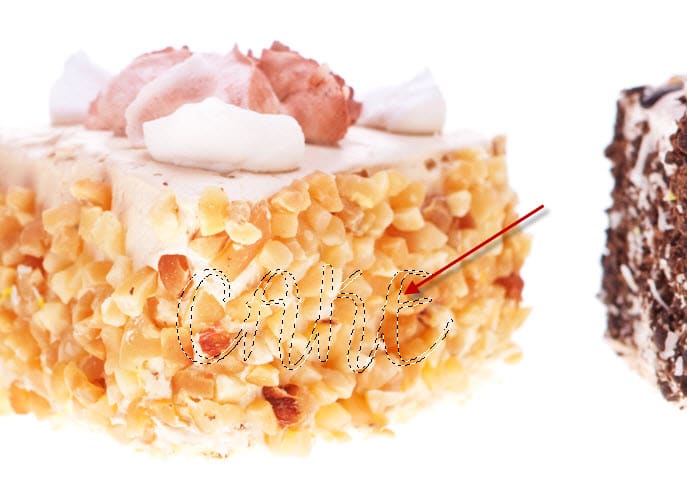
Go the layer palette, use Ctrl + Left-click on the thumbnail of this text layer, select the text:

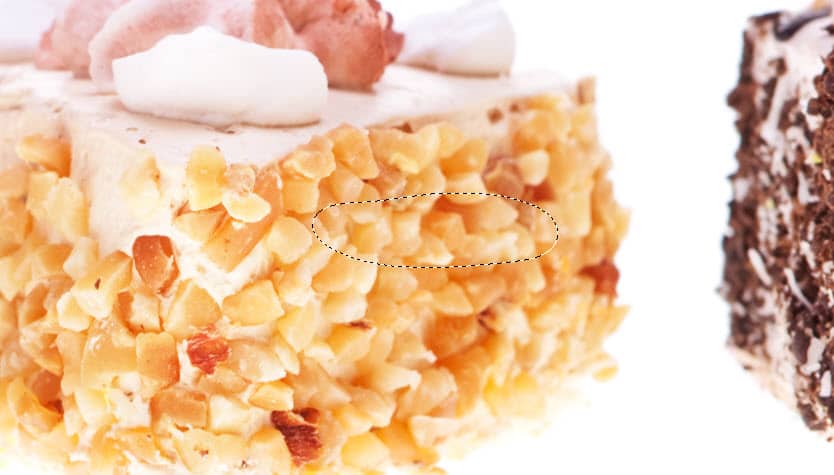
Load the cake stock image into Photoshop. Drag the text selection over to this stock image. We have 3 different types of cake on this stock image, simply place the selection over one of the three (I choose the peanut cake):

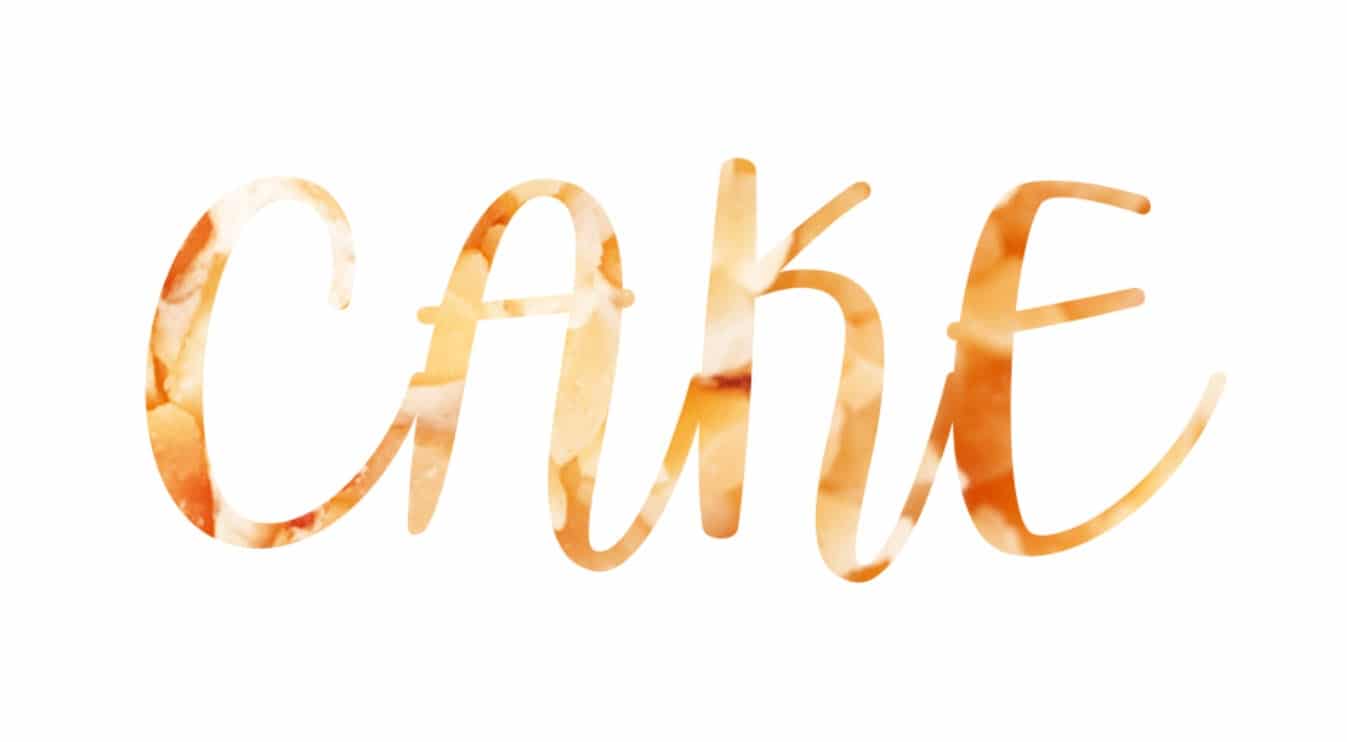
Copy and paste the selection over to our document, and delete the original text layer. You will have the following effect:

Step 2 – Refine Your Text

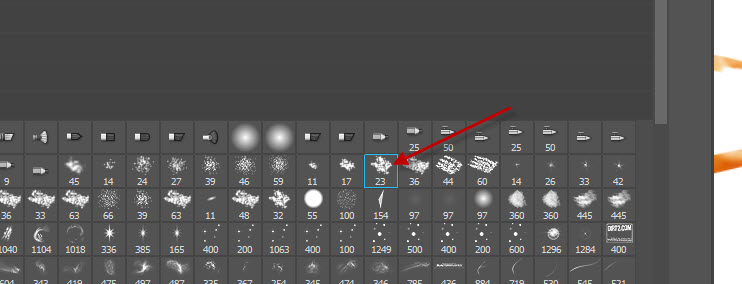
Use the following chalk brush as eraser:

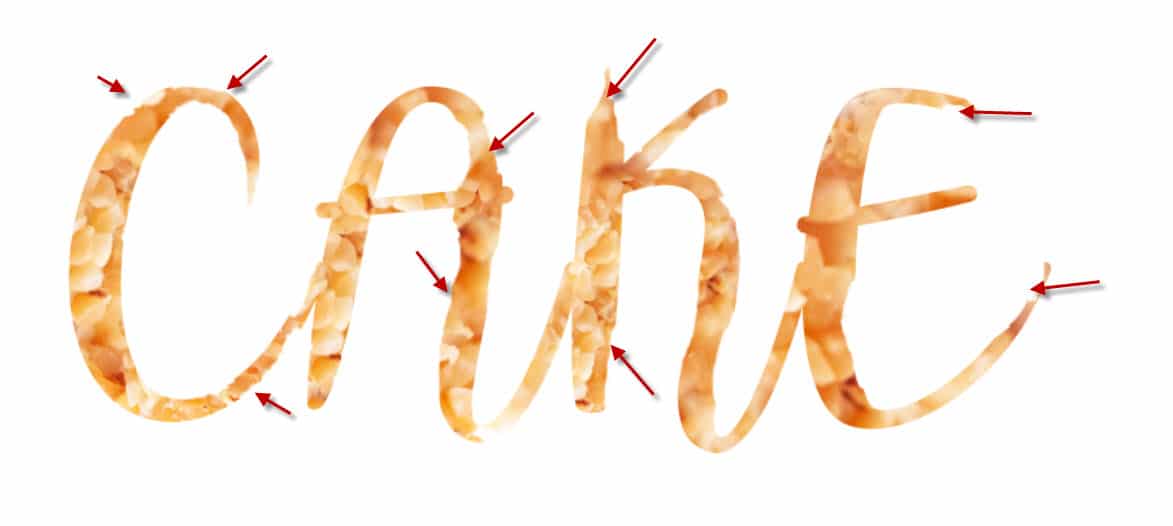
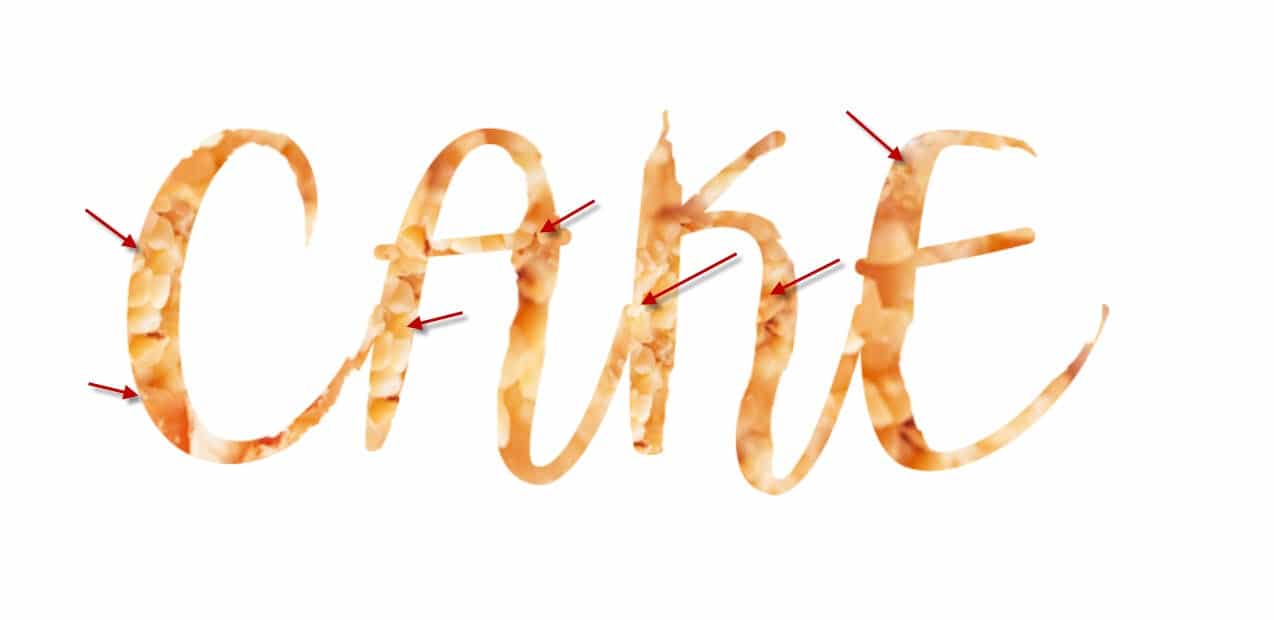
Remove some portions of the text and make it looks like someone had a few bites over it:

We can enhance the look of the text by adding more cake texture over it. Go back to the cake stock photo and select the following area with Lasso Tool (set Feather value to 30px)

Reduce the size of the selection, and move them over to our letters, tidy up the edge of it with a soft eraser tool:

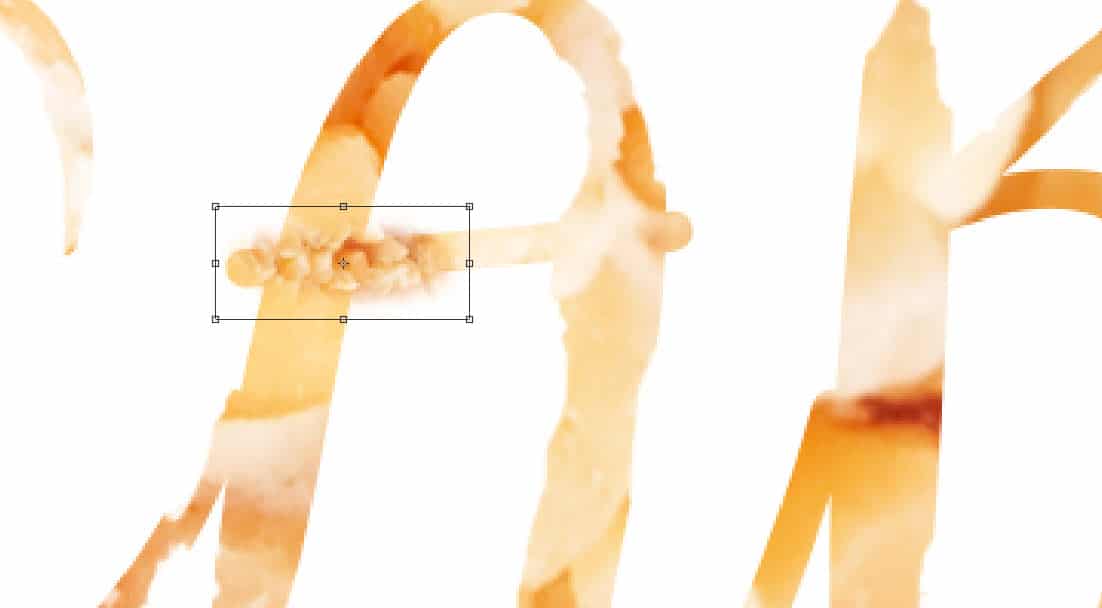
Repeat the above process, add more cake texture over the text:

Step 3 – The Melted Chocolate Text Effect

This is going to be the most interesting part of the tutorial – adding the melted chocolate effect!

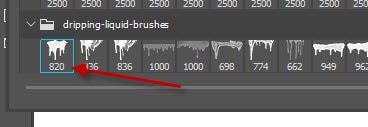
Add the Drip Photohop Brushes in, and pick this brush shown below:

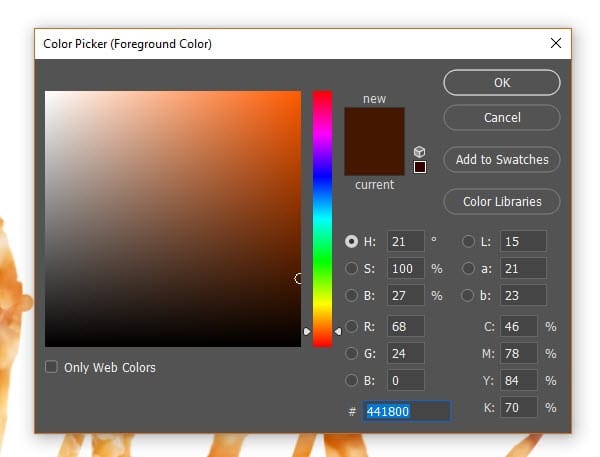
Use a chocolate brown colour as shown below:

Paint over the text as shown below:

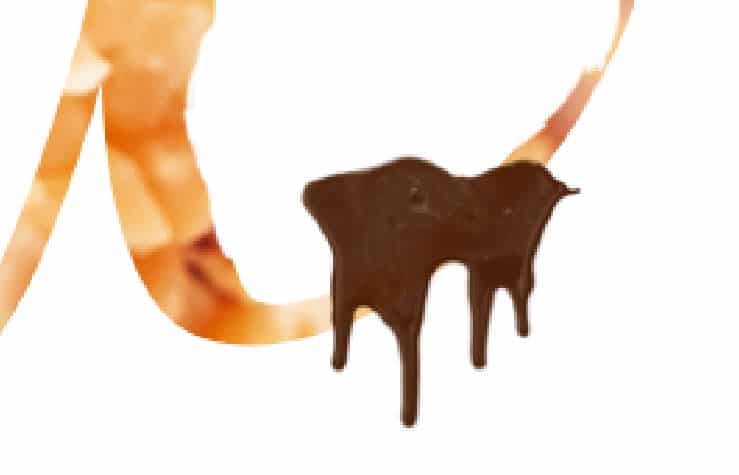
Then, erase the unnecessary part with a soft eraser, and adjust its shape with free transform tool:

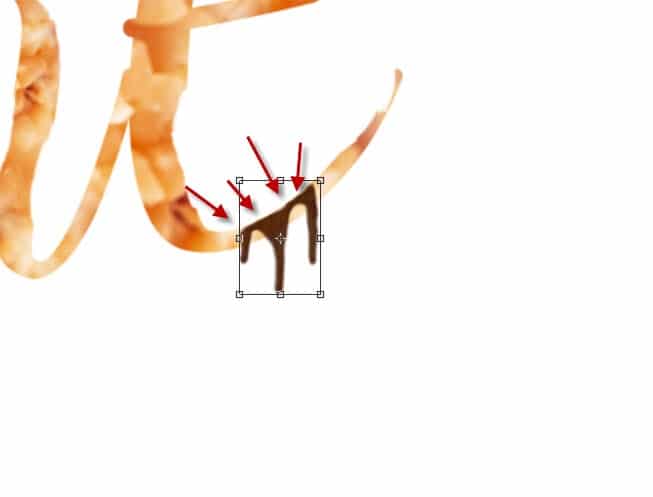
Repeat this above process and add more melted chocolate effect into the texts:

Step 4 – Final Touches

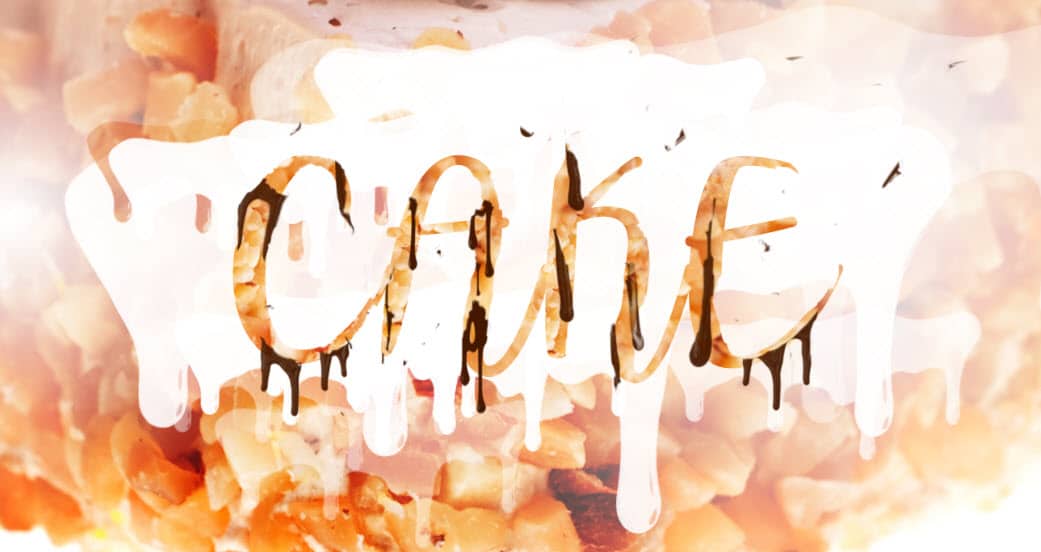
Ok we are almost done! For final touches, I added a background using the peanut cake:

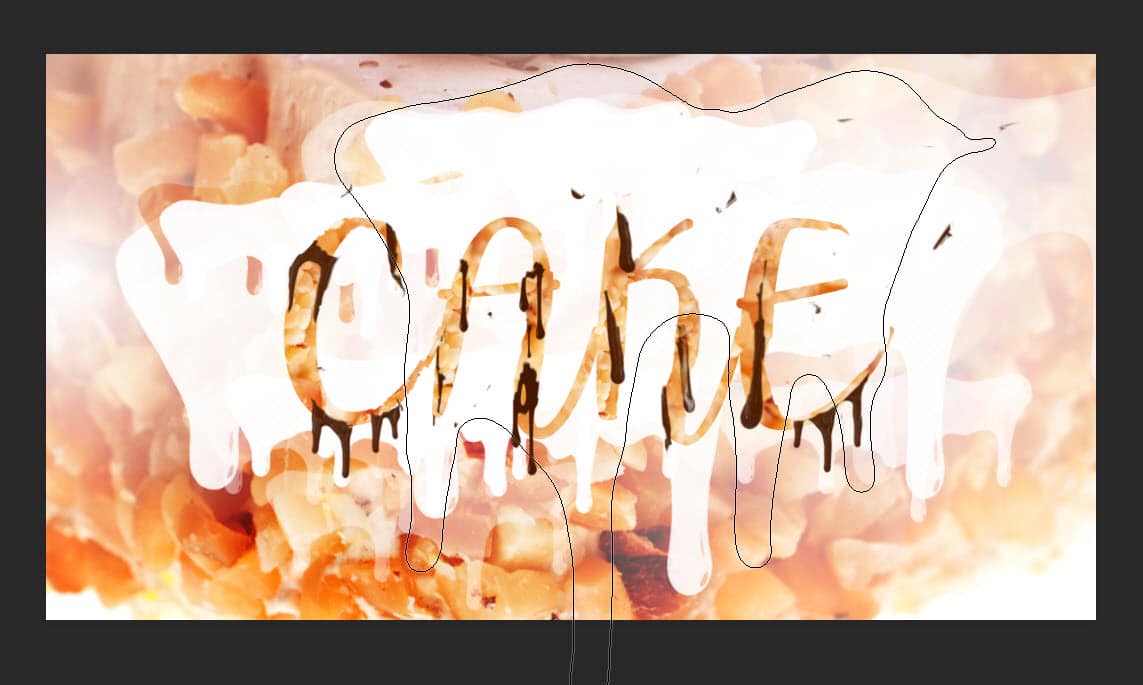
Erase the centre part of the text with a large drip brush:

and this is my final result: (click to enlarge)

That’s it for this tutorial! Leave me a comment below if you have any questions. Enjoy it? Help me share it around by using the share buttons at the top of the tutorial!

cake chocolate melted text
Share. Facebook Twitter Pinterest LinkedIn Tumblr Email
James Qu
  • Website

James is a seasoned Photoshop expert with over 25 years of experience based in Australia. As the driving force behind PSD Vault, he authors the majority of its in-depth tutorials and insightful articles.

Related Posts

Create Realistic Neon Text Effect in Photoshop

November 8, 2025

How to Fix Text Tool Lagging or Crashing in Photoshop 2025 (Quick & Permanent Fixes)

November 1, 2025

How to Create In-Water Text Effect with Displacement Maps in Photoshop

October 17, 2025

Comments are closed.

Don't Miss

How to Give Your Portrait Cyberpunk Effect in Photoshop

November 15, 2025

Create Realistic Neon Text Effect in Photoshop

November 8, 2025

How to Enlarge Images Without Losing Quality in Photoshop (using Super Resolution)

November 6, 2025

For Beginners

Basics

How to Create Relistic Burning Car Effect in Photoshop

By James QuOctober 17, 20251 Min Read

How to Pixelate an Image in Photoshop

October 16, 2025

How to Stay Ahead of Every Photoshop Update & Unlock Their Full Power

October 11, 2025

Curves or Levels: Choosing the Right Tool for Stunning Edits

September 28, 2025

You May Also Like

Text Effect

Create Realistic Neon Text Effect in Photoshop

By Valentin PetroffNovember 8, 20253 Mins Read
Photoshop Error Fixes

How to Fix Text Tool Lagging or Crashing in Photoshop 2025 (Quick & Permanent Fixes)

By James QuNovember 1, 20253 Mins Read
Text Effect

How to Create In-Water Text Effect with Displacement Maps in Photoshop

By James QuOctober 17, 20253 Mins Read
Facebook X (Twitter) Instagram Pinterest
  • About Us
  • Get in Touch
  • Advertise
  • VIP Area
  • Privacy Policy
  • Terms & Conditions
© 2025 PSD Vault. All Right Reserved.

Type above and press Enter to search. Press Esc to cancel.

Manage Consent
To provide the best experiences, we use technologies like cookies to store and/or access device information. Consenting to these technologies will allow us to process data such as browsing behavior or unique IDs on this site. Not consenting or withdrawing consent, may adversely affect certain features and functions.
Functional Always active
The technical storage or access is strictly necessary for the legitimate purpose of enabling the use of a specific service explicitly requested by the subscriber or user, or for the sole purpose of carrying out the transmission of a communication over an electronic communications network.
Preferences
The technical storage or access is necessary for the legitimate purpose of storing preferences that are not requested by the subscriber or user.
Statistics
The technical storage or access that is used exclusively for statistical purposes. The technical storage or access that is used exclusively for anonymous statistical purposes. Without a subpoena, voluntary compliance on the part of your Internet Service Provider, or additional records from a third party, information stored or retrieved for this purpose alone cannot usually be used to identify you.
Marketing
The technical storage or access is required to create user profiles to send advertising, or to track the user on a website or across several websites for similar marketing purposes.
  • Manage options
  • Manage services
  • Manage {vendor_count} vendors
  • Read more about these purposes
View preferences
  • {title}
  • {title}
  • {title}