
In this Photoshop tutorial, I will show you step-by-step on how to create this unique, “Deep Sea Portal” photo effect. We will use a combination of rock, fire & cloud painting to form this effect, as well as practicing layer blending & image adjustments. Have a try!
This is an intermediate difficulty tutorial.
The PSD file of this tutorial is available via the PSD Vault VIP members area.
NOTE: THE PHOTOSHOP TUTORIAL IS DONE IN PHOTOSHOP CC – SOME SCREENSHOT MAY HAVE SLIGHTING DIFFERENT LAYOUT AS IN THE EARLIER VERSION. SOME BRUSHES ARE EXCLUSIVE TO PHOTOSHOP CS6 & above.
Here is a preview of the final effect I have for this tutorial: (click to enlarge)

PSD Vault VIP Membership
You can download the PSD File for this tutorial via the VIP Members Area for only $6.95/Month (or less)! You will not only get this PSD File, but also 250+ other PSD Files & 50+ VIP Exclusive Photoshop tutorials there. Signup now and get exclusive!

OK Let’s get started!
To complete this tutorial, you will need the following stocks:
Step 1 – Sea Floor Preparation
Create a new document sized 1440x * 900px with black background. We will create a sea floor with our rock stock photo.
Load the “Rock 1” stock image into Photoshop. Select the rock and paste it onto the bottom of our canvas, as shown below:
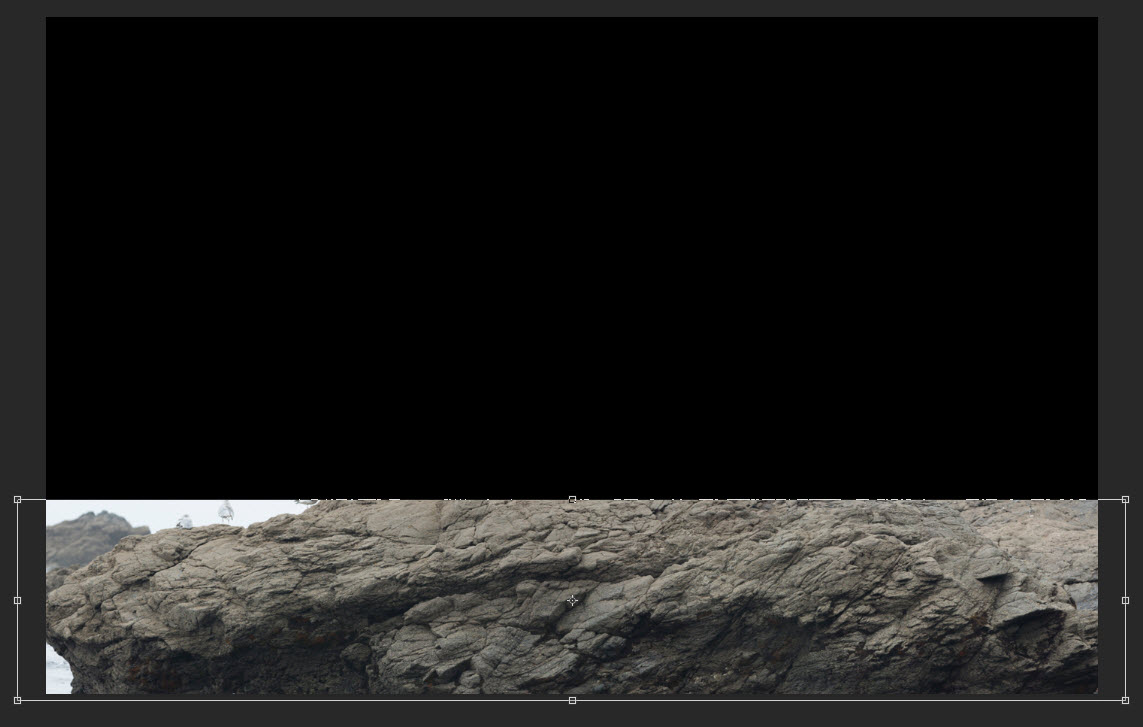
Use a soft eraser to fade the edge of the rock layer, as shown below:

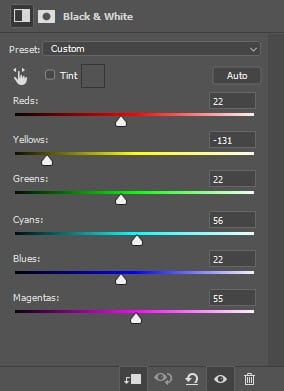
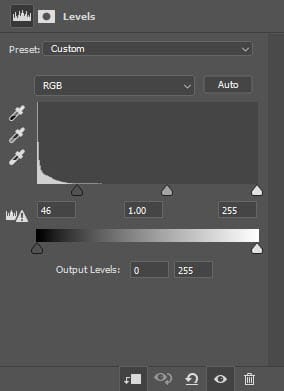
Apply the following image adjustment layers onto the above rock layer:
Black and White
Levels
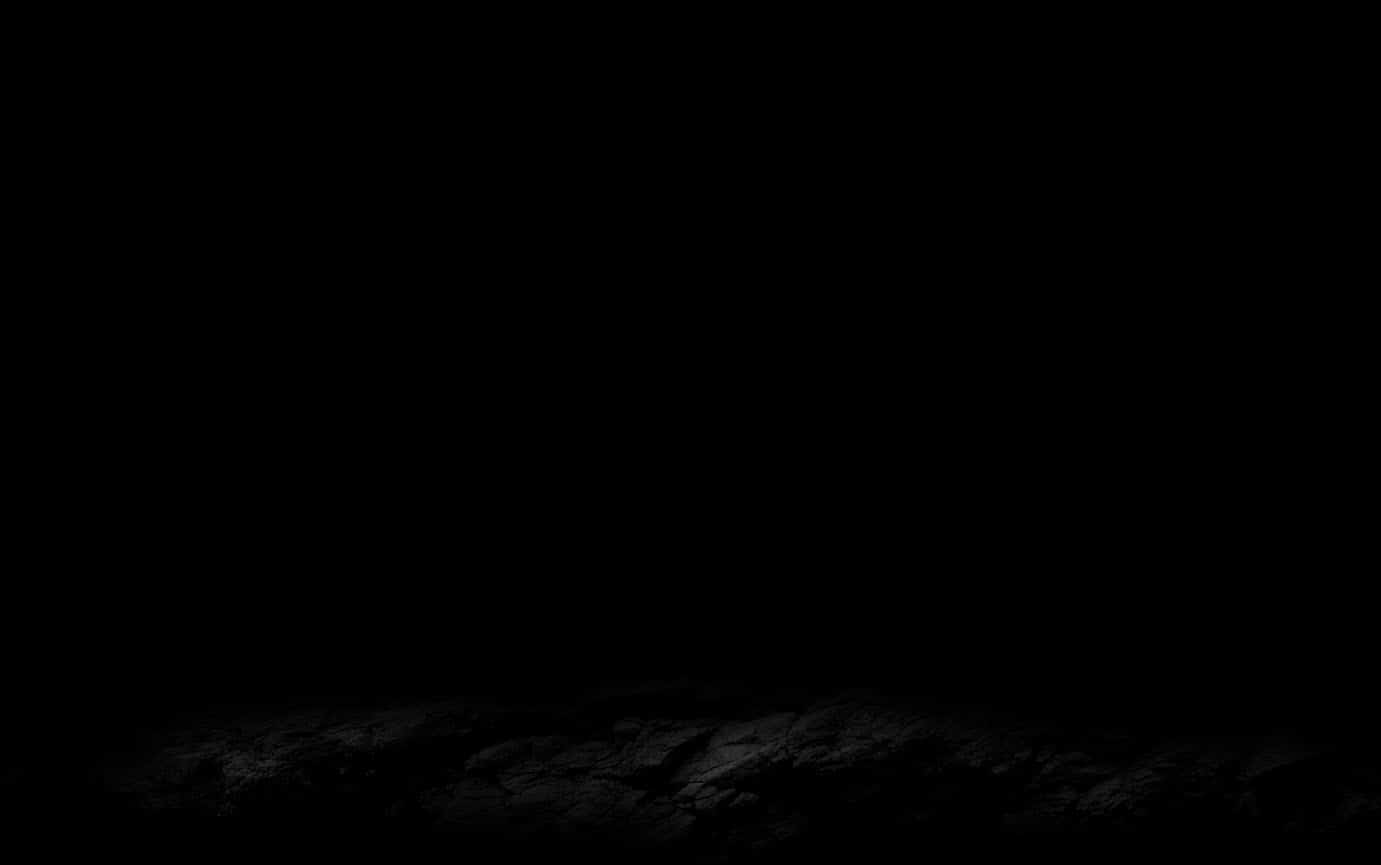
And here is the effect so far:
Step 2 – Add Some Fire Particle Effect
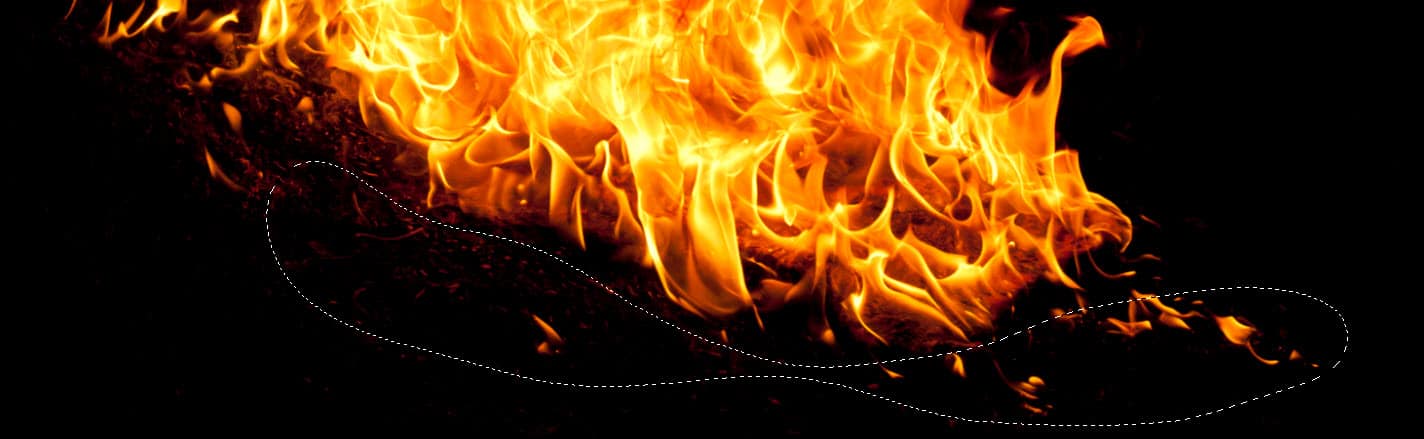
I wanted to add some fire particles around the seafloor so that we know there is an active volcano somewhere. Load the fire stock image into Photoshop and selec the following portion:
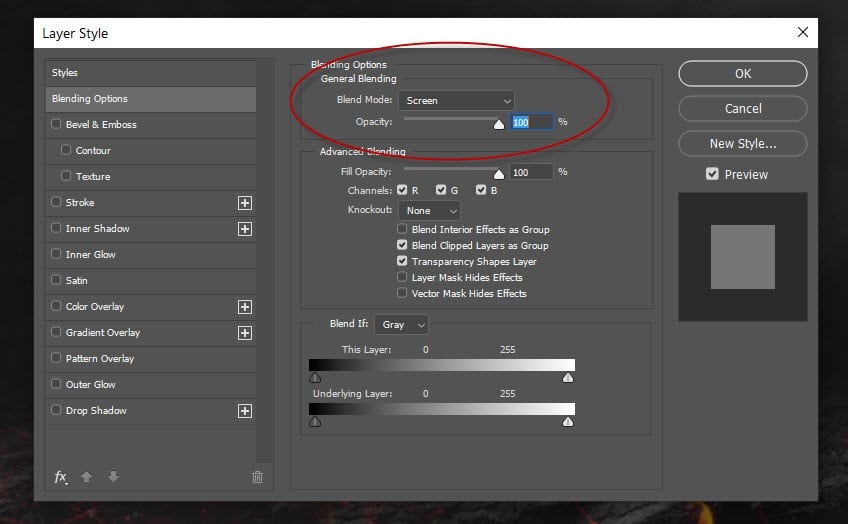
Copy and paste the selection to our document, set the layer blending mode to “Screen”:
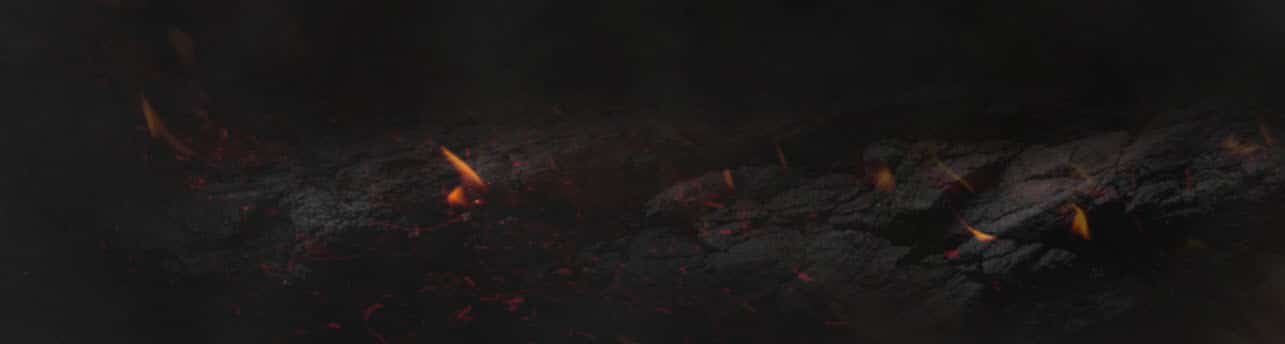
Here is the fire particle effect you will have:
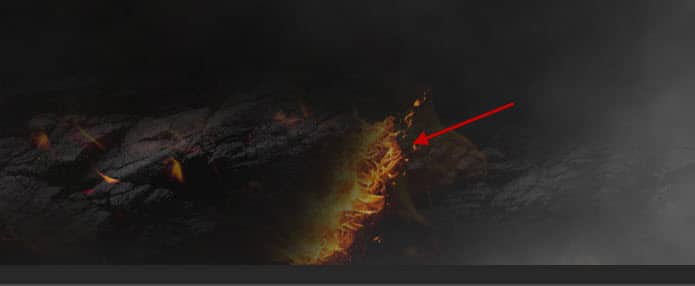
We can also add some extra fire on this location as shown below:
Step 3 – Create the Portal with Rock Texture
Load the archway stock photo into Photoshop, select the the following portion:
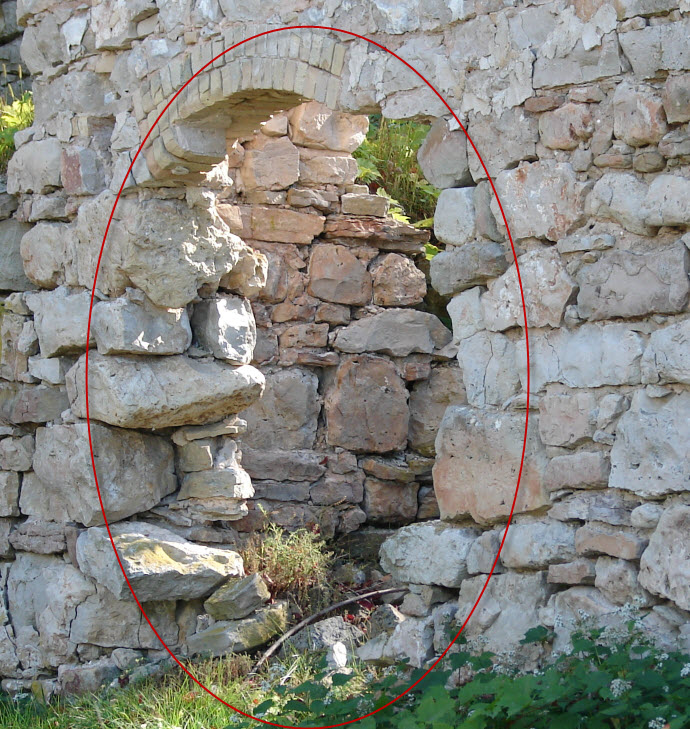
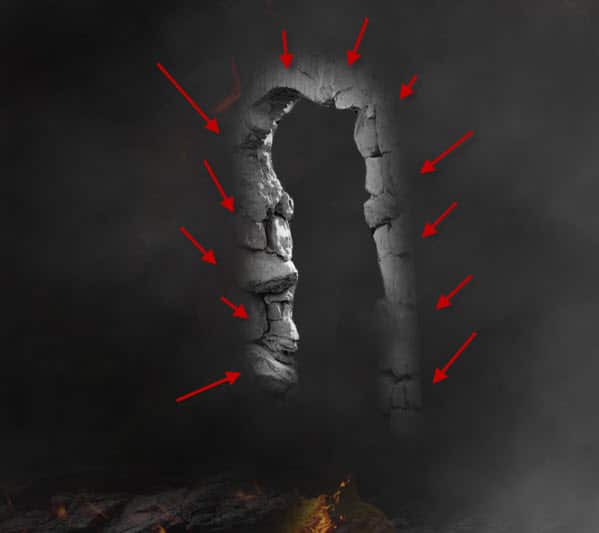
Copy and paste the selection to our document, fade the edge and remove everything inside the archway:
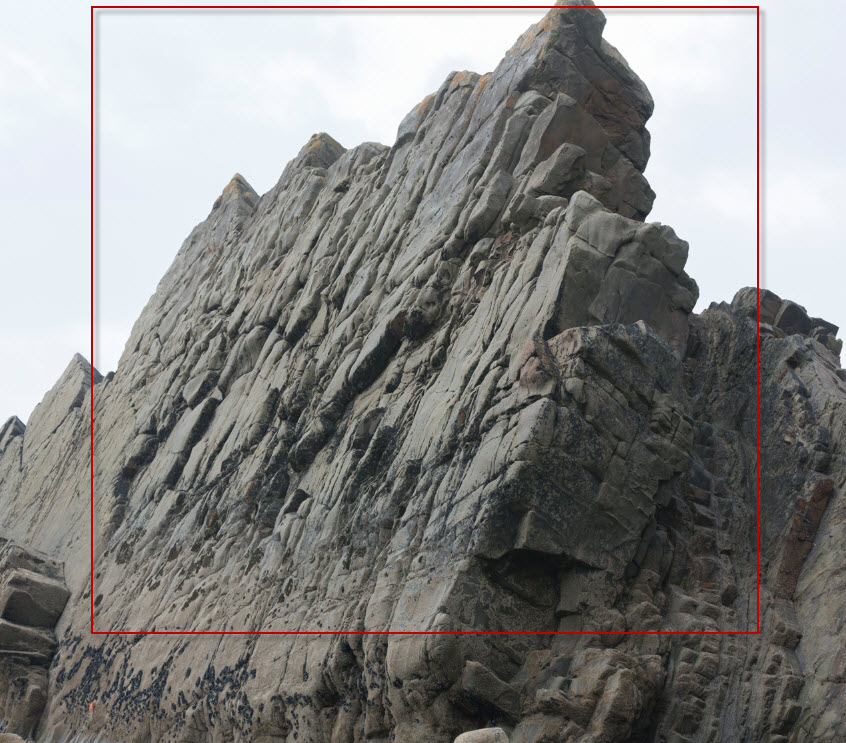
Load the “Rock 2” stock image into Photoshop, select the rock as shown below:
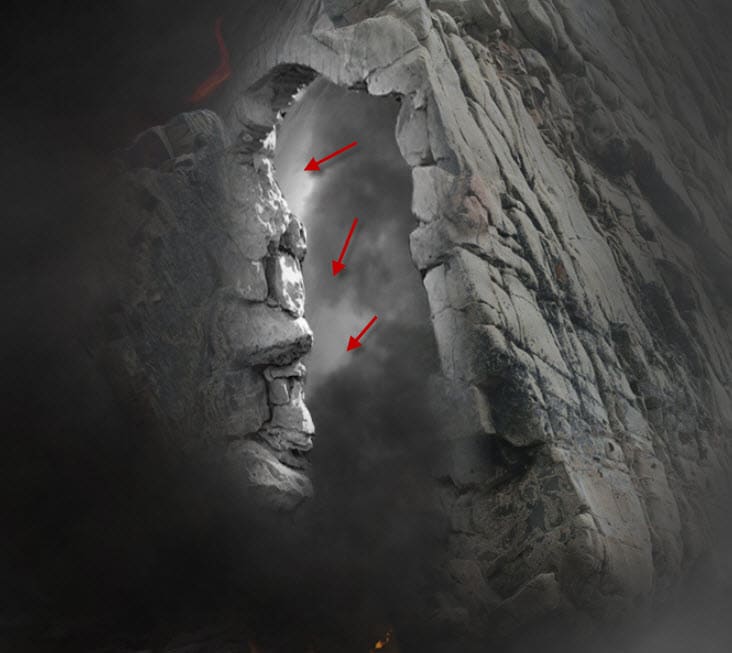
Copy and paste the selection to our document, attach the rock to the archway. Use free transform tool, eraser tool to fit the rock to the archway as best as you can:

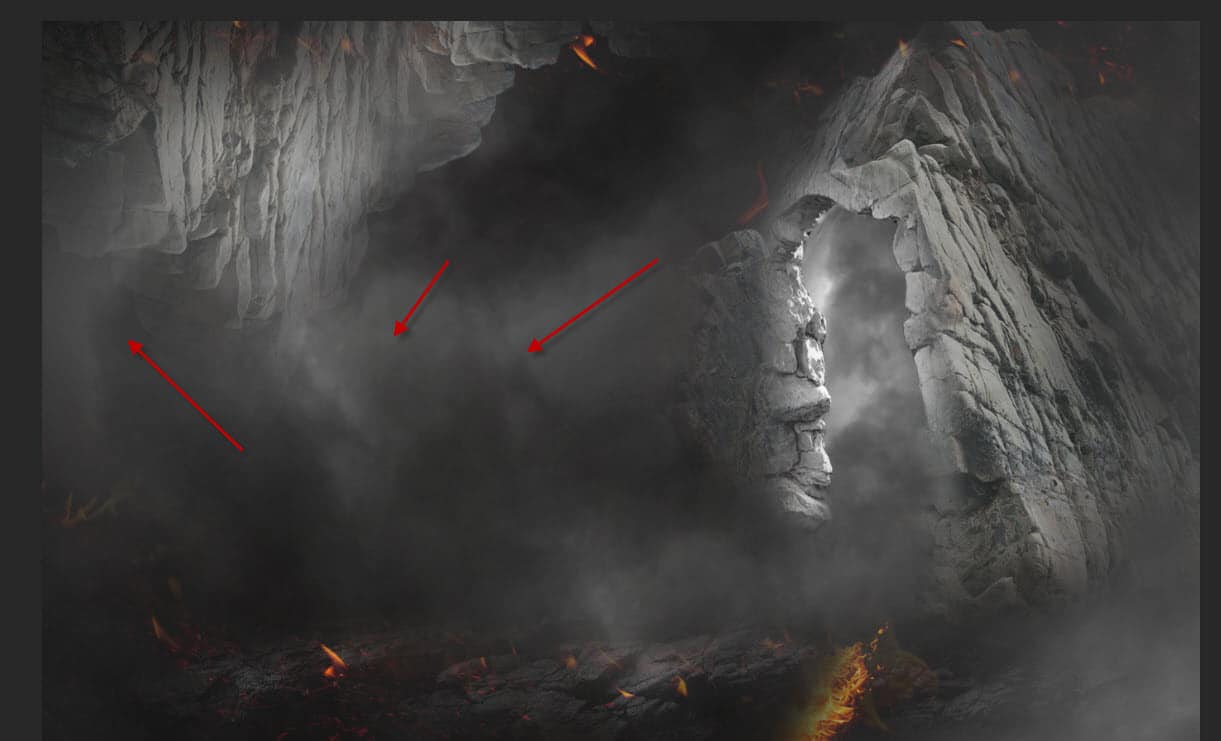
Paint some cloud inside the archway:
Step 4 – Add the Exploring Submarine
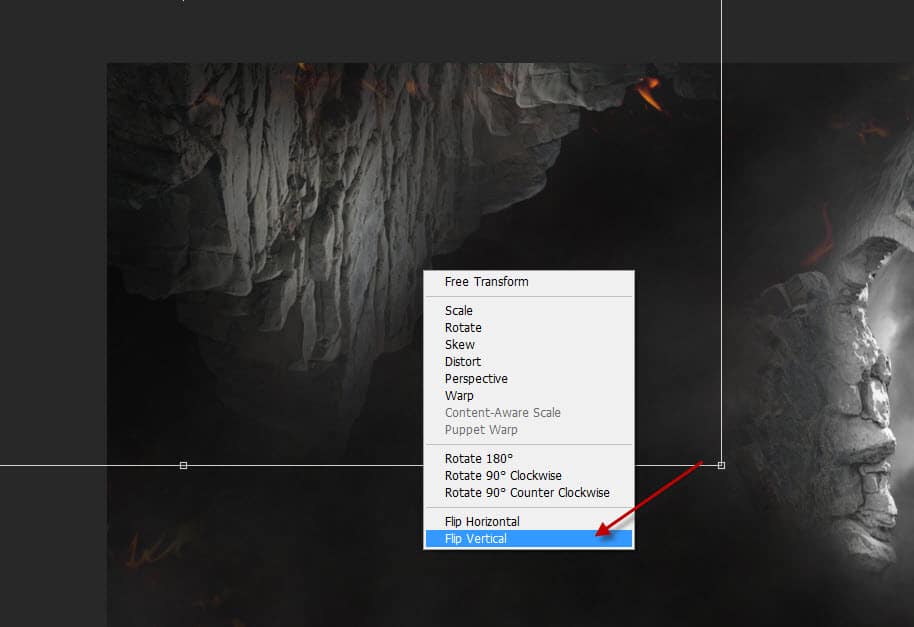
We can add some extra rock to the top left on the canvas, by “Flipping” the original rock stock image:
Paint some extra cloud around the newly added rock:
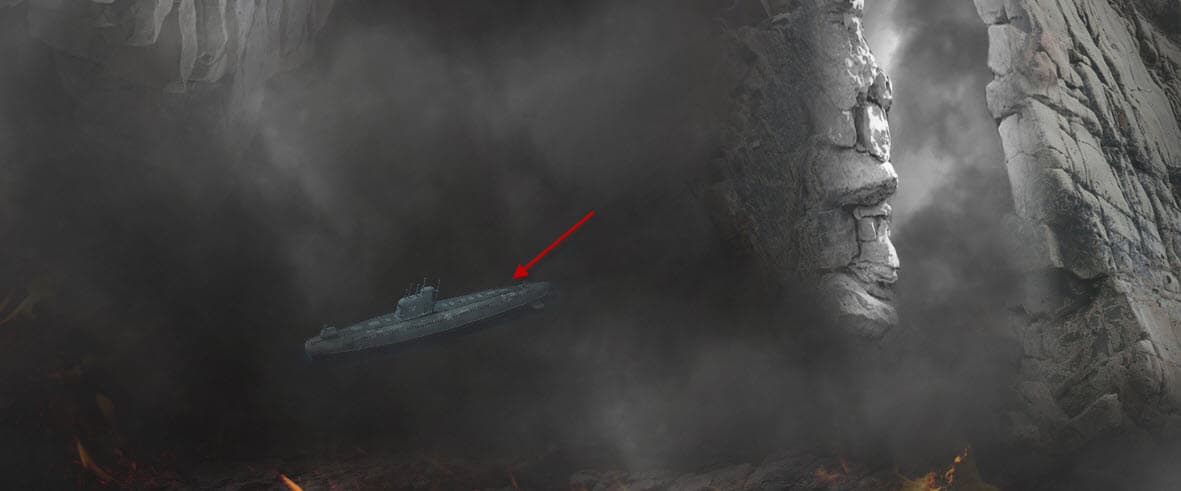
We can add an explorer submarine to the canvas as shown below using the submarine stock:
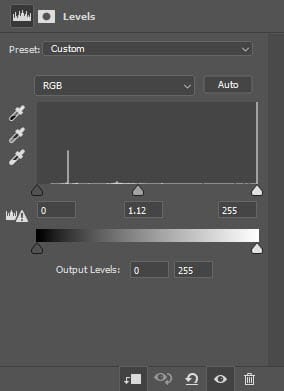
Apply the following image adjustment layers as clipping masks to the submarine layer:
Black and White
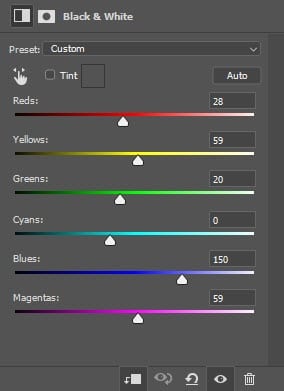
Levels
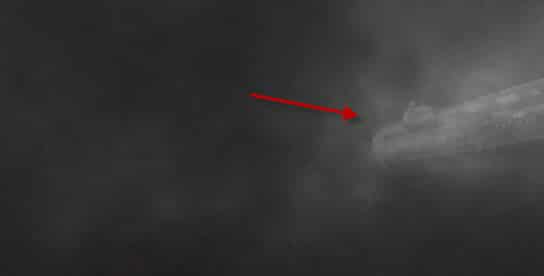
Paint a white dot to the front the submarine:

Expand the white dot with the free transform tool – this will turn it into a headlight:
Paint some smoke at the end of the submarine:
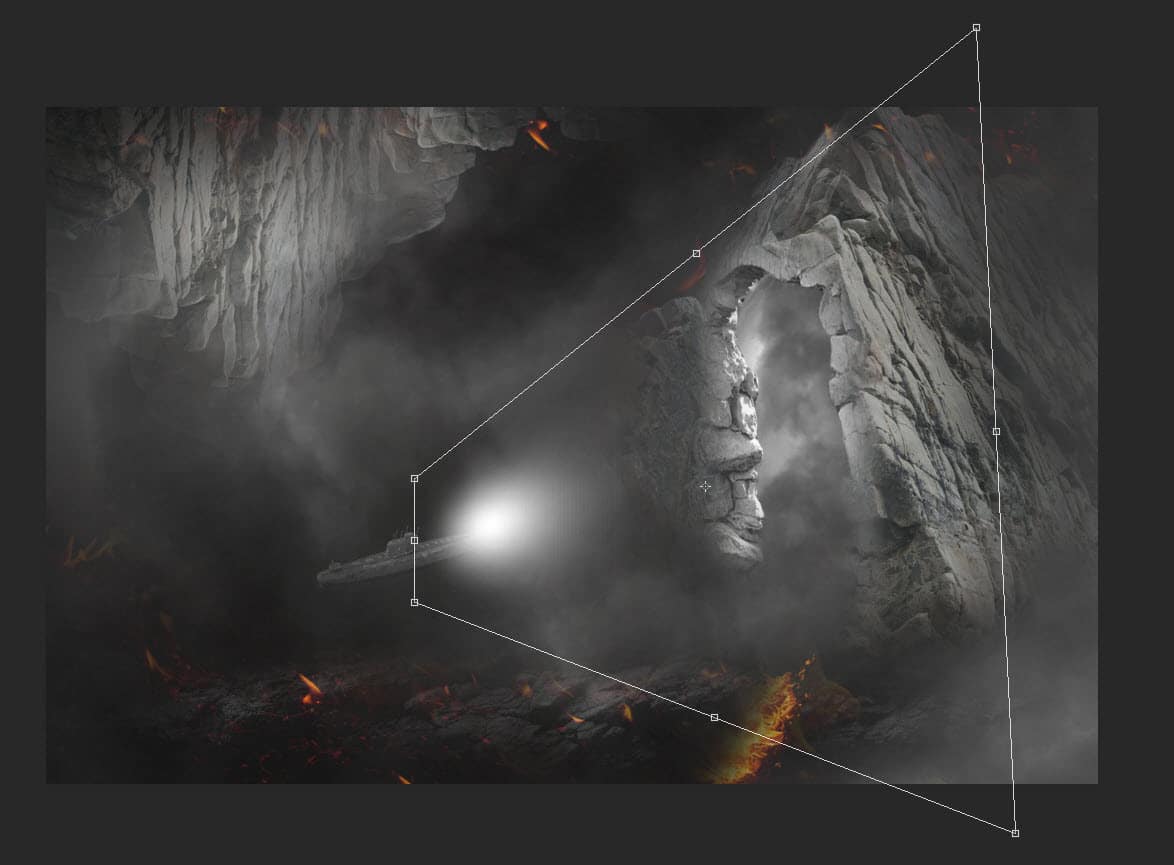
Step 5 – Add Water Effect & Finalise the Artwork
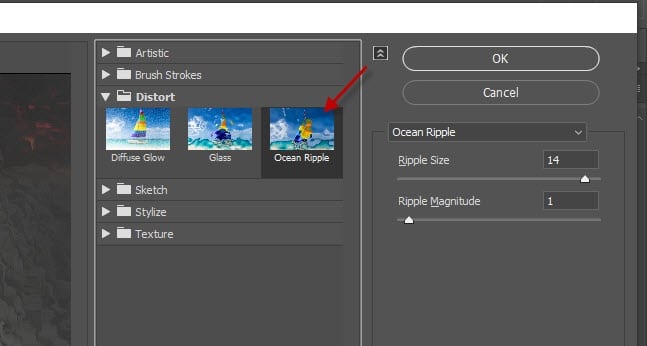
We’re almost done! To finalise the effect, we can flatten this image, and apply some Ocean Ripple filter effect as shown below:
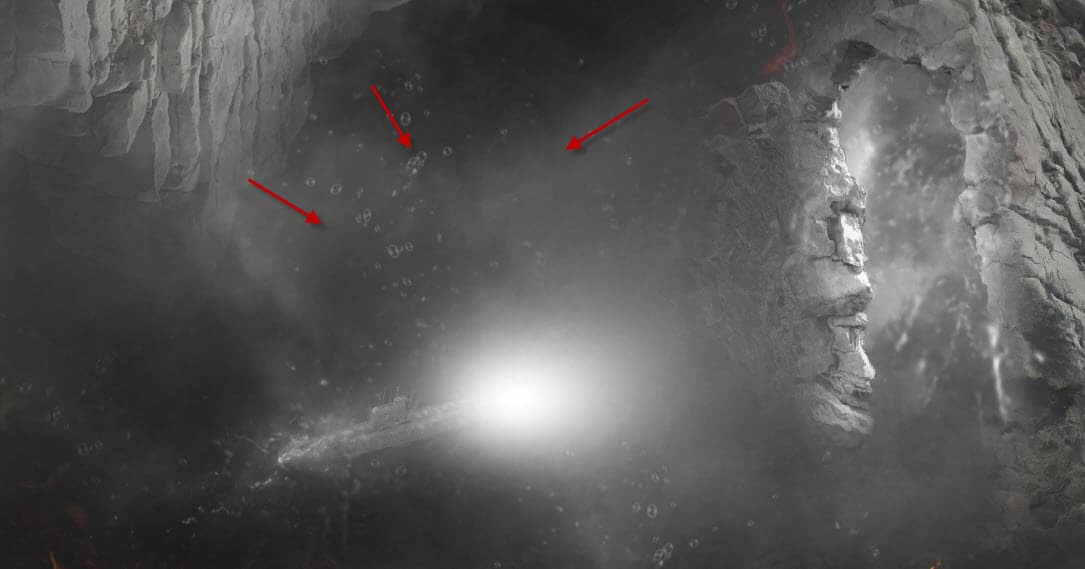
We can also paint some water bubbles around the canvas for extra effect:
I further paint the image with some blue, red and green colour, and this is my final result: (click to enlarge)
That’s it for this tutorial! Leave me a comment below if you have any questions and I will try my best to answer it.