
Image sharpening is used widely in photo manipulation and photo re-touch. In this tutorial, you will learn how to properly perform this technique in Photoshop.
There are many ways to increase sharpness of an image. Some methods are inventive and used by professionals in the print industry, fashion, and retouching.
What You’ll be Creating
The process of sharpening usually goes to the later stages in post-processing – when everything fundamental like editing, correction, retouch, color correction, color grading, etc., already completed.
We will use the Camera Raw Filter Enhancement Module. This showed a good result in a variety of work scenarios. It is easy to use and control the result. Also, you will learn more about the process of sharpening – use cases, features, and pitfalls.
Tutorial Resources
- Rufus hummingbird Photo by Bryan Hanson on Unsplash
Step 1 – Analyze
Open the desired image or project in Photoshop (Cmd/Ctrl + O or go to File > Open). First, analyze your image, zoom in and evaluate how much noise is visible. When making noise reduction, always zoom in on the preview image to at least 100% to see the noise reduction changes. Look at the image under different scales by using the View menu (View > 100% and Fit on Screen) and printing size (View > Print Size).

Almost every image captured with a scanner, smartphone camera, camera sensor, etc., has a bit of noise. Sometimes, it even not noticeable. Sometimes, the noise detected by the naked eye. A small appearance of noise in the image is normal.
If the image contains a lot of noise texture, the image sharpening will only aggravate the situation. The adjustments and sharpening may appear as artifacts on the image and appears a colorful halo at the junction of areas.
Before applying sharpness, it is worth reducing the noise. And correct the potentially problematic areas. After that, you need to be careful in the settings to increase the sharpness otherwise the noise will return.

Step 2 – Setup
Duplicates image to which you want to sharpen (Cmd/Ctrl + J or go to Layer > Duplicate Layer). Or if it is a creative project from many layers, create a merged copy via keyboard shortcut Cmd/Ctrl + Opt/Alt + Shift + E. Keep this layer at the very top of the layers stack. Change the Blending Mode to “Luminosity” to avoid a color shift.

Step 3 – Filter
For convenience, convert this layer into Smart Object (make right-click on layer > Convert to Smart Object or go to Layer > Smart Objects > Convert to Smart Object). This gives the ability to add filters as a Smart Filters feature. So we can change its settings later. Sharpen the image without changing the original image. With that layer highlighted in the Layers panel, go to the Filter menu and choose Camera Raw Filter (Cmd/Ctrl + Shift + A).

Step 4 – Image Sharpening Settings
In the appeared filter window, there are many settings and tools for processing and improving the image. That module is primarily used for Digital Negative (DNG) format (mean Raw images). These uses for any other images as well.
To sharpen it, go to the Details tab in the panel on the right side of the window. Here you will find many settings. They are divided into two categories: for sharpening and the second to noise reduction. Getting rid of the color noise or various kinds of artifacts. Split the window using the icon below to compare the results before and after. Here’s a quick summary of each setting:
- Amount – Increase sharpening. A value of zero (0) turns off sharpening.
- Radius – Adjusts the size of the details that sharpening is applied to.
- Detail – Adjusts how much the sharpening process emphasizes edges.
- Masking – Controls on which areas the settings should be restricted/reduced.
- Luminance – Reduces luminance noise. Useful for noisy photos.
- Luminance Detail – Preserve more details after reducing noise.
- Luminance Contrast – Preserve contrast of noise texture but can produce noisy blotches or mottling.
- Color – Reduces color noise.
- Color Detail – Protect thin, detailed color edges but can result in color specking.
- Color Smoothness – Controls the color mottling.

Step 5 – Sharpen the Image
Now let’s apply the settings in action. First, I’ll reduce the noise a little and remove color noise. Be careful because this setting can de-saturate the colors in the image if you set it to high values. If you need something in between, using the masking sliders. Sometimes, it is not obvious how a particular slider works. So, hold down Opt/Alt and click and drag the slider so you see a preview of the setting.
Now I will sharpen it. For the web, small values will be enough. For photos, I use small values. A little more for digital art. For printing, all the settings should be higher to compensate the loss of quality while printing. The main thing is that you do not try to go over the settings and do a little less. For me, this is the most correct way to sharpen the image in many situations.

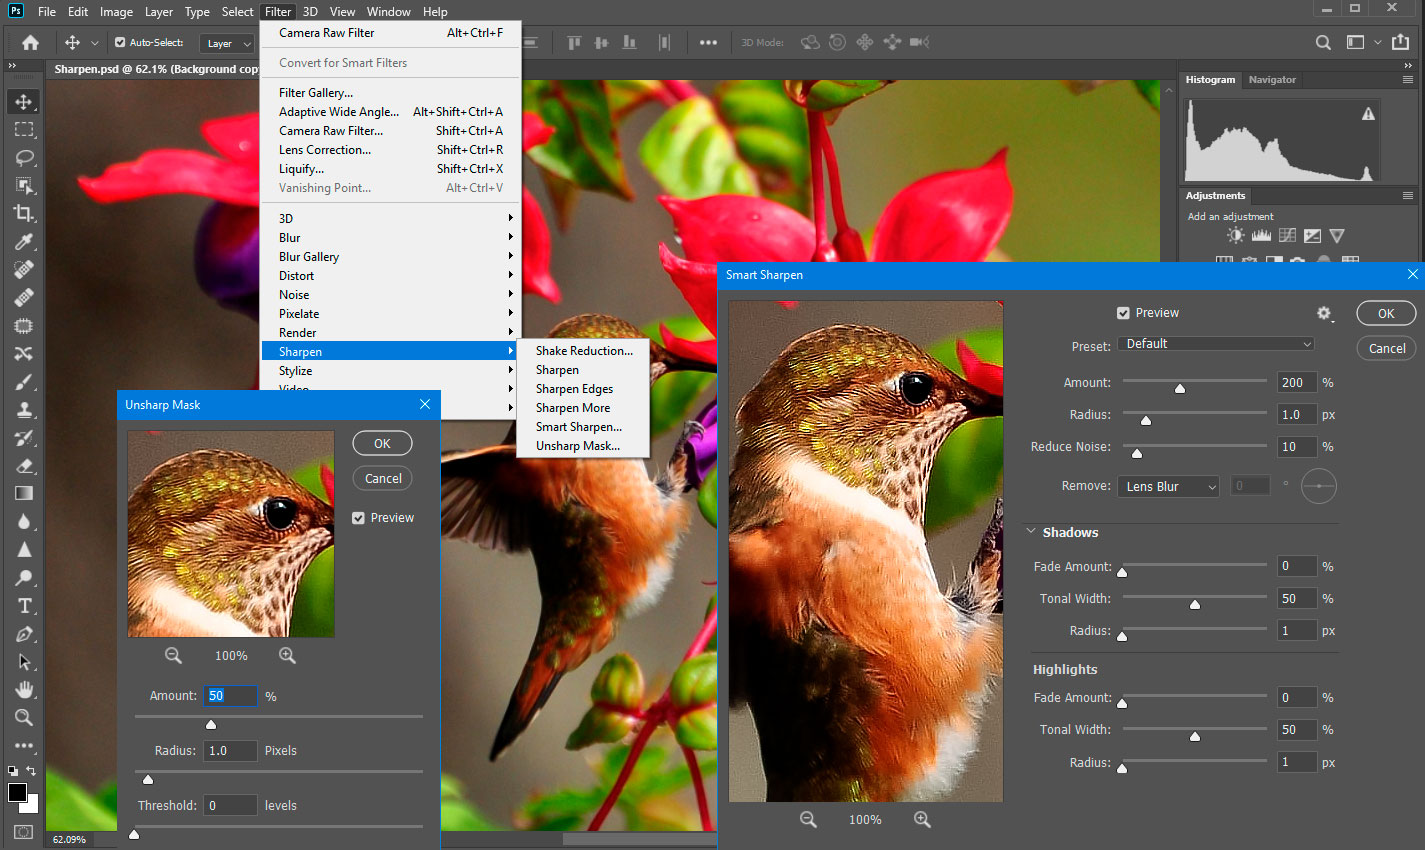
Alternative Options
In Photoshop, there is a Sharpen Tool, Unsharp Mask, and Smart Sharpen filters. For cases of blurring in motion, there is a Shake Reduction filter. Methods and techniques are much more and most popular based on a High Pass filter.
Keep in mind that not all sharpening techniques are work equally under a hood or affect the same way. Each method has targeted use, advantages, and disadvantages.
Summary
In terms of increasing sharpness/sharpening, you need to be pretty precise, accurate, attentive, not be afraid of additional manual work, and track the result.
Any even minor brute force spoils your image. Thus, everything is good in moderation. Sometimes you have to humble with what you did anything that could and would not be better.
Do not forget that sometimes noise applied as a special effect. It is even enhanced to get rid of larger noise or add texture. You can meet this in the concept art and illustration.

Thank you for your attention and good luck to you in your creative projects! Have something to add or ask? Use the comment section below!