
In this tutorial, we will create a Wormhole Space Photo Manipulation in Photoshop. This is an intermediate level tutorial and require prior knowledge such as layer blending, transform tool and brush tools.
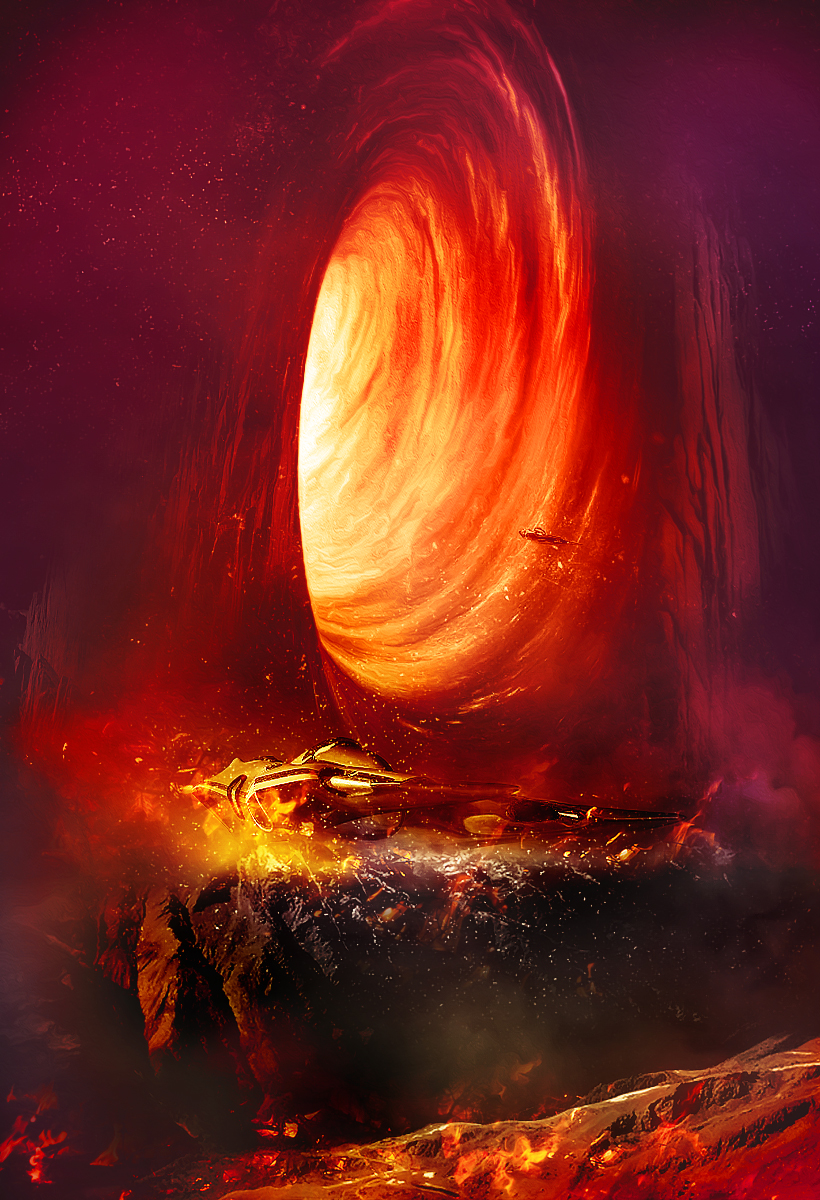
The concept is to design a surreal environment which consists a worm hole, a few spaceships and a planet rock surface. Some fire elements were also added to make the condition more hostile.
Final Result Preview
PSD Vault VIP Membership
You can download the PSD File for this tutorial via the VIP Members Area for only $6.95/Month (or less)! You will not only get this PSD File, but also 200+ other PSD Files + Extra Goodies + Exclusive Photoshop tutorials there. Signup now and get exclusive!

Stock Images Required
To complete this tutorial, you will need the following stocks:
Let’s get started!
Step 1
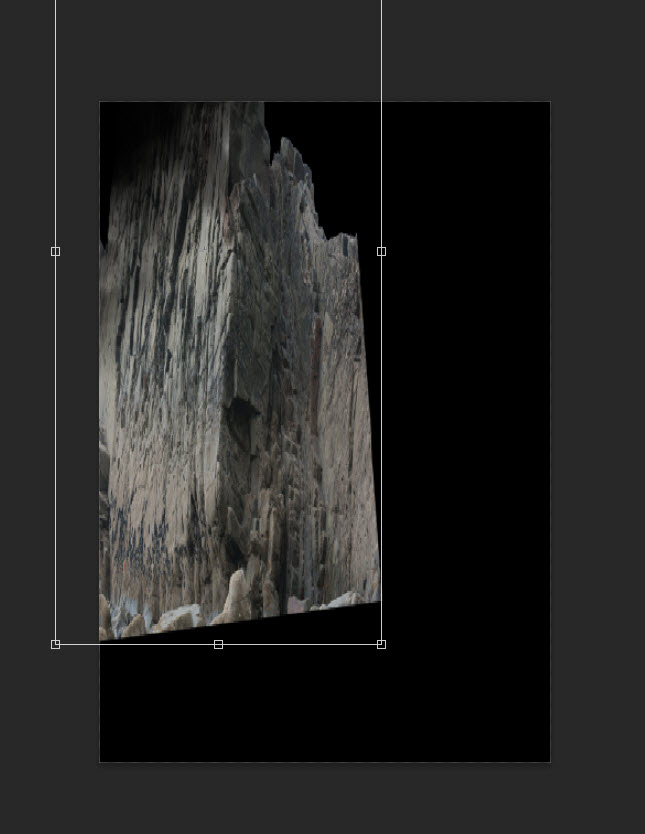
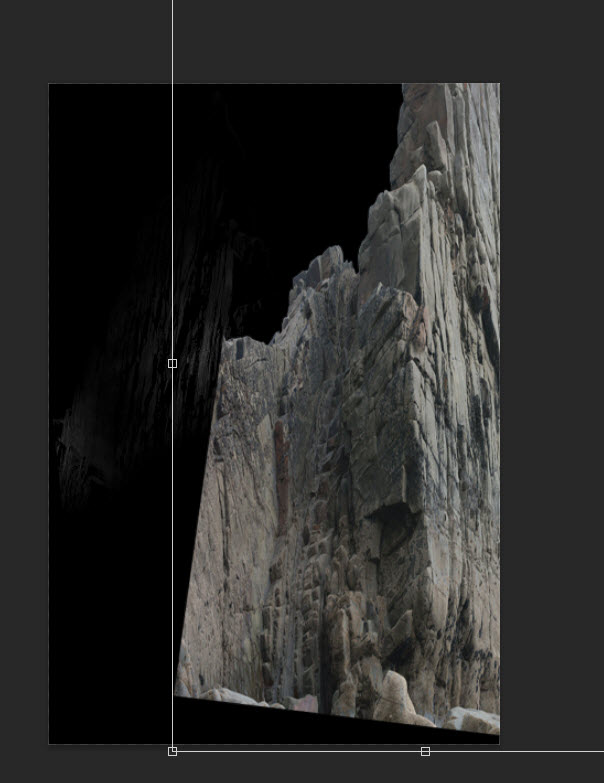
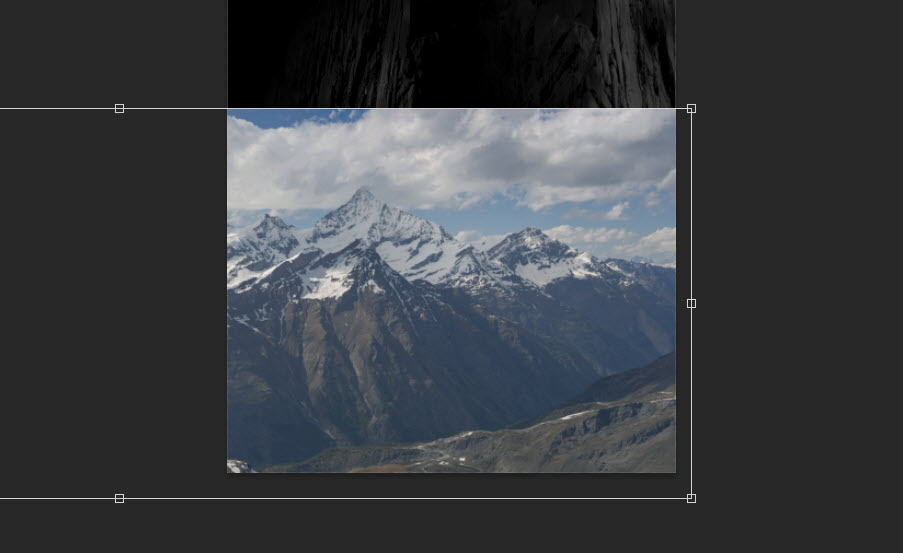
Create a new document sized 820px * 1200px with black background. Load the rock formation stock image into Photoshop, select the top area and paste it onto our document, place it at the following location:
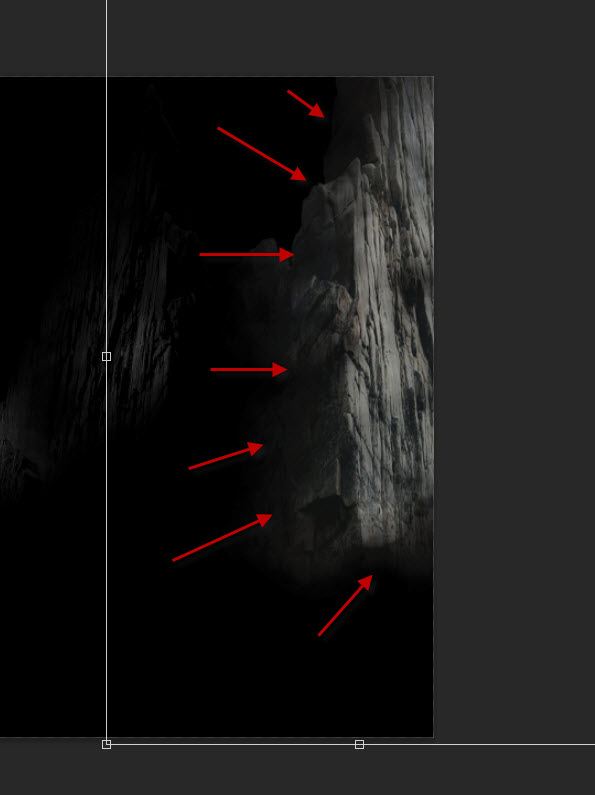
Use a soft eraser, fade the edges of the rock layer as shown below:
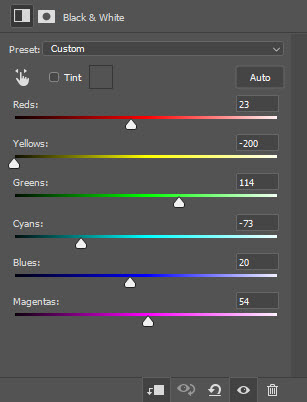
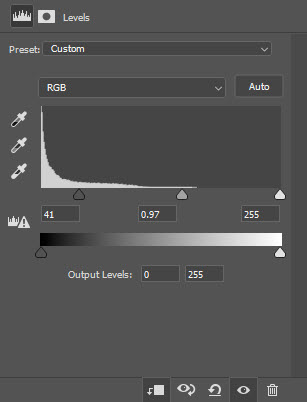
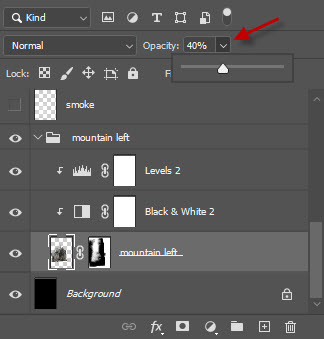
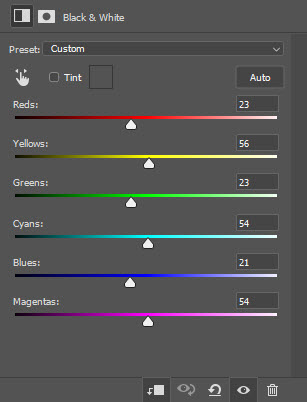
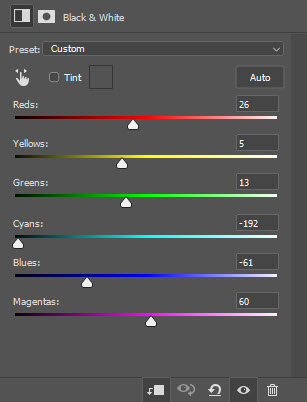
Apply the following image adjustment layers as clipping masks to the rock layer:
Black and White
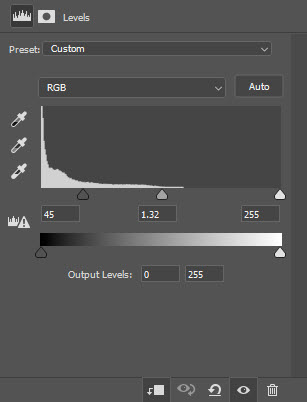
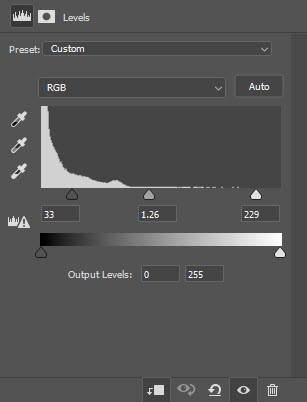
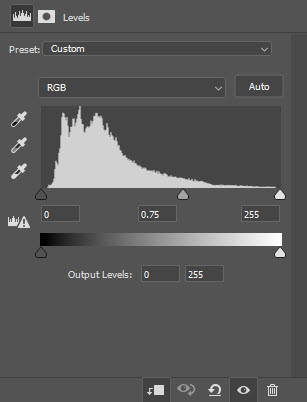
Levels
Reduce the layer opacity of the rock layer to around 40%:
Step 2
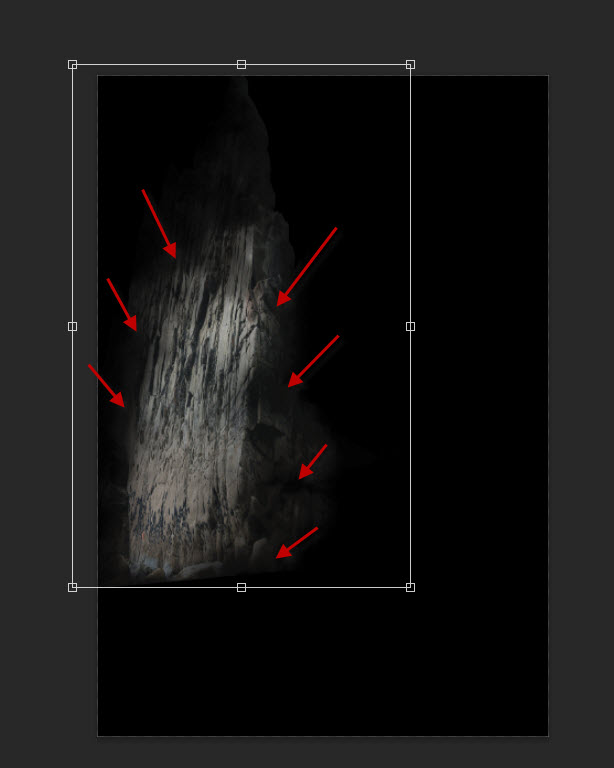
We will add another piece of rock formation on the right side. Select another part of the rock formation stock image and place it on the following area:
Use a soft eraser to fade thee edge of this rock layer:
Use the following image adjustments as clipping masks to this rock layer:
Black and White
Levels
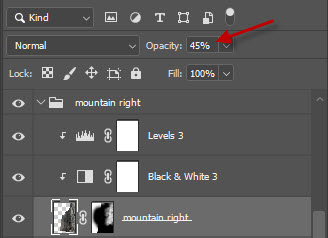
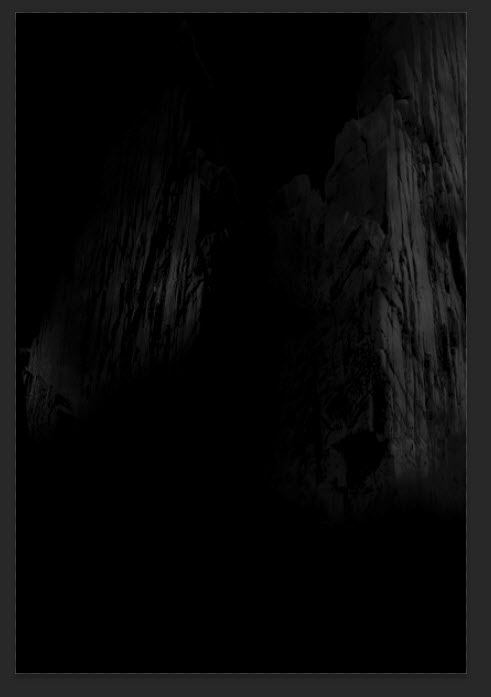
Drop the opacity of this layer to around 45%:
and here is the effect so far:
Step 3
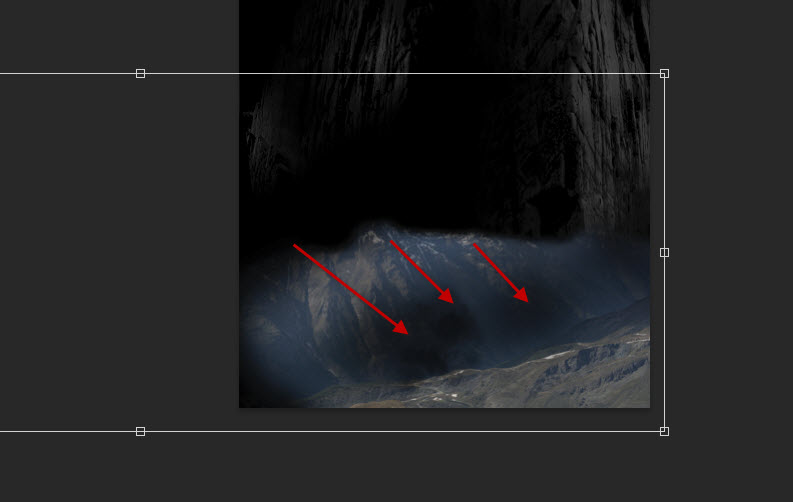
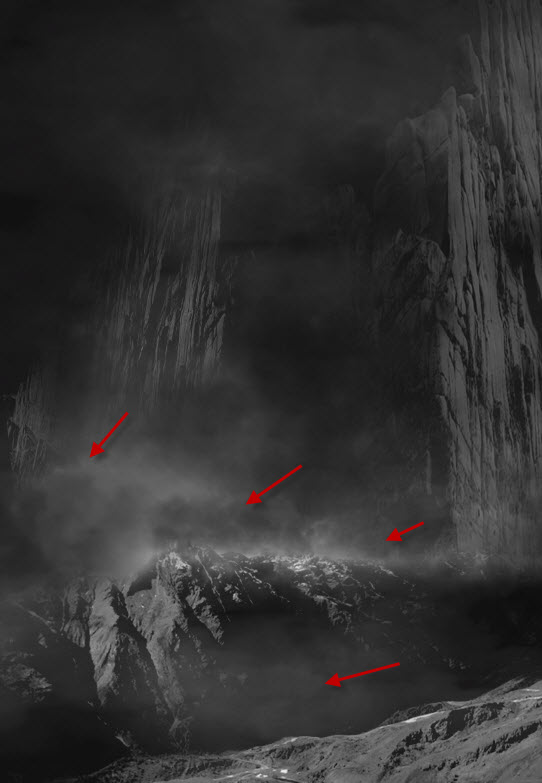
We will construct the ground in this step. Load the mountain stock image into Photoshop, use the following portion and place it on the bottom of the canvas:
Use a soft eraser to remove the edges and middle part of the mountain:
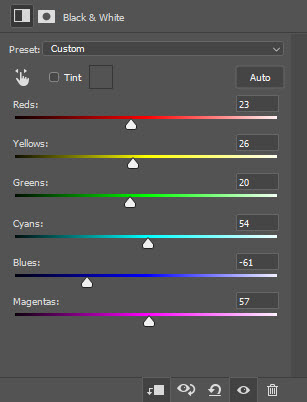
Apply the following image adjustments to this layer:
Black and White
Levels
Use a cloud brush or the cloud filter, add some cloud/smoke effect around the canvas, and here is the effect so far:
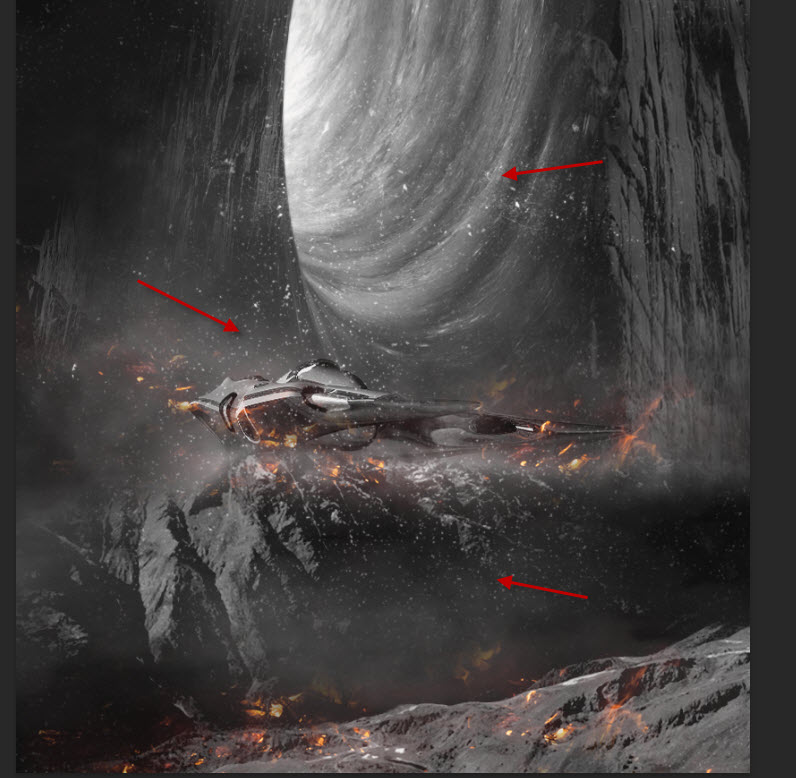
Step 4
Load the spaceship stock image into Photoshop, select the ship and place it on the rock surface as shown below:

Apply the following black and white image adjustment:
Load the worm hole image into Photoshop, place it on the centre of the canvas as shown below. Use the free transform tool to adjust its shape:
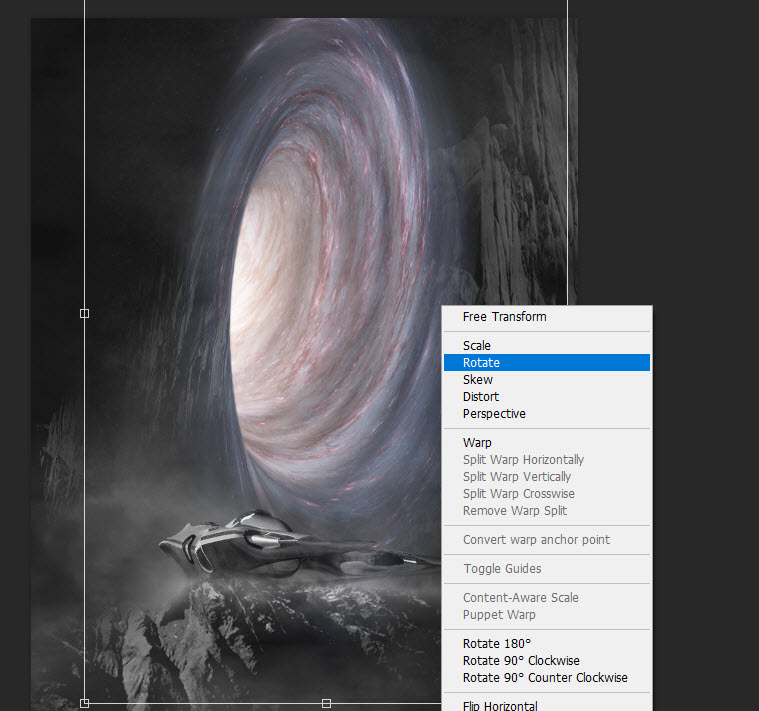
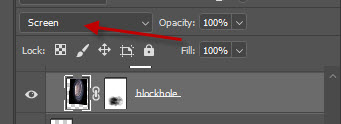
Make sure to set the layer blend mode for this worm hole layer to “screen”:
Apply the following image adjustment layers as clipping masks to the worm hole layer:
Black and White
Levels
Step 5
Load the fire stock image into Photoshop and select following area:
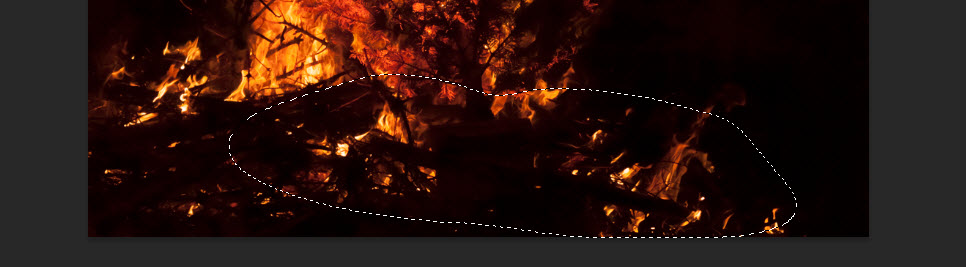
Copy and paste the selection to our document, place them around the mountain rock surface and the spaceship:
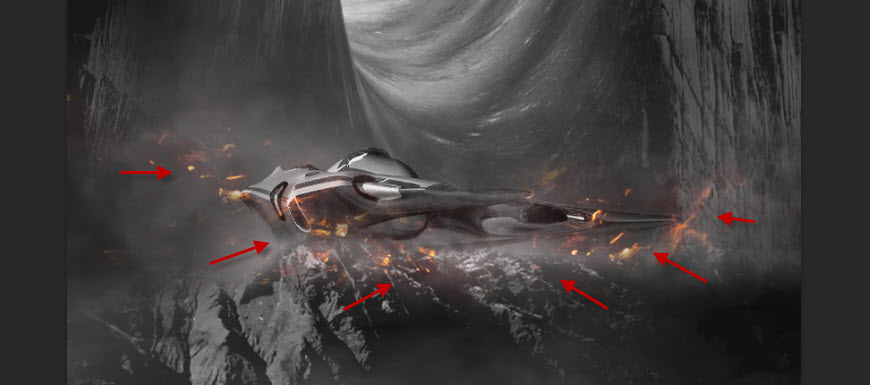
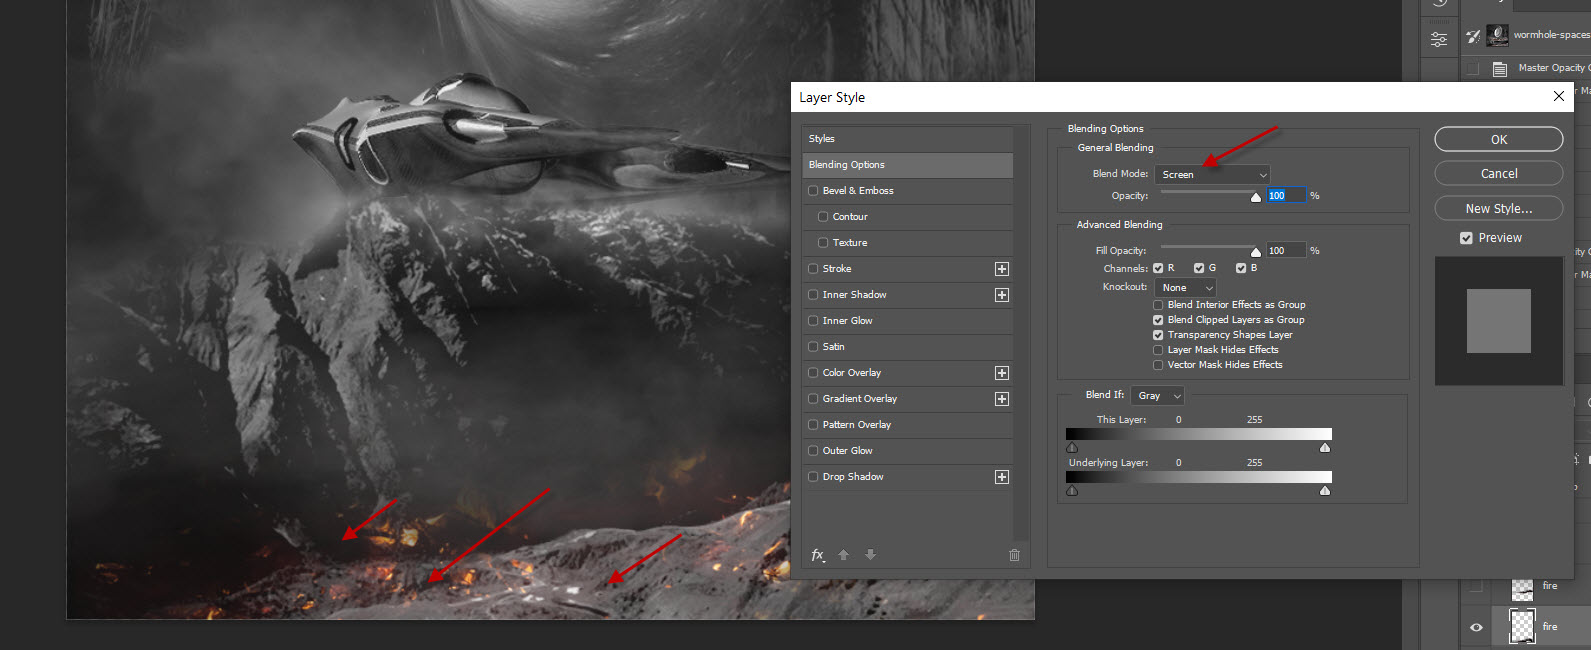
Make sure you use the “Screen” blending mode for this fire layer:
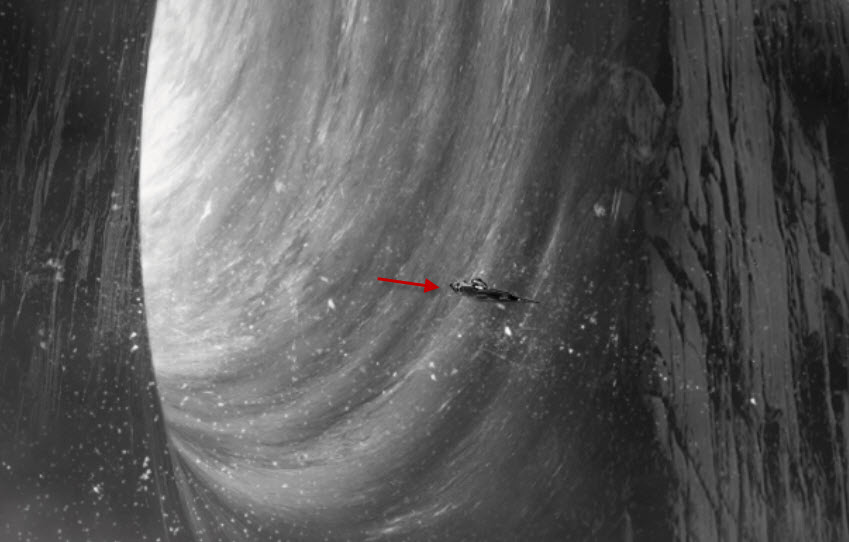
Use a particle brush, add some flying objects on the image:
Add more spacecraft on to the image:
I further applied a fiery colour scheme for the image, and this is my final result: (click to enlarge)
That’s it for this tutorial! Leave me a comment below if you have any questions. Enjoy it? Help me share it around by using the share buttons at the top of the tutorial!