Removing chest hair from photos is a common retouching task, especially for men’s portraits, fitness shoots, or modelling images. With Adobe Photoshop 2025’s AI-powered tools, this process is faster and more precise than ever.
This beginner-friendly tutorial walks you through the steps to achieve natural-looking results using the Remove Tool and Generative Fill, along with tips, tricks, and screenshot suggestions for a seamless workflow.
Why Remove Chest Hair in Photos?
People often remove chest hair for aesthetic, cultural, or professional reasons, such as:
- Highlighting muscle definition or tattoos.
- Meeting client needs for fashion or fitness photography.
- Achieving a polished, smooth look for personal or commercial images.
This guide ensures your edits look natural while preserving skin texture.
What You’ll Need
- Adobe Photoshop 2025 (latest version for AI features).
- A high-resolution photo with visible chest hair.
- A graphics tablet (optional, for precision).
Pro Tip: Work on a high-resolution image (at least 300 DPI) for better detail and smoother blending.
Step-by-Step Guide
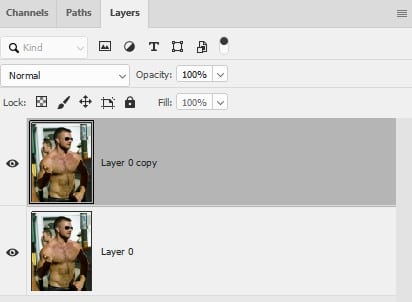
Step 1: Open and Duplicate the Image
- Launch Photoshop 2025 and open your image (File > Open).
- Duplicate the background layer (Ctrl+J or Cmd+J) to work non-destructively.
- Name the duplicated layer “Hair Removal” for organization.
Tip: Zoom in to 100% (Ctrl+1 or Cmd+1) to inspect details closely.
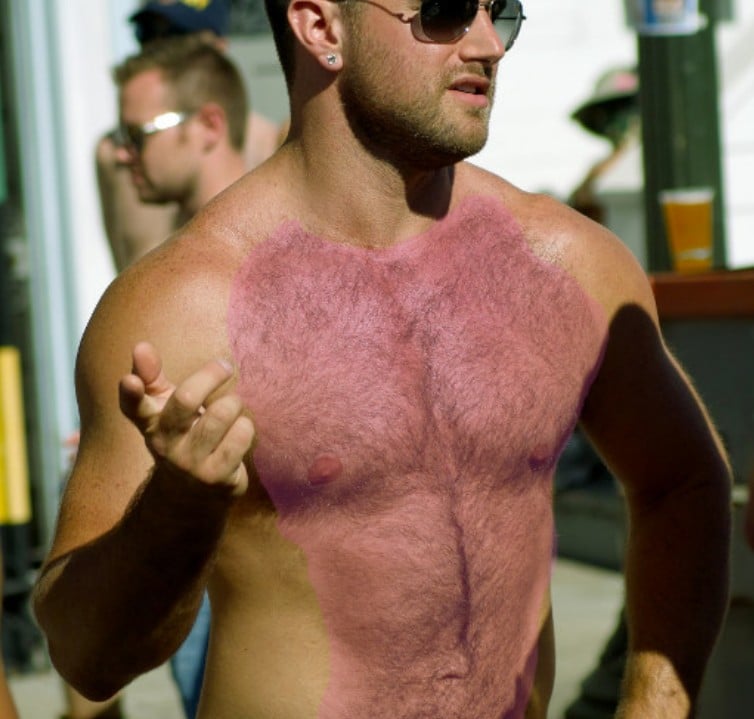
Step 2: Use the AI-Powered Remove Tool
- Select the Remove Tool from the toolbar (nested under the Spot Healing Brush or press J).
- Adjust the brush size using [ and ] to match the hair’s thickness.
- Paint over the chest hair in small sections. The AI analyzes surrounding pixels and removes hair while blending with the skin.
- Work slowly around edges or complex backgrounds to avoid artifacts.
Tip: If the tool removes too much, press Ctrl+Z or Cmd+Z to undo and adjust the brush size for better control.
Step 3: Refine with Generative Fill
- If the Remove Tool leaves imperfections, use the Lasso Tool (L) or Quick Selection Tool (W) to select the affected area.
- Go to Edit > Fill > Generative Fill.
- In the Generative Fill dialog, leave the prompt blank for automatic skin matching or type “smooth skin” for specific results.
- Click Generate to let Photoshop’s AI fill the selection with natural-looking skin.
Trick: Use a layer mask (Layer > Layer Mask > Reveal All) to apply Generative Fill only to specific areas, preserving surrounding details.
Step 4: Fine-Tune with Healing Brush or Clone Stamp
- Select the Spot Healing Brush Tool (J) and set it to Content-Aware in the top options bar.
- Paint over minor blemishes or uneven textures to smooth them out.
- For stubborn areas, use the Clone Stamp Tool (S):
- Set the mode to Normal or Lighten in the options bar.
- Sample a nearby skin area (Alt+click or Option+click) and paint carefully.
Tip: Lower the opacity of the Clone Stamp (e.g., 50%) for subtle blending.
Step 5: Enhance Skin Texture (Optional)
- Go to Filter > Camera Raw Filter.
- In the Camera Raw panel, use the Texture and Clarity sliders to smooth skin slightly while retaining natural pores.
- Click OK to apply.
Trick: Apply Camera Raw edits on a separate layer by converting the layer to a Smart Object (Layer > Smart Objects > Convert to Smart Object) before applying the filter.
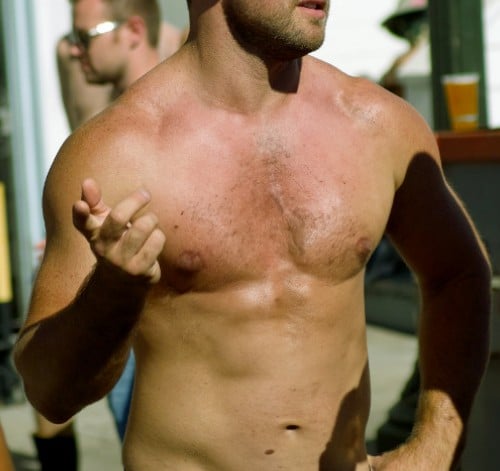
Step 6: Check and Finalise
- Toggle the “Hair Removal” layer on/off to compare with the original.
- Zoom out to ensure the edit looks natural across the image.
- If needed, use Frequency Separation for advanced retouching:
- Separate the image into high-frequency (texture) and low-frequency (color/tone) layers.
- Apply the Healing Brush on the high-frequency layer in Lighten mode to preserve skin texture.
Tip: Save your work as a PSD file (File > Save As) to preserve layers for future edits.
Advanced Tips and Tricks
- Frequency Separation for Pros: This technique is ideal for large hair patches. Search online for a Photoshop 2025 Frequency Separation action to automate setup.
- Layer Masks for Precision: Always use layer masks to isolate edits, especially near clothing or background edges.
- Batch Processing: If editing multiple photos, record an Action (Window > Actions) to apply the same hair removal steps across images.
- Avoid Over-Editing: Excessive smoothing can make skin look plastic. Check your work at 100% zoom and in different lighting conditions.
Common Mistakes to Avoid
- Overusing the Remove Tool: Painting too broadly can blur skin texture. Work in small strokes.
- Ignoring Backgrounds: Complex backgrounds (e.g., patterned shirts) require careful selection to avoid distortions.
- Skipping Layer Duplication: Always work non-destructively to preserve the original image.
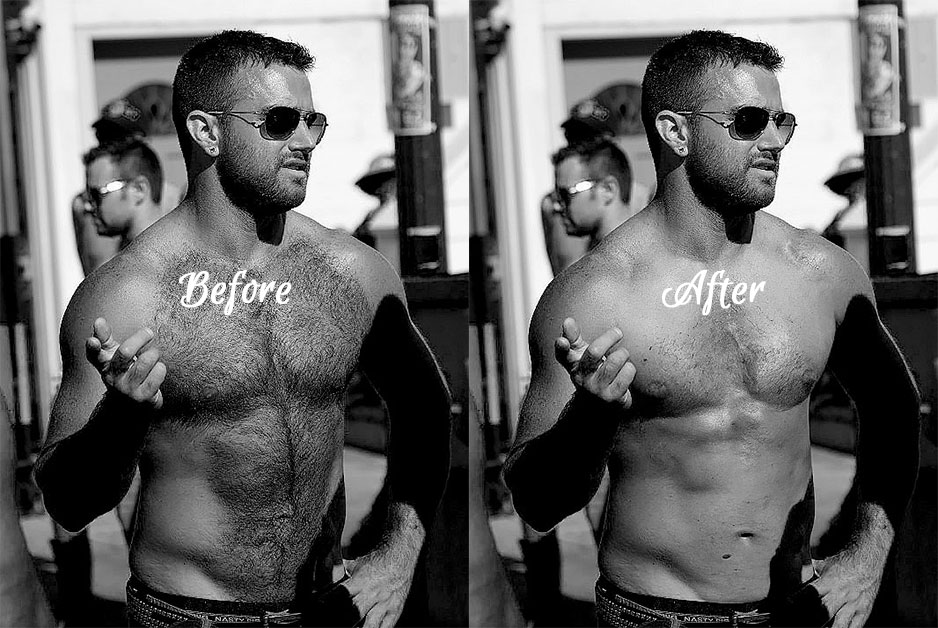
Final Thoughts
Removing chest hair in Photoshop 2025 is quick and effective with AI tools like the Remove Tool and Generative Fill. By following these steps, you can achieve professional, natural-looking results for any photo. Practice on different images to master the workflow, and always prioritize subtlety to maintain realism.
Further Readings
- Removing body hair (female): Retouching Forum
- How to Quickly & Effectively Remove Body Hair in Photoshop
Happy editing!