


This is a step-by-step tutorial covering the September 2026 Camera Raw update.
Adobe’s September 2026 update to Camera Raw brought a feature photographers have wanted for a while: colour grading wheels that work inside individual masks. Instead of applying one global colour grade to an entire image, you can now push the shadows of a background toward teal while keeping a subject’s skin tones warm and untouched – all non-destructively, and all inside Camera Raw.
This tutorial walks through the full workflow: creating a mask, opening the new Color Grading wheels inside that mask, and applying separate shadow, midtone, and highlight adjustments to different parts of a photo. It assumes you’re running Photoshop 27.10 (August 2026 release) or later, since the feature ships with the September 2026 Camera Raw update.
What You’ll Need
- Photoshop 27.10 or later, or the standalone Camera Raw plugin at the equivalent version
- A raw or JPEG/TIFF photo with at least two distinct areas you’d like to grade differently (e.g., a subject and a background, or a sky and a foreground) – I used this free stock image from pixelbay.
- Basic familiarity with Camera Raw’s Masking panel (Select Subject, Select Sky, or brush masks)
Step-by-Step Tutorial
Step 1: Open your image in Camera Raw
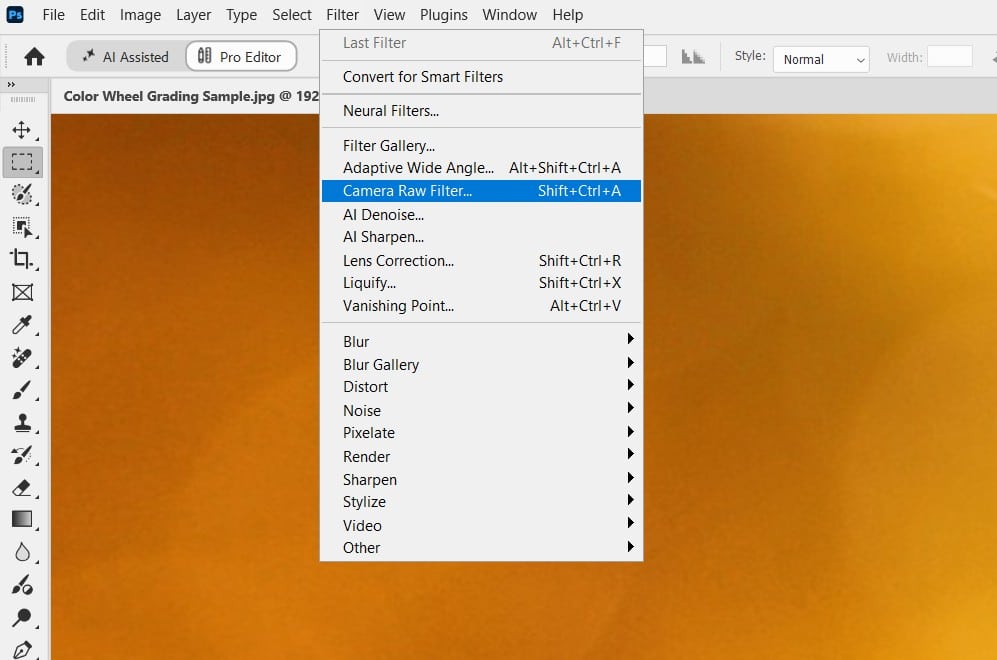
Open your photo in Photoshop and go to Filter > Camera Raw Filter, or open a raw file directly so it launches in Camera Raw.
Confirm you’re on version 27.10 or later by checking Photoshop > About Photoshop, since the masked color grading wheels won’t appear on older builds.
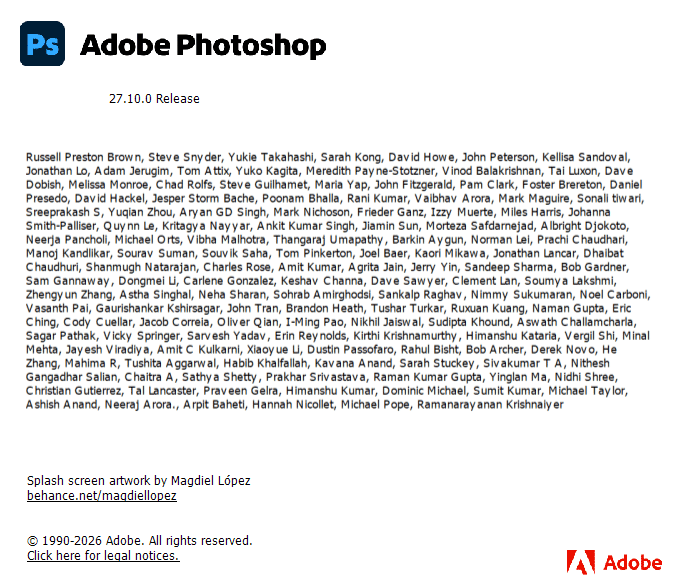
📷 Screenshot: The Camera Raw workspace with a sample photo loaded, showing the version number visible in the About Photoshop dialog or the Camera Raw title bar.
Step 2: Create your first mask
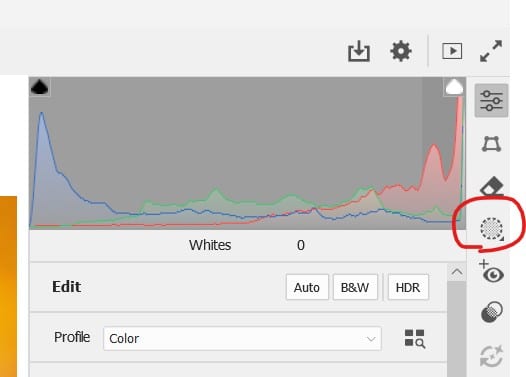
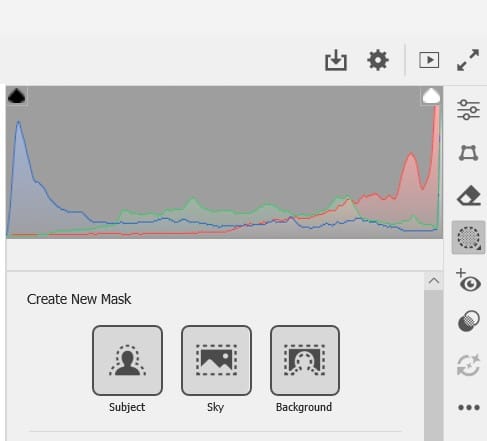
Click the Masking icon in the right-hand panel (the circle with a paintbrush) and choose a masking method.
For a portrait, Select Subject is a fast starting point; for a landscape, try Select Sky or Select Background. You can also use the Brush or Linear Gradient tools for full manual control.
Step 3: Confirm the mask is selected in the Masks list
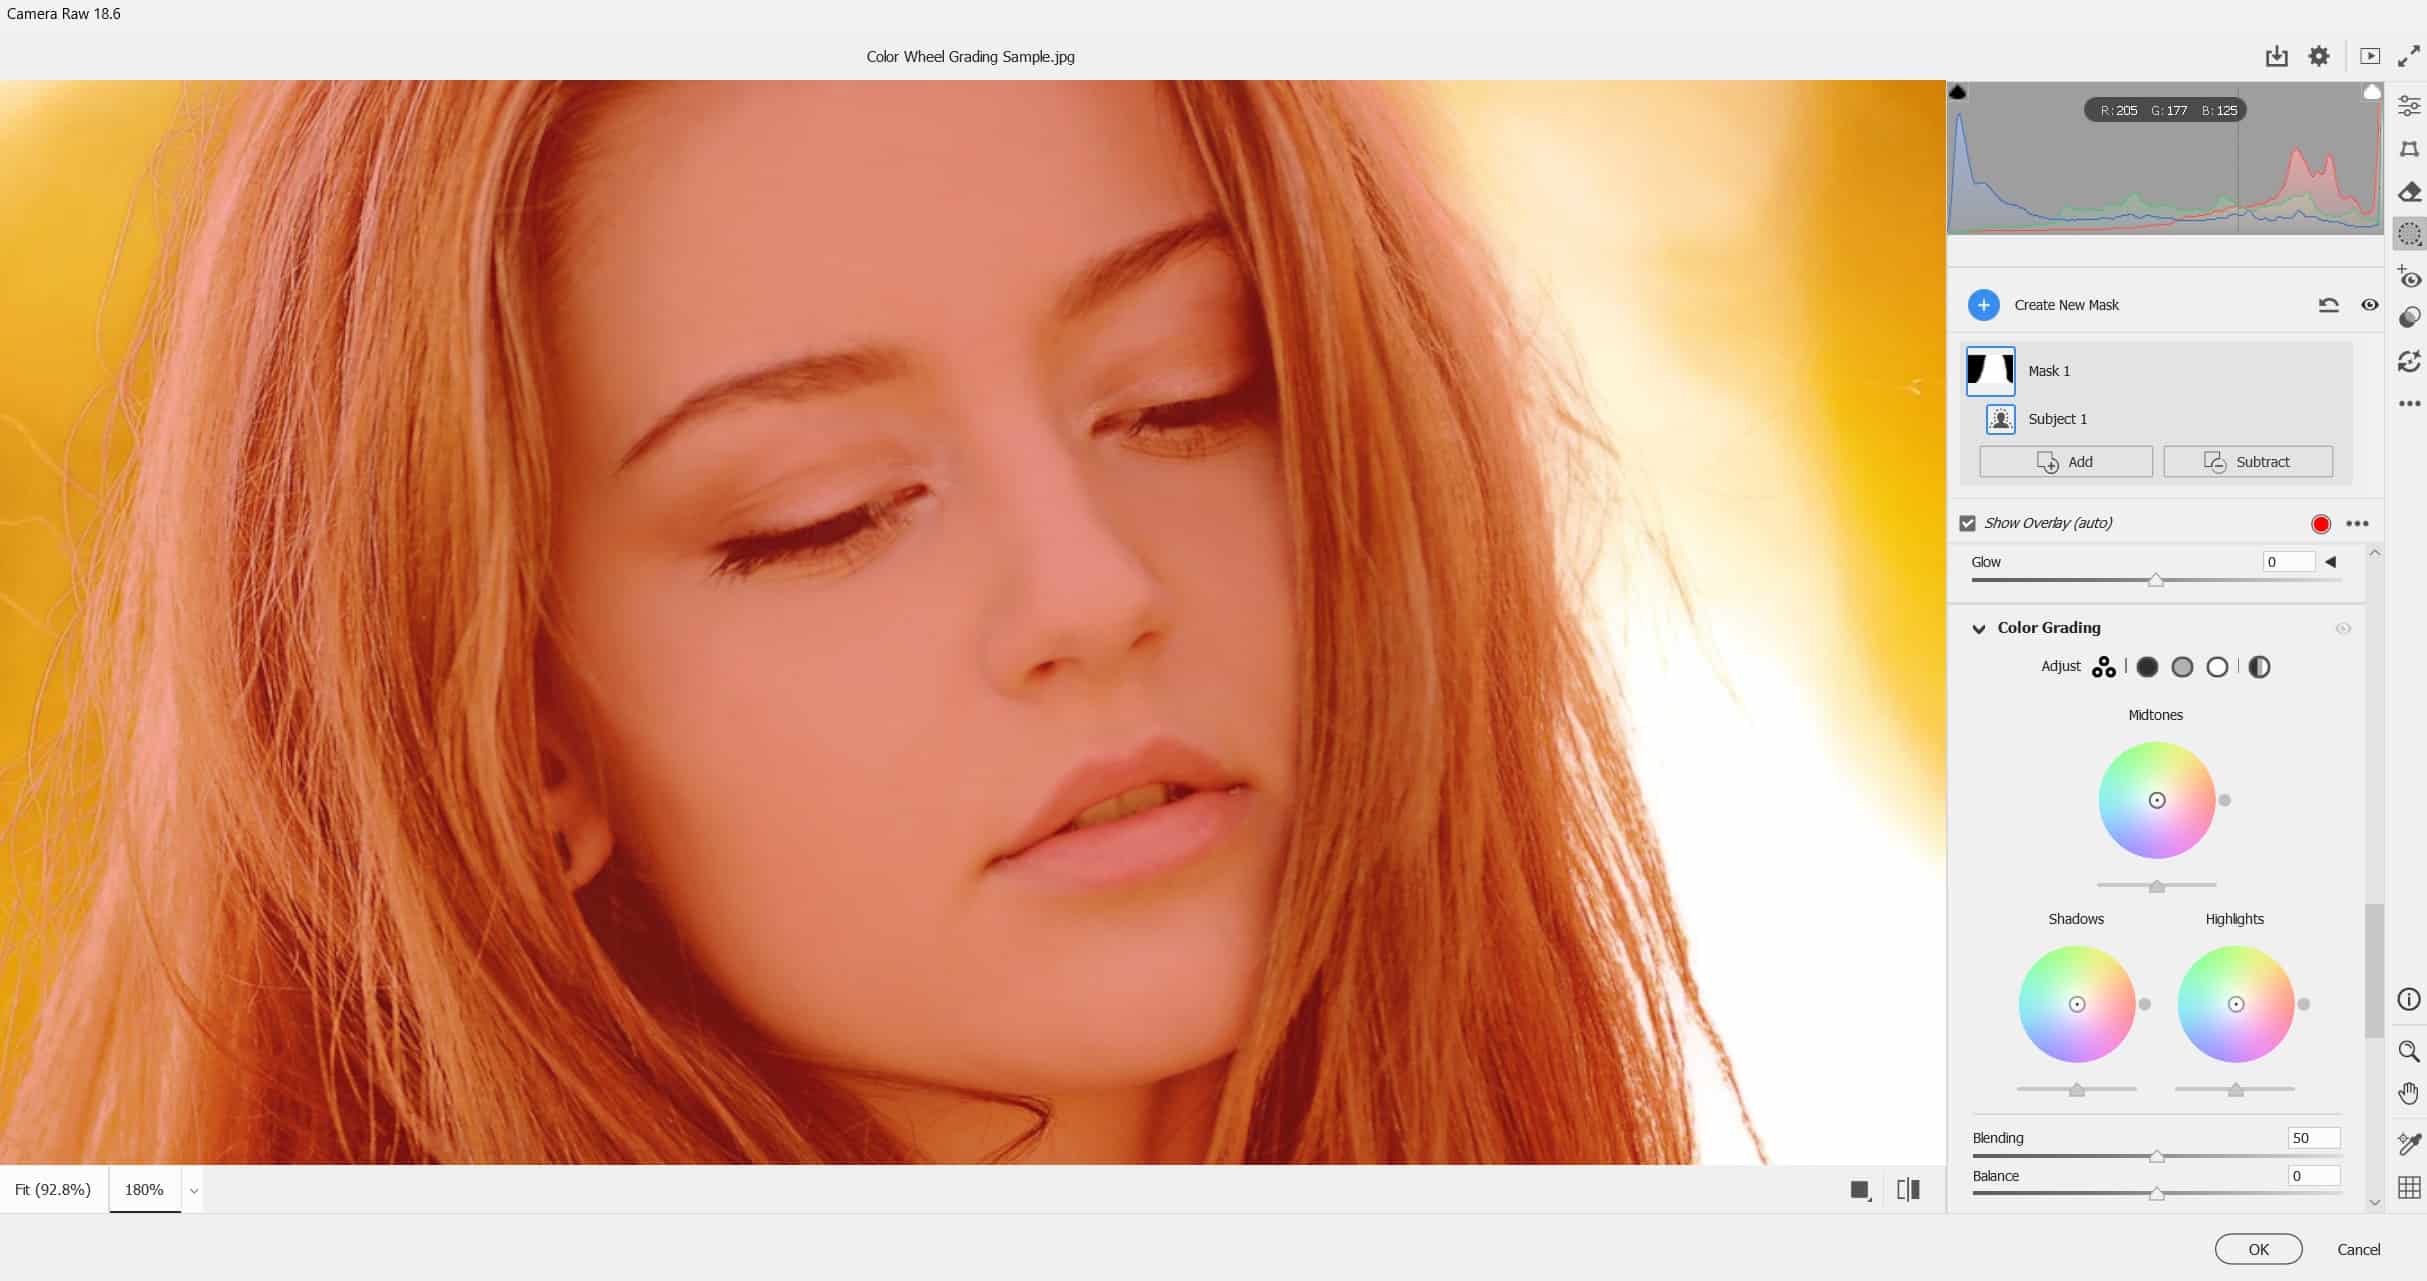
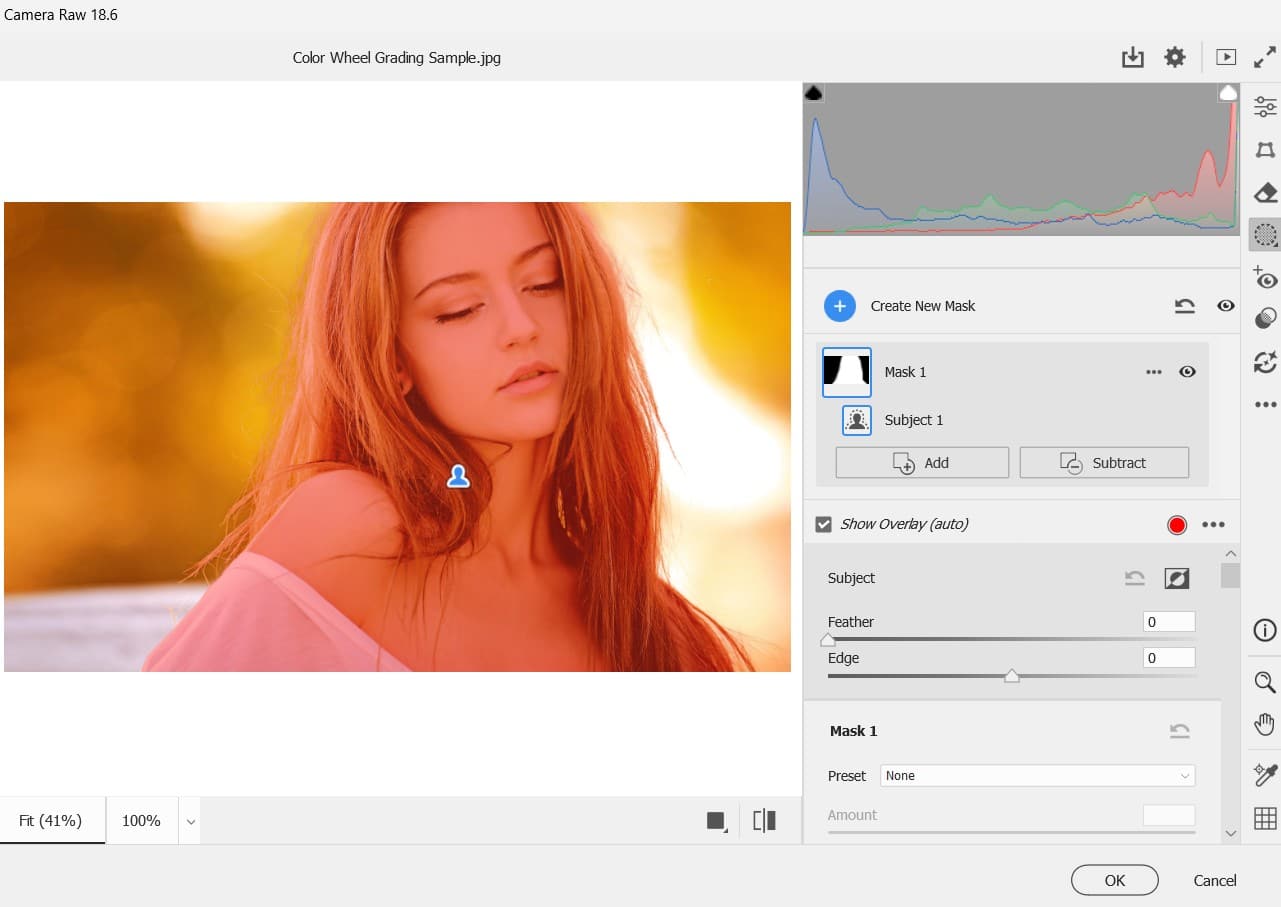
Once created, your mask appears as a named entry (e.g., ‘Mask 1: Subject’) in the Masks list above the adjustment sliders. Click it to make sure it’s active — every adjustment you make now, including the new color grading wheels, will apply only inside this mask.
Step 4: Scroll down to the Color Grading section
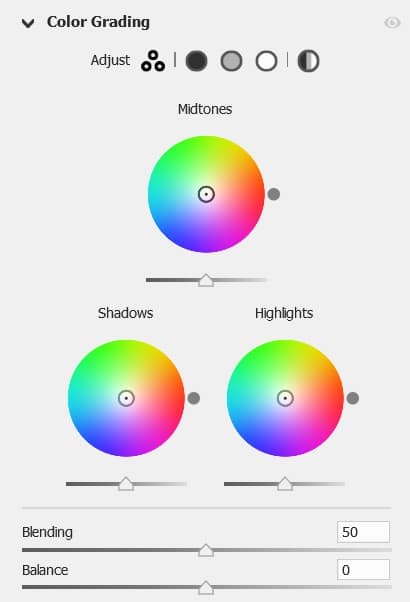
With the mask selected, scroll down through the adjustment sliders below Basic and Detail. The Color Grading section — with its three wheels for Shadows, Midtones, and Highlights — now appears inside the mask’s own adjustment panel rather than only at the image level.
Step 5: Adjust the Shadows wheel
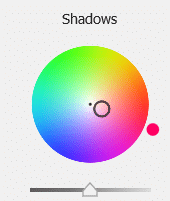
Click and drag the small dot in the Shadows wheel toward the color you want to push into the shadow tones of the masked area — for example, teal or blue for a cooler background. Use the Luminance slider beneath the wheel to brighten or darken the shadows as you grade.
Step 6: Adjust the Midtones wheel
Move to the Midtones wheel and nudge it toward a complementary or matching hue. This is usually the most visible of the three wheels since midtones cover the bulk of most photos — small movements go a long way.
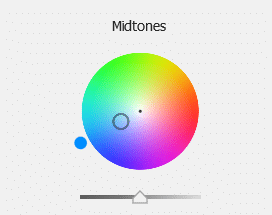
Step 7: Adjust the Highlights wheel
Finish the trio with the Highlights wheel. A common technique is a warm push here (orange/yellow) paired with a cool Shadows push, for a classic teal-and-orange look — but keep it subtle if the goal is a natural grade rather than a stylized one.
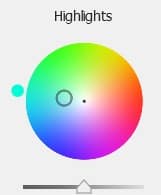
Step 8: Toggle the mask overlay to check your edit boundary
Press O (or click the overlay checkbox) to display the mask overlay in red. This confirms the color grading is contained to the area you intended and helps you spot any edge leakage before moving on.

Step 9 (optional): Add a second mask for the opposite area
Click the + icon in the Masks panel and create a second mask — often the inverse of your first (e.g., Select Sky if your first mask was the subject, or use ‘Invert’ on an existing mask). Repeat Steps 4–7 with a different color direction so the two areas grade independently.
Step 10: Compare before and after, then apply
Use the P key or the before/after toggle at the bottom of the Camera Raw window to compare your graded result against the original. Once you’re happy with the balance between the masked color grades, click Open Image (or OK if working as a filter) to apply the edit.
Common Color Grading Wheels Issues & How to Fix Them
Color Grading wheels don’t appear inside the mask panel
Confirm you’re on Photoshop 27.10 / the September 2026 Camera Raw update or later — this feature isn’t available on earlier builds or the LTS track (26.11.7) unless it has received the same patch.
The color shift looks too strong
Reduce the distance the dot sits from the wheel’s centre rather than only lowering Luminance — centre position controls saturation of the tint.
Grading appears to bleed outside the mask
Toggle the mask overlay (O) to check the mask edges, and refine with Add/Subtract brush tools before re-applying the grade.
Changes aren’t visible on a JPEG
Color grading works on JPEG and TIFF files as well as raw, but extreme pushes may show banding sooner on 8-bit files — consider working from a raw capture where possible.
Wrap-Up
Masked color grading closes a real gap between Camera Raw and dedicated color-grading tools — you no longer need to round-trip through Photoshop layers just to treat a subject and background differently. Start subtle, check your mask boundaries often, and build up from there.