
In this tutorial, you will learn how to create high-rise building on fire effect in Photoshop with step-by-step instructions. Suitable for intermediate Photoshop users. Have a try!
The PSD file of this tutorial is available via the PSD Vault VIP members area, or via the PSD Vault Shop.
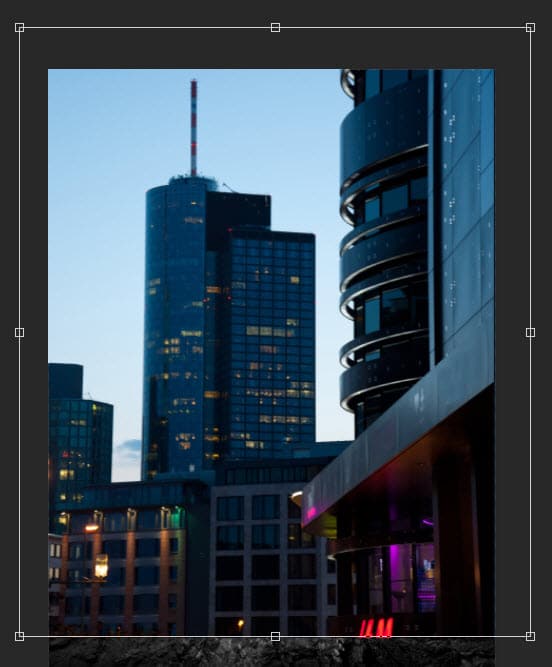
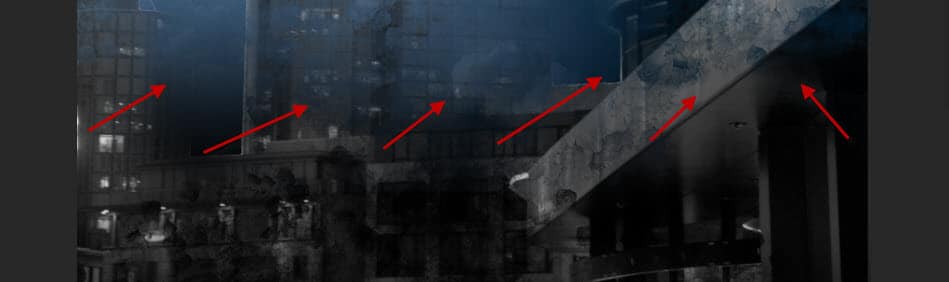
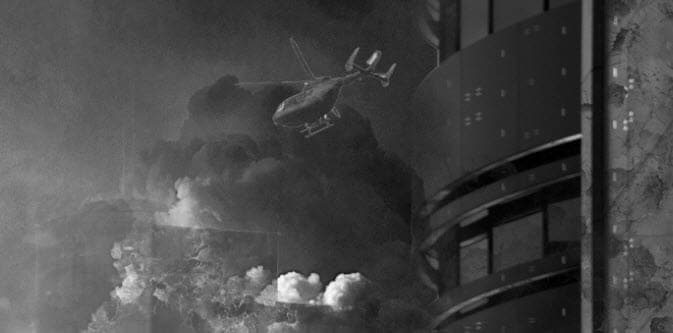
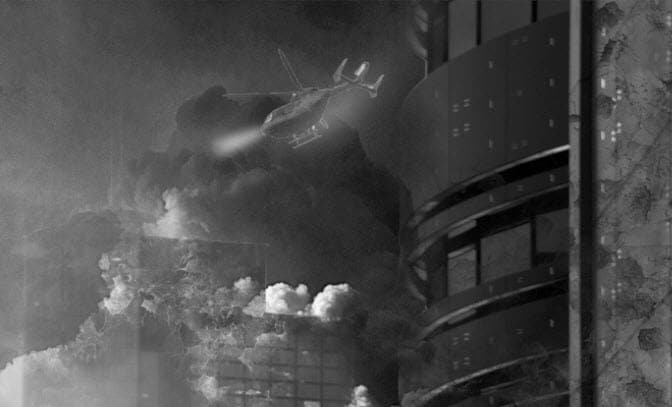
Final Result Preview
Click to enlarge

PSD Vault VIP Membership
You can download the PSD File for this tutorial via the VIP Members Area for only $6.95/Month (or less)! You will not only get this PSD File, but also 250+ other PSD Files & 50+ VIP Exclusive Photoshop tutorials there. Signup now and get exclusive!

Stock Image Required
To complete this tutorial, you will need the following stocks:
Step 1
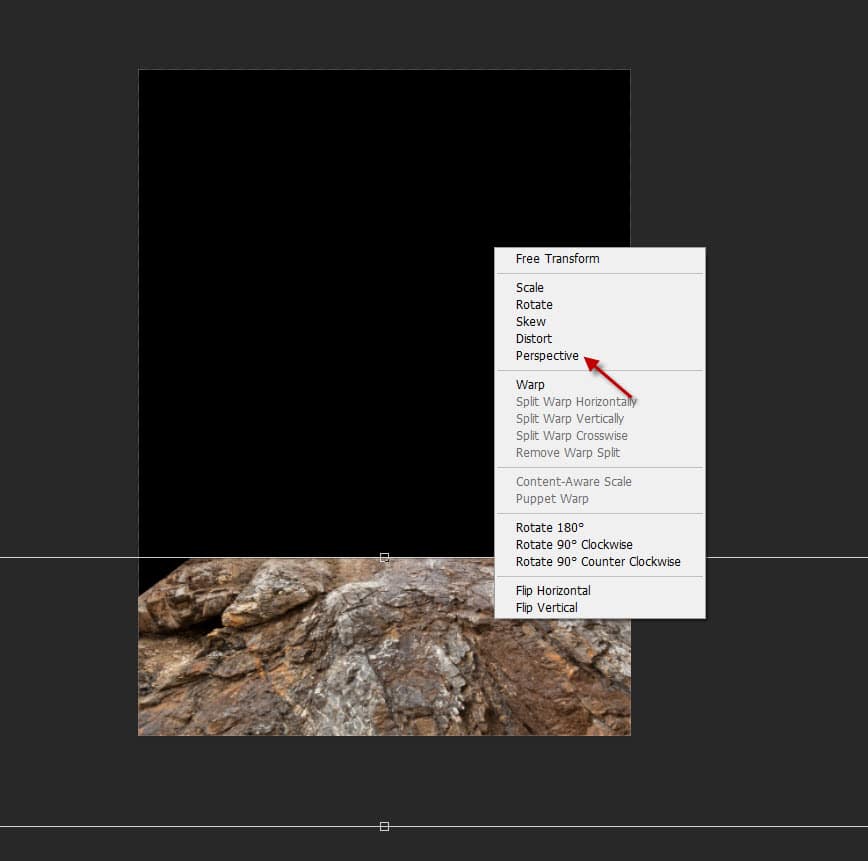
Create a new document sized 1700x2300px with black background. Select a portion ofthe ground texture, copy and paste it onto our document and place it at the bottom of the canvas. Use the “Perspective” option in the free transform tool, add perspective to this ground texture:
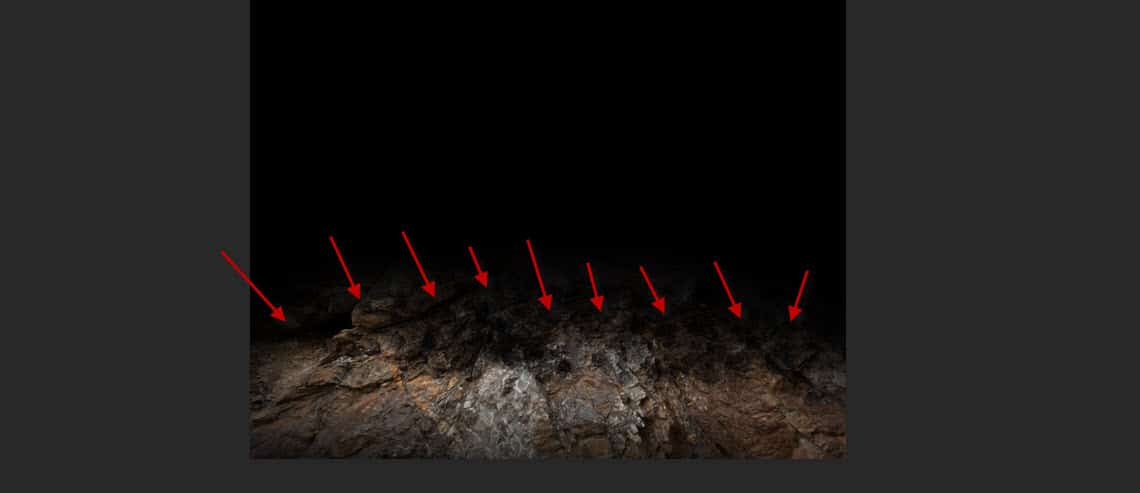
Use a soft eraser to fade the top edge of the ground texture:
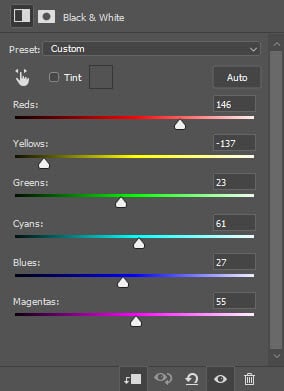
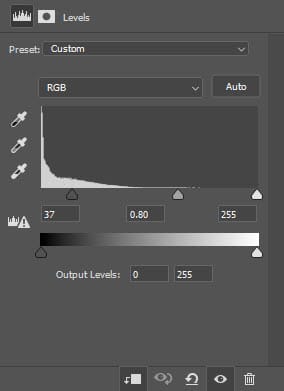
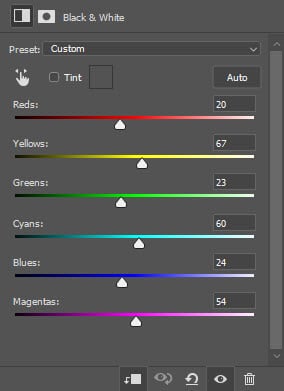
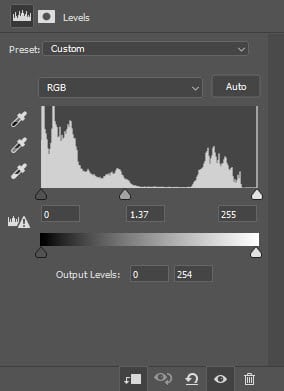
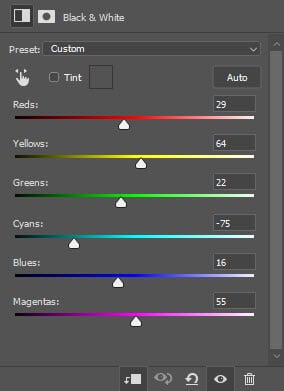
Apply the following adjustment layers as clipping masks to the ground layer:
Black and White
Levels
and this is the effect so far:
Step 2
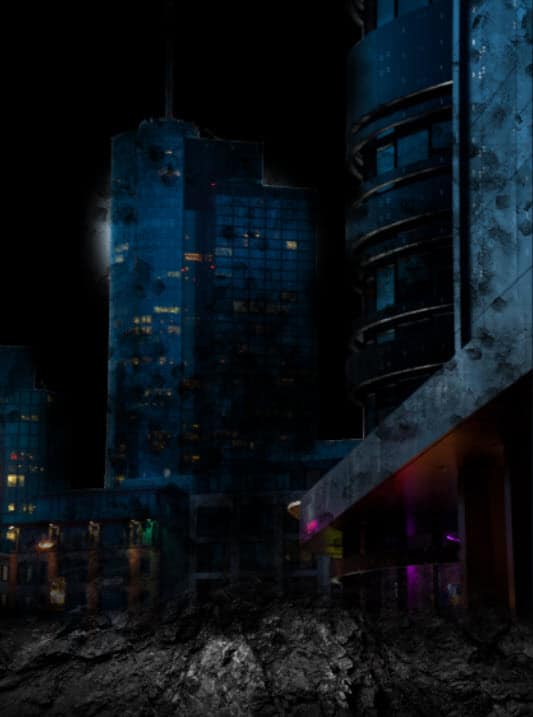
Load the city building stock into Photoshop, copy and paste into onto our document:
Use a combination of grunge and crack brushsets (you should be able to find plenty of them on the web) as eraser, set the eraser flow and opacity to 50%, work through the buildings.
Remember we can also remove the sky part, as well:
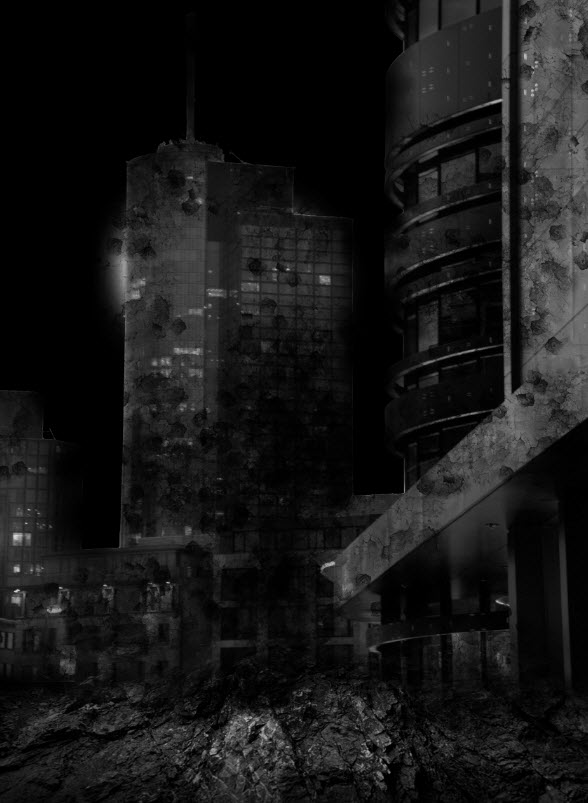
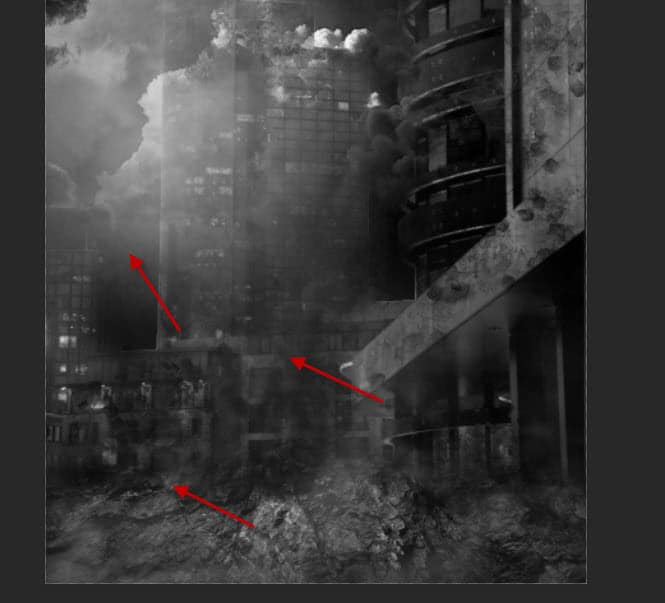
This is the effect I have so far:
Add the following image adjustment layer as clipping masks to the building layer:
Black and White
Levels
and here is the effect so far:
Step 3
Load the cloud stock image into Photoshop, paste it below the city building layer:
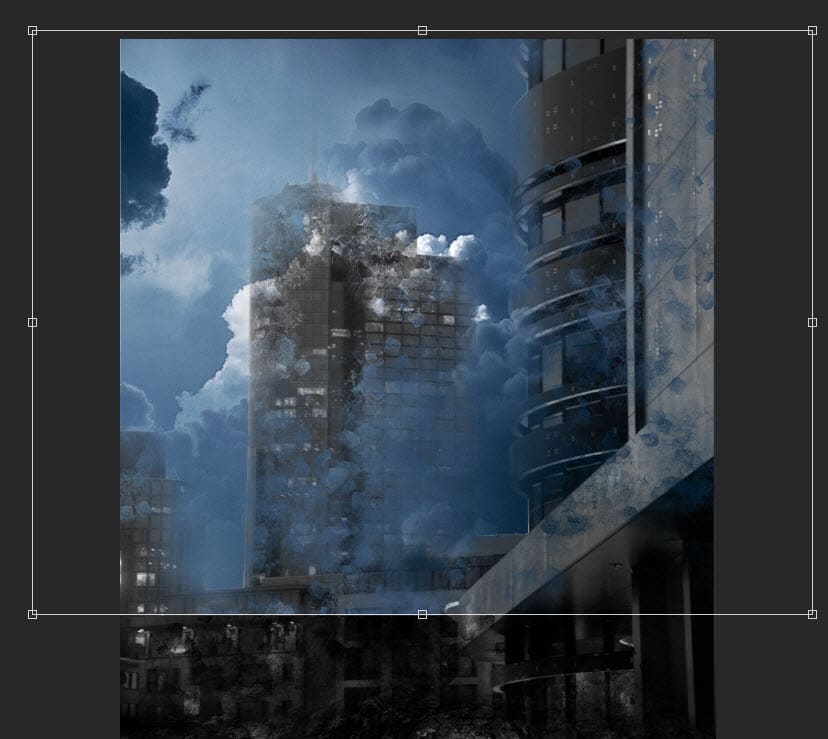
Use a soft eraser to fade the bottom of the cloud layer:
Apply the following image adjustment to the cloud layer:
Use a smoke brush to paint some light smok/dusty effect around the building:
Step 4
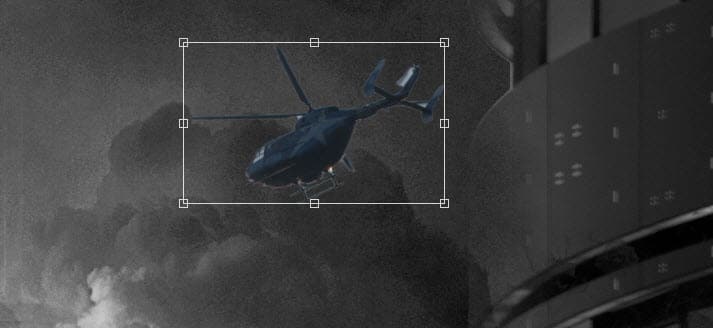
Load the helicopter stock image into Photoshop, cut off the helicopter and place it onto our document:
Use the black and white adjustment to remove colour on the helicopter:
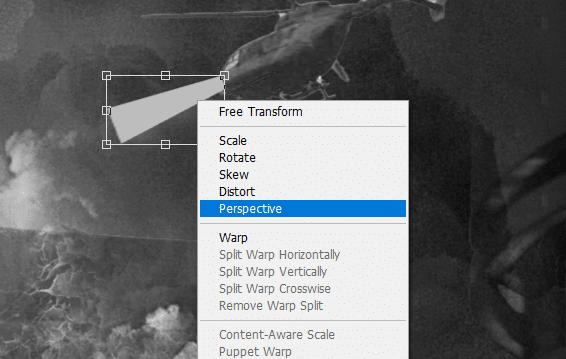
We will add headlight for this helicopter. Draw a rectangular shape filled with grey colour. Use the free transform tool to adjust its shape, until it forms the following shape:
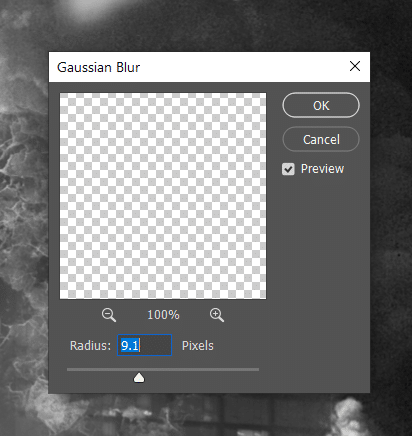
Apply the following Gaussian Blue to this light layer:
Use a soft eraser to fade the tip of the light:
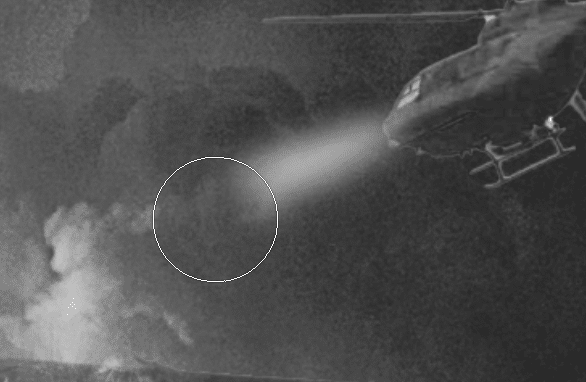
and here is the effect so far:
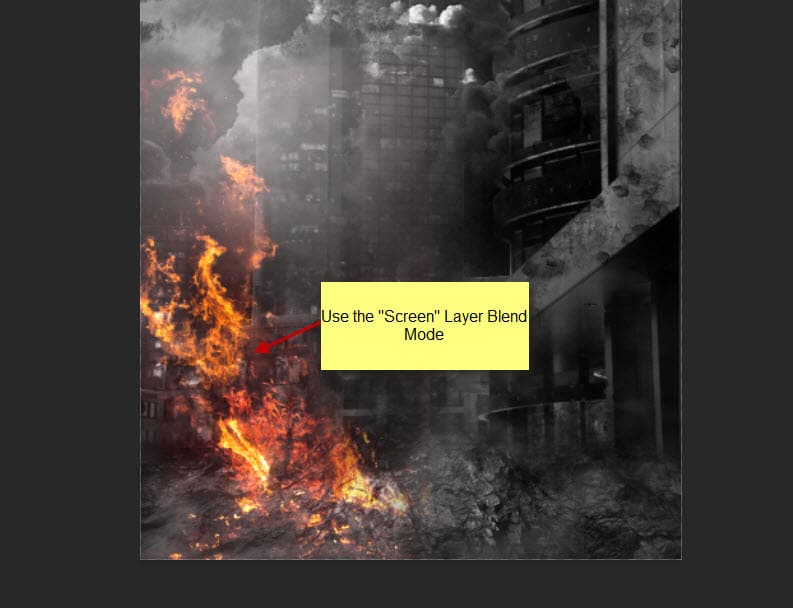
Step 5
Load the fire stock image into Photoshop, copy and paste the fire onto our document, adjust its size and change its layer blend mode to “Screen”:
Add more fire to the building using the same technique, adjust the size and shape of the fire accordingly:
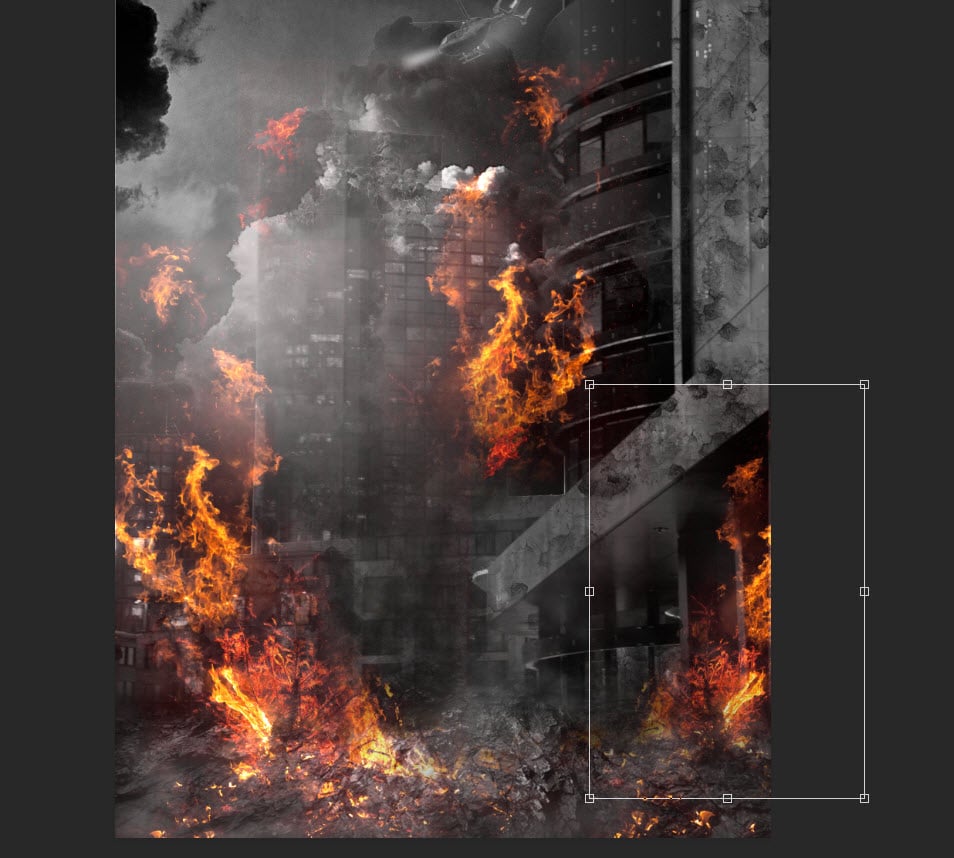
Use a particle brush, paint some particles over the image:
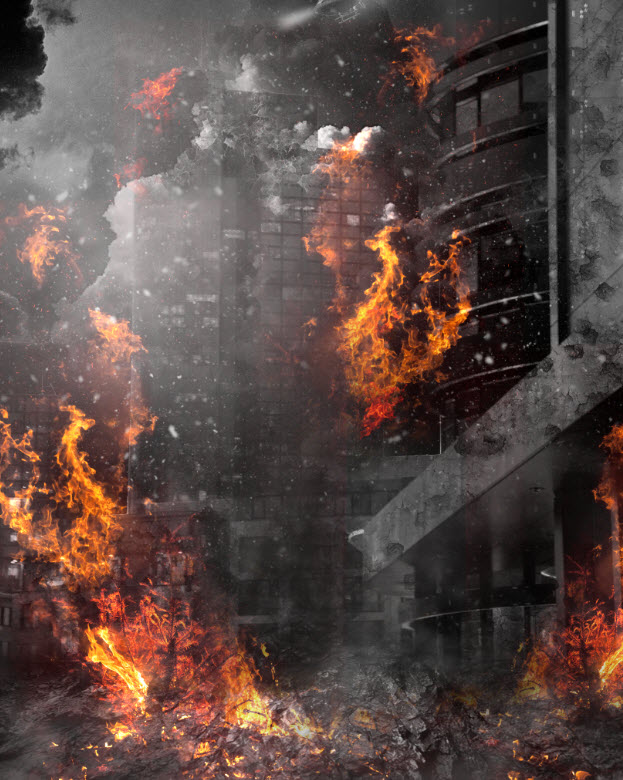
We can further add some colours and lightning effect on the image with image adjustment layer, and this is my result: (click to enlarge)
That’s it for this tutorial! Leave me a comment below if you have any questions and I will try my best to answer it.
Interested in this type of city building effect Photoshop tutorial? Check out these links below: