
Photoshop’s blending modes are like magic spells for your images. They allow you to create captivating and dramatic effects effortlessly. Whether you want to enhance colors, add texture, or experiment with artistic styles, understanding blending modes is crucial. In this beginner’s guide, we’ll demystify Photoshop’s blending modes, making them easy to understand and apply to your creative projects.
Why Photoshop Blending Modes Matter
Blending modes are essential. They help you:
- Enhance Colors: Adjust colors for a vibrant look.
- Create Artistic Effects: Achieve artistic and surreal effects with textures and overlays.
- Blend Layers: Combine layers in unique ways, allowing for endless creative possibilities.
Overview of Photoshop Blending Modes
Photoshop offers 27 blending modes for layers, 2 additional modes for tools, 2 extra modes for color channel operations, and 1 special mode for groups. Let’s explore each blending mode and its unique effects.
Normal Group
- Normal: Displays the top layer without blending.
- Dissolve: Randomly replaces pixels with the base color.
Darken Group
- Darken: Retains the darkest pixels.
- Multiply: Multiplies base color with blend color, darkening the image.
- Color Burn: Darkens the base color to reflect the blend color.
- Linear Burn: Decreases brightness to reflect the blend color.
- Darker Color: Displays the darker color between the base and blend.
Lighten Group
- Lighten: Retains the lightest pixels.
- Screen: Multiplies the inverse of the blend and base colors.
- Color Dodge: Brightens the base color to reflect the blend color.
- Linear Dodge (Add): Increases brightness to reflect the blend color.
- Lighter Color: Displays the lighter color between the base and blend.
Contrast Group
- Overlay: Multiplies or screens colors, depending on the base color.
- Soft Light: Darkens or lightens colors, depending on the blend color.
- Hard Light: Multiplies or screens colors, depending on the blend color.
- Vivid Light: Burns or dodges colors by increasing or decreasing contrast.
- Linear Light: Burns or dodges colors by increasing or decreasing brightness.
- Pin Light: Replaces colors, depending on the blend color.
- Hard Mix: Adds the RGB channel values of the blend and base colors.
Inversion Group
- Difference: Subtracts the blend color from the base color.
- Exclusion: Similar to Difference, but with less contrast.
- Subtract: Subtracts the blend color from the base color.
- Divide: Divides the base color by the blend color.
Component Group
- Hue: Uses the hue of the blend color.
- Saturation: Uses the saturation of the blend color.
- Color: Uses the hue and saturation of the blend color.
- Luminosity: Uses the luminosity of the blend color.
Special Modes
- Behind: Paints only on transparent pixels.
- Clear: Erases pixels on a layer.
- Pass Through: Allows layers in a group to interact with those outside the group.
What you’ll be creating
Each pixel on a layer represents data. Blending modes perform operations on that data. You don’t need to understand the math behind them to use them effectively. Fortunately, for every task, there is a blending mode that fits perfectly.
Let’s Practice!
Let’s get some practices with these frequently-used blending modes:
- Multiply Mode (Opt/Alt + Shift + M)
- Screen Mode (Opt/Alt + Shift + S)
- Lighten Mode (Opt/Alt + Shift + G)
- Color Dodge Mode (Opt/Alt + Shift + D)
- Overlay Mode (Opt/Alt + Shift + O)
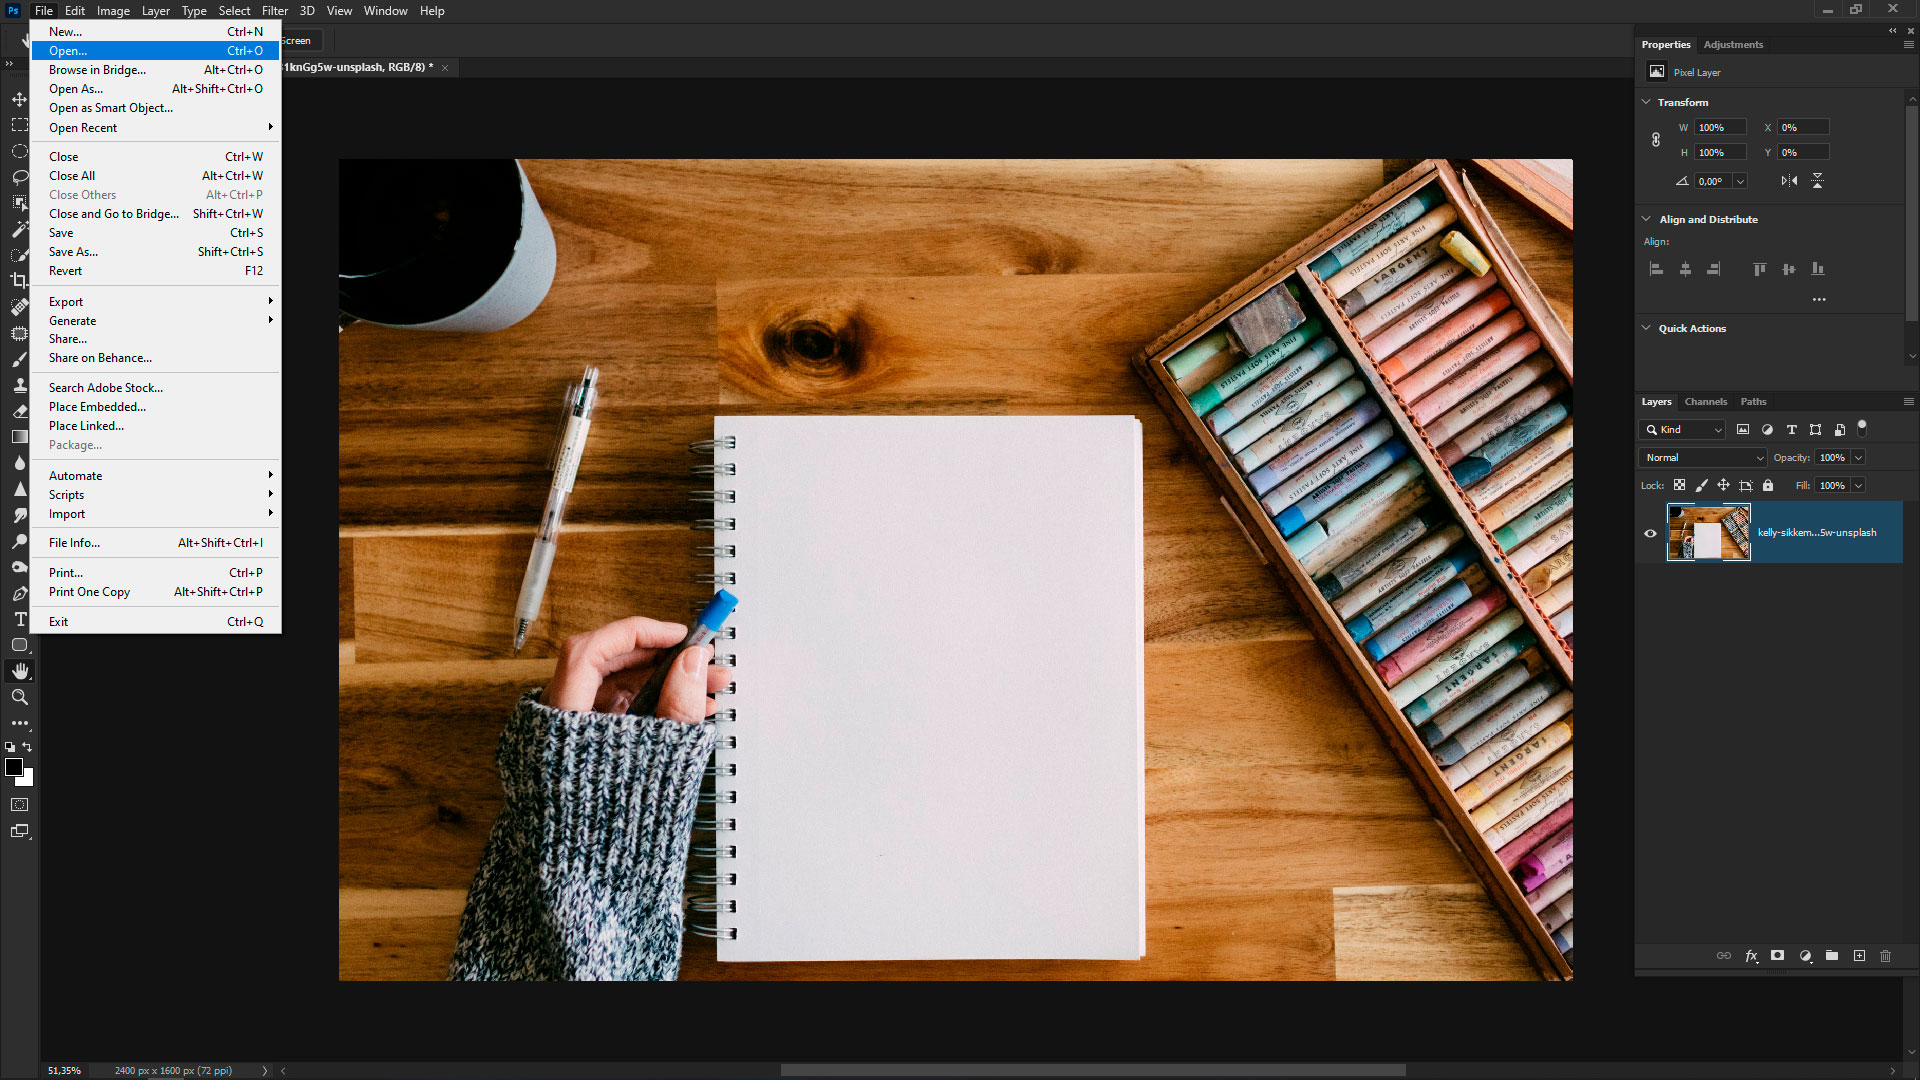
Open the “kelly-sikkema-Skb81knGg5w-unsplash” image in Photoshop (Cmd/Ctrl + O or go to File > Open).
Multiply (Opt/Alt + Shift + M)
It produces a darker image by multiplying the base colour by the blend colour. All the dark becomes even darker, but the white disappears. The bright areas become transparent, and the content below is visible throughout.
In this mode, the texture doesn’t disappear on any tonal range of the base, as it happens to Darken blending mode. This is ideal for texturing over light areas, creating dimming and shadows, foreground details, silhouette. Be careful with this blending mode, you can cause an image underexposed and too dark. The neutral colour is white.
Step 1
Go to File > Place Embedded and specify a path to the image “alysha-rosly-xR22yloKMHw-unsplash”. Scale it proportionally in Free Transform mode (Edit > Transform > Free Transform or Cmd/Ctrl + T) to match the proportions of the white paper.
Hide placed layer by clicking on the eye icon near the layer. Highlight the background layer at the Layers panel. Take the Magic Wand Tool (W) and click over the white page to make a selection.
Add a layer mask (Layer > Layer Mask > Reveal Selection) to the placed layer and toggle visibility back. Change Blending Mode to Multiply. This is how easy it is to apply texturing in design tasks.

Screen (Opt/Alt + Shift + S)
That mode represents the opposite of Multiply, and most often they are used together. Now all light becomes even lighter, but now black disappears.
There is one thing relative to both modes – the shades. It may be visible as noise and is sometimes useful to add depths and details. On the other hand, it frequently happens that the boundaries of the layer content are visible in the picture with a careful lookup.
To get rid of that, use Curves or Levels adjustments (Image > Adjustments) to correct the contrast of the blend layer. It is well-suited for adding fire, stars, planets, waterfalls, Len’s flares, bokeh, and all sorts of special effects on a black background.
Be careful with this; you can definitely make an image bleached or overexposed. The neutral colour is black.

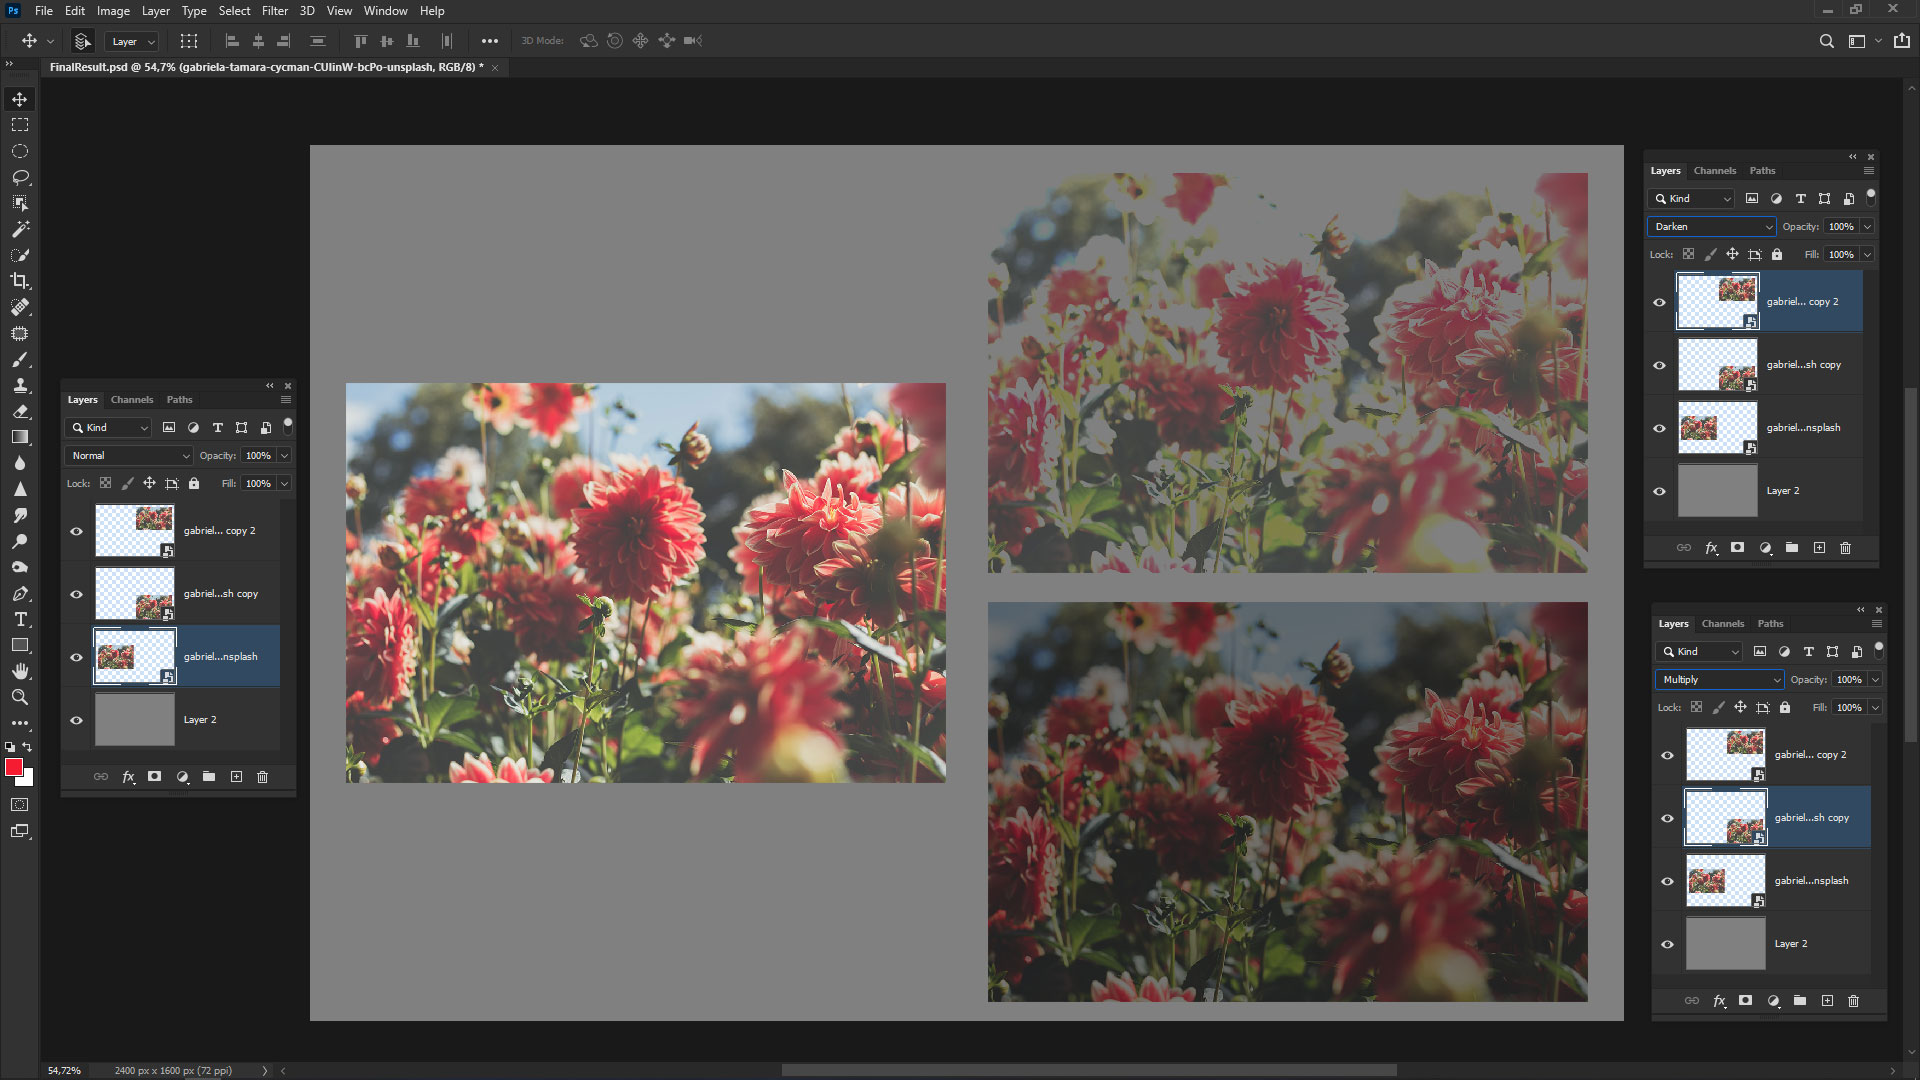
Step 2
Place another image “gabriela-tamara-cycman-CUIinW-bcPo-unsplash” (File > Place Embedded). Scale it proportionally to match the working canvas. Change Blending Mode to Screen. This image blended into the background, complementing it with colours and flowers. Just one layer can change an image’s look and feel.

Lighten (Opt/Alt + Shift + G)
The Lighten blending mode is the exact opposite of the Darken mode. The Lighten mode selects the base or blended colour that is lighter. It fills only the darkest areas of a base with the light content of the blend layer, without affecting light areas.
A useful blending mode, that helps to create fill light, atmospheric perspective, lomographic and vignetting effects, and light leaks. It is quite safe to use, though watch the image artifacts. At the borders of mixed layers, there can be a colour shift. The neutral color is black.

Step 3
Add Gradient Fill solid layer (Layer > New Fill Layer > Gradient). In the window that appears, set Angle: 60 degrees, Style: Linear, check Reverse, Gradient Preset as follows: (#4db678 > #28a3b6 > #3c2432). Set Blending Mode to Lighten and Fill around 75% for that layer.

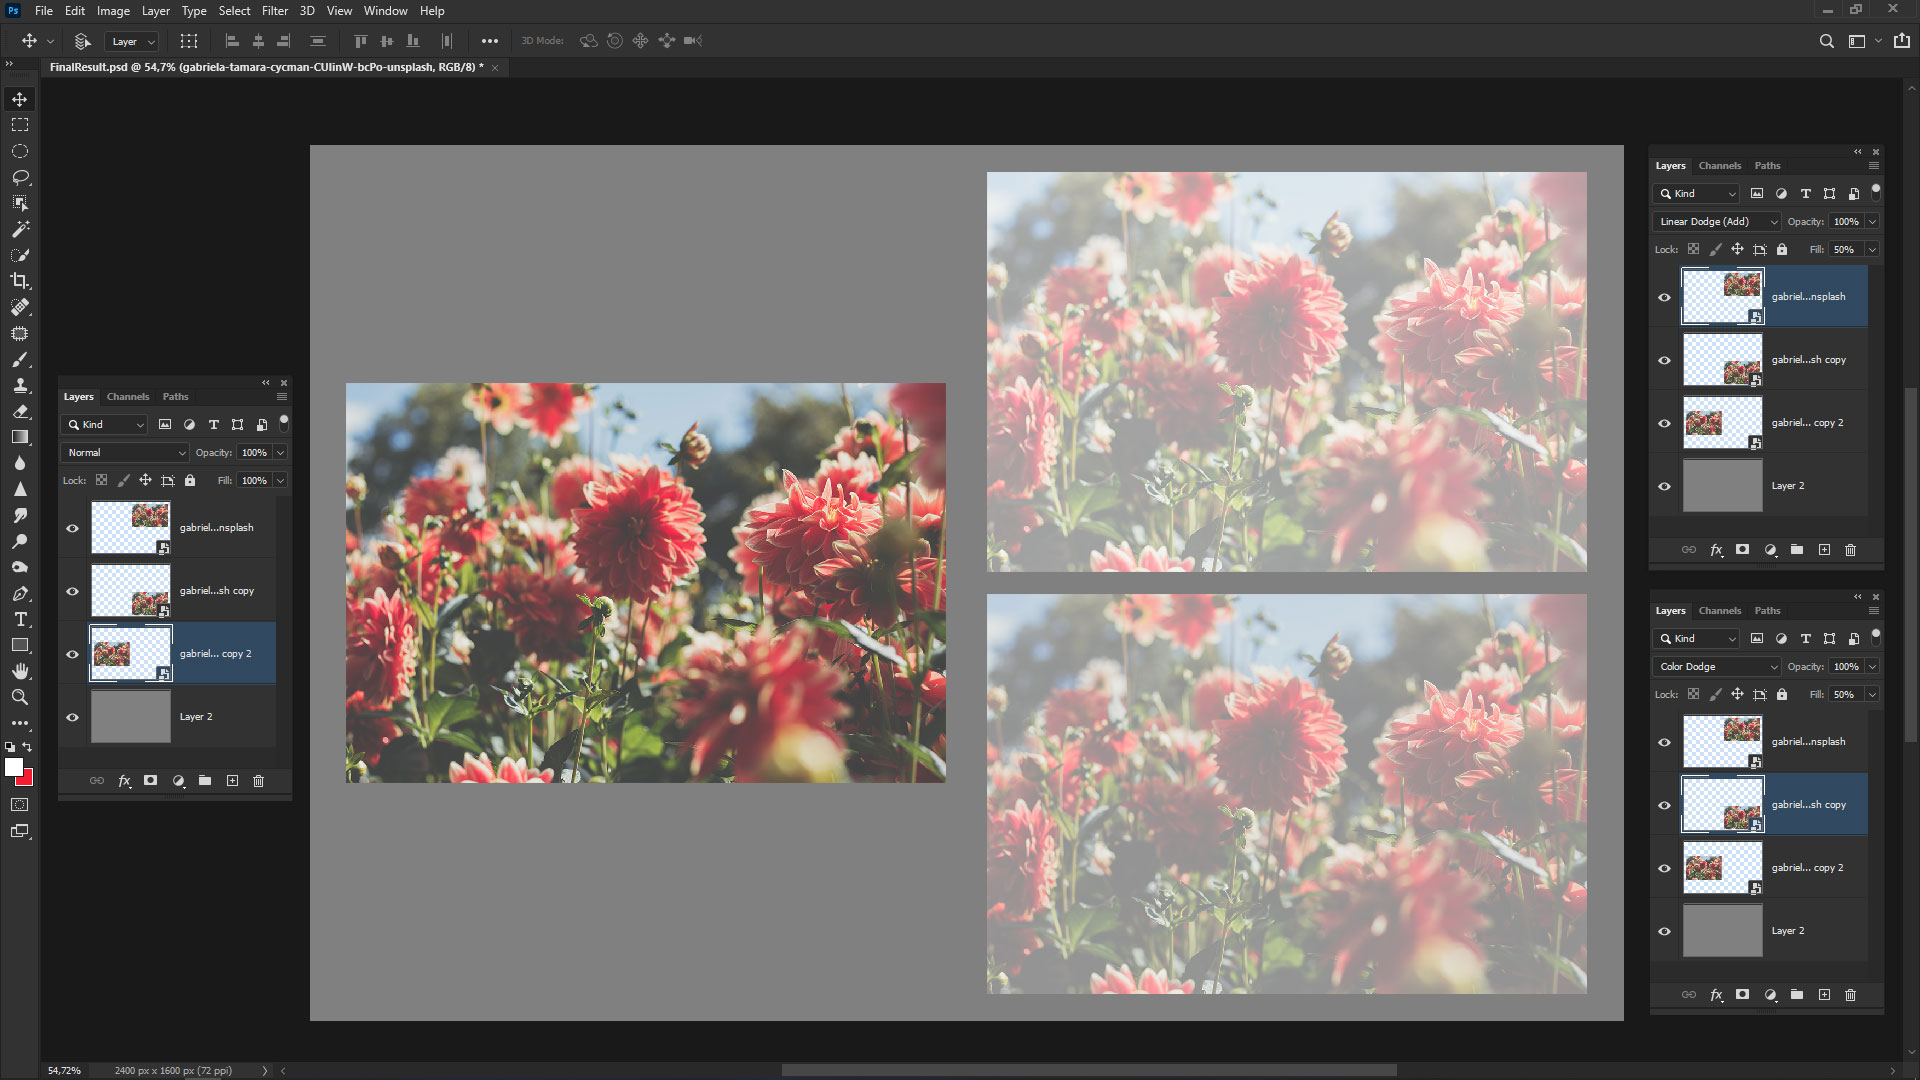
Color Dodge (Opt/Alt + Shift + D)
Increases saturation, the effect with which it is easy to overdo, so the areas begin to look blown out. It always creates a beautiful shine, sparks, rays, etc. In creation details and as a crucial ingredient in special effects. As a painting tool, to highlight the edges.
Together with a Screen blending mode, they produce realistic-looking lighting effects. With this mode, the primary thing is not to overdo it, but the second is to adopt the accurate colour and Fill values. In some cases, Linear Dodge (Add) (Opt/Alt + Shift + W) is preferable to use. The neutral colour is black.
Step 4
Make a merged copy of the current state of the image on a separate layer with shortcut Cmd/Ctrl + Opt/Alt + Shift + E. Go to Edit > Fill (Shift + F5). In the window that appears, set Contents: Pattern, choose any pattern from default library, Mode: Color Dodge, Opacity: 35%. I used the water pattern. As you can see, Photoshop knows how to blend images. Even though the parameter is called Opacity, it works like Fill.

Overlay (Opt/Alt + Shift + O)
Analyse the base and blend layers, then applies Multiply for the darker colours and Screen for the lighter ones. In other words, darken the shadows and lighten the highlights. This is the most popular blending mode.
In the Dodge and Burn technique, to manipulate light and shadow. In sharpening techniques, retouching, toning, applying textures. Mix any content with a neutral gray background. All sorts of effects to add contrast or to create colour impact.
Soft Light mode works softer (sometimes muddy) rather than Overlay and use that if you want to reduce the effect of blending. Based on this layer, a lot of techniques in which the golden rule is “less is better”. The neutral colour is 50% gray (neutral gray).

Step 5
You can change blending modes with the Fade command. Go to Edit > Fade/Fade Fill (Cmd/Ctrl + Shift + F) and change blending mode or Opacity to whatever you want. I set Mode: Overlay.
It is used when you work with selections, fragments, to blend the contents of the selection or clipboard with the contents on the layer. It is only available immediately after you apply changes from a specific list of commands.
Now I got a different kind of image, where the texture and colours of the pattern blended into the background.

Component Blending Modes Group
These modes are based on a different color space. They are useful in retouching and restoring old photos. Furthermore, they help in adjusting the color of images effectively.

Summary
Photoshop’s blending modes are a treasure trove of creative possibilities. In this guide, you’ve learned the basics of using blending modes, including selecting modes and experimenting with layer combinations.
Blending modes allow you to enhance colors and create artistic effects. As you practice and explore, you’ll unlock the full potential of Photoshop’s creative toolkit. So, dive in, experiment fearlessly, and let your imagination run wild!