In this tutorial, you will get to know several ways to mix, combine and blend two images together in Photoshop.
These are fundamental things with which you can create your unique art. These techniques will help you open the curtain of powerful methods. Create a huge variety of visual compositions, designer projects, special effects, and creative solutions. Examples include dual exposure, texturing, and ending with complex digital painting.

Tutorial PSD Files Download
You can download the PSD Files of this tutorial via the VIP members area, or buy them from PSD Vault Shop for just $2.95.
What You’ll be Creating
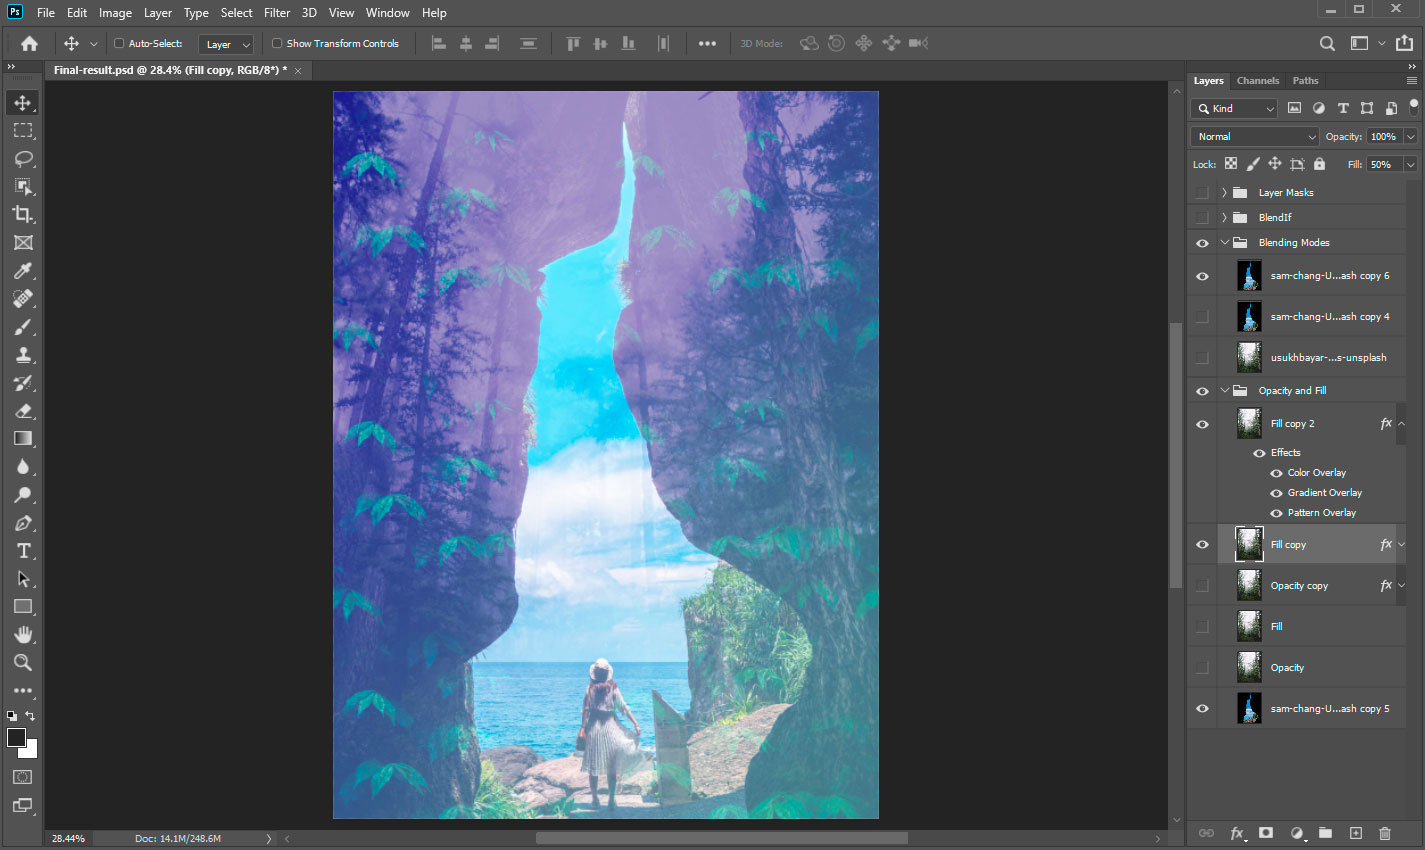
Before you start, we need a little preparation and pay attention to some important features. You can create a new document (Cmd/Ctrl + N or go to File > New) with the desired size and place images (File > Place Embedded) in it. Or, you can open one of them and place another one on the top.
When blending two images, the top “layer” is called the “blend layer” and the “active layer” – is the layer that you change to blend with the content below. An order of the layers matters.
Keep in mind that the sequence in which you position the layers will affect the result you see. All layers that are above affecting the rest below. Although you can mix a huge number of layers, it’s not always a good idea to add too many of them at once.
Very often, such as mixing modes act aggressively over an image, and you need to adjust this behavior. For different types of adjustments, use appropriate techniques and tools.
Tutorial Resources
- Way to the summer Photo by Sam Chang on Unsplash
- Man walking in the woods Photo by Usukhbayar Gankhuyag on Unsplash
Opacity and Fill
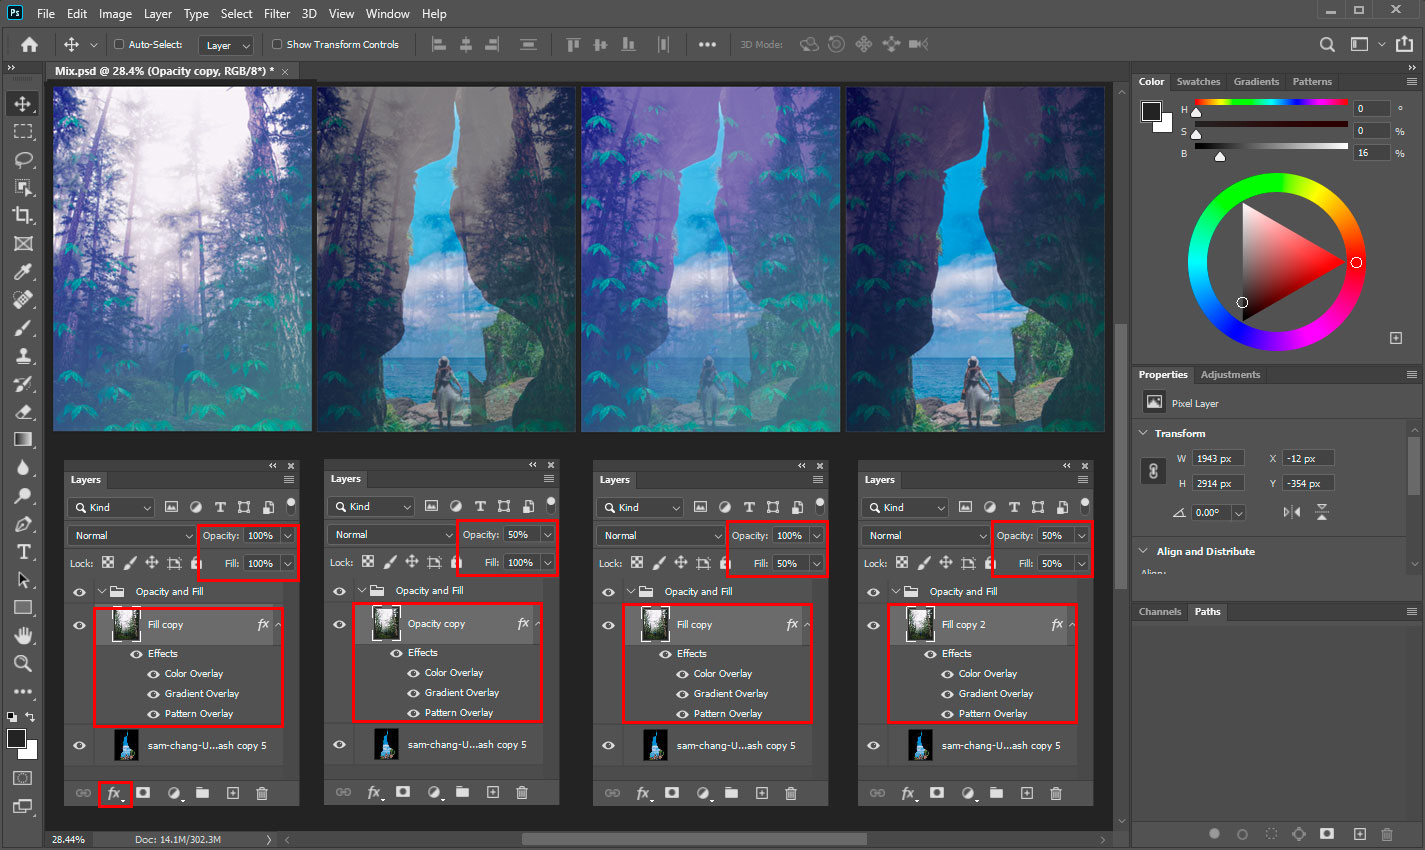
At the top of the Layers panel (Window > Layers), you can find the Opacity and Fill settings. Adjust that value to the desired look, and your images will mix. The Opacity and Fill values control a layer’s transparency. By lowering the value, the layer becomes more transparent. The active layer will fade away into the content below. The bottom layers start to show through.

Besides Opacity value, which affects layer styles and blending modes applied to a layer, you can specify Fill opacity value. Fill opacity affects only content (pixels, image, text, etc.) on a layer without affecting the opacity of layer effects. Remember that you cannot change the opacity of a Background layer or a locked layer. Covert it to a regular layer (Layer > New > Layer from Background) or duplicate (Cmd/Ctrl + J or Layer > Duplicate Layer) it first.
Blending Modes
In the digital world, each pixel has numerical values. By changing the numbers, you can change the image. Blending Modes are mathematical formulas describing operations on data within the image. For simplicity and convenience, they have names. You can find a list of available in Photoshop Blending Modes at the top of the Layers panel.
When you change blending mode from default “Normal” mode to any other, as a result, you change values and mix the image with the content below. Similar operations over the pictures were since the time of the first camera. Principles and the result of those transferred to a digital analogue, known as Blending Modes.
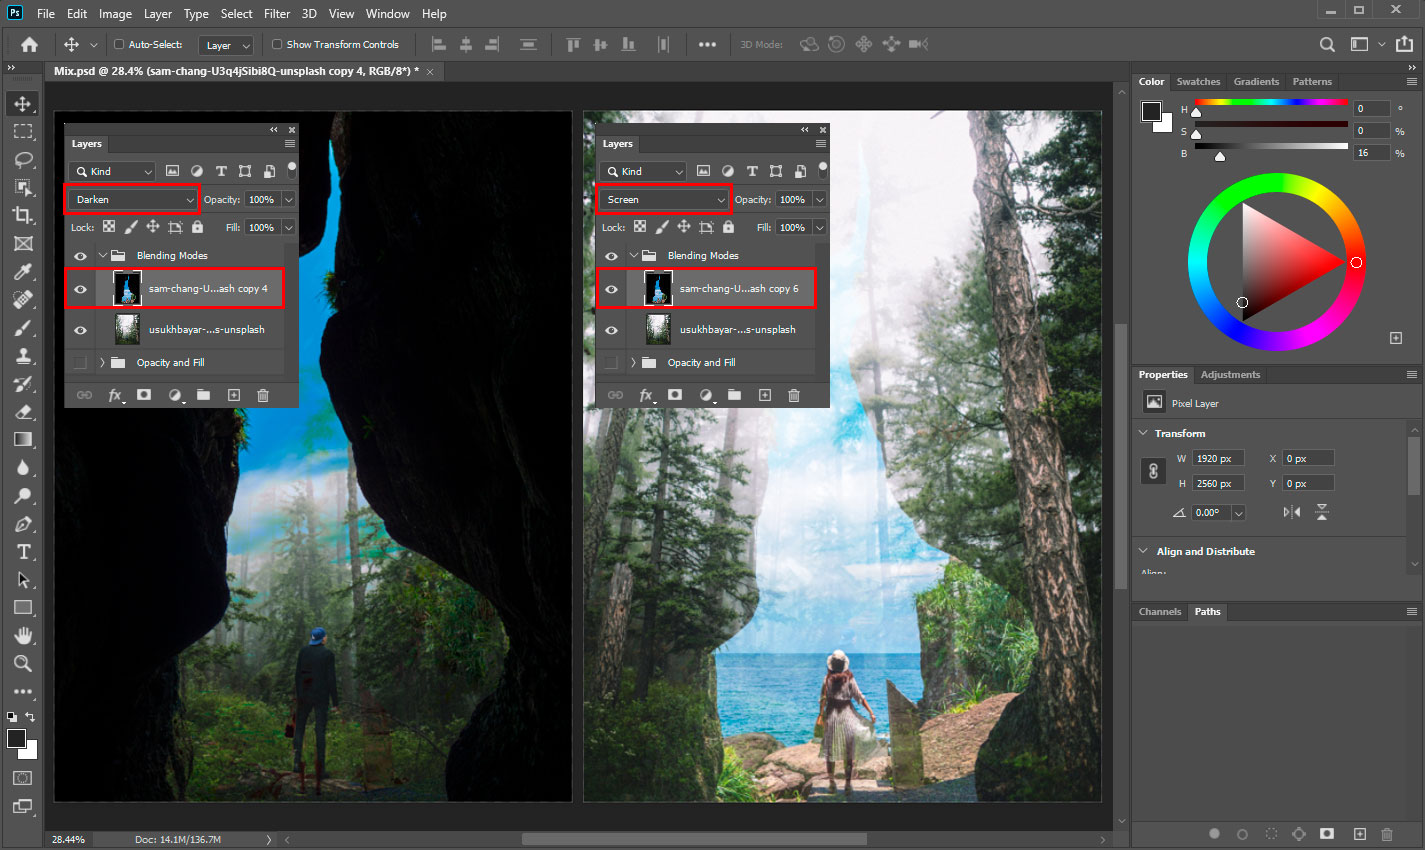
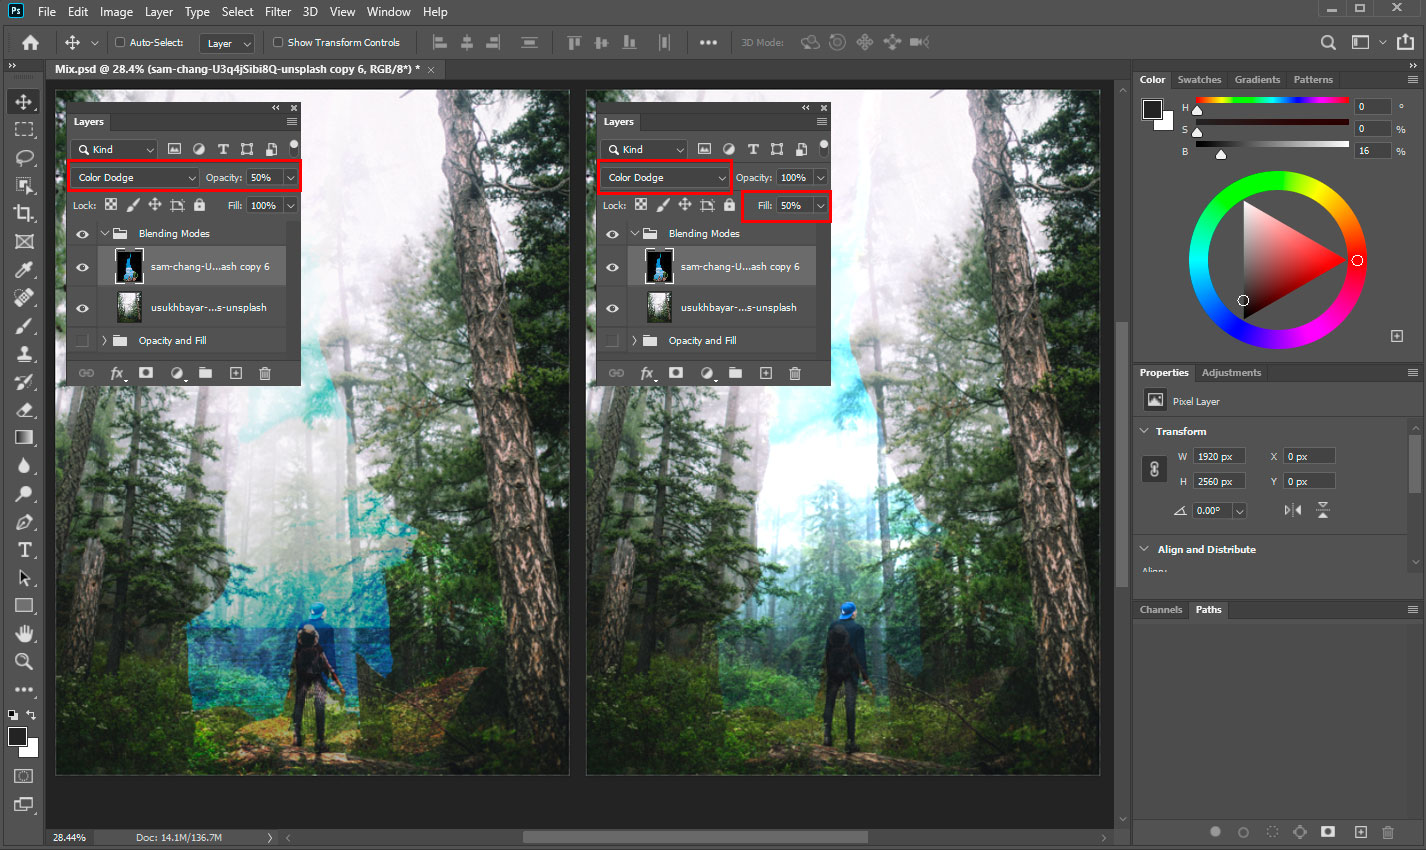
For some blending modes (“Special 8” Blend Modes: Color Burn, Linear Burn, Color Dodge, Linear Dodge (Add), Vivid Light, Linear Light, Hard Mix, and Difference). It is important what parameter you use – layer Opacity or Fill. These blending modes behave differently when Fill adjusted, compared to when Opacity adjusted. The blending modes, that aren’t members of this “Special 8” group, react the same way for both: Fill and Opacity changes.
The “Blend If” Feature
Fully mixing two images is not always perfect. You will need to remove some areas when the image mix is not quite right. The “Blend If” feature helps you to control the visibility of the active layer, based on the tonal values/range of the layer and everything below it.

You can find it through the Layer > Layer Style > Blending Options menu or at the bottom of the Layers panel. Under the “Add Layer Style” icon, or make to double-click over the layer area. At the bottom of the “Blending Options” window, you will find two gradient sliders and channel settings for “Blend If” option.
You can enclose light or dark areas of the layer itself or show it up only in dark or light areas of the content under this layer. You can also hold down Opt/Alt key on the keyboard, and click the slider to split it into two sides. Each half of the slider sets the start and endpoints of the range of tones. To show or hide the image.
It also makes the transition softer, without sharp, jagged edges. This method does not remove the contents of the layer – everything is still in place.

Layer and Vector Masks
Masks are a very powerful ability to control the mixing of images and hide unnecessary fragments. Working with masks is a separate art inside Photoshop.
The easiest way to start using a layer mask is to highlight a layer on the Layers panel. Use the “Add layer mask” icon at the bottom of the Layers panel. Or, you can find more features inside the Layer > Layer Mask menu. A default layer mask is a raster type of mask. Edit that with pixels and tools like filters, gradient, brush, etc.
By default, layer mask with white color fill. That means that all the content of the layer is shown. As only you highlight a mask thumbnail and start painting over it with a Brush Tool (B) and black color. It hides parts of the image where you place brush strokes.

It uses only a black and white tonal range. White-colored to show up, black-colored to hide, and grey to make blending like opacity. To toggle the view of mask content, hold down Opt/Alt and click on the mask’s thumbnail.
A vector layer mask is a type of mask that perceives only a vector closed path. Use the Pen Tool (P) and other vector tools, that can edit that. You can add to one layer only one raster and vector masks.

Alternative Methods
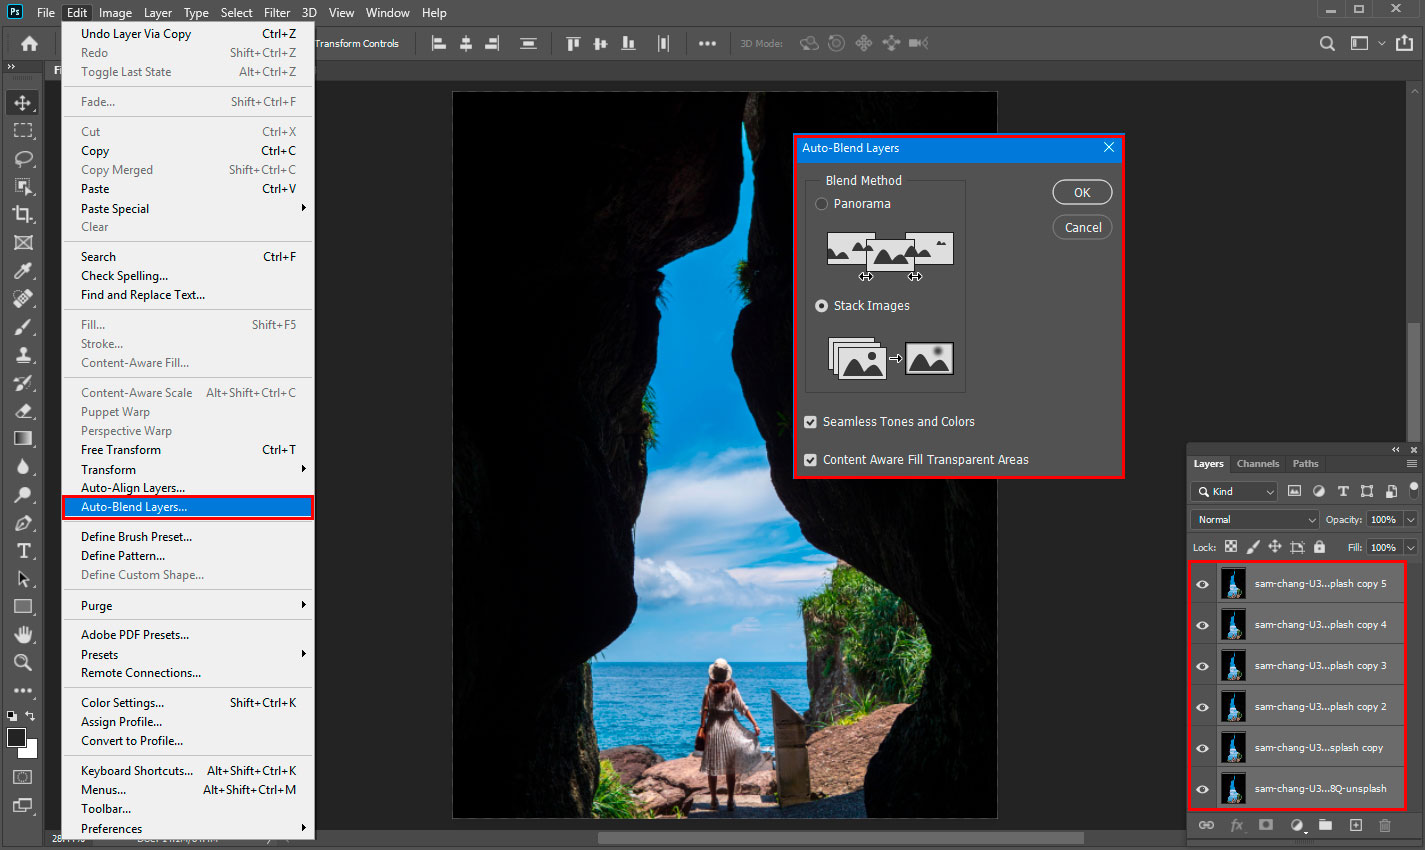
Auto-Blend Layers command (Edit > Auto-Blend Layers) useful if you want to combine a panorama or photoset from several images of the same location/place.
That feature is more suitable for photographers. If you are interested in that, you can find more utilities from the Automate menu (File > Automate).
If you are interested in composing based on images, you can read Create Beautiful Tropical Landscape in Photoshop or VIP Exclusive Tutorial – Constructing Futuristic City in Photoshop tutorials, where I show the main techniques to manipulate images. Working with masks and filters to create a realistic illustration.
If you are interested in further exploring blending modes and how to create pictures with them, check out these 2x tutorials:
- How to Create Magnificent Evening Landscape in Photoshop
- VIP Exclusive Tutorial – How to Create Beautiful Fractals in Photoshop

Summary
Each design, project, and working situations are individual. Combine, pick up or try alternative methods that help you solve tasks. As close, as possible, to the desired result. If you want to achieve better results, then you should try to combine several techniques at once
A more complex combination of images always requires some effort and manual work. Create and experiment! Thank you for your attention and good luck to you in your creative projects! Have something to add or ask? Use the comment section below!