
In this tutorial, I will show you the process I used to create this castle under siege from dark force scene in Photoshop. This is an intermediate level difficulty tutorial and some steps can be tricky. Have a try!
Here is a preview of the final effect I have for this tutorial: (click to enlarge)

PSD File Download
You can download the PSD File for this tutorial via the VIP Members Area for only $6.95/Month (or less)! You will not only get this PSD File, but also 200+ other PSD Files + Extra Goodies + Exclusive Photoshop tutorials there. Signup now and get exclusive :) Find out more about the VIP Members Areas

OK Let’s get started!
To complete this tutorial, you will need the following stocks:
Cross in Graveyard by autumn-icestock
Flame (1st one in search result)
Photoshop Light Brushes (Pick one set from the list)
Step 1
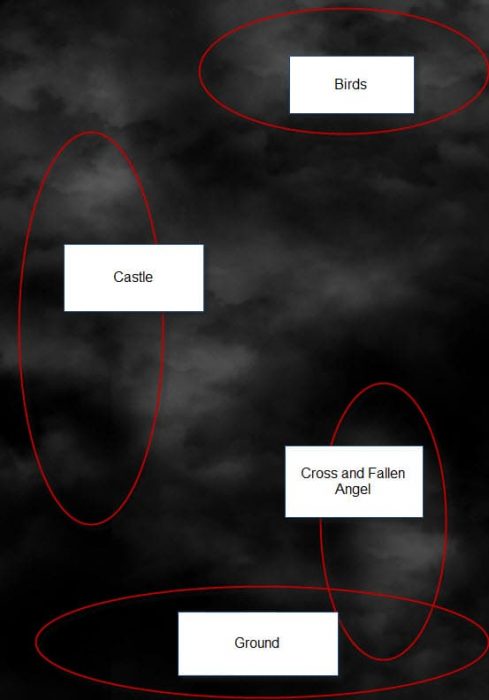
Create a new document sized 900px *1284px with black background. Paint some clouds with the cloud brush or cloud filter. The screenshot below outlines the elements I wish to place around the canvas, pay special attention to the cloud around each area:
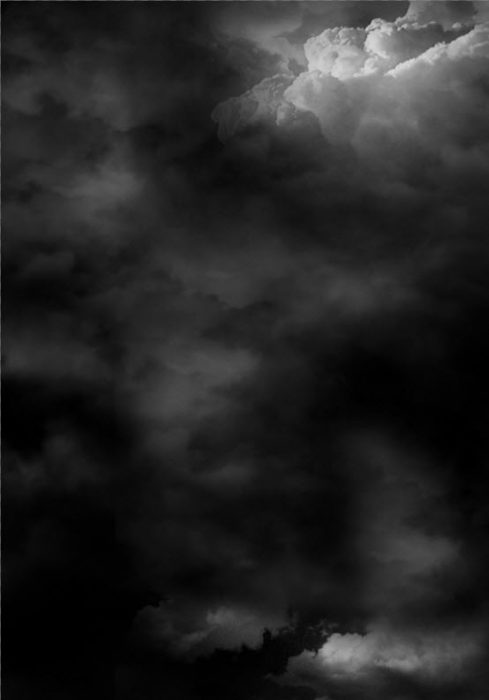
I added some extra cloud effect the with cloud brushes download to the top and bottom right of the canvas:
Step 2
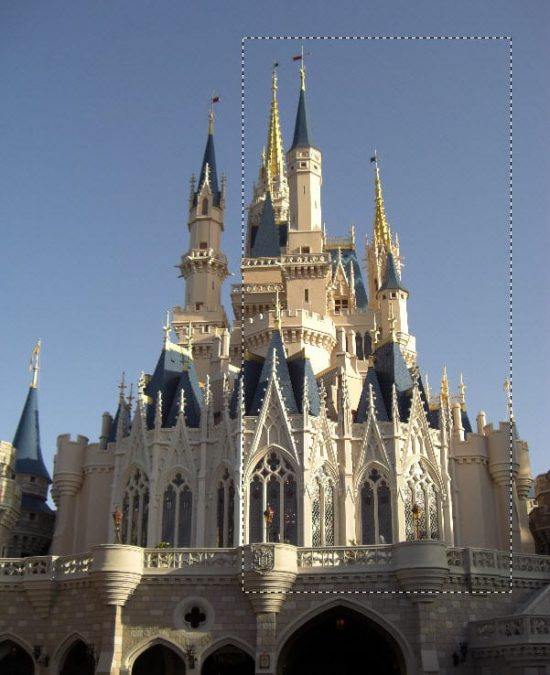
We will work on the castle in the step. Load the castle stock image into Photoshop and select this portion of the castle as shown below:
Copy and paste the selection to our document, place it on the left side and use a soft eraser to remove the unnecessary parts. Then use the crack brush you downloaded as eraser, add some cracks to the castle:

This would create a break apart effect and make the castle looks like crumbling:

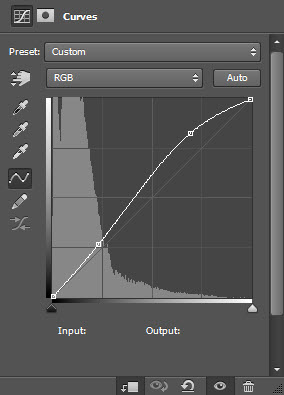
Apply the following image adjustment layers as clipping mask to this castle layer:
Black and White
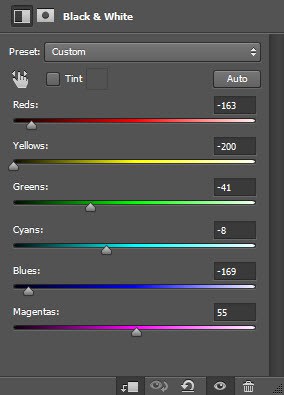
Levels
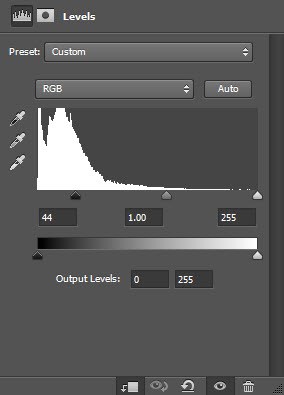
Curves
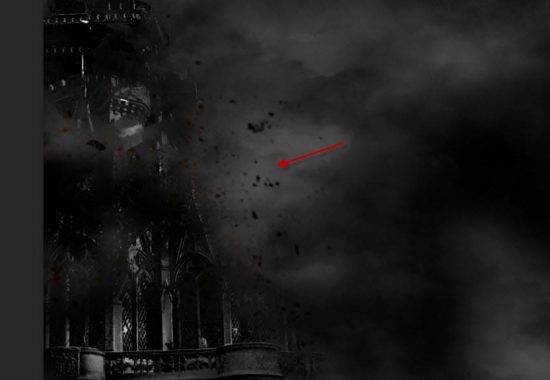
Add some particles around the castle with a particle brush:
Step 3
We will work on the ground texture in this step. Load the forest stock image into Photoshop and select the ground texture:
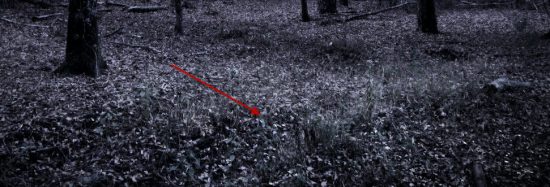
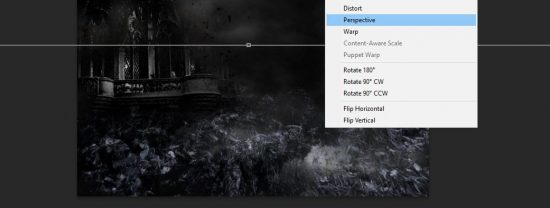
Copy and paste the selection to our document, use the Free Transform tool to adjust the size and perspective of the ground texture:
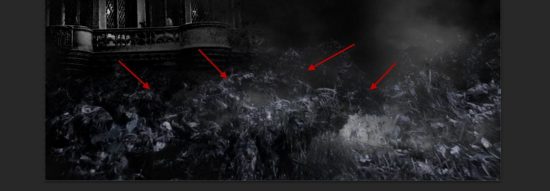
Use a soft eraser to fade the top edge of the ground texture, so it blends into the background and the castle:
Apply the following image adjustment layer as clipping mask this ground layer:
Black and White
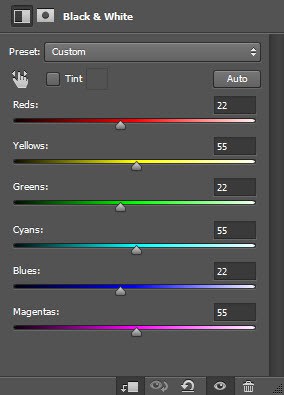
Levels

And here is the effect so far:

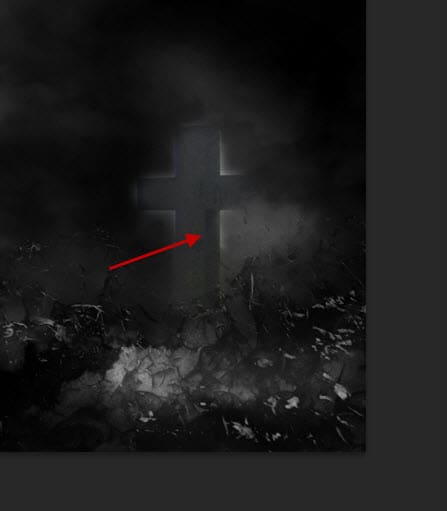
Step 4
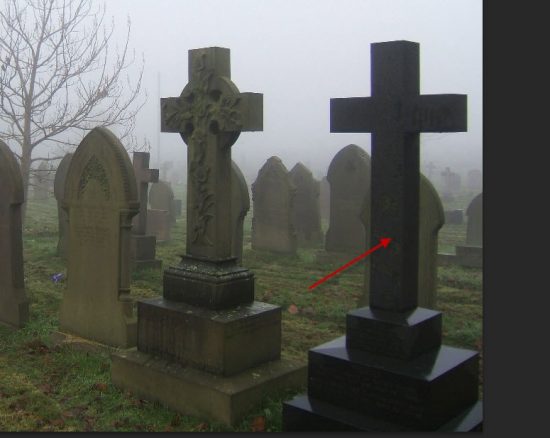
Load the cross stock image into Photoshop and select the following one from the stock image:
Copy and paste the selection to our document and place it on the bottom right:
Apply the following image adjustment layers to this cross layer:
Black and White
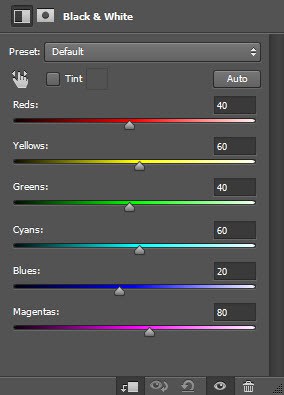
Levels

Curves

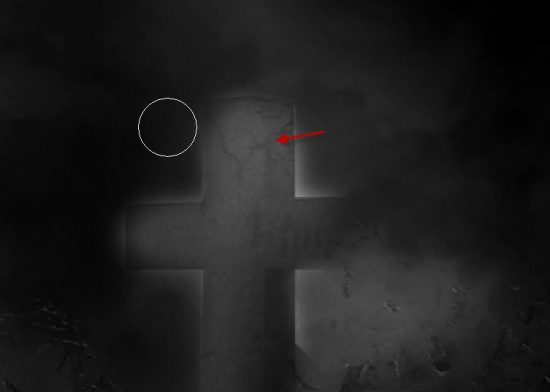
Use the crack brush as eraser to add some crack pattern on the cross:
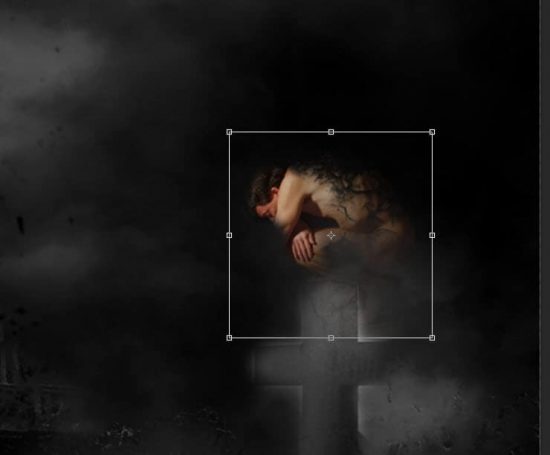
Step 5
We will work on the model and turn him into a supernatural creature in this step.
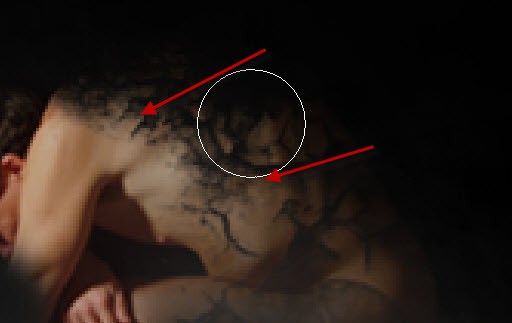
Load the model image into Photoshop and select the model, copy and paste the selection to our document. Re-size and position the model above the cross. Use a soft eraser to remove the fore arm and apply the crack brush on the back:
Here is a close-up view of the cracks on the model’s back:
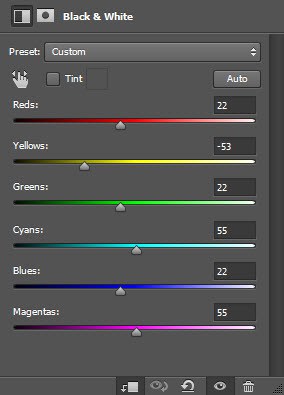
Apply the following image adjustment layers as clipping masks to this model layer:
Black and White
Levels

Curves

Use the cloud filter and the Warp option in the free transform tool, add a cloudy wing to the back of the model:
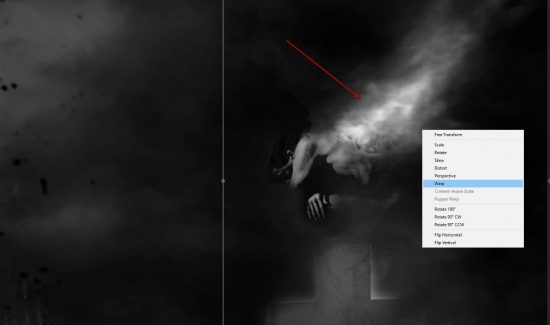
Check out this video Photoshop tutorial below for details about how to warp the cloud in Photoshop (start watching from 5:10):
Step 6
Load the flame stock image into Photoshop. Use the Lasso Tool (set feather to 40px), select the following portion of the fire:
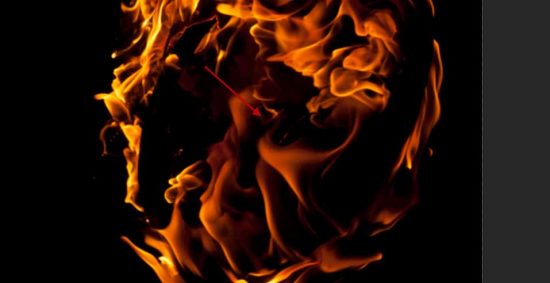
Copy and paste the selection to our document, set its layer blend mode to “Screen”:
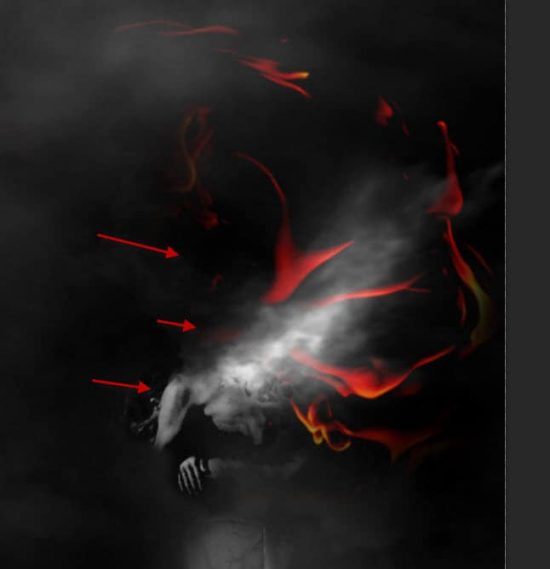
Place the flame around the model, as shown below, use a soft eraser to remove the indicated part:
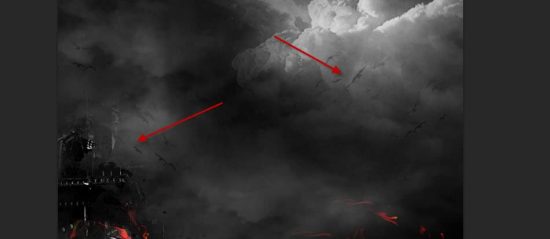
Use the same process, add some more flame around the castle:

Step 7
Use the birds brush to paint some flying birds into the following position, make sure you lower the brush opacity to around 40% so the birds are barely visible:
Use a soft white brush, paint some subtle light in the gate of the castle:

Use the light brushes, add a ray of light coming out from the castle:

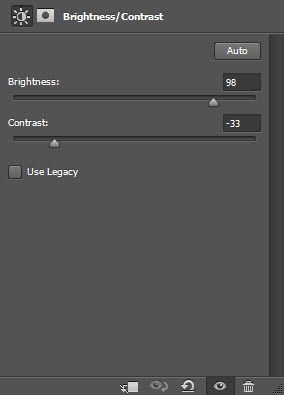
Add a Brightness and Contrast adjustment layer on the very top:
and here is the overall effect:

I further added some colours with the color balance adjustment layers, and this is my final result: (click to enlarge)
That’s it for this tutorial! Hope you enjoy it and find it useful! If you have any questions about the steps, please contact me or leave a comment below. I will try my best to answer them.
Till next time, have a great day!
2 Comments
Whilst the tutorial is well written in easy to follow the steps I am unable to “get” castle under siege from the final piece. Maybe others can see that but it does not gel well in my eyes. You’ll make a great teacher with such well written tutorials.!
Gostei da idéia, simples, porém genial.