In this tutorial, I will show you the steps I took to create a realistic nebula scene from scratch in Photoshop. We will be using techniques such as the Pen Tool, various filters for texture rendering, layer blending and some dynamic brushes.
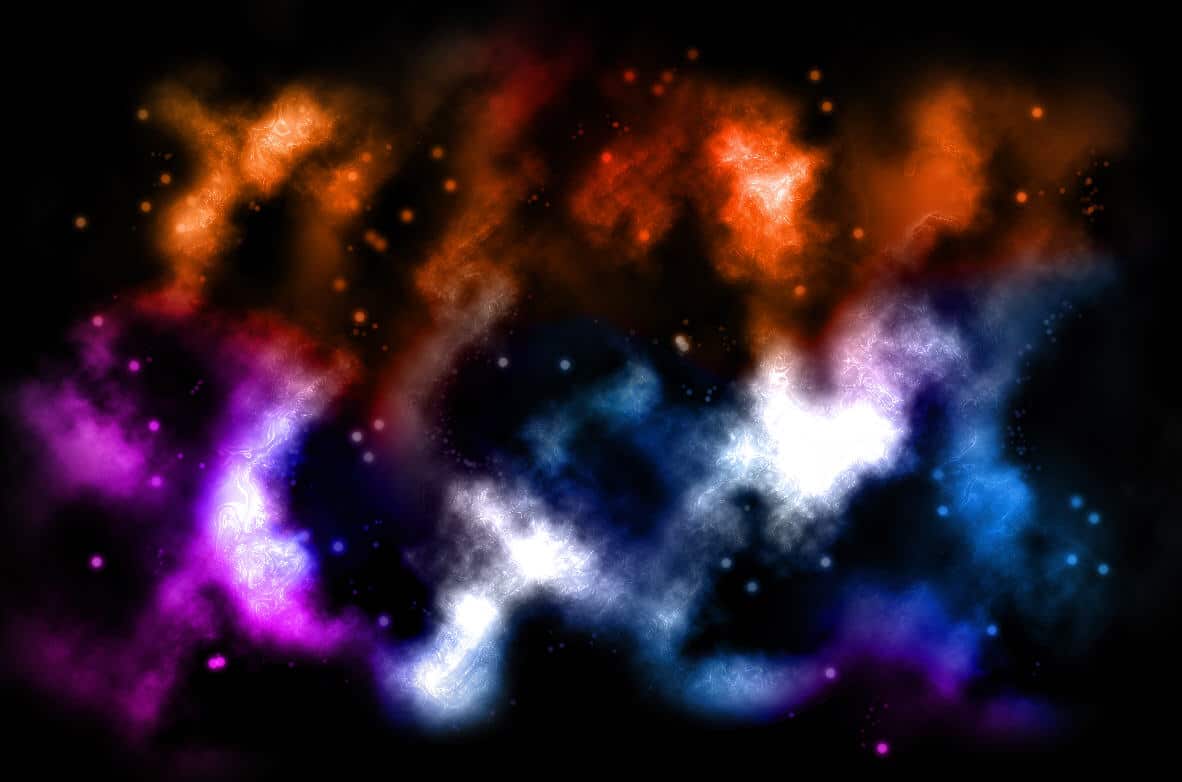
Here is a preview of the final result:
OK let’s get started!
Step 1
Create a new document sized 1200×800, fill the background layer with black colour. Make a new layer on top of the background layer and name it “Nebula Outline”.
Hit the “P” key to select the Pen Tool and make sure the “Paths” option is selected. I won’t go into explaining how to use the Pen Tool in this tutorial, but if you haven’t used it before, I have a post here with some links of the basics of Pen Tool.
Draw a random, irregular shape as shonw below on the “Nebula Outline” layer:

Step 2
Still on the “Nebula Outline” layer and the Pen Tool selected, right click on the path and choose “Make Selection”:

Apply the following settings: (I used 25 pixel feather radius because I would like the selection to be as smooth as possible)

Your path will now become a selection with 25 pixel feather radius:

Step 3
Go to Filter > Render > Cloud and render some cloud, with White foreground colour and Black background colour.
Hit Ctrl + L to bring up the level tool, apply the following settings:

Using the level tool we can adjust the input level of different colour channels. Your image will now look like this:

Step 4
Now we can some depth the Nebula. To do this, create a new layer called “nebula overlay”, use the Clone Stamp Tool with the following settings:
![]()
Hold down the Alt key + Left Click to define a Clone Source, cloud some cloud from the previous layer.
Because we used a relatively lower opacity and flow, you will see the difference between each cloud:

Merge the two layer together and name the merged layer “Nebula”.
Step 5
Nebula doesn’t only consist of cloud, there are also some small particles and dusts inside. Now we’re going add them in.
Duplicate the “nebula overlay” layer once and name this layer “particles”. Go to Filter > Sketch > Photocopy and apply the following settings:

Then go to Filter > Sketch > Chrome and apply the following settings:

Change the layer blending mode to “Color Dodge” and set the opacity to 80%.
The result so far will look like this:

Optional: you can duplicate this particles layer a couple of time if you feel like add more paricles onto the cloud.
Step 6
Now we can add a bit motion into the image. Duplicate the “Nebula” layer once and put the duplicated layer above the “Nebula” layer. Go to Filter > Blur > Radial Blur and apply the following settings:

Then go to Filter > Distort > Ocean Ripple and apply the following settings:

Change the layer blending mode of this layer to “Overlay” with an opacity of 30%. You image will now look like this:

Step 7
Create a new layer called “Star”, grab a 9px round circle brush, and apply the following brush dynamics:
Shape Dynamics

Scattering

Noise

Paint over the “Star” layer as the image shown below:

Optional: To add some light glow and softness, you can duplicate the “star” layer once, and go to Filter > Blur > Gaussian blur and apply the following settings:

Step 8
Create a layer called “Colour Overlay” and set the blending mode to “Color”, then simply grab a big round brush (300px) and choose some nice, space-feeling colour and paint!
You can also adjust the opacity and the flow of the brush for some colour depth. Hint: after painting colour, try duplicate this layer a couple of times and see what result that brings you.
Here is my result so far:
Ok that’s it for this tutorial! The rest is left upon your own creativity.
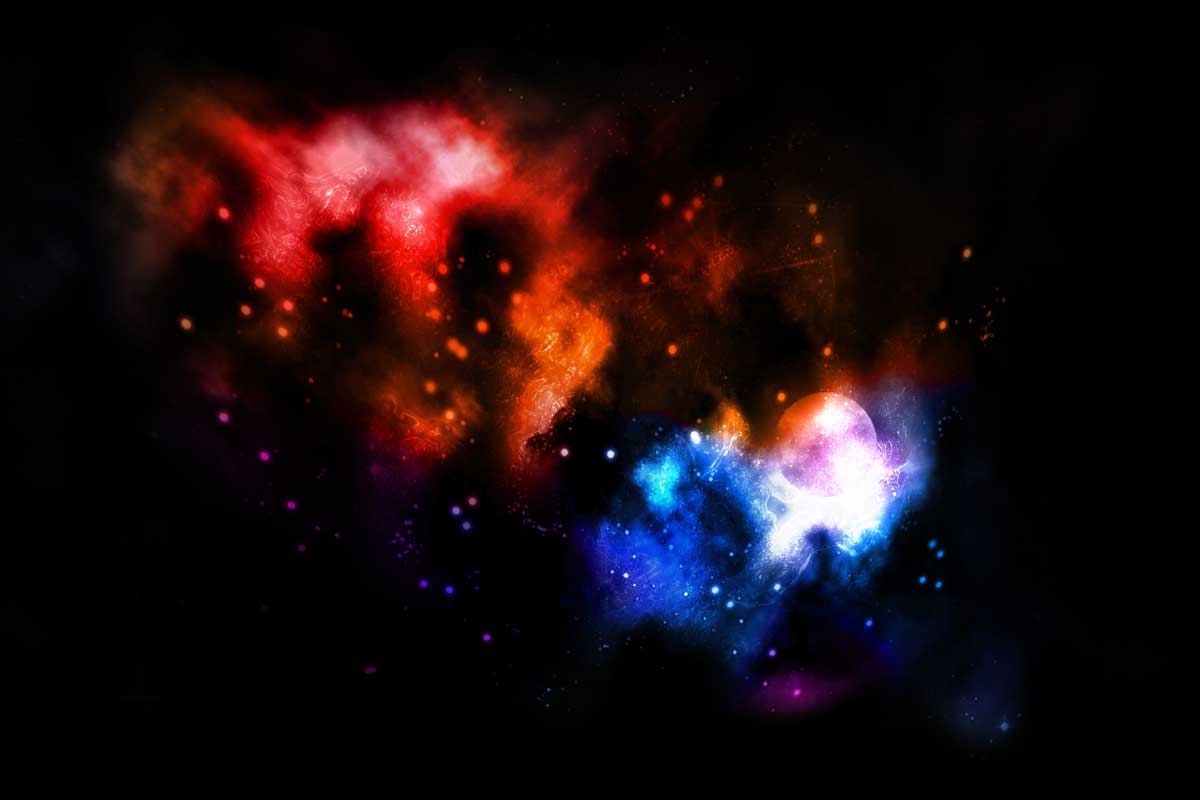
Here is my final image for this tutorial: (I simply erase some portions of the nebula cloud and add a shining planet to it!)
Hope you enjoy this tutorial and if you have any questions, just drop me a comment.
Thanks very much and have a wonderful and colourful new year!
19 Comments
Added to http://www.psaddict.com
Thats so cool, thanks for the tutorial
Nice tutorial, there are alot of nebulas around but so few make such a nice effect, so simpily
Oh one thing for the last part, The Color Overlay, I noticed I was having trouble since the size 300 brush just kept leaving circles, changing the hardness of the brush helps a ton to blend the multi colors very nicely…… just in case someone didnt know that.
wow great effect its my frst time i know this sample way
i will come for more and more thanks brother i love it and im apply it right now
Any suggestions on how to adapt this to PE 6??
your the great!! I can say nothing to all your tutorials, but I need to write something to be grateful to all of these. Your really grea!
hi saskgirl!
I’m really sorry but I can’t help you with this, I haven’t used PE 6 before :(
And to Ben, ghawyy, Christian: thanks for your comment and support !
Lovely. Great site.
Wee Thats Awesome,
i like to create some star wars charecter in it,
nice one will try my self and post
What type of Photo Shop version is this?
I use Photoshop CS3
What does: CS3 stand for? (Yes, i’m a newbie at Paint Shop)
Thanks for all your help!
wow fast and easy to make, thanks for this cool effect guide…
Interesting tutorial. I had a lot of fun. Here is what I have made from it: http://brettdagirl.deviantart.com/art/The-Two-Dragons-Nebula-140280914
To :):
CS3 stands for Creative Suite [Version 3]. It doesn’t actually have anything to do with Paint Shop, unfortunately. Photoshop CS3 is a trademark of Adobe – I’m pretty sure Paint Shop was made by Corel. (don’t quote me on it, however)
it is very nice tutorial
Thanks for this – great tutorial! ^_^