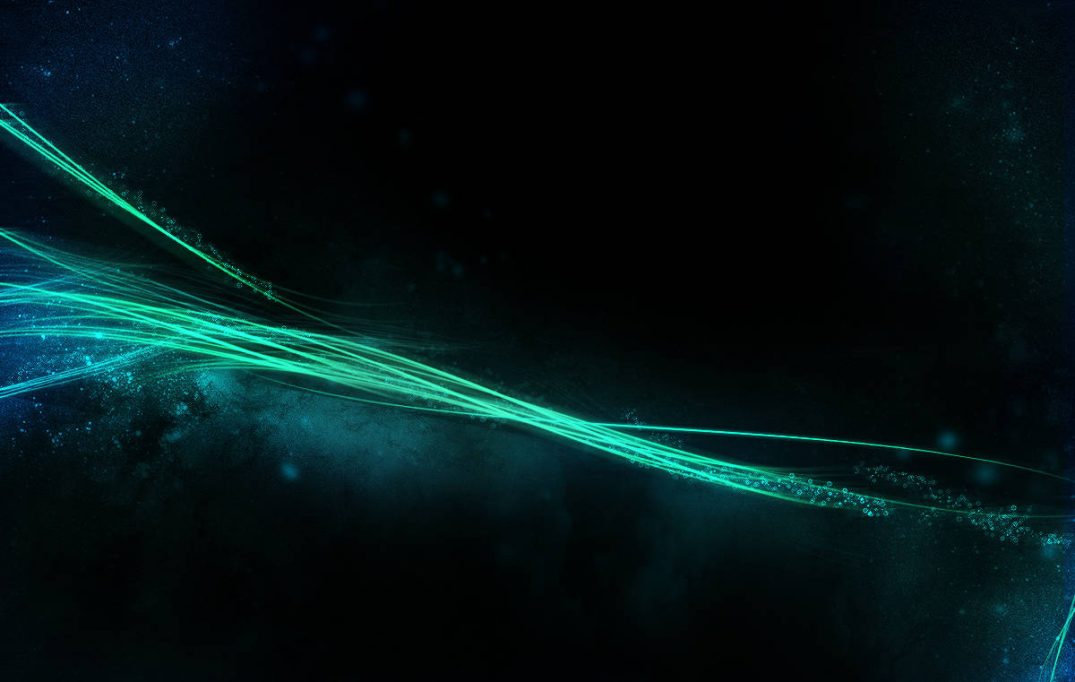
In this tutorial, I will show you the steps I took to create this Final Fantasy VII Lifestream Like Abstract Design in Photoshop. This is a beginner level tutorial with lots of detailed screenshots. Have a try :)
If you happen to be a fan of Final Fantasy VII like me, you will know what I’m talking about and where the idea came from. If not, check out this image here.
I tried to keep the steps as few as possible for this tutorial – so if you’re a Photoshop beginner, you won’t be overwhelmed with information. In this mean time, you can check out my other basic Photoshop tutorials here.
Here is a preview of the final effect I have for this tutorial: (click to enlarge)
PSD File Download
You can download the PSD File for this tutorial via the VIP Members Area for only $6.95/Month (or less)! You will not only get this PSD File, but also 70+ other PSD Files + Extra Goodies + Exclusive Photoshop tutorials there. Signup now and get exclusive :) Find out more about the VIP Members Areas
Ok Let’s get started!
Step 1
Create a new document with black background, size doesn’t really matter in this tutorial. Press the “P” key to select the Pen Tool, draw a work path as shown below:
Hint: you can check out this Pen Tool Guide if you happen to fresh to Pen Tool.

Once you’ve drawn the path, select the brush tool and apply the following settings: (5px, 95% hardness)

Press “P” to select the Pen Tool again, right-click on the path and choose “Stroke Path”:
Stroke the path with the brush we selected, tick the Simulate Pressure setting:

Here is the stroke effect: (I used the green colour here)

Duplicate this layer once, hit Ctrl + T and rotate it slightly counter-clockwise, move it to left a little as shown below:

Repeat this process, duplicate a few more lines, rotate and move each line slightly to form the following effect:

When you’re happy with the shape, merge those layers together by selecting all of them in layer palette, right-click on one of the layers and choose “Merge Layers”. Duplicate the merged layer a few times, rotate, resize them with Free Transform Tool to form the effect shown below:

Adjust the layer opacity of each duplicated layer to create some image depth:

Step 2
Now we can paint some crystal dots around the stream symbolising some sort of life form. We can use brush dynamics to achieve this effect. So grab the brush tool with the following settings:
Scattering

Other Dynamics

and make sure you tick Airbrush and Smoothing options.
Use this brush to paint some dots around the stream lines with green/blue colour:

After you’ve done the painting, apply the Sharpen filter on this dots layer:

As you can see, now the dots look sharper and crystal-like:

and here is the overall effect so far:

Optional: You can also paint some dots on the background to add some depth for the image. You can use a softer brush as shown below and use it to paint around the canvas:

Step 3
Now we can add some starry background to the image by creating a new layer just above the background layer, and use some space brushes to paint over it.
We can then flatten the image, then duplicate the background layer and apply some Motion blur to the duplicated layer:


Change the blending mode of this motion blur layer to “Screen” and drop its opacity to around 60%:

and here is the final effect of this tutorial: (click to enlarge)
That’s it for this tutorial! Hope you enjoy it and find it useful! Till next time, have a great day!


14 Comments
Great tutorial and techniques well explained!
Thanks for sharing…
Bookmarked!!
when i used it .. it gave a solid stroke effect unlike urs which has a vanishing thread effect. :( (
@Boli_06: you need to select the “simulate pressure” option when stroking the path. If for some reason this option is not there, perhaps this link would help: http://www.youtube.com/watch?v=3ny2-9Gmso8
thx psd for your all tutorial … :)
I have this same problem. The option is there however the effect is not appearing
Hey,
you have to check your brush-settings:
Select your brush tool, press F5 (on pc) or go to panels “Windows” -> “Brush”. Activate the formfunctions for your Brush – there should be everything disabled.
Now, when you activated this function set the jitter to 1% and set its controloption to pen-pressure.
Now it should work.
Arnie
you must go to window/brush and add shape dynamics.
simply awesome.. never thought it would be so easy to have such an effect.. Though but I am coding programmer but I love visuals too.. ;-)
What’s the Alpha-numeric code of the colors used for every section?
Anyway, nice tutorial!!
I tried using Gaussian blur instead of motion blur. For me, it was better.
For those who didn’t get the same result!
Click on brush tool than go to Window->Brushes,activate the formfunctions for your Brush.Check on Shape Dynamics and set Size Jitter to Pen Pressure also
check Transfer and set Opacity Jitter to Pen Pressure too.
:)
Very useful tutorial for designer.
strunz
Wonderful Tutorial, finally found one to show a Lifestream effect! Thank you!