In this tutorial, you will learn how to make transparent text effect via layer blend modes in Photoshop. Have a try!
This tutorial utilizes some features from Photoshop 2021 such as Sky Replacement – please skip that if you have an older version of Photoshop. I simply wanted to add dramatic effect for the photo.
Stock Image Required
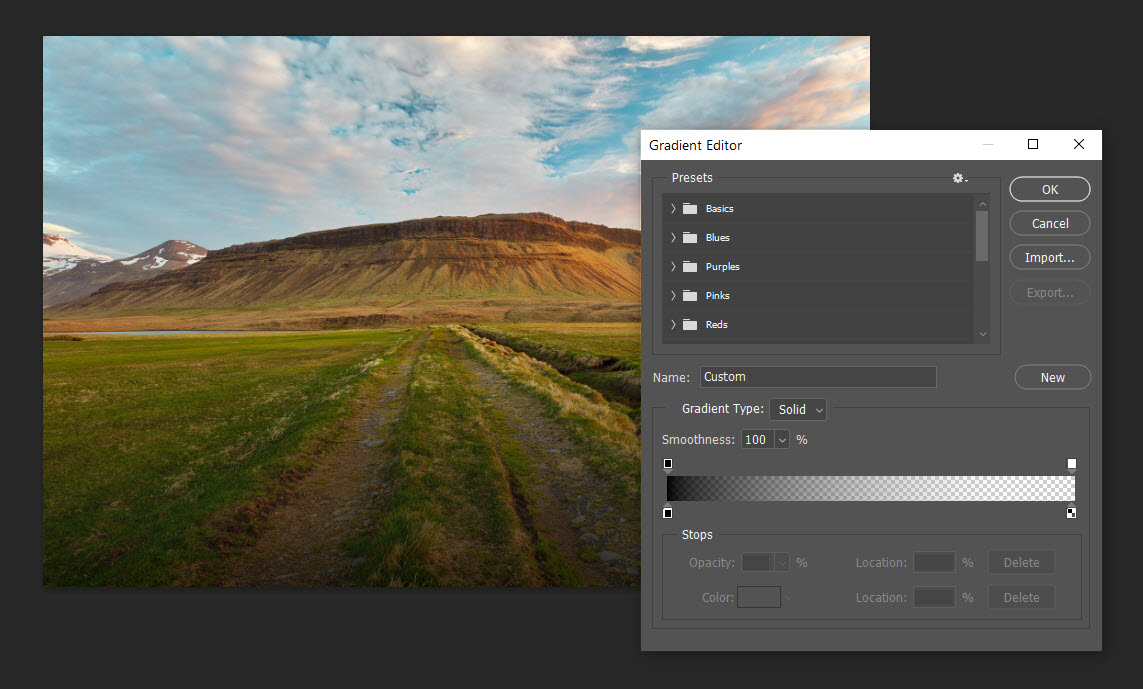
Step 1 – Gradient Tool
Load the sunset stock image into Photoshop – on the background layer, apply the following Gradient with the Gradient tool to slightly darken/fade the bottom portion of the photo:
Optional Step – Sky Replacement
We can have a play with the Sky Replacement tool in Photoshop 2021 and pick a new sky for our photo. Go to Edit > Sky Replacement:

I decided to use the following effect:

Press “OK” to apply the sky replacement.
Step 2 – The Making of Transparent Text
With the sky replaced, we can work on our text. Type some texts using any font you like:

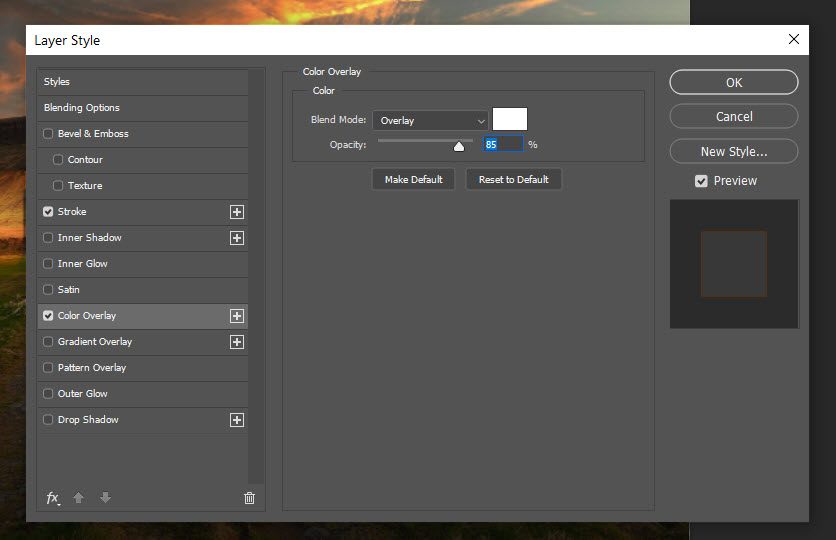
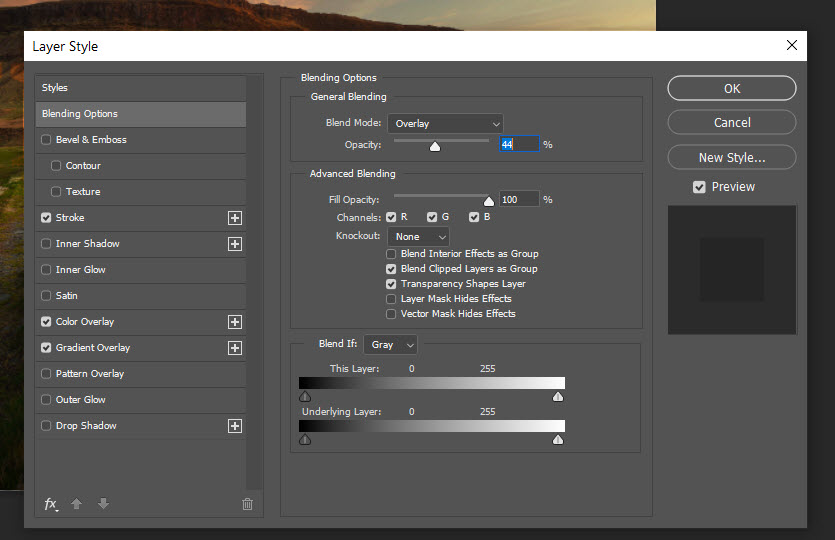
Apply the following “Overlay” blend mode for our text:

Plus the following blending options:
Stroke

Color Overlay:
And you will have the following effect:

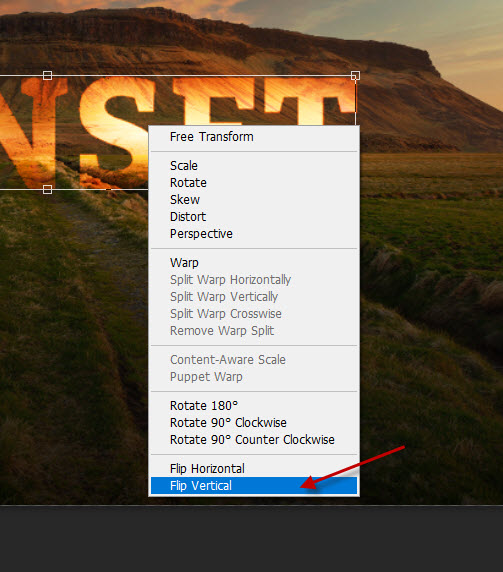
Step 3 – Shadow of the Text
We will make some shadow for the text. Duplicate this text layer once, remove all layer blend options. Press Ctrl + T to bring up the free transform tool, right-click and choose “Flip Vertical”:
Apply some perspective to the duplicated text layer:
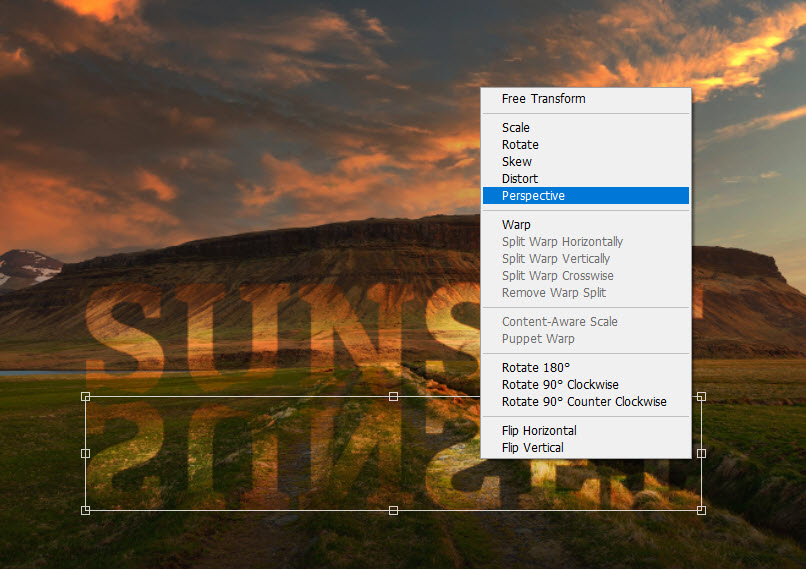
Change the layer blend mode to “overlay” and opacity to around 40% for this duplicated layer:
This is the end result I have: (click to enlarge)
That’s it! Here is a simple, yet good-looking transparent text effect made in just 3 steps. The key is the use of the layer blend tools and the “overlay” blend mode.
Till next time, have a great day!