Photoshop’s Neural Filters Style Transfer, enhanced by Adobe’s AI in 2025 (version 26.6), lets you transform photos into stunning artworks inspired by styles like Van Gogh, watercolour, or abstract patterns. This AI-powered tool, part of the Neural Filters suite, analyses images to apply artistic effects with minimal effort. In this tutorial, we’ll explore three creative uses: turning portraits into paintings, stylising landscapes, and blending multiple styles for unique effects. Let’s unleash your inner artist!
What You’ll Need
- Adobe Photoshop (version 26.6 or later, 2025, with Neural Filters downloaded)
- A sample image (e.g., a portrait or landscape photo)
- Internet connection (for cloud-based filter processing)
Getting Started
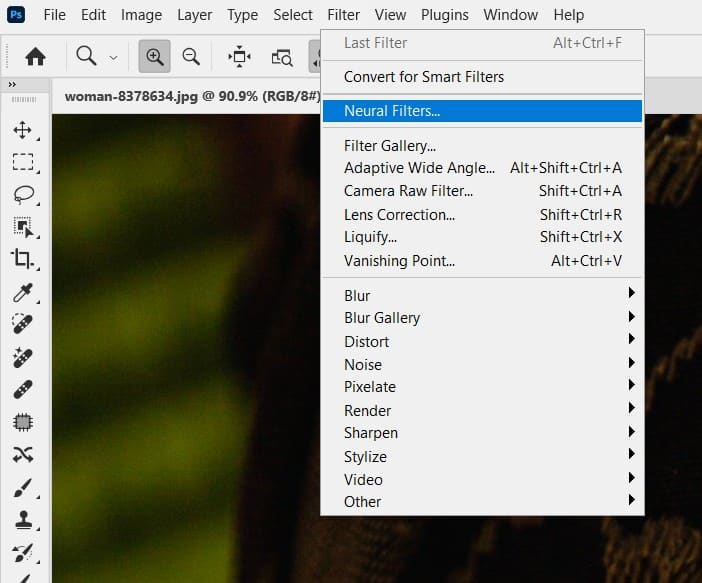
Open Photoshop and ensure Neural Filters are installed. Go to Filter > Neural Filters, and if prompted, download the Style Transfer filter from the Adobe cloud.
Step 1: Open Your Image and Access Neural Filters
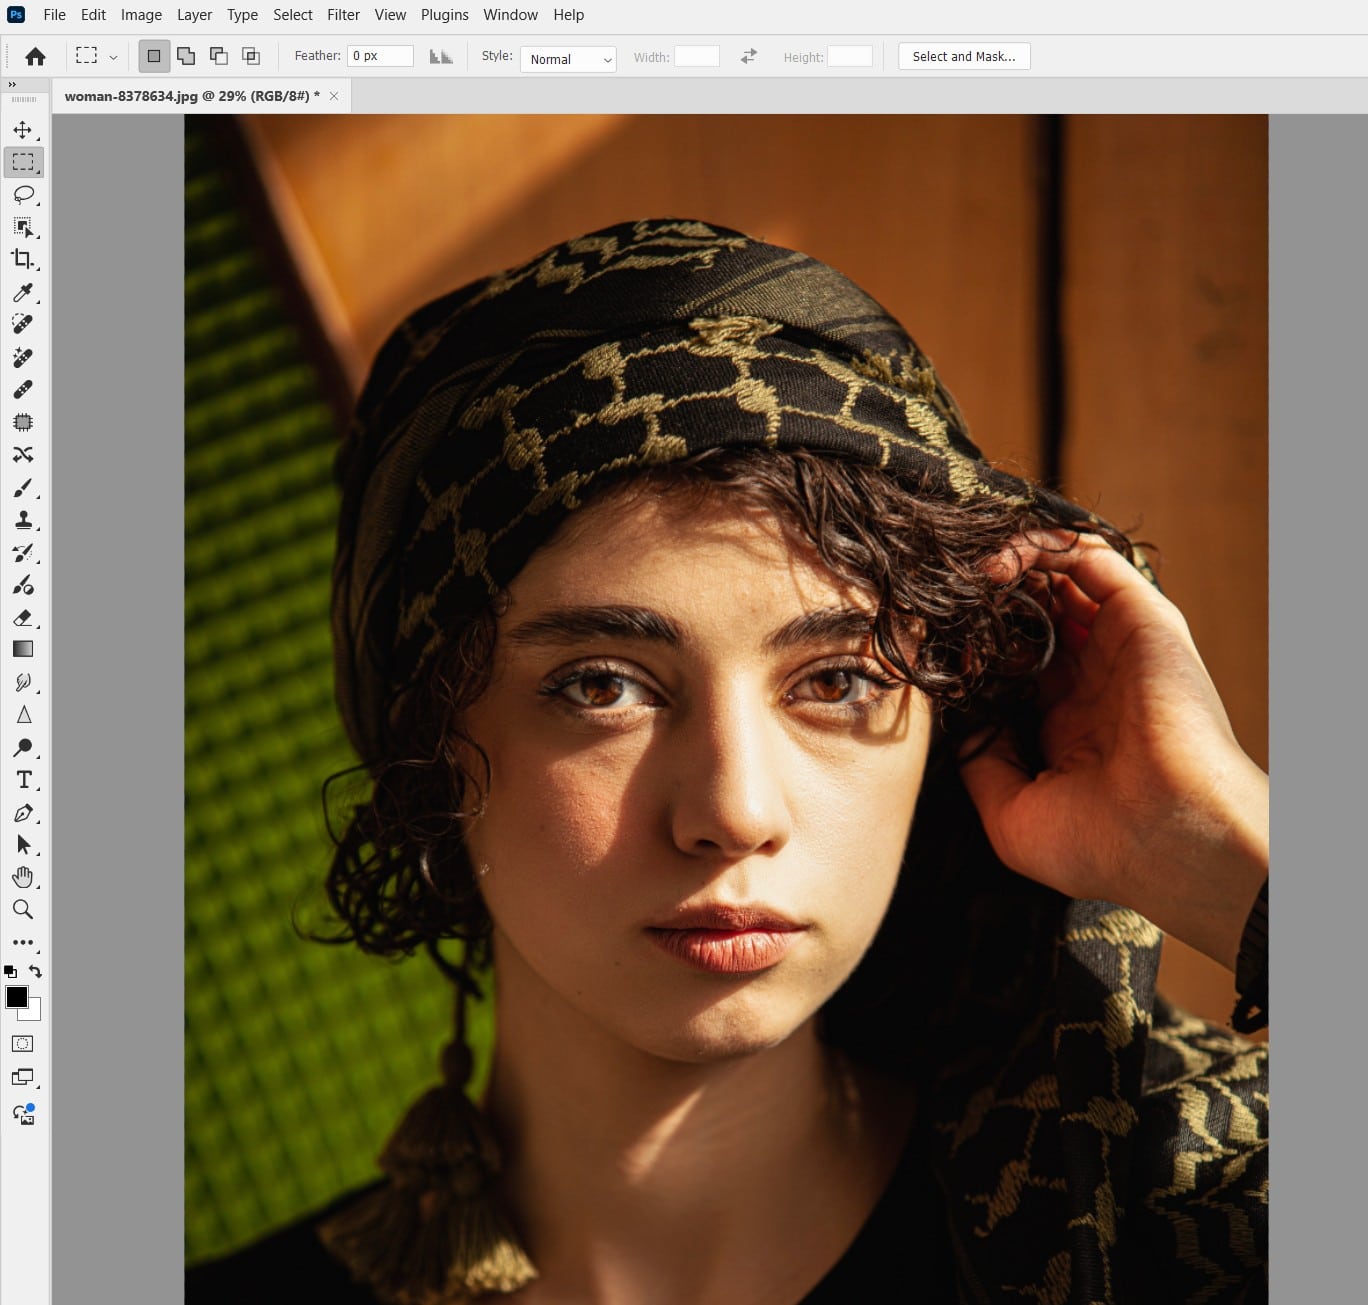
Load your image (e.g., a portrait or landscape) and duplicate the Background layer (Ctrl+J / Cmd+J) for non-destructive editing.
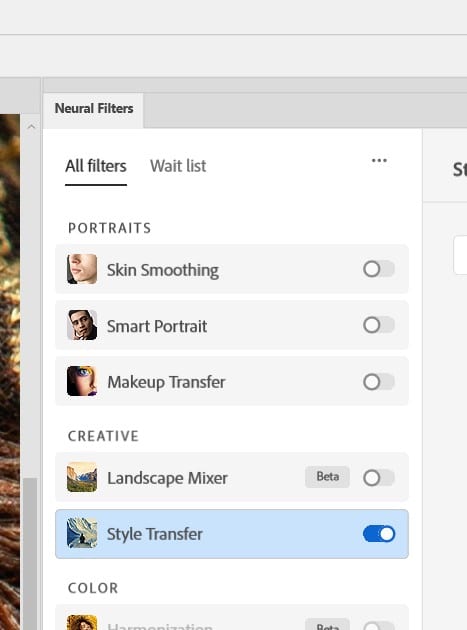
Go to Filter > Neural Filters, toggle on “Style Transfer” in the Neural Filters panel, and wait for it to load.
Step 2: Creative Use #1 – Turn Portraits into Paintings
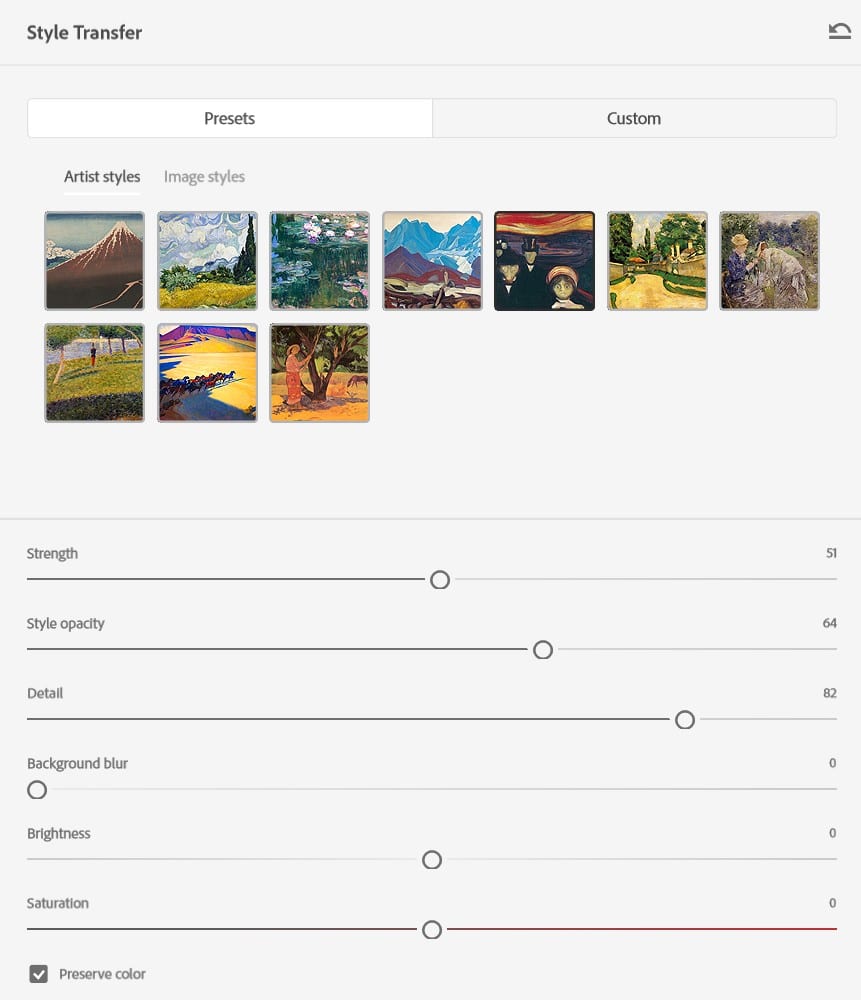
Select a preset style (e.g., “Van Gogh” or “Oil Paint”) from the Style Transfer panel’s Presets. Adjust the Strength slider (50-70% recommended) to balance the artistic effect with original details. Adjust the “Style Opacity” value to determine how much the original image you want to reveal.
Use the Preserve Colour option to retain the photo’s original colours for a natural look. Output to a new layer.
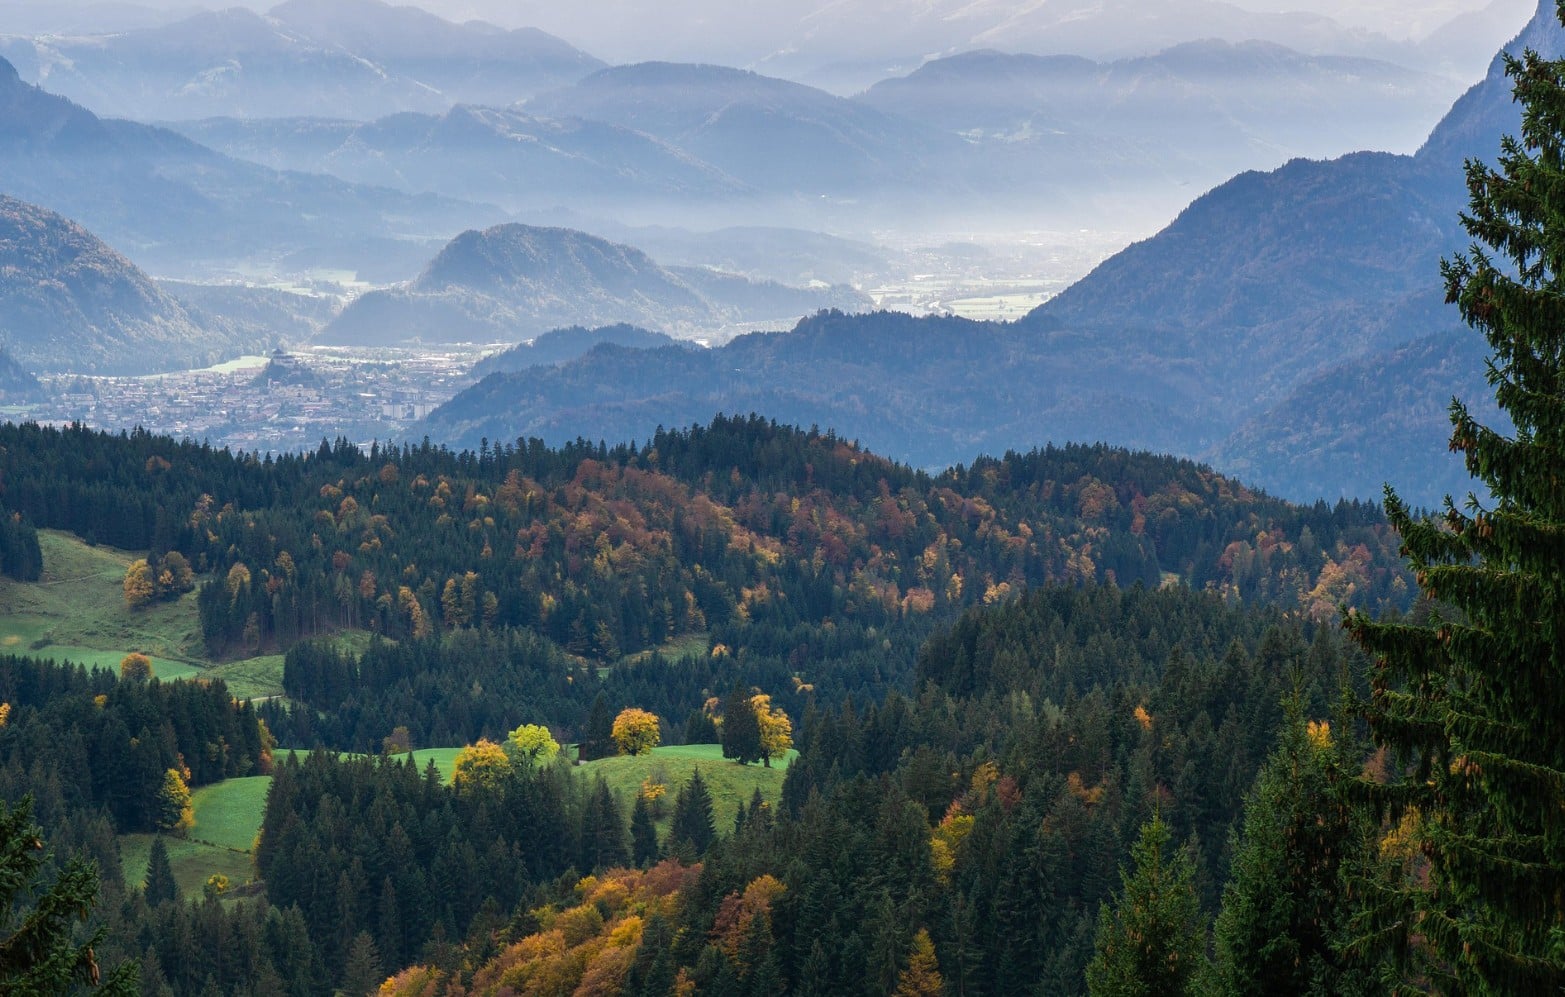
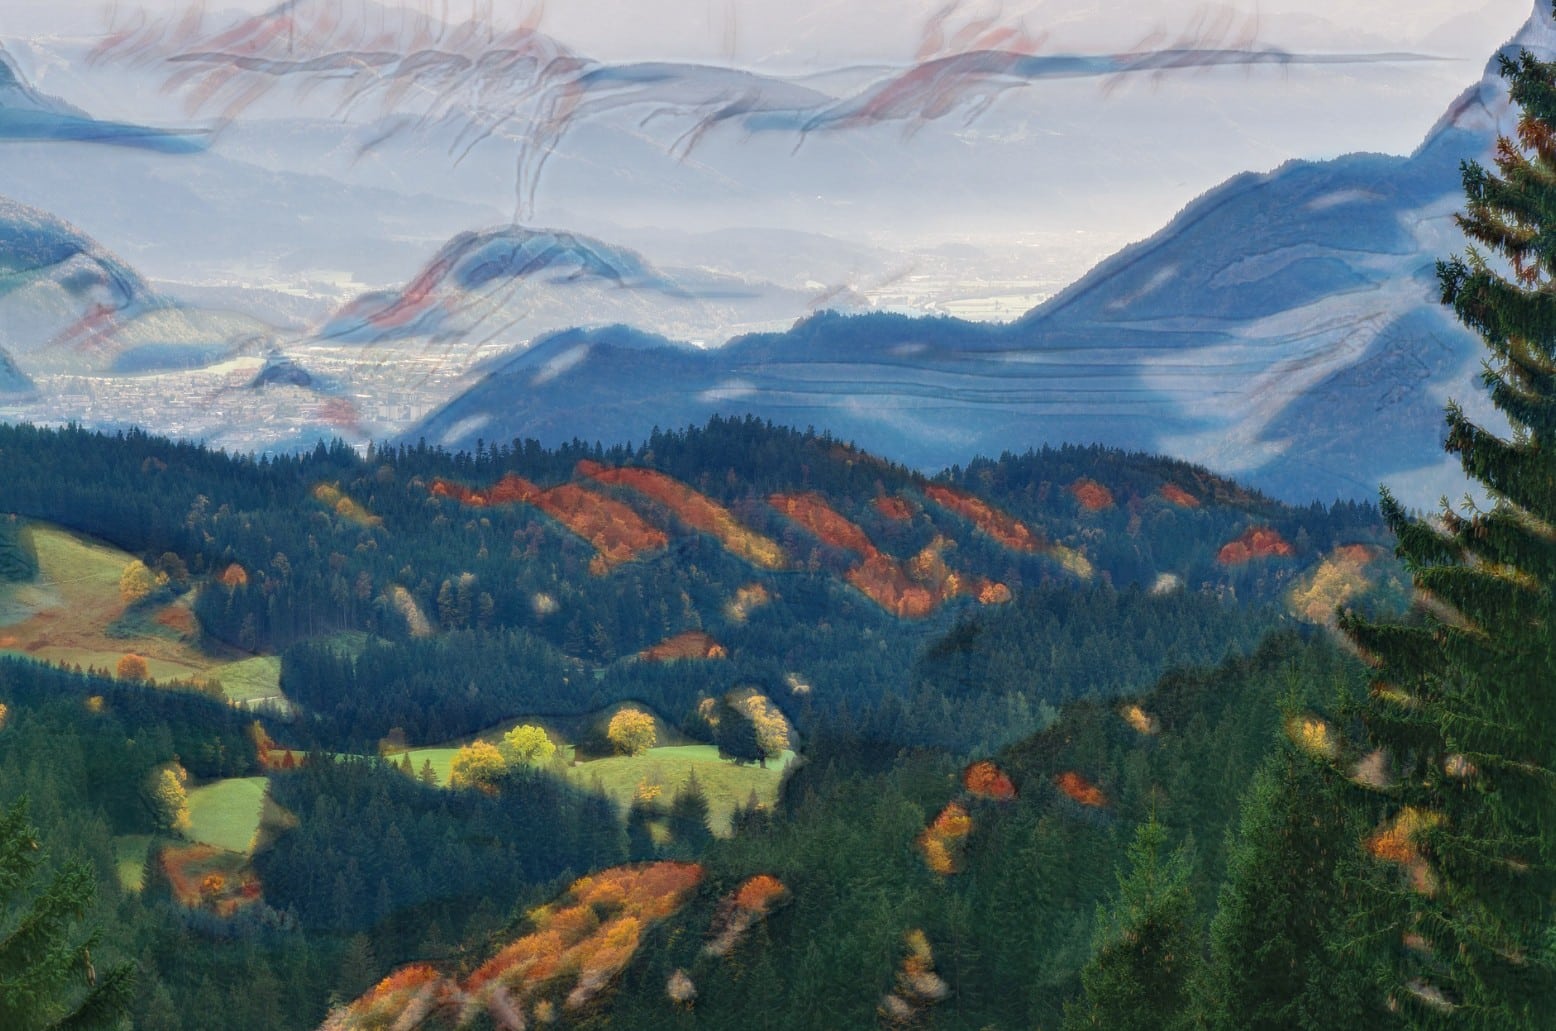
Step 3: Creative Use #2 – Stylise Landscapes for Impact
Choose a landscape photo and apply a preset like “Watercolour” or “Impressionist”. Adjust the Detail slider (30-50%) to preserve textures like trees or clouds. Experiment with Opacity (e.g., 60%) in the Layers panel to blend the stylised effect subtly.
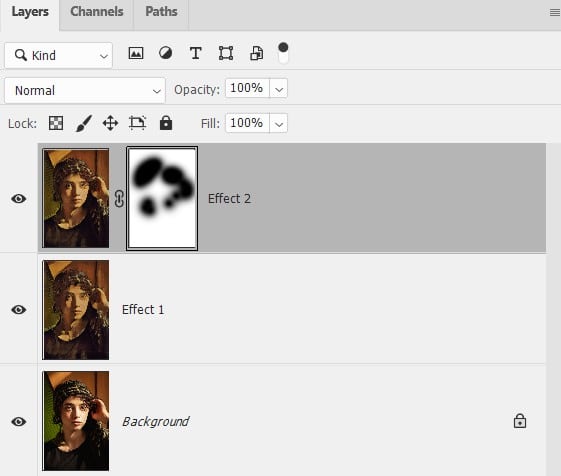
Step 4: Creative Use #3 – Blend Multiple Styles
Apply one style (e.g., “Abstract”) and output to a new layer. Duplicate the original layer again, apply a second style (e.g., “Mosaic”), and blend them using a layer mask. Brush softly to combine styles for a unique hybrid effect, like abstract skies with mosaic foregrounds.
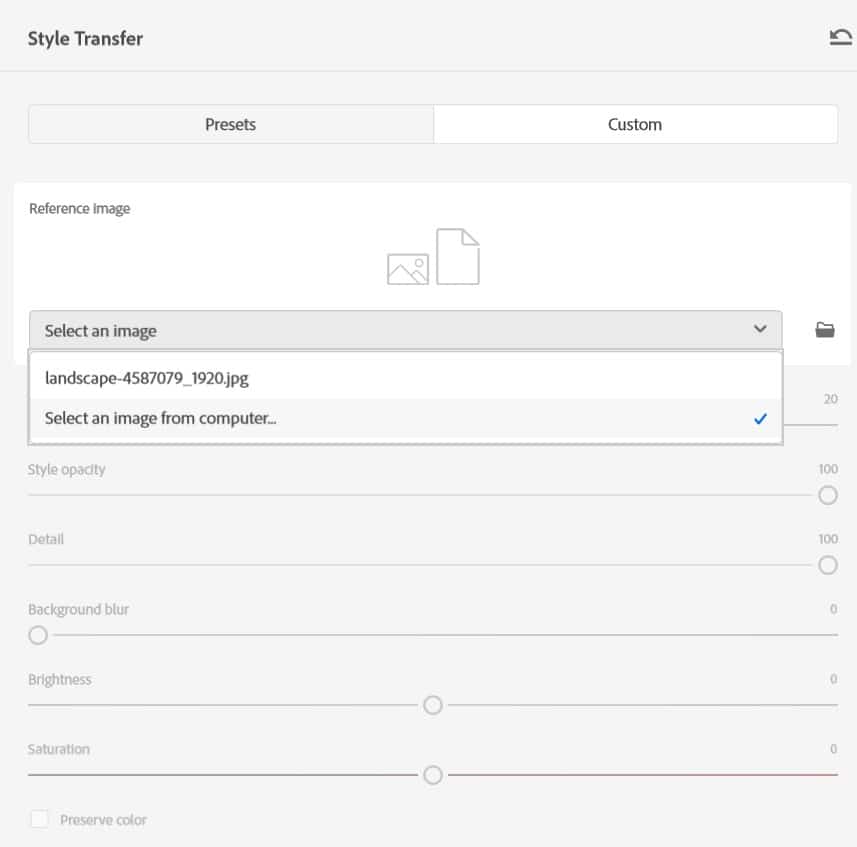
Step 5: Use Custom Style Images
Click “Custom” in the Style Transfer panel, then “Select Image” to upload your own reference (e.g., a painting from your files). Adjust Strength and Detail to match the reference’s vibe. This opens endless creative possibilities!
Step 6: Finalise and Enhance
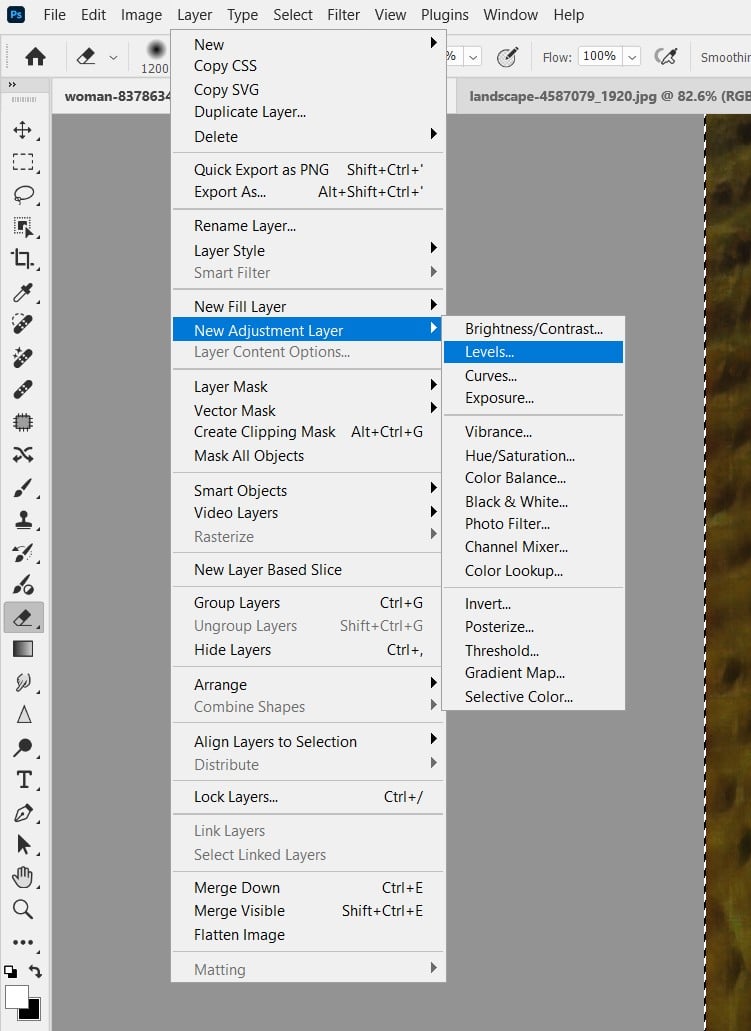
Add adjustment layers (e.g., Curves or Vibrance) to fine-tune colours or contrast. Compare by toggling layers in the Layers panel. Save as a PSD to preserve layers, then export as a PNG or JPG for sharing.
Pro Tips
- Subtle Strength: Keep Strength at 50-70% to avoid overdone effects.
- Layer Masks: Use masks to apply styles selectively (e.g., only to a subject’s face).
- Combine Filters: Pair Style Transfer with Neural Filters like Depth Blur for dreamy effects.
Why Style Transfer Shines
Neural Filters’ Style Transfer uses AI to analyse and apply complex artistic styles in seconds, saving hours compared to manual painting. It’s perfect for social media creatives, digital artists, or client projects.