
In this tutorial, you will learn how to create warrior battling dragon photo manipulation in Photoshop. This tutorial is suitable for intermediate skill Photoshop users.
We will use 7 stock images in this tutorial and use Photoshop to combine them into this scene. We will practice techniques such as layer masking, image adjustments and lots of Photoshop tools.
The PSD file of this tutorial is available via the PSD Vault VIP members area.
Note: this Photoshop tutorial is done in Photoshop CC 2017 – some screenshot may have slighting different layout as in the earlier version. Some brushes are exclusive to Photoshop cs6 or above.
Here is a preview of the final effect I have for this tutorial: (click to enlarge)

PSD Vault VIP Membership
You can download the PSD File for this tutorial via the VIP Members Area for only $6.95/Month (or less)! You will not only get this PSD File, but also 200+ other PSD Files + Extra Goodies + Exclusive Photoshop tutorials there. Signup now and get exclusive!

Let’s get started!
To complete this tutorial, you will need the following stocks:
Step 1
Create a new document sized 1080px * 1600px with black background. Load the ground stock image into Photoshop and select the centre portion of the image:
Copy and paste the selection to our document, place it at the bottom of the canvas:

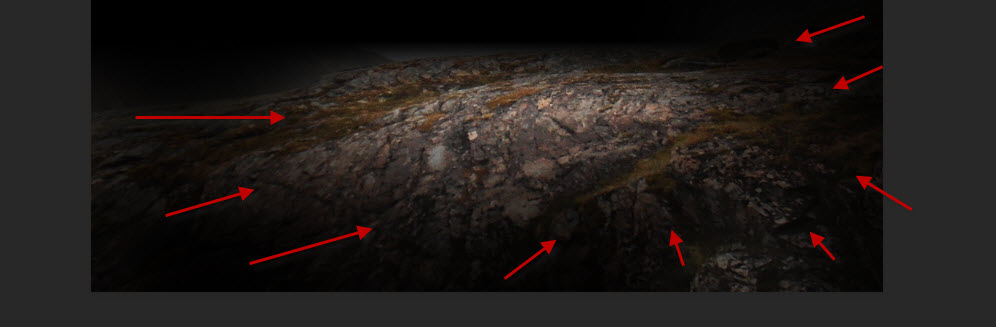
Use a soft eraser, fade the edge of the ground image as shown below:
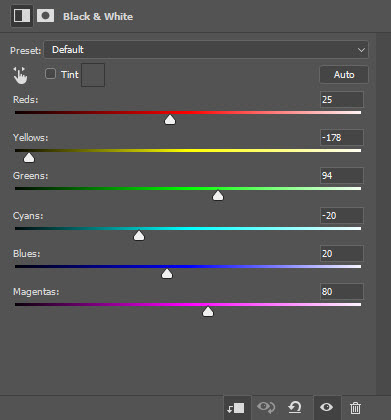
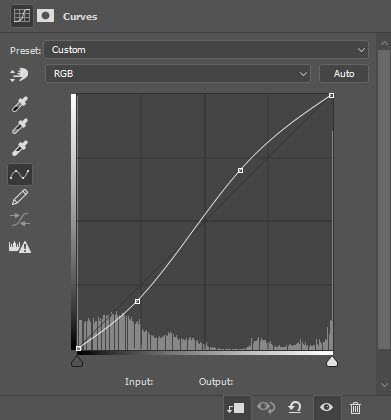
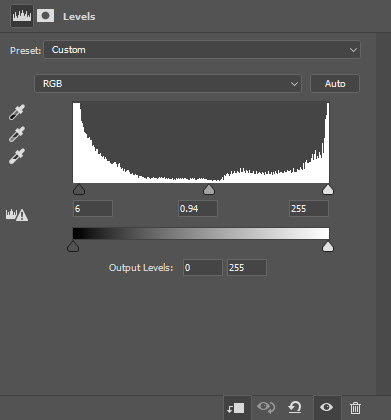
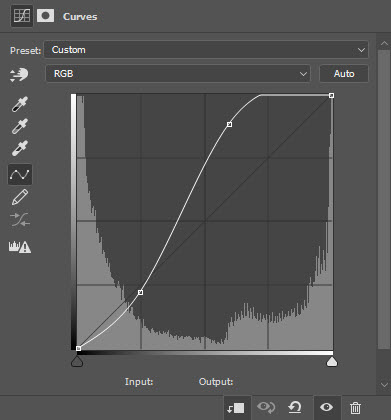
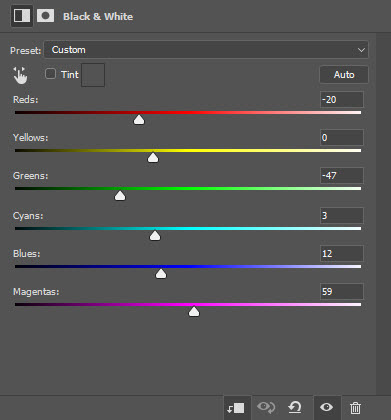
Apply the following image adjustment layer as clipping mask to this ground layer:
Black & White
Levels

Curves
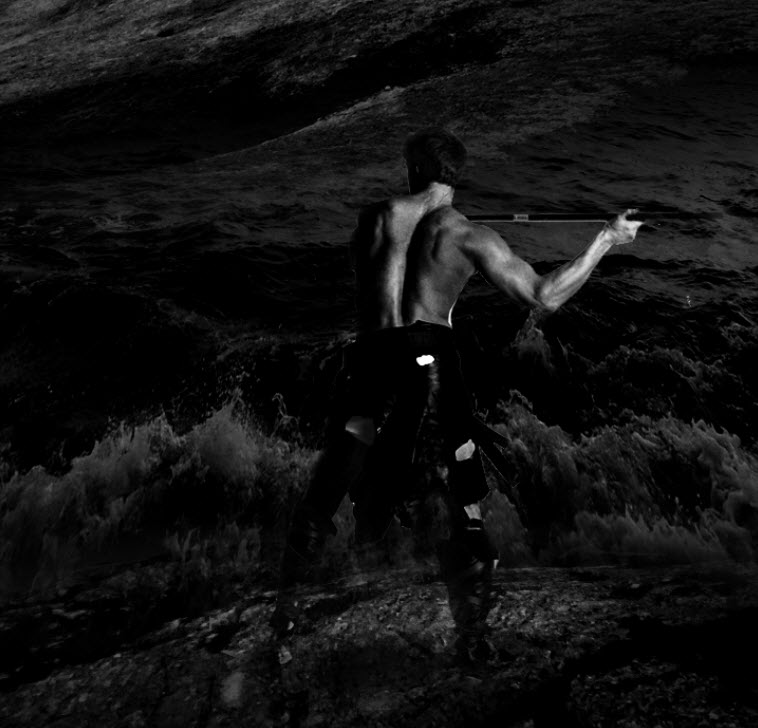
Here is the effect so far:

Step 2
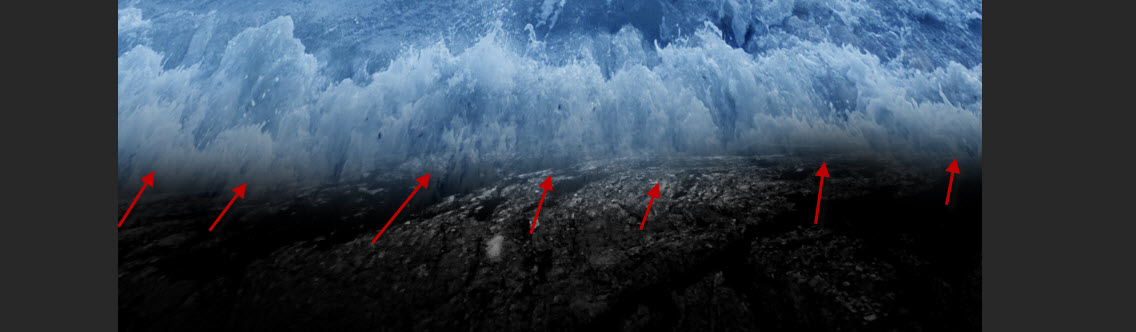
Load the ocean stock image into Photoshop. Select the following centre area:

Copy and paste the selection to our document, place it above the ground and fade the bottom of edge of the ocean with a soft eraser:

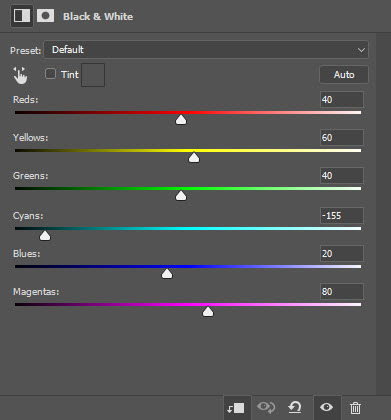
Apply the following Black and White image adjustment to this ocean layer:
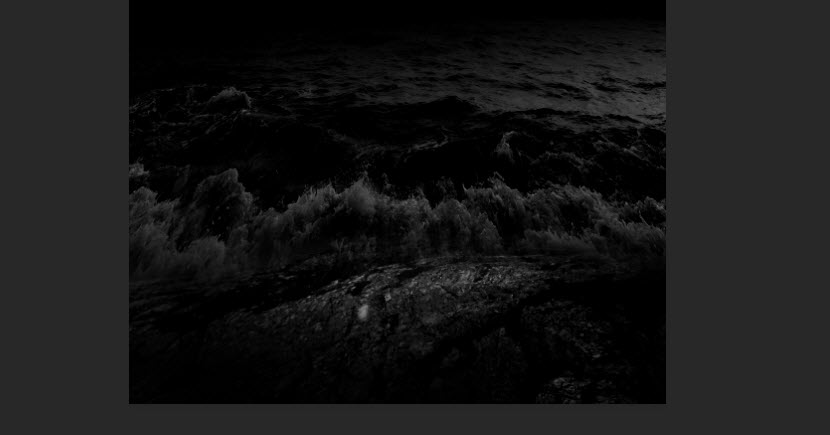
and here is the effect so far:
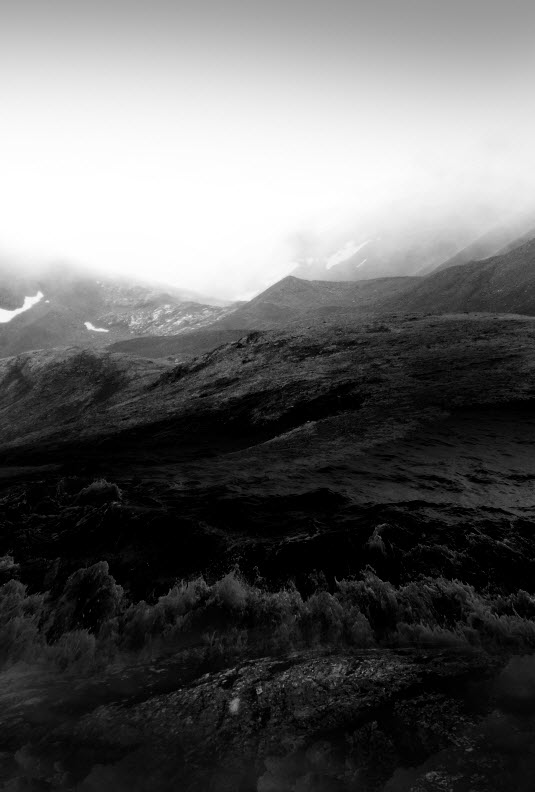
Step 3
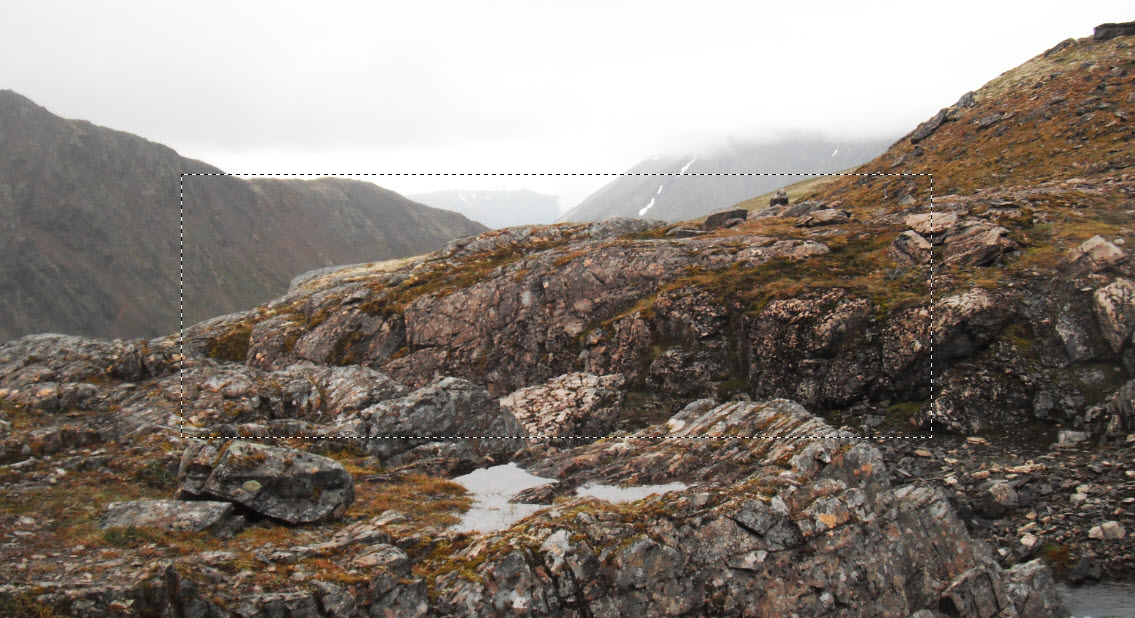
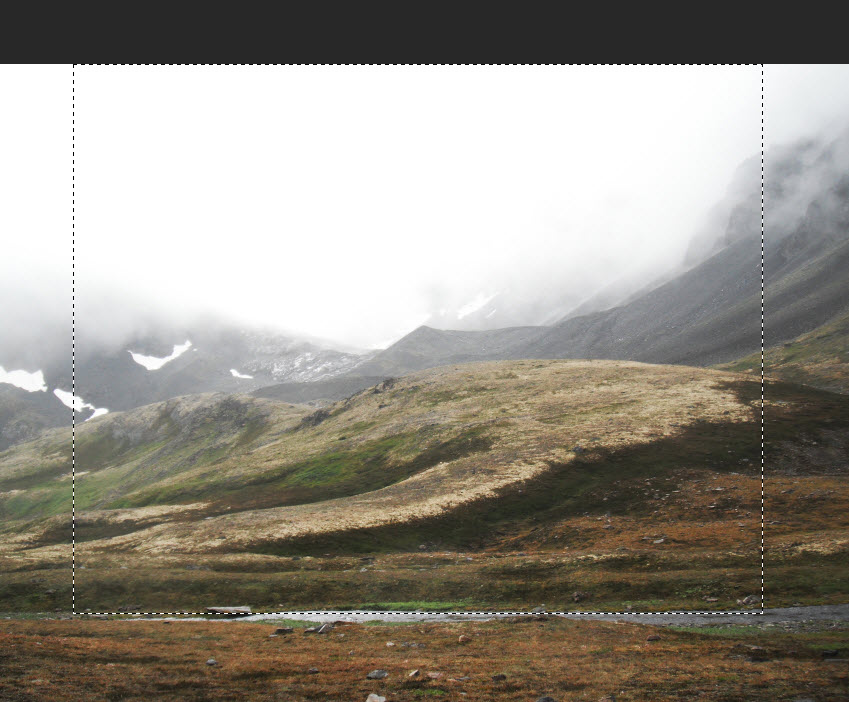
Load the mountain stock into Photoshop and select the following area:
Paste the selection to our document and place it above the ocean. Use a soft eraser to fade the bottom of this mountain layer so it blends into the ocean:

Apply the following image adjustments to this mountain layer:
Black & White
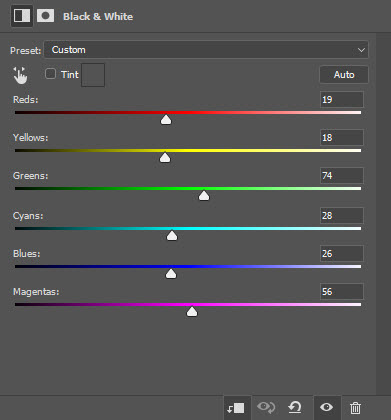
Levels

and here is the effect so far:
Step 4
Load the warrior stock image into Photoshop and cut out the warrior. Place it to the following position on our canvas:
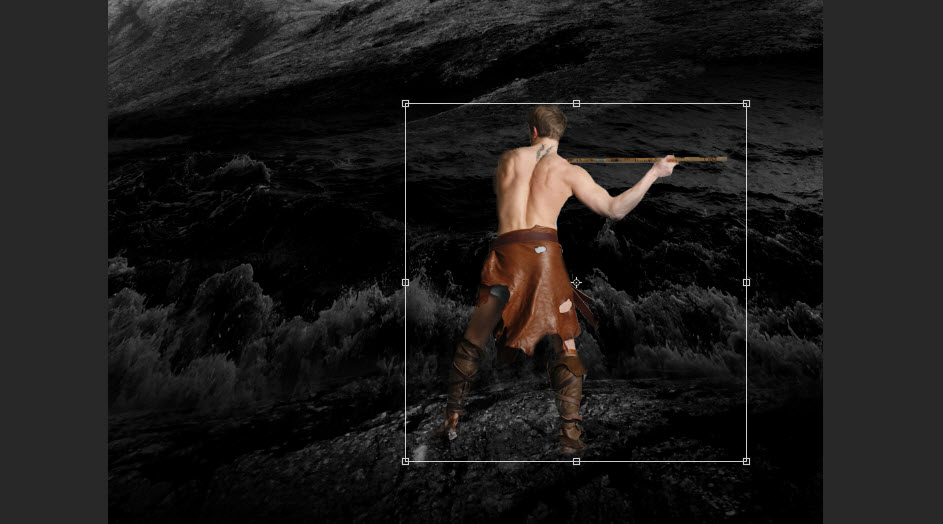
Apply the following image adjustments to the warrior layer:
Black & White
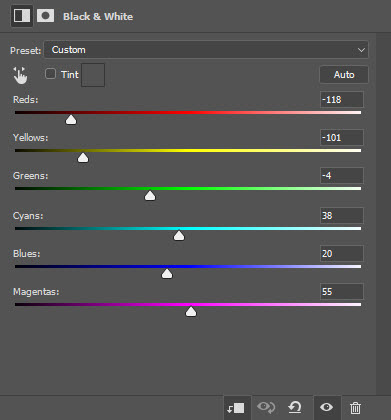
Levels
Curves
and here is the effect so far:
Use a soft black brush, paint some shadow on the warrior’s feet:

Step 5
Load the castle stock image into Photoshop. Cut out the castle and place it over the mountain as shown below:

Apply the following image adjustment to the castle:
Black & White
and here is the effect so far:
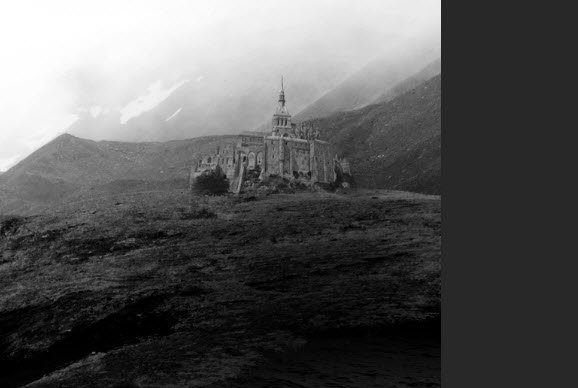
Use the same process and add one more castle to the left side: (make it smaller and reduce its layer opacity)

Step 6
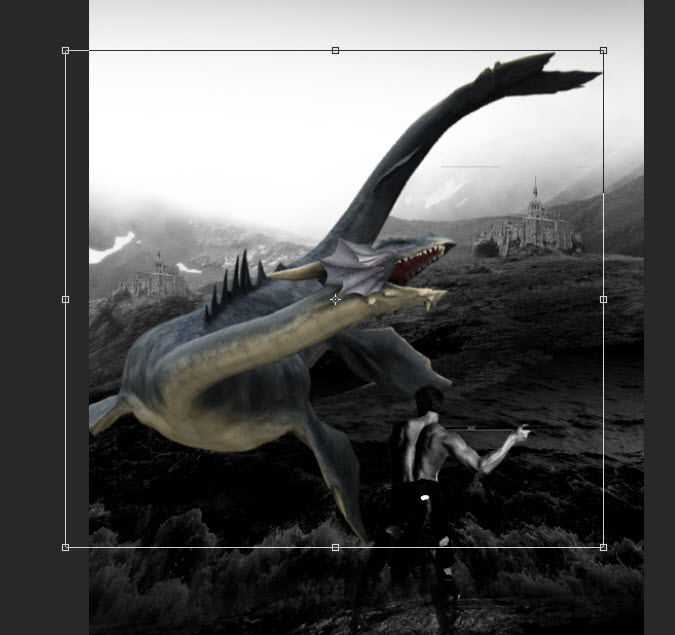
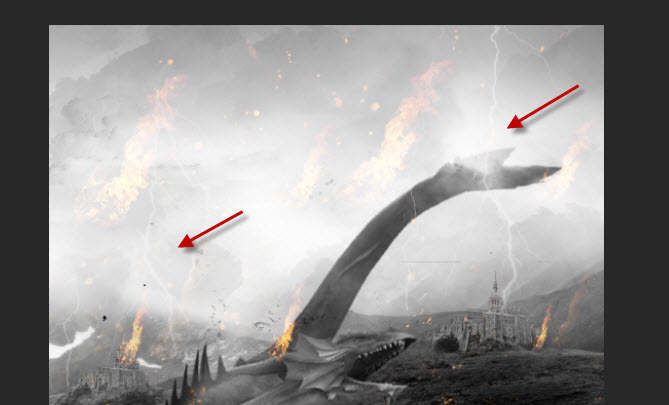
Load the dragon stock image into Photoshop and add it to our document as shown below:
Load the fire stock image into Photoshop and copy the entire image:
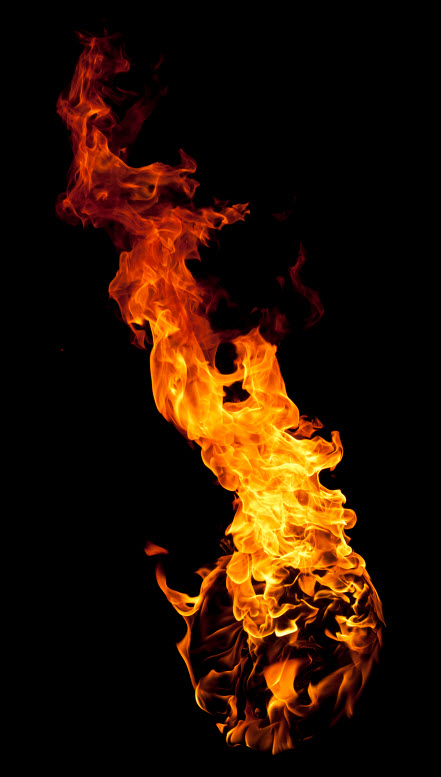
Paste it to our document and set its layer blend mode to “screen”:

Reduce the size of the fire layer, make a few copies and scatter them across the canvas to form an epic fireball falling effect:
Step 7
We’re almost done! For final touches, I paint some clouds over the sky with a cloud brush:

Add added some particle effect with a particle brush:
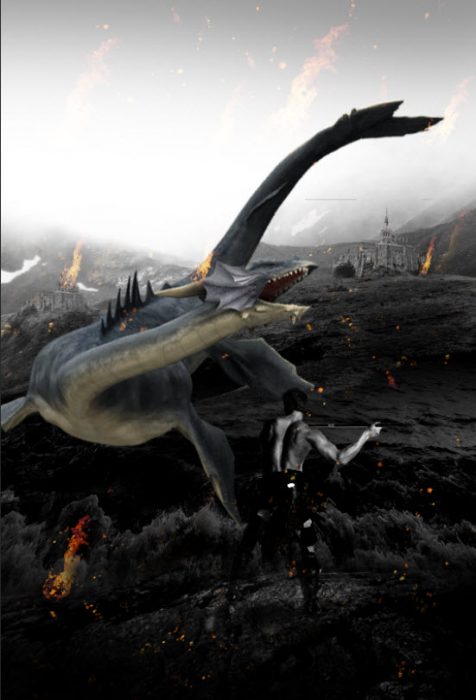
Added a couple lightning strikes with a lightning brush:
and this is my effect so far:

I further added some colours with a couple of colour balance adjustment layers, and this is my final result:
That’s it for this tutorial! Leave me a comment below if you have any questions. Enjoy it? Help me share it around by using the share buttons at the top of the tutorial!
1 Comment
Wow !!
Thats a really great tutorial. you shared every step are awesome. Thanks for shearing.