
In this comprehensive Photoshop tutorial, you’ll learn the step-by-step process of crafting a captivating stone arm photo manipulation. Perfect for intermediate users, this tutorial focuses on mastering essential techniques like clipping masks, layer blend modes, and image adjustments.
The surreal effect you’ll create can be applied to diverse projects such as book covers, game art, and movie posters.
The PSD file of this tutorial is available via the PSD Vault VIP members area.
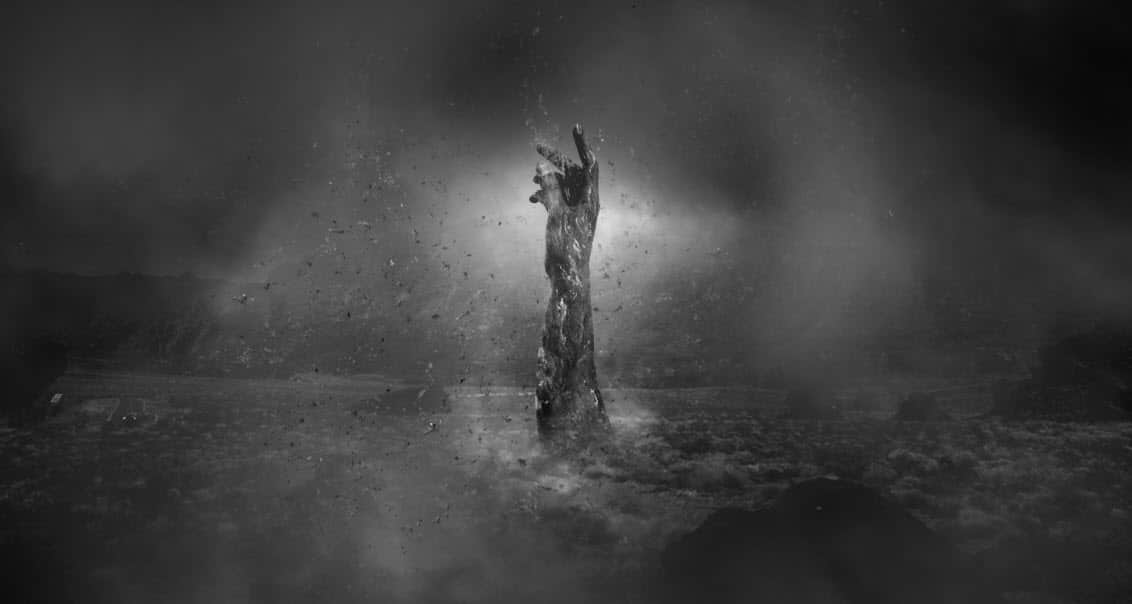
Here is a preview of the final effect I have for this tutorial: (click to enlarge)
PSD Vault VIP Membership
Unlock the full potential with the PSD file, exclusively available through the PSD Vault VIP members area at just $6.95/month. Gain access not only to this PSD file but also to a treasure trove of 250+ other PSD files and exclusive Photoshop tutorials. Don’t miss out, signup now and get exclusive!
To complete this tutorial, you will need the following stocks:
Root by Mihraystock
Step 1
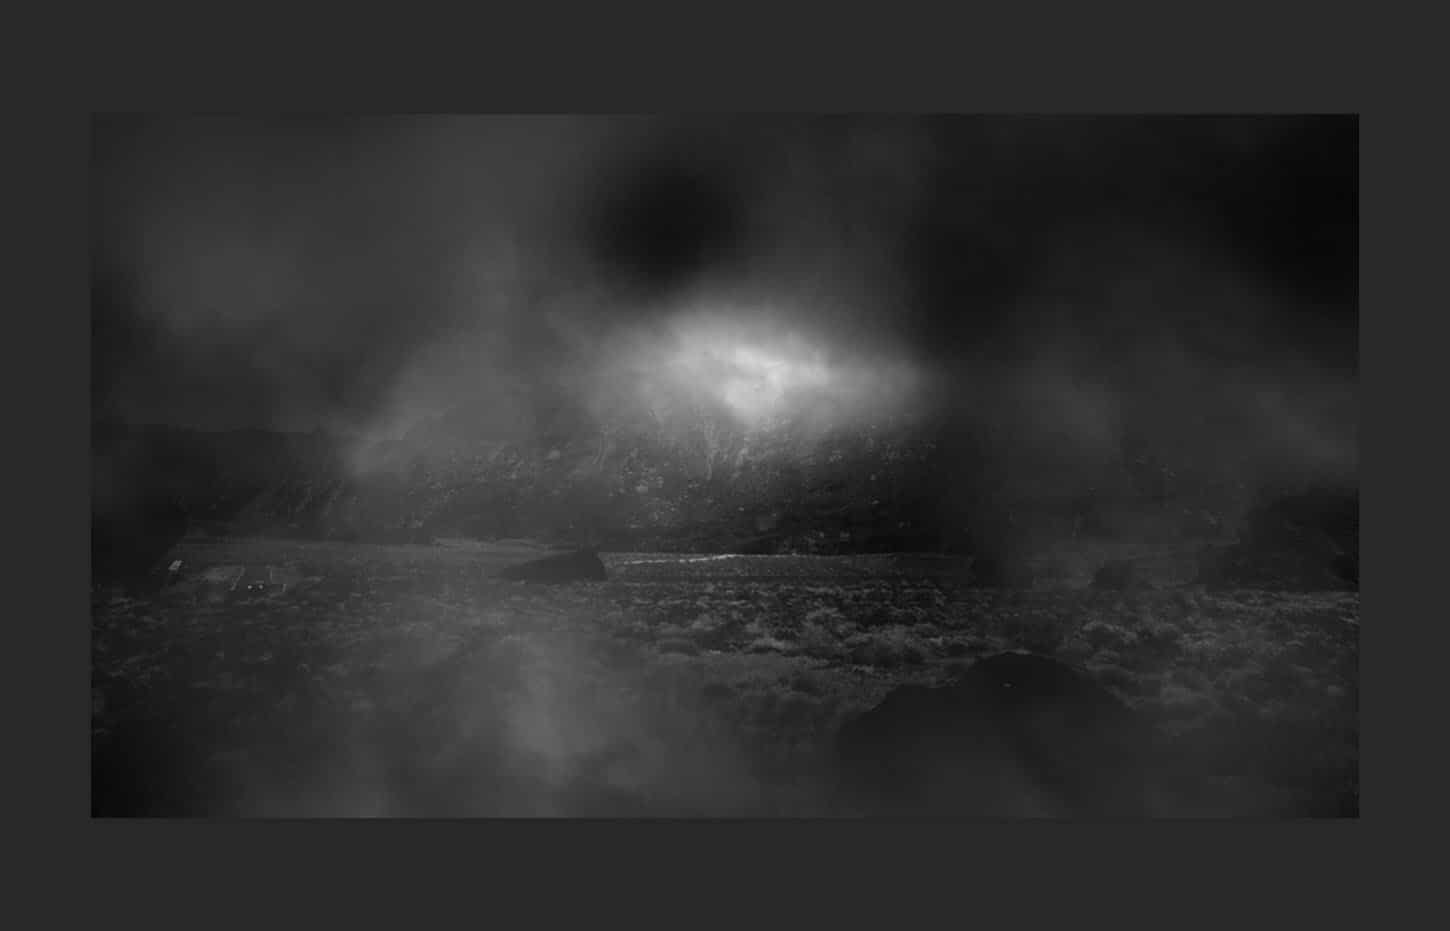
Create a new document sized 1440px * 800px with black background. Paint or render some cloud over the background layer:
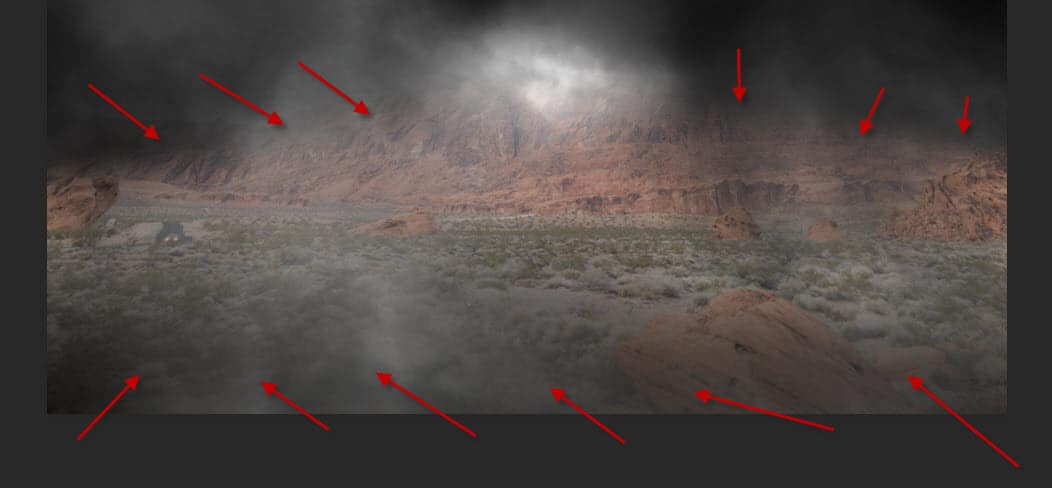
Load the “Landscape” image into Photoshop, copy and paste the following section onto the our document:

Use a soft eraser, fade the following portion of the landscape layer:
Apply the following image adjustment layer as clipping mask to the landscape layer:
Black and White

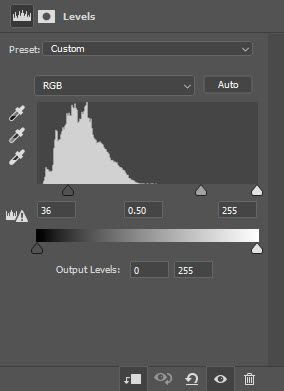
Levels
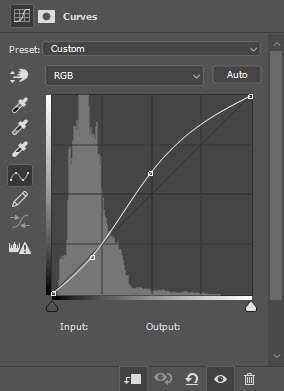
Curves
and here is the effect so far:
Step 2
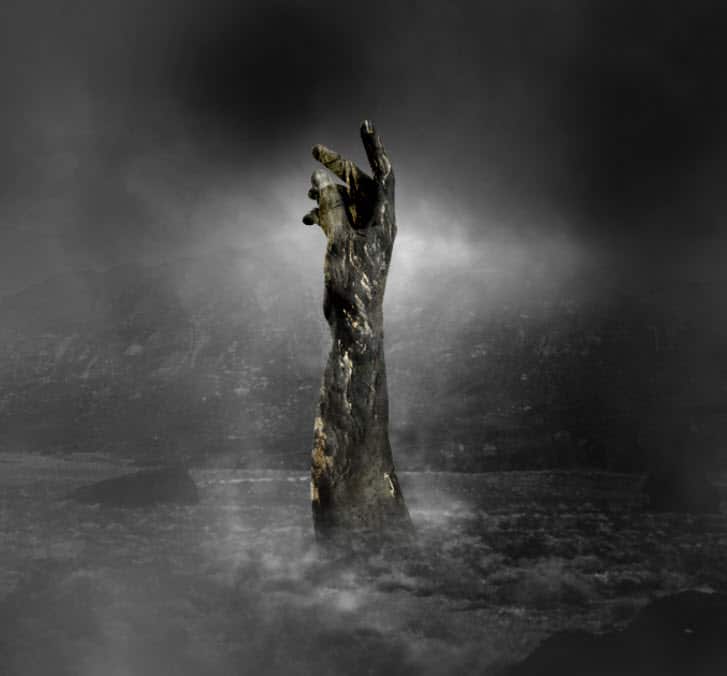
Load the “Arm” stock image into Photoshop, select the hand and place it at the centre of the document, as show below:
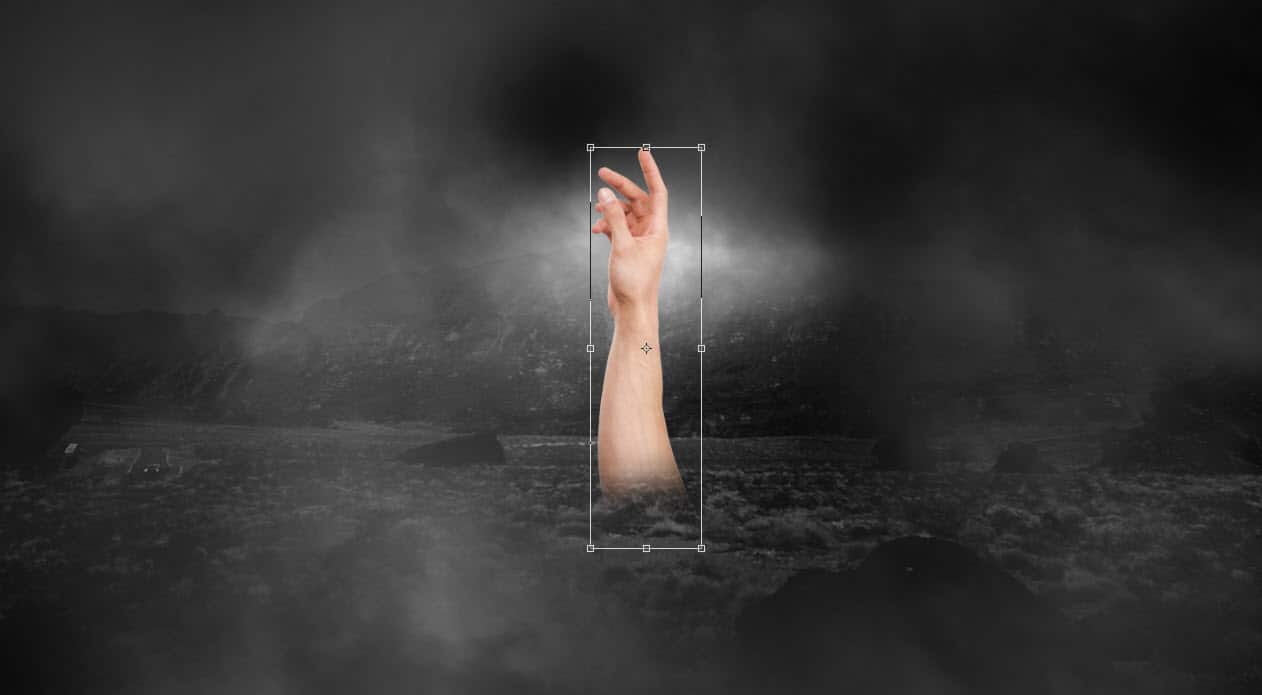
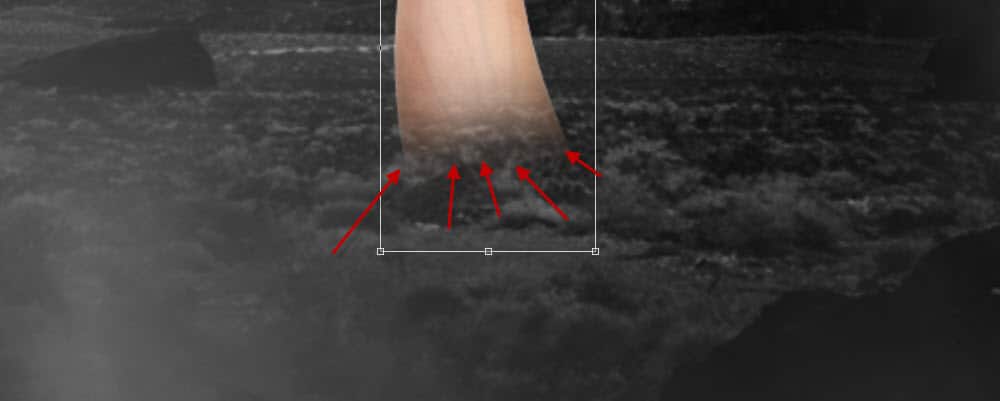
Use a soft eraser to remove the bottom of the arm so it blends into the ground:
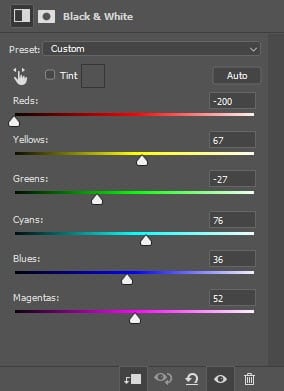
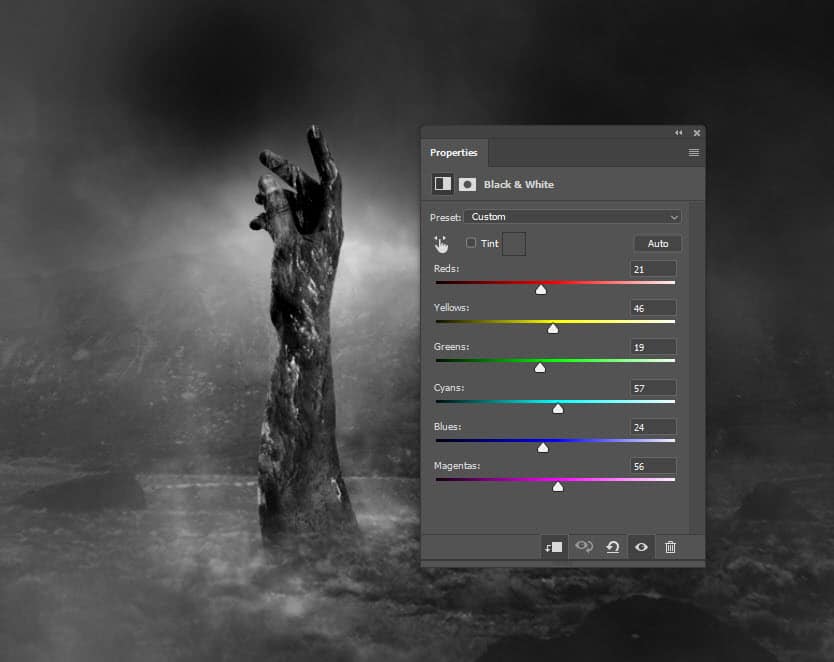
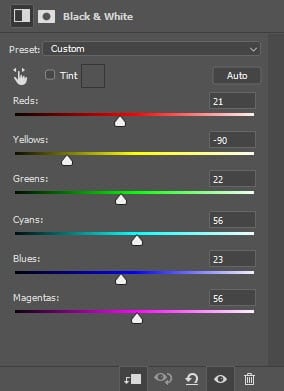
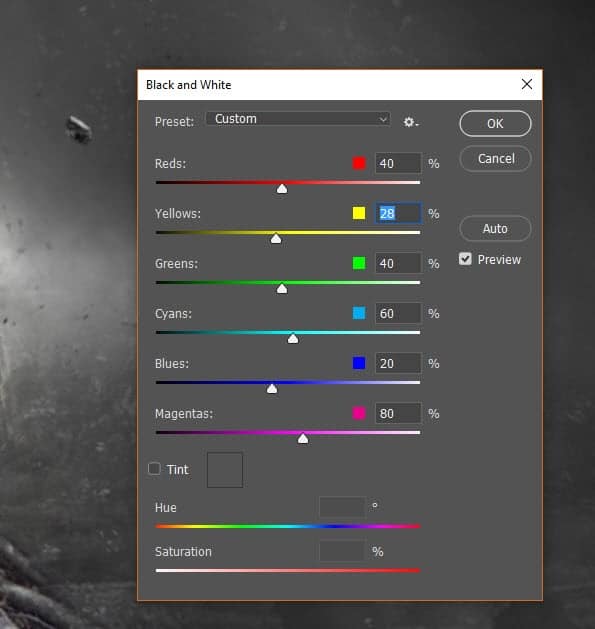
Apply the following black and white adjustment to the arm layer:
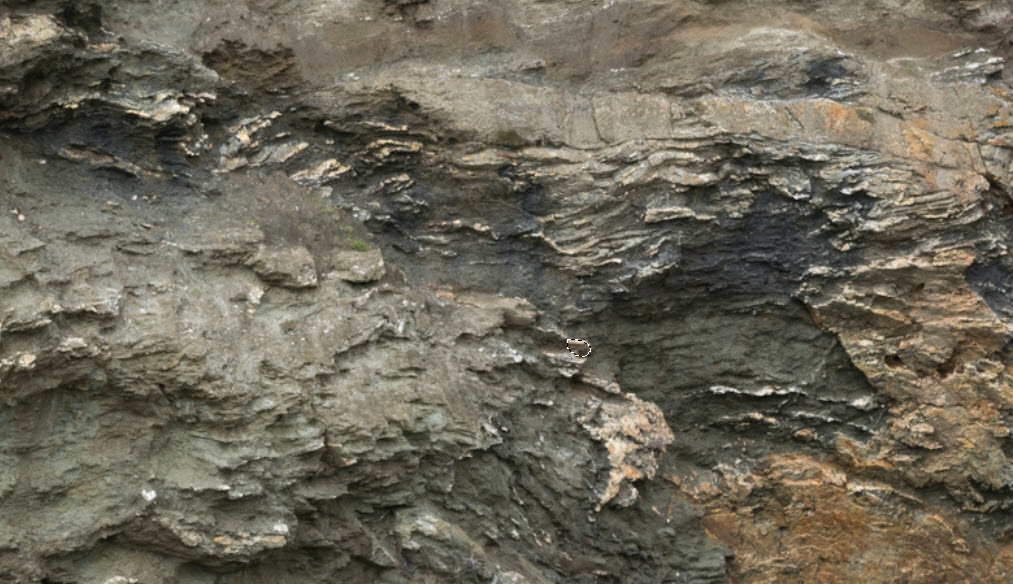
Load the rock stock image into Photoshop, select a portion of the rock:
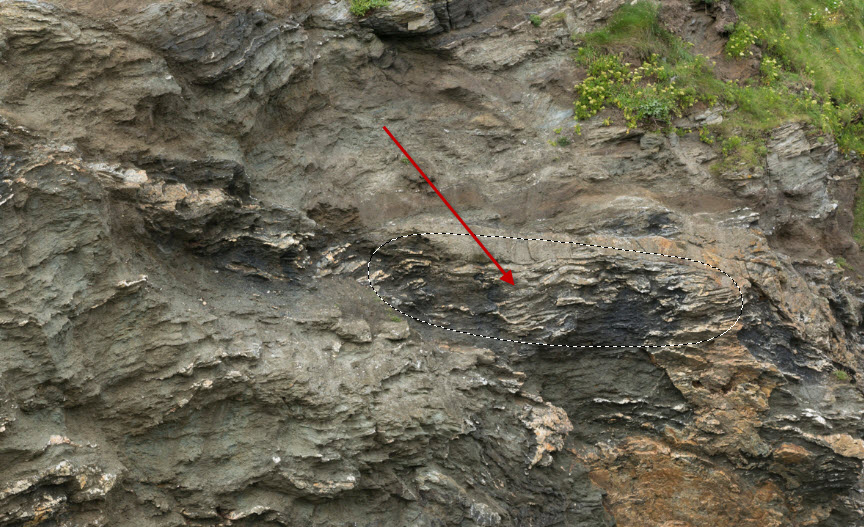
Copy and paste the rock selection to our canvas, change its layer blend mode to “hard light”, and set it as clipping mask to the arm layer:
Apply the following black and white adjustment of the rock layer, and you will have the following effect:
Step 3
Create a new layer on top and use a particle brush, paint some particles around the arm:
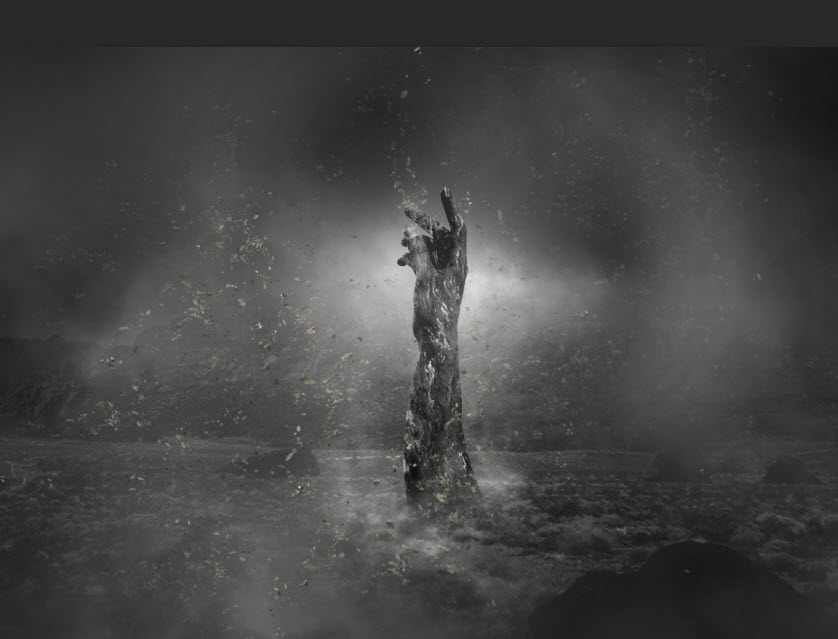
Black and White this particle layer:
and this is effect so far:
As you can see, by adding particles we can bring extra dynamics for our artwork.
Step 4
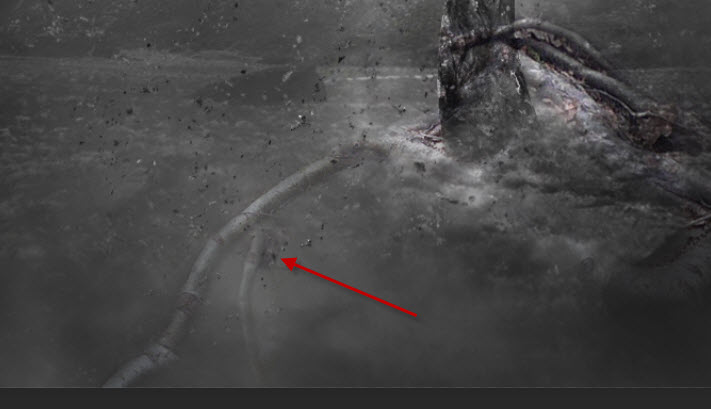
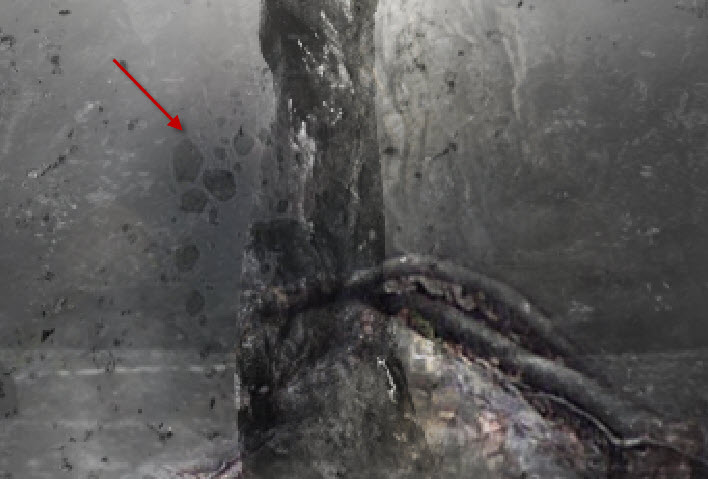
Load the “Root” into Photoshop and draw a rough selection of the root:
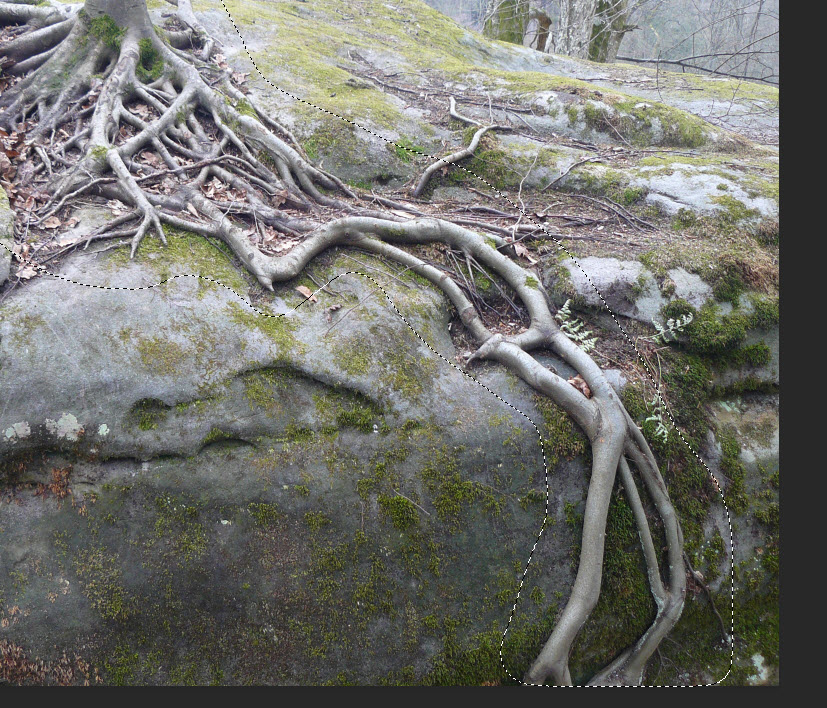
Copy and paste the root to our document, tidy up the layer with the eraser tool and attach it to the arm, as shown below:
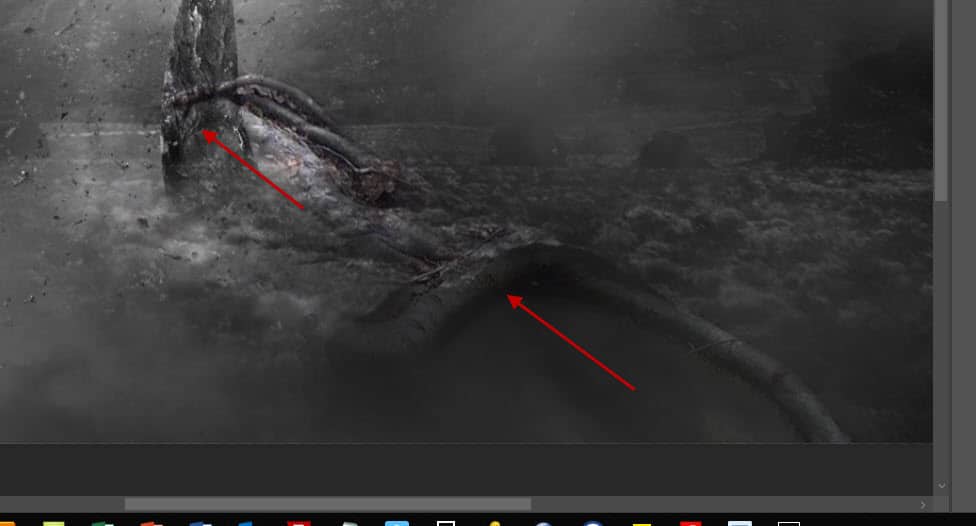
Add more roots to the left side of the arm:
Step 5
Go to the Rock stock image and select a very small piece of rock:
Copy and paste the selection to our document:

Black and White this small stone:
Duplicate this stone layer a few times and adjust the size and angle of each duplicated layer:
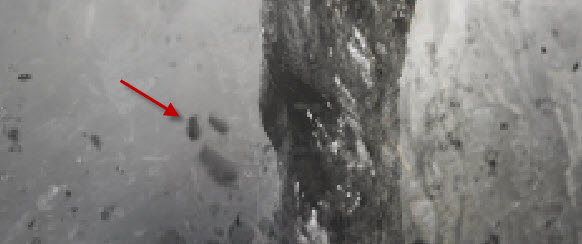
Repeat this process and add more stones around the arm:
Step 6
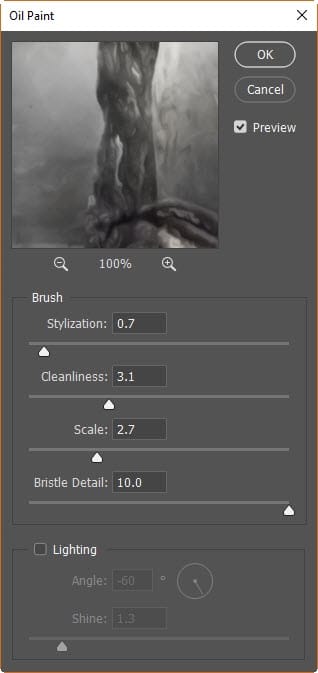
We’re almost done! For final touches, I flattened the layers and applied this Oil Paint filter to add some painting effect for the artwork:
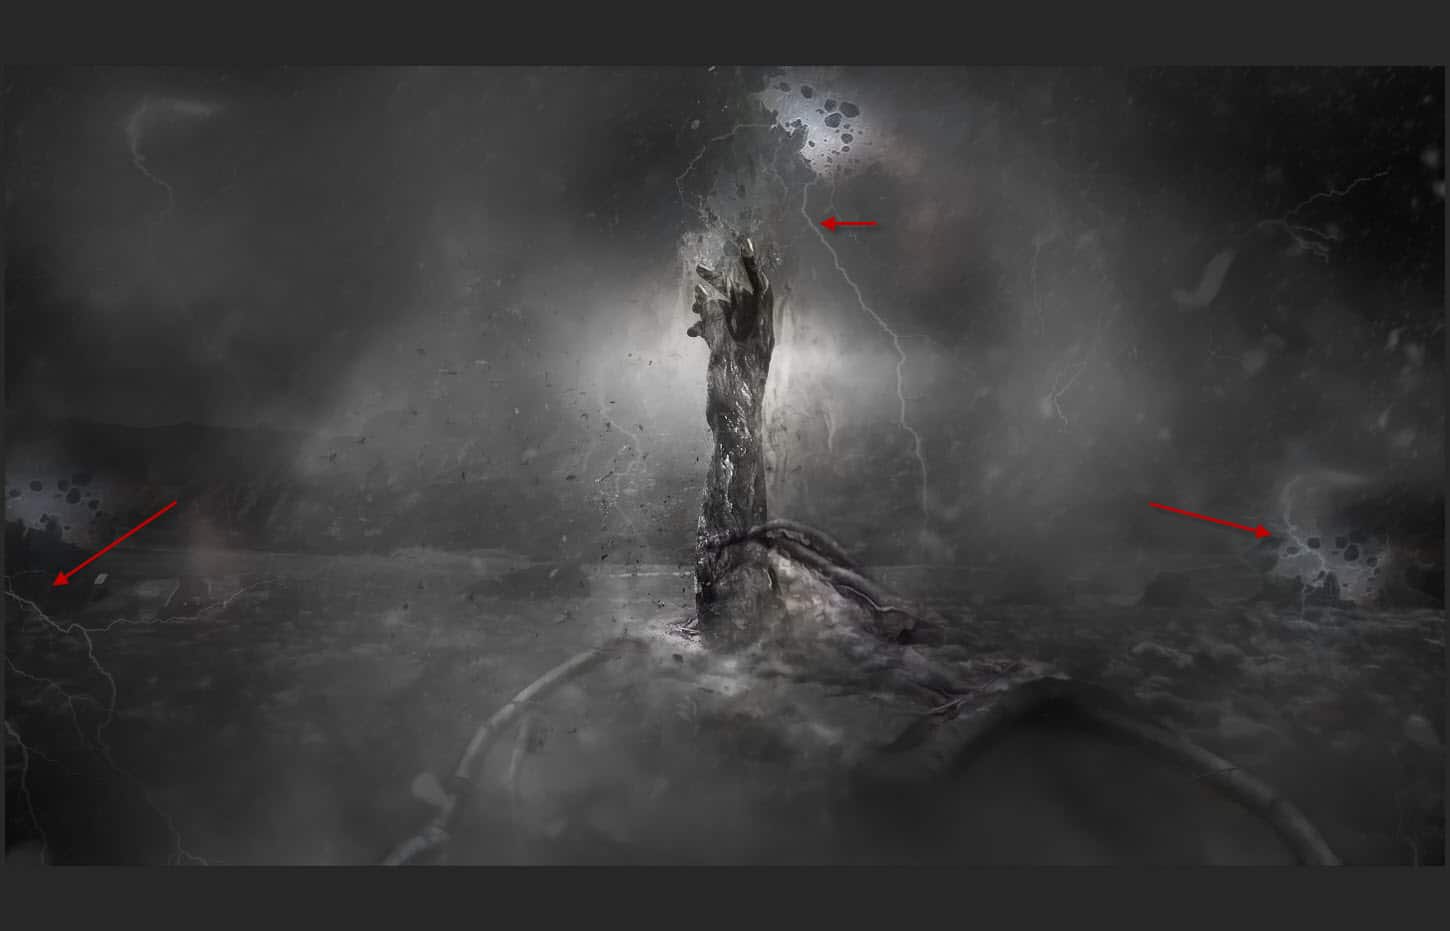
Add some extra lightning and small rocks around the artwork:
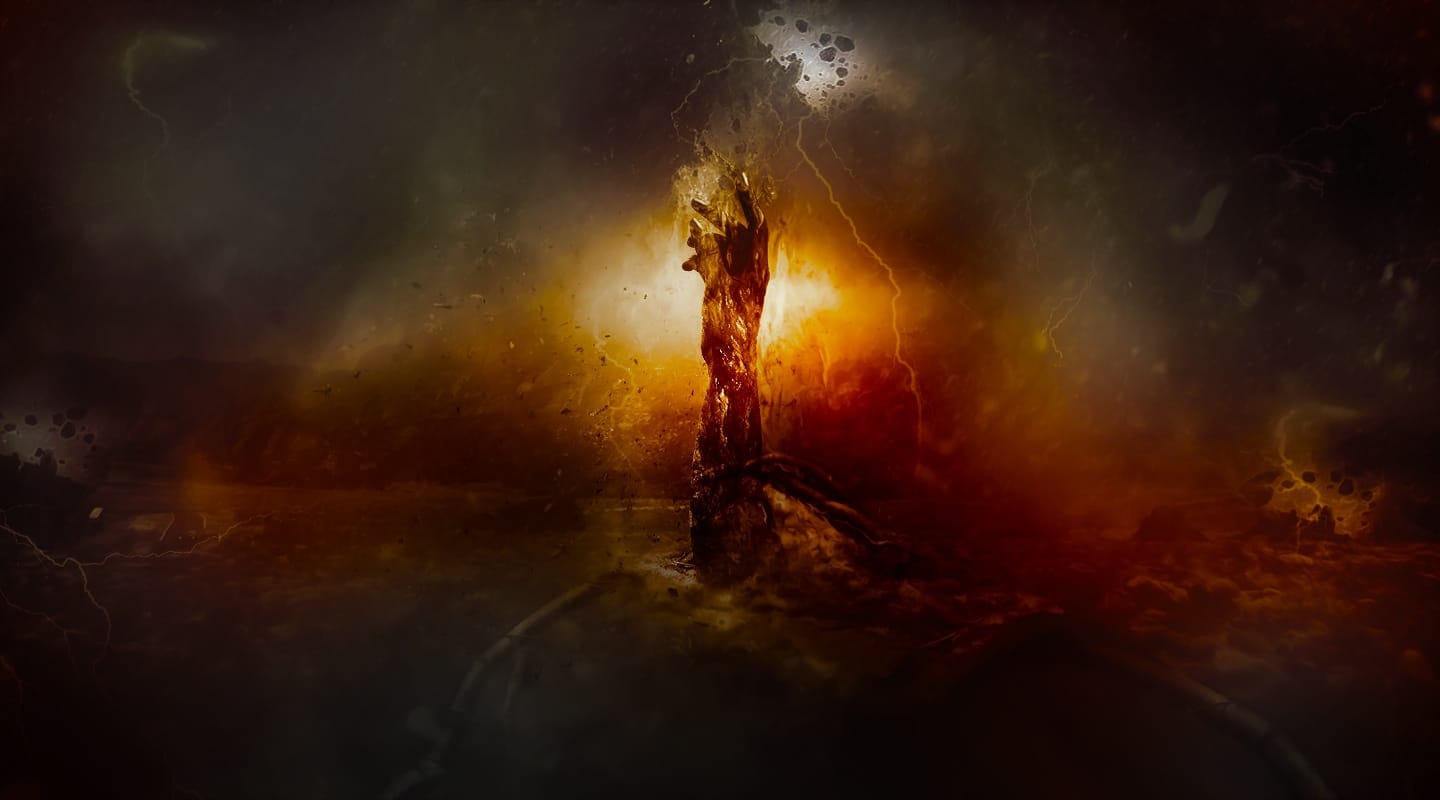
I further applied some colours to the image, and this is my final result:
Bonus Tips
1. Explore Texture Overlays
Experiment with texture overlays to add depth and realism to your artwork. Overlay textures like grunge or cracked surfaces onto specific elements, such as the stone arm or roots, to create a tactile feel. Adjust the blending modes and opacities for a seamless integration.
2. Play with Lighting Effects
Take your manipulation to the next level by experimenting with different lighting effects. Use gradients or soft brushes to simulate light sources, casting shadows and highlights on the elements within your composition. This can significantly enhance the overall mood and atmosphere of your artwork.
3. Experiment with Colour Grading
Elevate your final result by playing with colour grading techniques. Introduce a colour balance adjustment layer to fine-tune the overall colour scheme. You can create a harmonious palette or go for a more surreal look, depending on your artistic vision. Colour grading adds an extra layer of sophistication to your composition.
4. Utilise Custom Brushes for Detail
Incorporate custom brushes to add intricate details and nuances to your artwork. Whether it’s creating realistic textures on the stone arm or adding subtle variations to the roots, custom brushes can elevate the overall quality of your composition. Experiment with brushes that emulate natural elements like leaves, cracks, or water droplets.
5. Apply Smart Filters for Flexibility
Maintain flexibility in your design by using smart filters. Convert your layers into smart objects before applying filters, allowing you to make non-destructive changes later on. This way, you can experiment with filter settings without permanently altering your original elements, providing more room for creative exploration.
Remember, experimentation is key in Photoshop. Feel free to tweak and customise these tips to suit your artistic preferences and take your stone arm photo manipulation to new heights!
Further Reading
30 Tutorials for Creating Stunning Photo Effects in Photoshop
15 Creative Photoshop Ideas to Try Yourself in 2024
Conclusion
Explore the possibilities of photo manipulation with this stone arm tutorial. Share your thoughts and questions in the comments, and let’s enhance your Photoshop skills together!
That’s it for this tutorial! Leave me a comment below if you have any questions and I will try my best to answer it.