
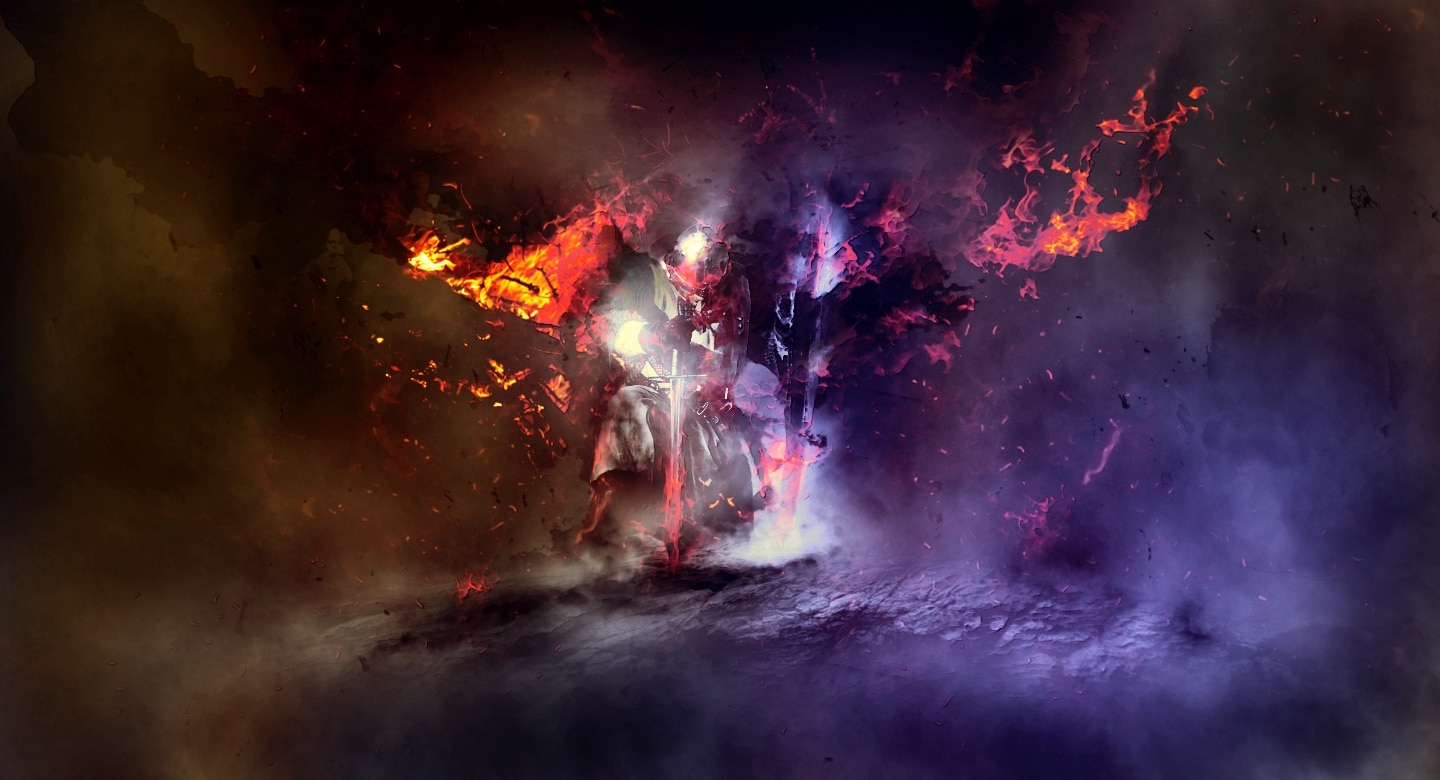
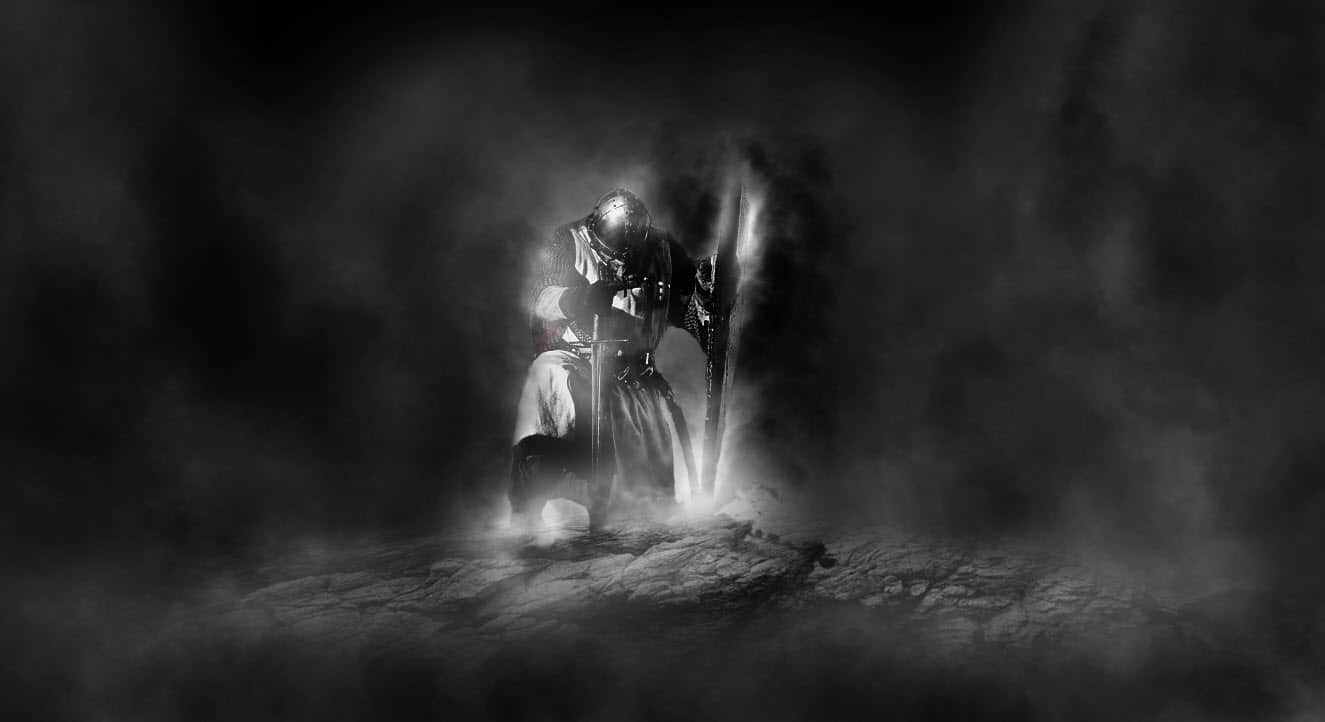
In this tutorial, I will show you the process I took to create this dark medieval knight scene in Photoshop. The inspiration came from the “Dark Soul” game art as I’m a huge fan of this series.
The PSD file of this tutorial is available via the PSD Vault VIP members area.
The difficulty level of this tutorial is intermediate.
NOTE: THE PHOTOSHOP TUTORIAL IS DONE IN PHOTOSHOP CC – THEREFORE SOME SCREENSHOT MAY HAVE SLIGHTING DIFFERENT LAYOUT AS IN THE EARLIER VERSION. SOME BRUSHES ARE EXCLUSIVE TO PHOTOSHOP CS6.
Here is a preview of the final effect I have for this tutorial: (click to enlarge)
PSD Vault VIP Membership
You can download the PSD File for this tutorial via the VIP Members Area for only $6.95/Month (or less)! You will not only get this PSD File, but also 100+ other PSD Files + Extra Goodies + Exclusive Photoshop tutorials there. Signup now and get exclusive!

OK Let’s get started!
To complete this tutorial, you will need the following stocks:
Step 1
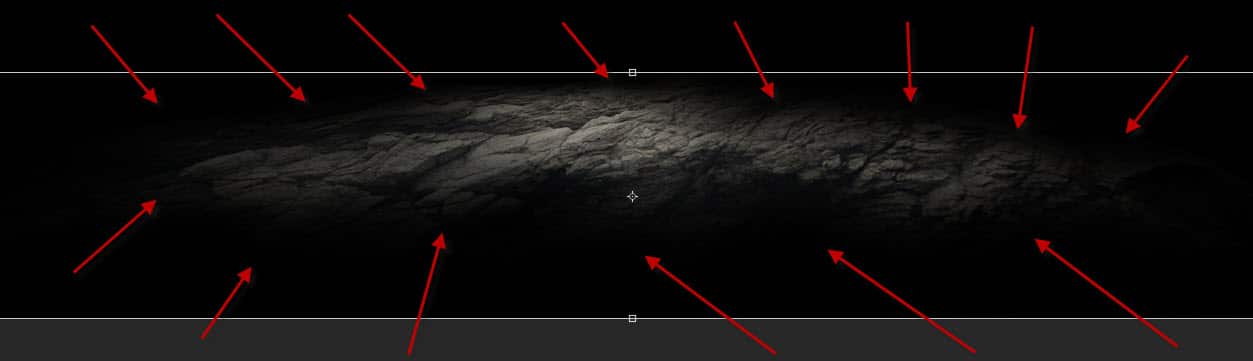
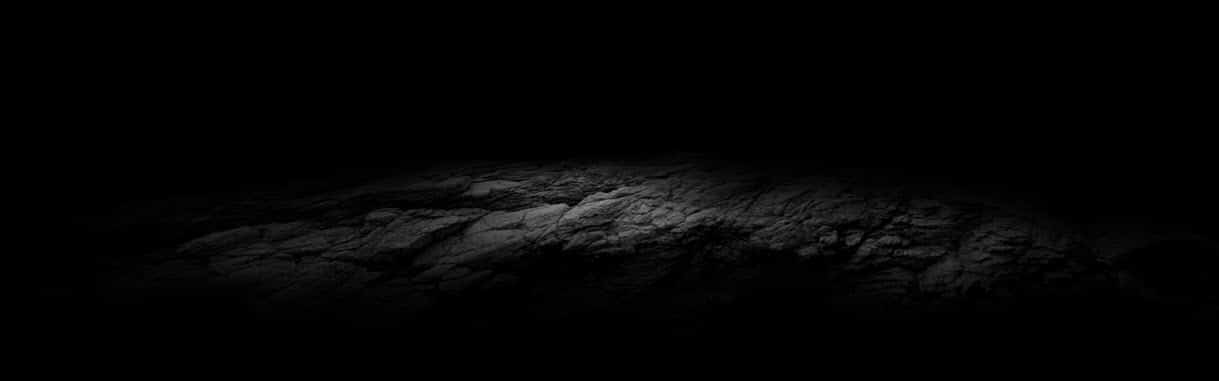
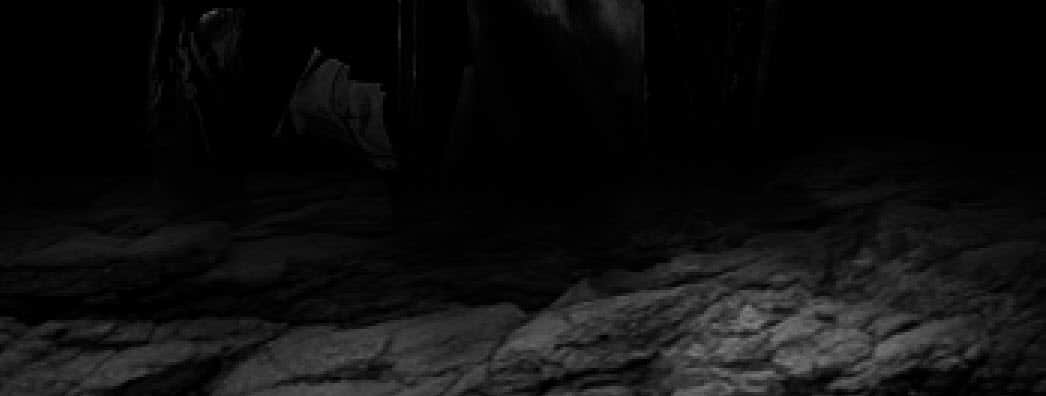
Create a new document sized 1440px * 780px with black background. Load the rock stock image into Photoshop, select the following portion with the Lasso Tool:

Use a soft eraser, remove parts of the rock texture as shown below:
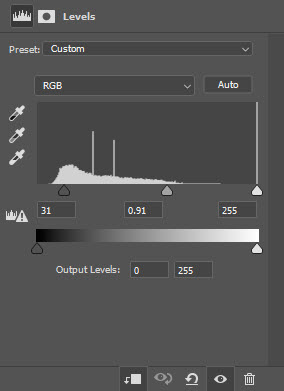
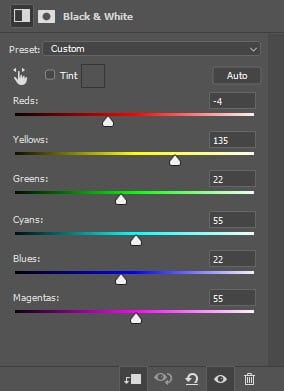
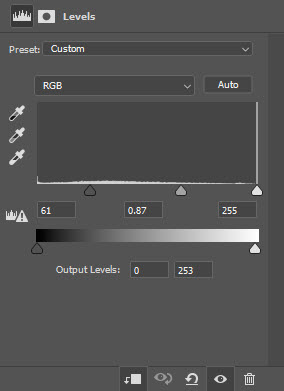
Apply the following 2 adjustment layers as clipping masks for the ground layer:
Black and White
Levels
and this is the effect so far:
Step 2
Load the knight stock image into Photoshop, cut out the knight and place it at the centre of the canvas as shown below:
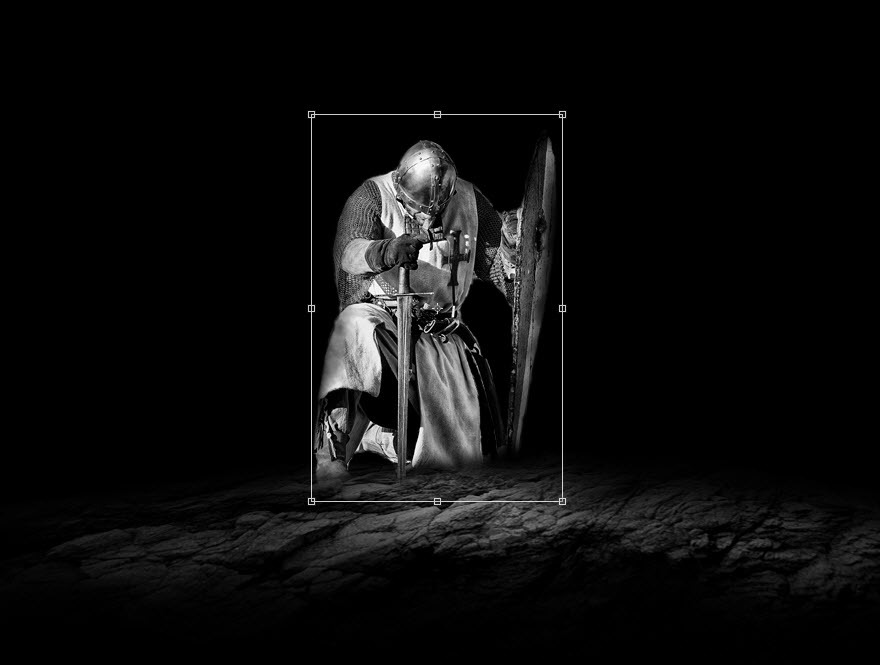
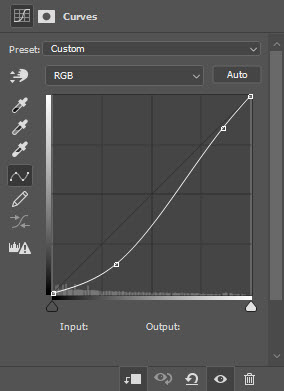
Apply the following adjustment layers as clipping masks to the knight layer:
Curves
Use a cloud/smoke brush, paint some cloud effect around the knight and the canvas:
Use a soft round brush, paint shadow under the knight’s feet and make the feet blend into the ground layer:
Step 3
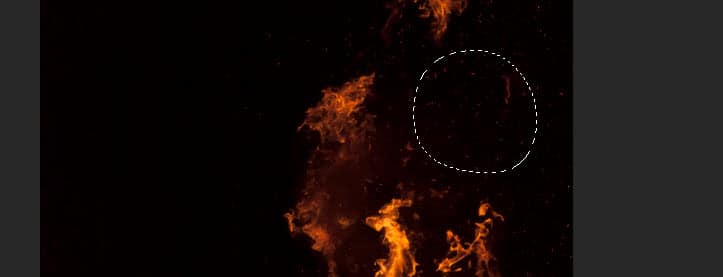
We will use the fire stock image to create a dark energy releasing scene. Load the fire stock image into Photoshop and select the following portion:
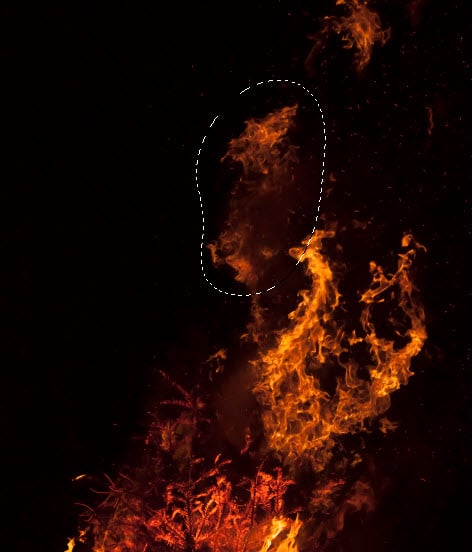
Copy and paste the selection to our document, change its blend mode to “Color Dodge”:
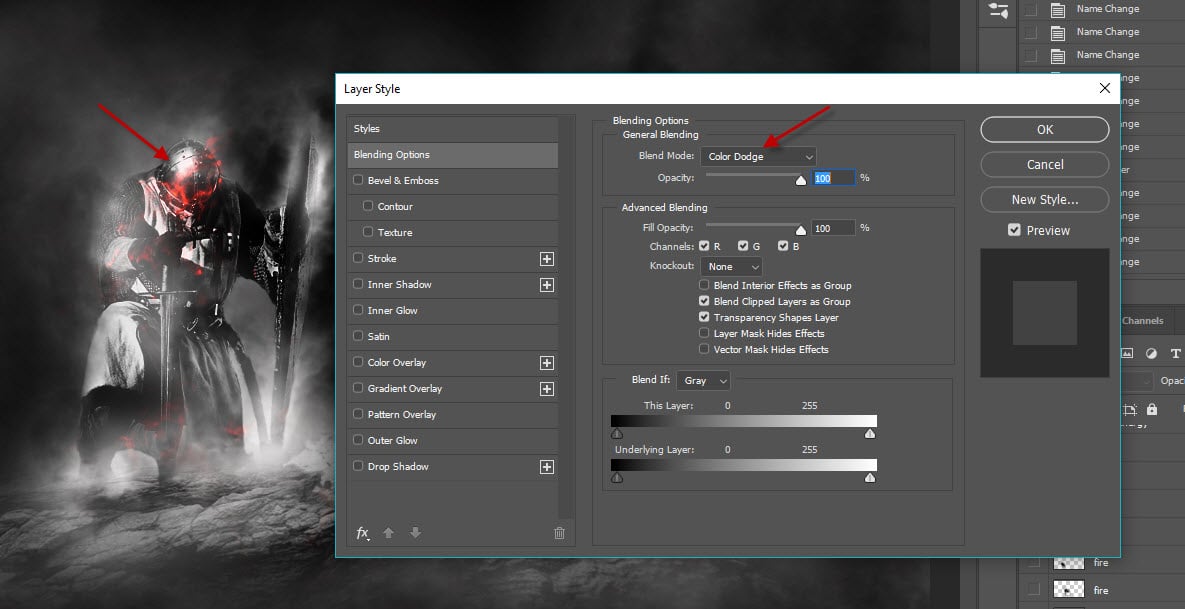
Duplicate this fire layer a few times, attach the duplicated layer to the knight to create a dark energy release scene:

Step 4
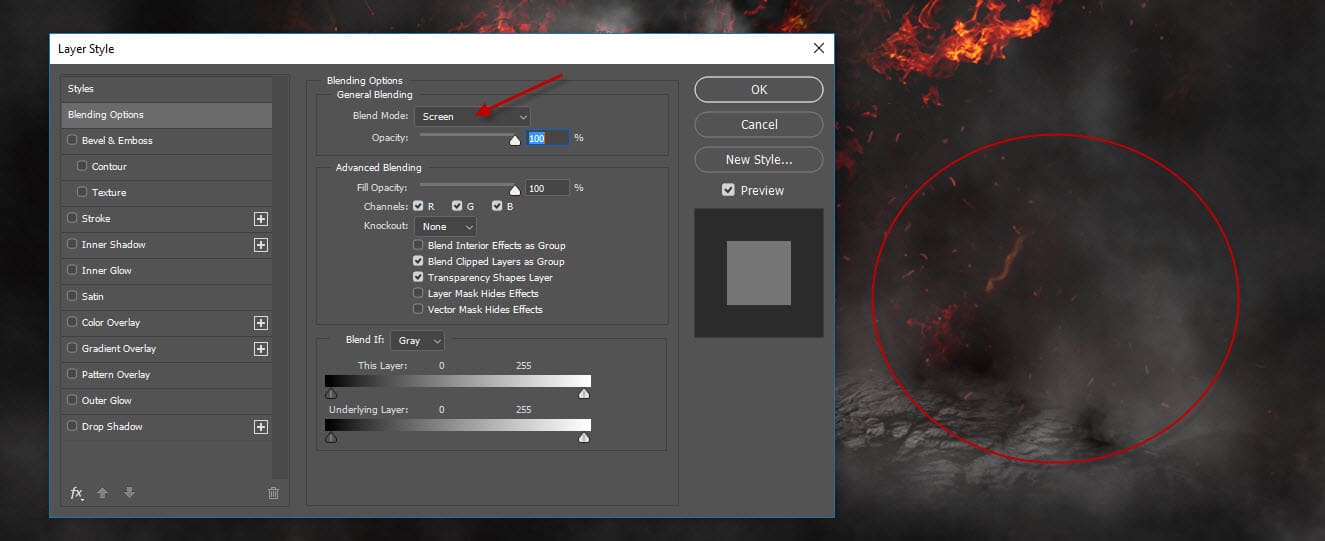
For final touches, we will add some fire sparks around the canvas by selecting this portion from the fire stock image:
Copy and paste the selection and set its blend mode to “Screen”:
We can also add some extra fire effect around the knight:
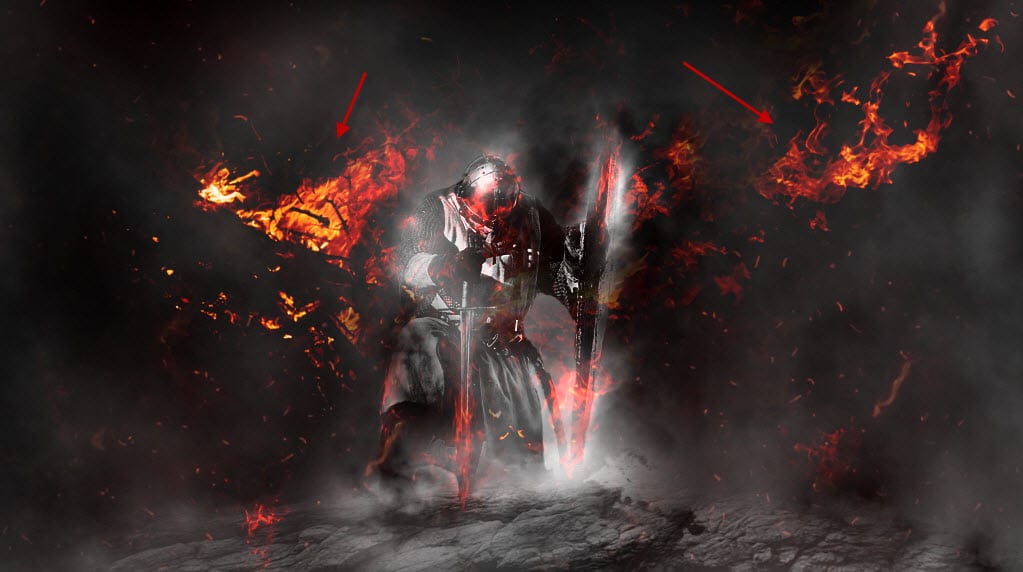
I further applied some colors to the image, and this is my final result: (click to enlarge)
That’s it for this tutorial! Leave me a comment below if you have any questions and I will try my best to answer it.