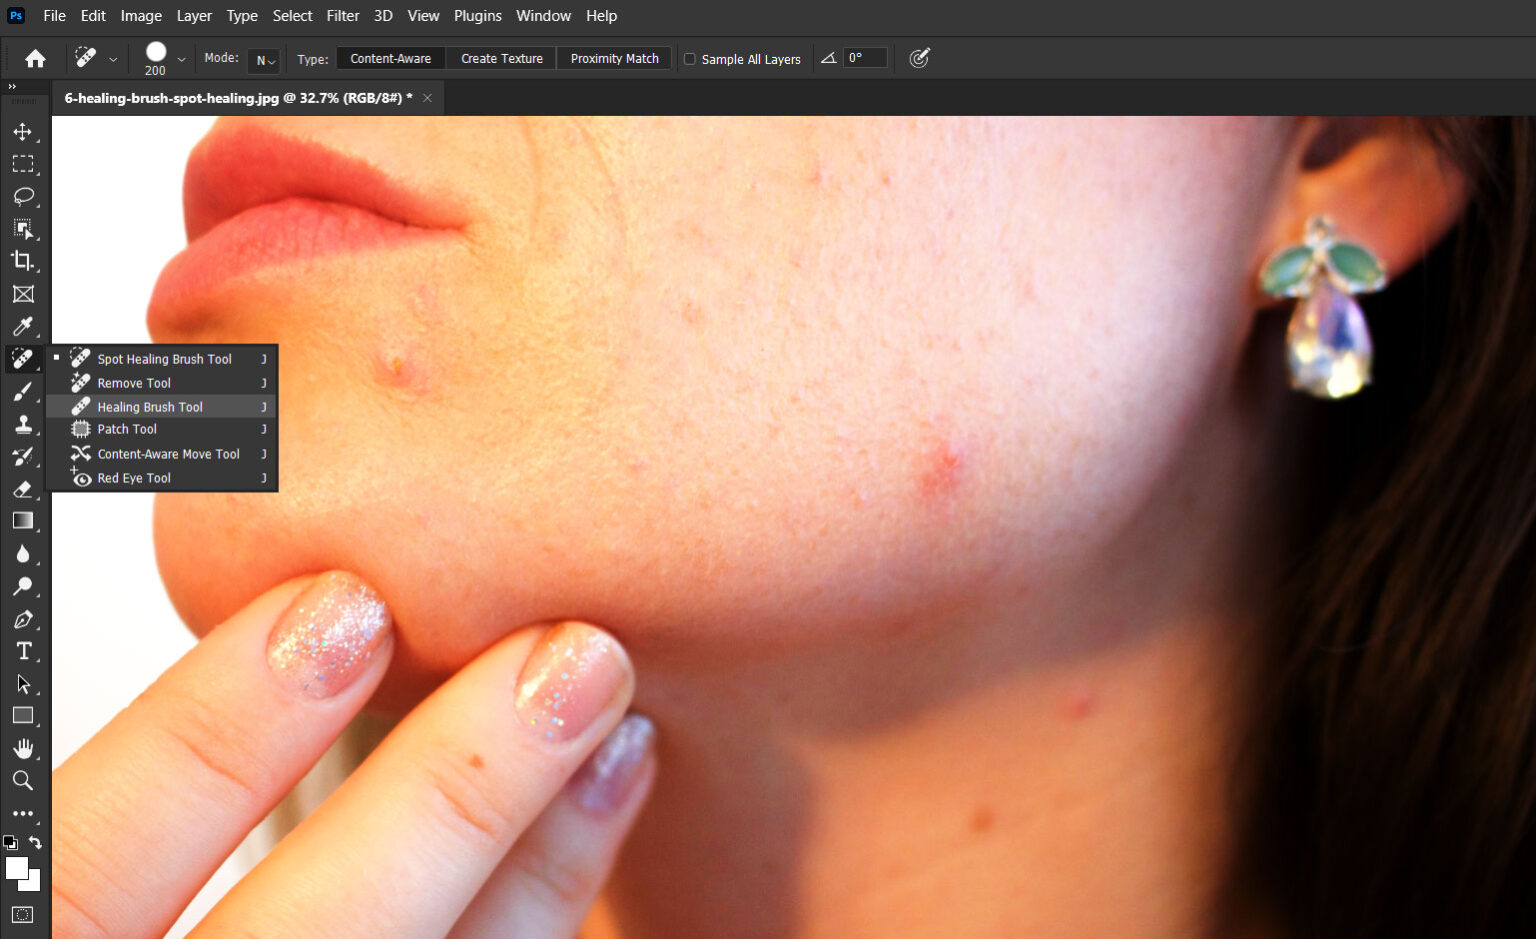
When it comes to photo retouching, Photoshop is a game-changer. Even if these days we have a variety of tools that can do instant retouching, there is still a need to learn from the ground up if you wish to become an expert at it.
In this beginner-friendly tutorial, we’ll explore two powerful tools for effortlessly removing blemishes, wrinkles, and imperfections from your photos: the Healing Brush and Spot Healing Tool.
By the end of this tutorial, you will gain an understanding of the tools and this will set you up to practice these on your own.
The Significance of Retouching
Retouching, in essence, revolves around the concept of elevating the beauty and clarity inherent in your photos while concurrently preserving an authentic and unblemished appearance.
Regardless of whether your editing endeavours encompass portraits, scenic landscapes, or any other image category, these tools will be your steadfast companions, helping you attain the pinnacle of professional-grade outcomes.
Moreover, retouching is about enhancing the beauty and clarity of your photos while maintaining a natural look. Whether you’re editing portraits, landscapes, or any other type of image, these tools will help you achieve professional results.
Getting to Know the Healing Brush & Spot Healing Tool
Before we dive into the world of retouching, it’s essential to gain a solid understanding of these two indispensable retouching features in Photoshop:
1. Healing Brush Tool
The Healing Brush Tool is your go-to for intricate retouching tasks that demand precision. It grants you the ability to meticulously select a source area from which to sample pixels, effectively covering imperfections.

2. Spot Healing Tool
In contrast, the Spot Healing Tool offers a quick fix with a single click. It automatically samples pixels from the surrounding area, seamlessly blending and replacing imperfections.

Mastering the Healing Brush Tool
Download this stock image and load it into Photoshop.
Let’s kick off our exploration with the Healing Brush Tool:
Activate the Healing Brush Tool: Locate the Band-Aid icon in the Photoshop toolbar on the left or press the shortcut J for quick access.

Select a Clean Area as a Sample: Hold down the Alt key (Windows) or the Option key (Mac) and click on a clean area near the imperfection to define your source.
The screenshot below shows a sample area that we can use to brush off the pimple of the girl’s face:

Brush Over the Imperfection: Click and drag your brush over the imperfection you want to retouch. Photoshop will seamlessly blend the source pixels with the target area to cover the imperfection.

Adjust Brush Size: You can easily adjust the brush size using the [ and ] keys as needed, or use the brush option panel.

Fine-Tune Opacity & Flow: In the options bar at the top, you have the flexibility to adjust the opacity and flow settings, providing you with precise control over blending.
You can also choose which layer to sample via the options bar:

Harnessing the Power of the Spot Healing Tool
Now, let’s delve into the capabilities of the Spot Healing Tool:
Activate the Spot Healing Tool: In the toolbar, you’ll find the Band-Aid icon with a small starburst icon. Alternatively, press J and select it from the dropdown menu.

Glide Over Imperfections: With ease, click and drag your brush over the imperfections you wish to remove. Photoshop automatically samples and blends pixels to flawlessly repair the area.

Adjust Brush Size: Just like with the Healing Brush Tool, the [ and ] keys allow you to fine-tune the brush size.
Explore the Content-Aware Option: In the options bar, consider enabling the “Content-Aware” feature, which allows Photoshop to intelligently sample and replace pixels for more intricate retouching tasks.

Tips for Effective Retouching
- Zoom In for Precision: Achieving precision in your retouching work is made easier by zooming in on the areas you’re working on.
- Regularly Resample: For both tools, it’s advisable to periodically resample clean areas to avoid repetitive patterns in your retouching.
- Experiment with Opacity: Don’t shy away from experimenting with opacity settings, as it can help you achieve more subtle and nuanced retouching effects.
In Conclusion
In the realm of photo retouching, the Healing Brush and Spot Healing Tool are your trusty companions.. With practice and experimentation, your proficiency in retouching will grow, resulting in the creation of stunning, professional-quality images.
Remember, moderation is key to successful retouching. Strive for enhancements that maintain a natural aesthetic, preserving the unique characteristics of your subjects and the captivating essence of your scenes. So, confidently wield your Healing Brush and Spot Healing Tool, and embark on your journey to crafting flawlessly retouched masterpieces within the realm of Photoshop!
