
For photo editors, creating clean masks can be a meticulous and time-consuming process. Fortunately, Adobe introduced a ground-breaking feature: the Photoshop AI masking tool. This innovative tool leverages artificial intelligence to streamline mask creation, making photo editing faster and more efficient.
What is the Photoshop AI Masking Tool?
The Photoshop AI Masking Tool is a game-changer for photo editors. It resides within the Camera Raw filter in Photoshop.
Traditionally, creating masks involved manual selection tools or tedious hand-drawn outlines. This new tool, however, eliminates these steps by intelligently identifying objects, people, and even specific body parts within your image.
How Does the AI-Powered Masking Tool Work?
The magic behind the AI-powered masking tool lies in its ability to analyse your image and recognize patterns. Here’s a simplified breakdown of its workflow:
Open your image in Photoshop
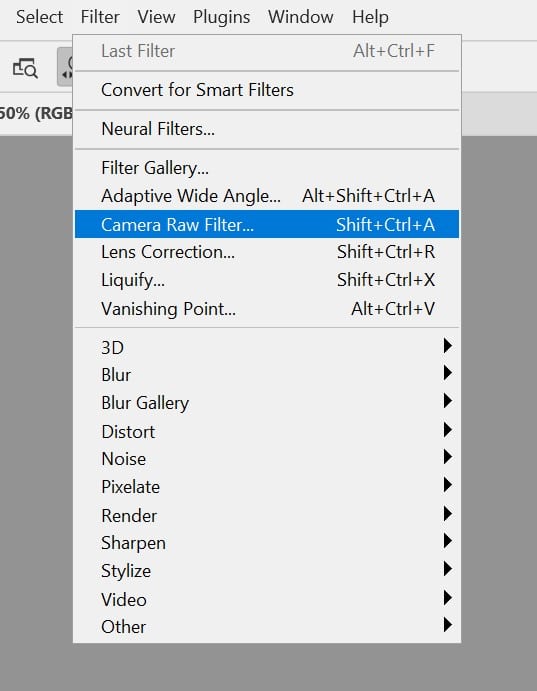
Navigate to the Filter menu and select “Filter > Camera Raw Filter.” This opens the Camera Raw workspace.
Within the Camera Raw workspace, locate the “Object Selection Tool” (usually represented by a square with a lasso icon).

Click on the object you want to isolate. The AI-powered masking tool will automatically generate a mask around the selected object.
Furthermore, if you image contains people, the tool will automatically detects them and you will have the option to select them via the “People” panel:
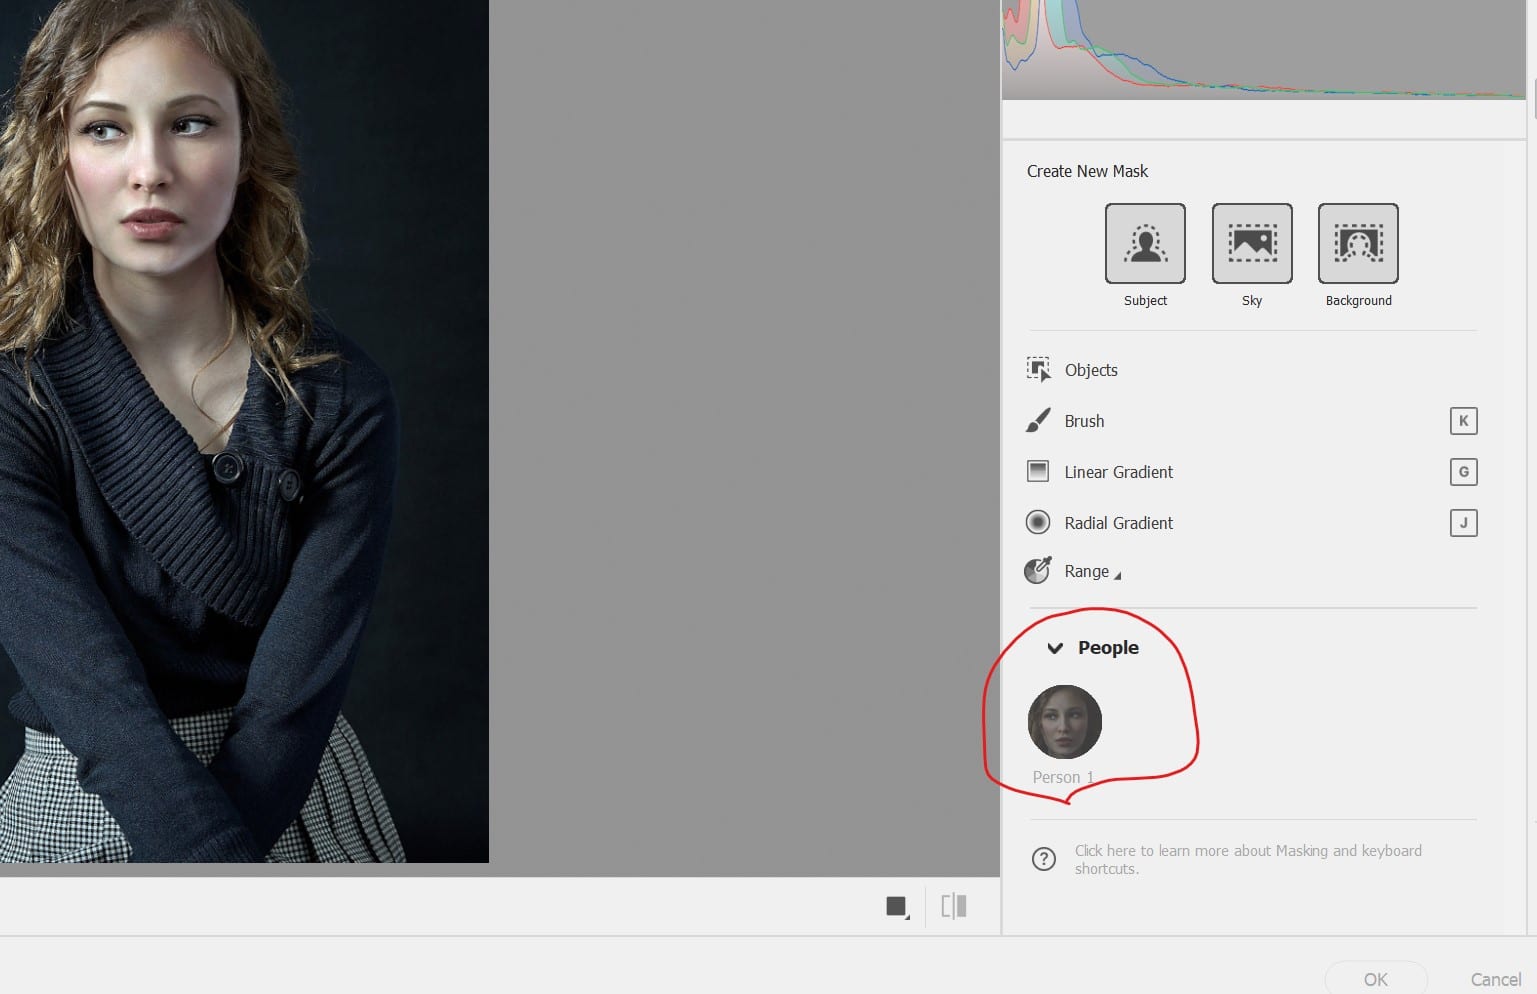
You can then click on the person’s icon and go into a detailed selection panel as shown below, where you can choose which part of the person you want to mask:

That’s it! It is that simple.
Benefits of Using the AI-Powered Masking Tool
The AI-powered masking tool offers a multitude of benefits for photo editors of all levels. Here are some key advantages:
- Saves Time and Effort: This tool eliminates the need for manual selection, significantly reducing editing time. Whether you’re working on a simple portrait or a complex scene with intricate details, the AI-powered masking tool can expedite your workflow.
- Improved Accuracy: Manual selections can be prone to human error, especially with complex shapes. The AI-powered masking tool leverages advanced algorithms to create precise masks, ensuring clean edges and seamless transitions.
- Simplified Workflows: By automating the masking process, the tool frees you to focus on other creative aspects of photo editing. This allows you to explore color adjustments, lighting effects, and other enhancements with greater efficiency.
- Versatility: The AI-powered masking tool is incredibly versatile. It can handle a wide range of objects, from people and animals to specific elements within your image. This makes it a valuable asset for various photo editing tasks.
Applications of the Photoshop AI Masking Tool
The applications of the AI-powered masking tool are vast and limited only by your creativity. Here are a few examples:
- Background Replacement: Easily swap out distracting backgrounds for a more visually appealing composition.
- Portrait Editing: Effortlessly isolate your subject for precise skin retouching, background blurring, or creative manipulations.
- Object Removal: Remove unwanted elements from your image with ease, such as stray objects or power lines.
- Creative Compositing: Combine multiple images seamlessly by using the AI-powered masking tool to isolate specific elements and create unique compositions.
Additional Tips
Fine-tuning Your Mask:
- Refine Edges: The tool offers “Refine Edge” options similar to traditional masking tools. Play with sliders for “Shift Edge” and “Feather” to adjust the mask’s precision and smoothness.
- Brush Refinement: Use the brush tool with black paint to remove unwanted areas from the mask and white paint to bring back details accidentally excluded.
Optimising Tool Usage:
- Start with High-Quality Images: The AI-powered masking tool performs best with clear, well-lit photographs. Grainy or blurry images can lead to less accurate selections.
- Focus on Contrasting Subjects: The tool excels at identifying objects with distinct contrast from the background. Solid colors or busy backgrounds might require some manual refinement.
- Use Layer Masks: Always create masks on a separate layer to maintain a non-destructive editing workflow. This allows for easy adjustments and edits later.
Advanced Techniques:
- Masking Multiple Objects: Hold “Shift” while clicking on objects to create masks for multiple elements simultaneously.
- Masking Hair and Fur: For subjects with fine details like hair or fur, use the “Refine Hair” option within the “Refine Edge” menu. This helps create a more natural-looking mask.
- Combining with Traditional Masking Tools: Don’t be afraid to combine the AI-powered masking tool with traditional methods like the lasso tool or colour range selections for ultimate control over complex masks.
By leveraging the power of the Photoshop AI Masking Tool, you can streamline your workflow, achieve stunning results, and unlock new creative possibilities in your photo editing journey.