In this tutorial, I will show you the steps to create this “Doom Bringer” Fantasy Digital Art in Photoshop. Along the way, we will practice cloud rendering, some simple photo retouch techniques, image adjustments, and a few tricks on how to seamless merge several objects together.
The PSD file of this tutorial is available via the PSD Vault VIP members area.
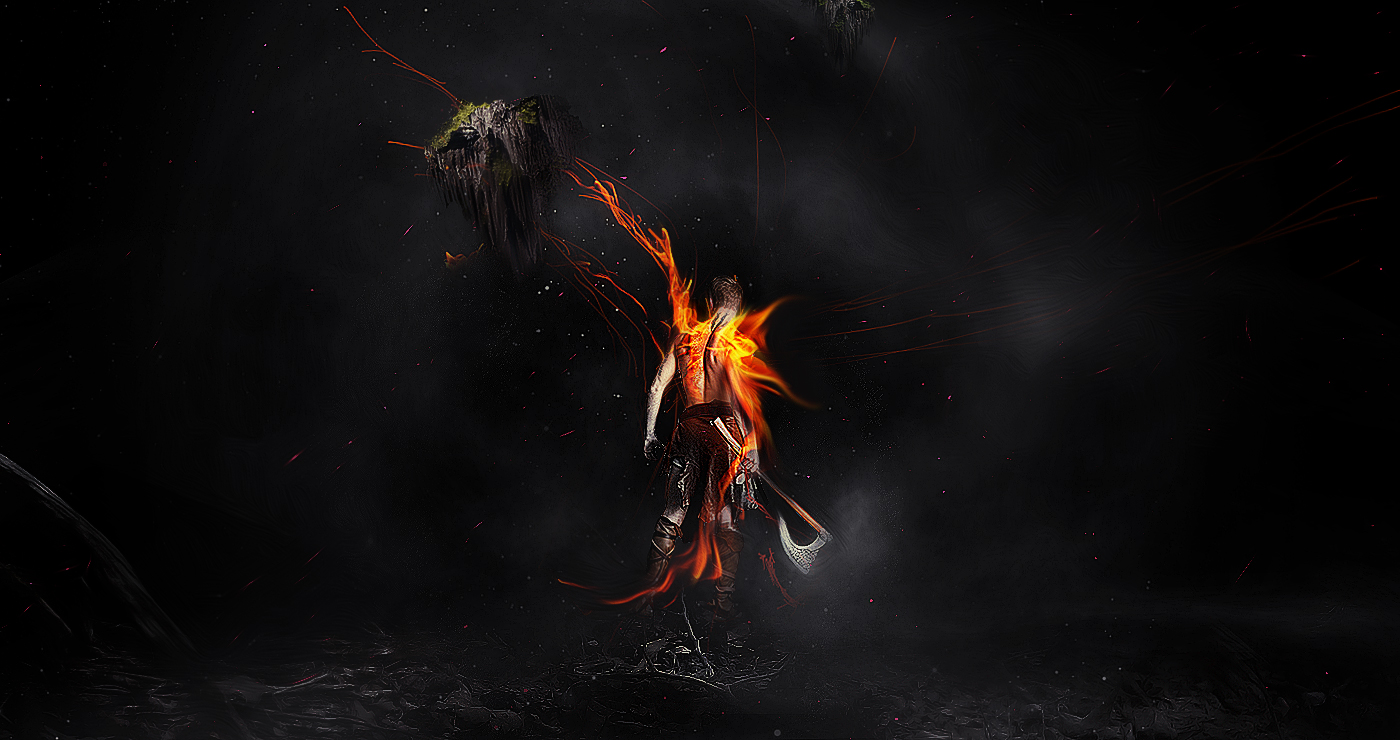
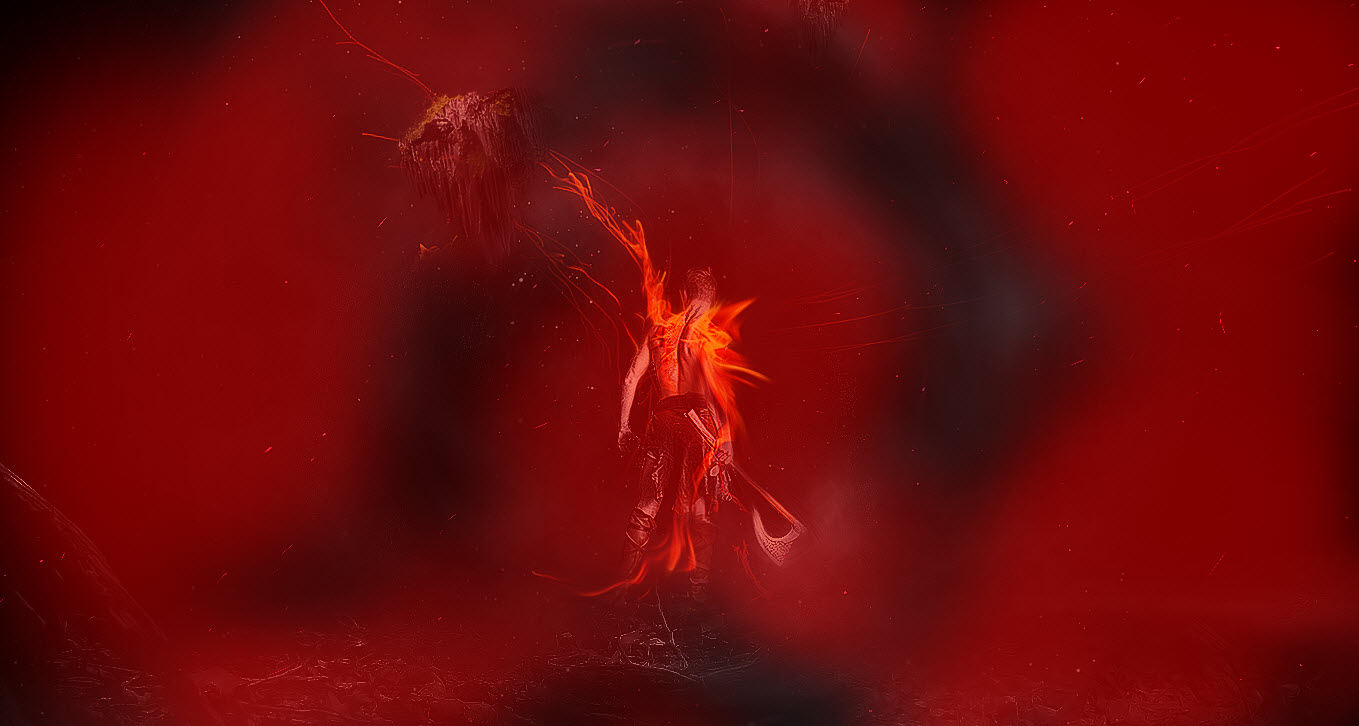
Here is a preview of the final effect I have for this tutorial: (click to enlarge)
PSD Vault VIP Membership
You can download the PSD File for this tutorial via the VIP Members Area for only $6.95/Month (or less)! You will not only get this PSD File, but also 200+ other PSD Files + Extra Goodies + Exclusive Photoshop tutorials there. Signup now and get exclusive!

OK Let’s get started!
To complete this tutorial, you will need the following stocks:
Step 1
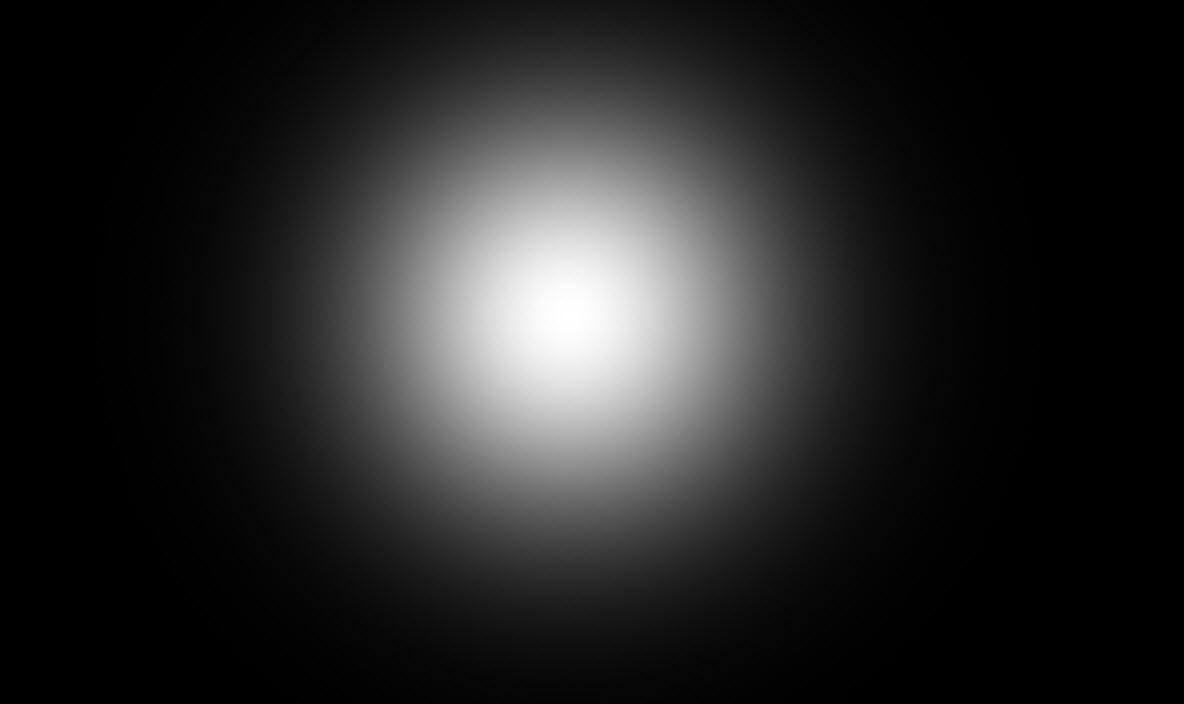
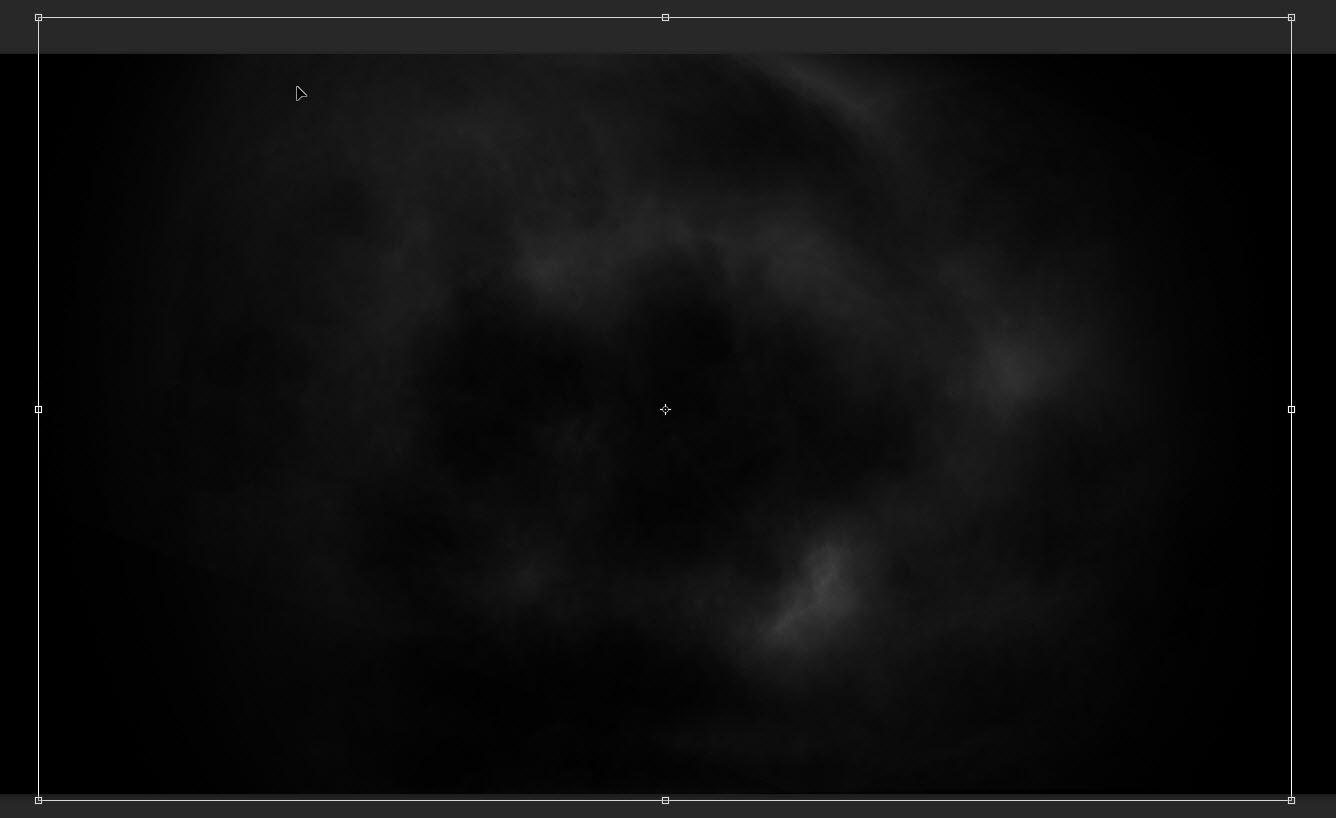
Create a new document sized 1400px * 740px with black background. Create a new layer and use a big soft brush, paint a white circle in the centre of the canvas as shown below:
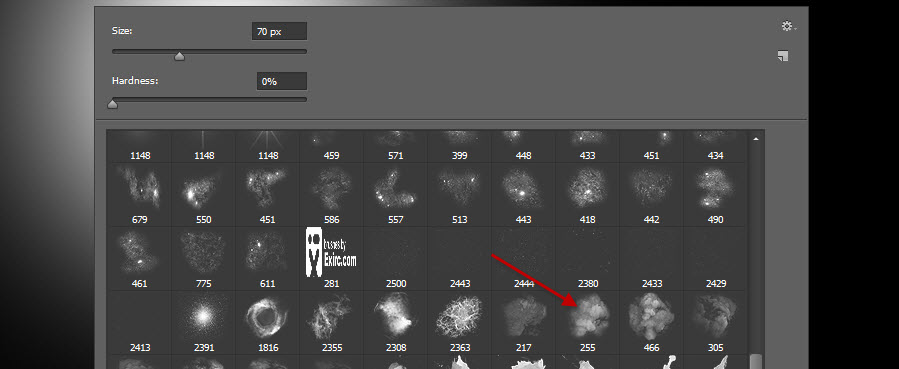
Select the eraser tool, pick a cloud brush from the pack you downloaded and use it as an eraser:
Eraser the centre portion of the white dot with this eraser tool:
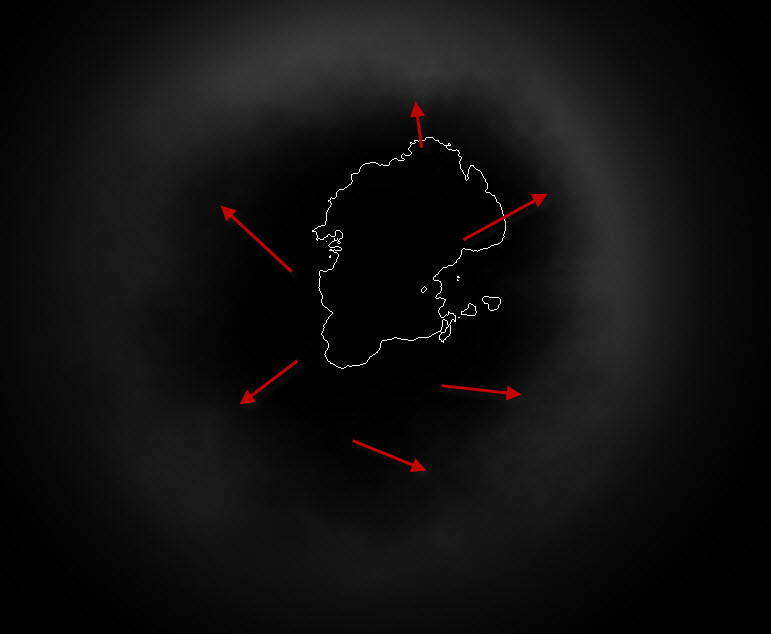
Use the free transform tool to adjust the shape of the cloud – expand, distort and rotate it as you see fit:
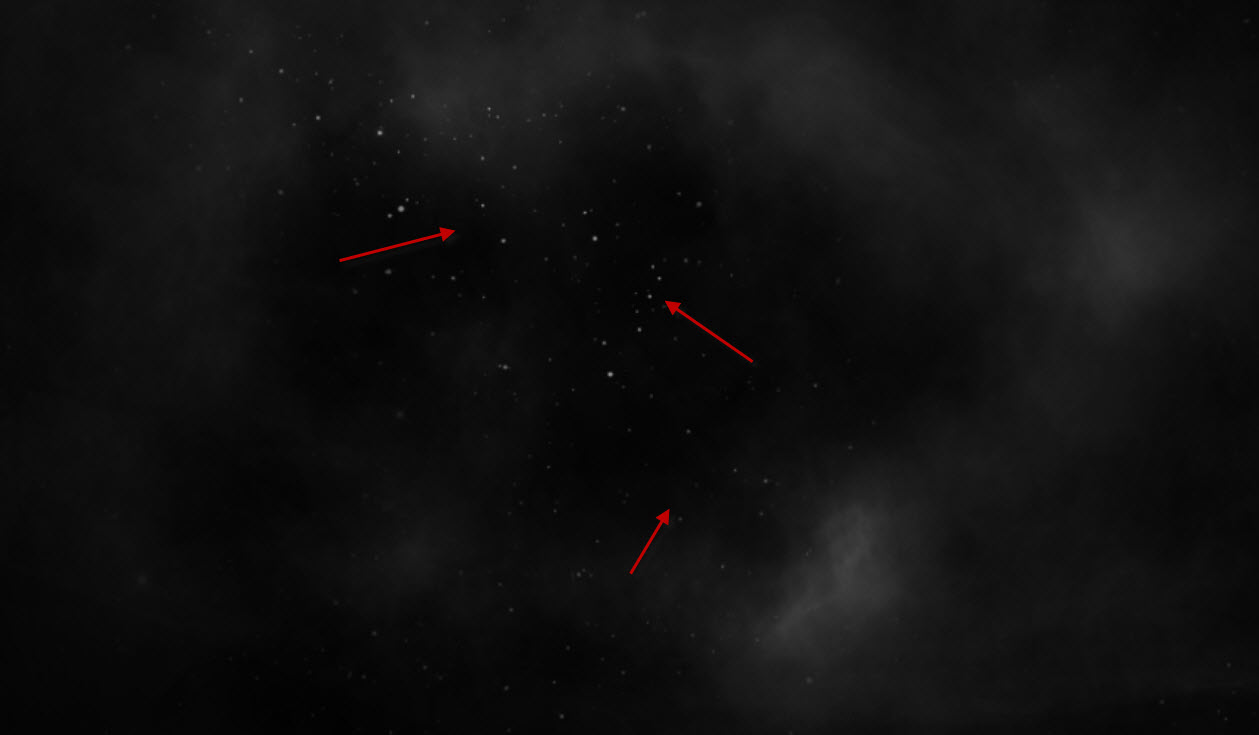
Optionally, we can use a particle brush to paint some dusts around the cloud, this is totally up to you:
Step 2
We will now work on adding a ground for our image. Load the ground texture into Photoshop and select the ground portion of the image with quick selection tool:
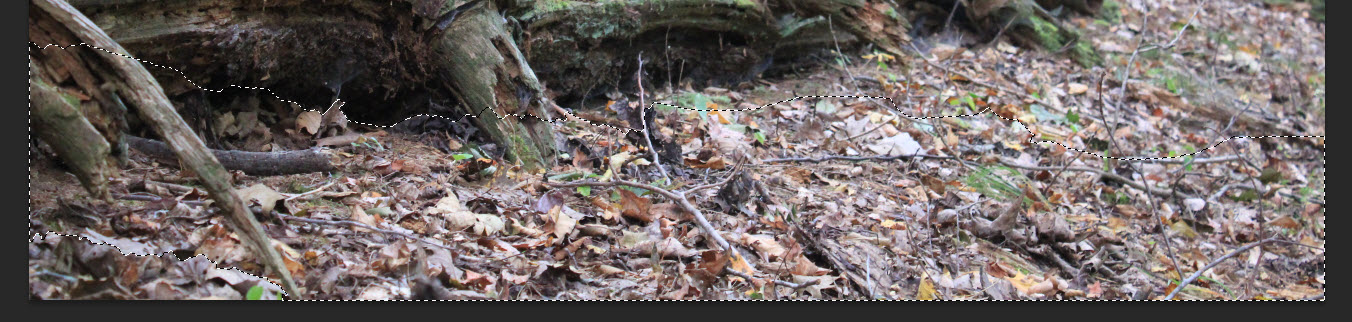
Copy and paste the selection over to our document. Resize it to fit our canvas width and use a soft eraser tool to remove some parts of the ground to add some irregular lighting effect:

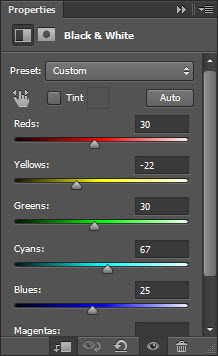
Add the following 3 adjustment layers as clipping mask to this ground layer:
Black and White
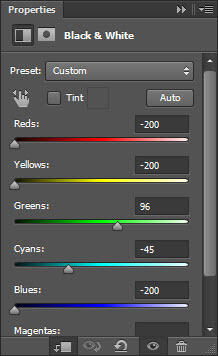

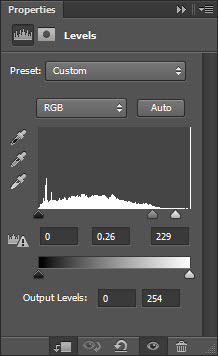
Levels
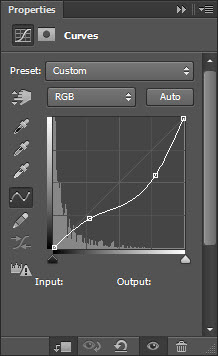
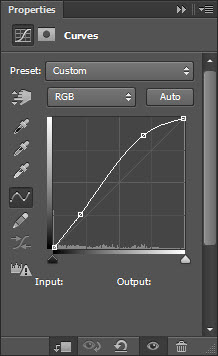
Curves
and this is the effect you will have so far for the ground layer:

Step 3
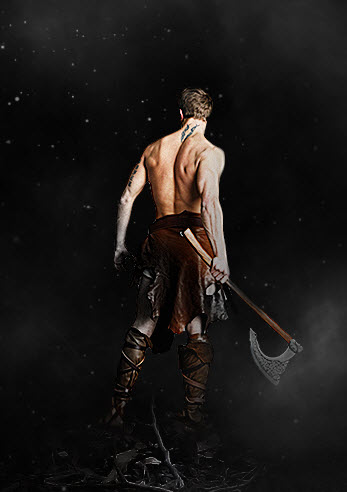
It’s time to add our warrior in. Load the model image into Photoshop and cut out the model, paste it onto our document. Resize and position it to the centre of ground as shown below:
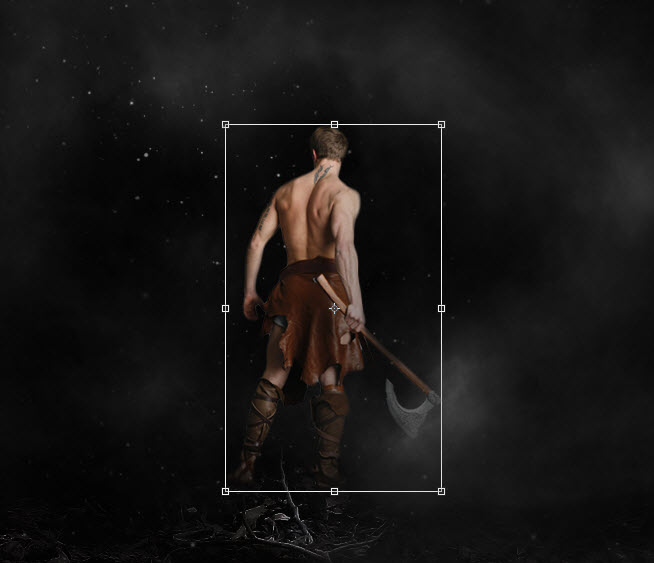
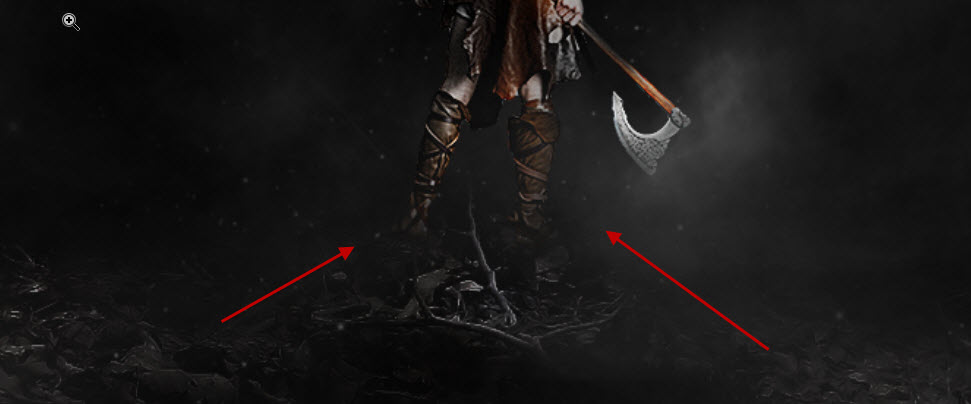
Add a layer mask to this model layer, and use a soft eraser with 40% flow and opacity setting, fade the feet area of the model a little so it blends into the ground:
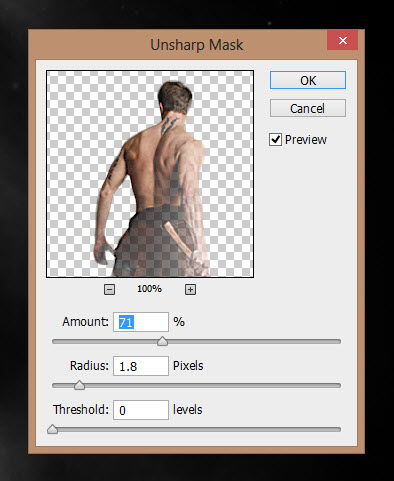
Sharpen the model layer with a unsharp mask filter as shown below:
Add the following 3 adjustment layers as clipping mask to this model layer:
Black and White
Apply the following layer mask on the black and white adjustment layer:
Levels
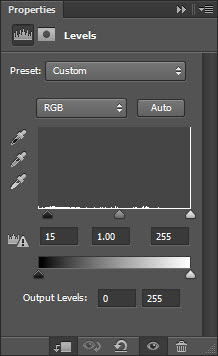
Curves
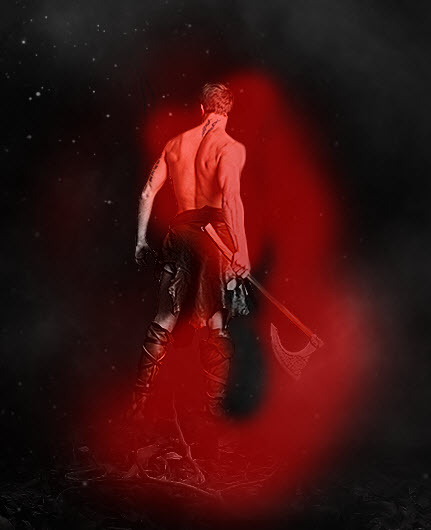
Create a new layer over all the previous layer and set its blending mode to “overlay”, paint a white dot to the area shown below to add some shining light to the axe:
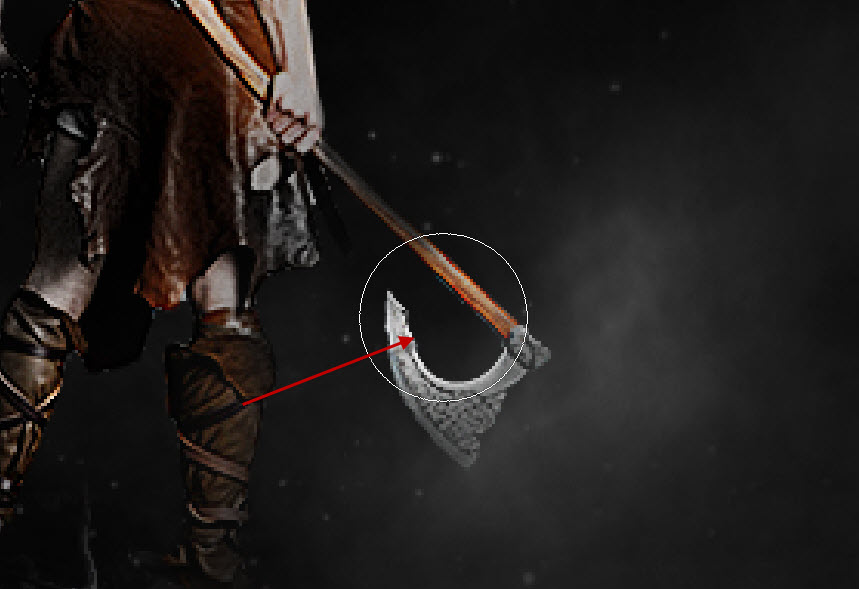
and here is the effect so far:
Step 4
We will add the fire into the image now. Load the fire image into Photoshop and select the following portion:
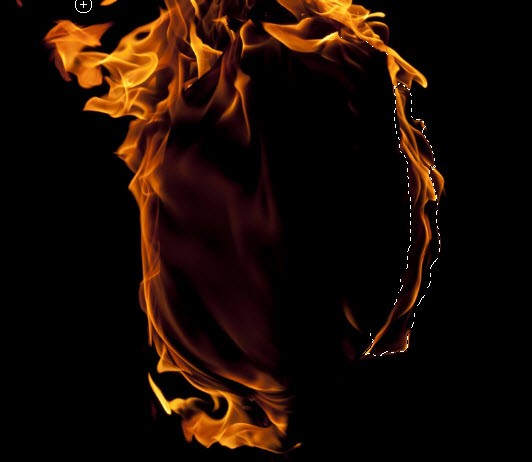
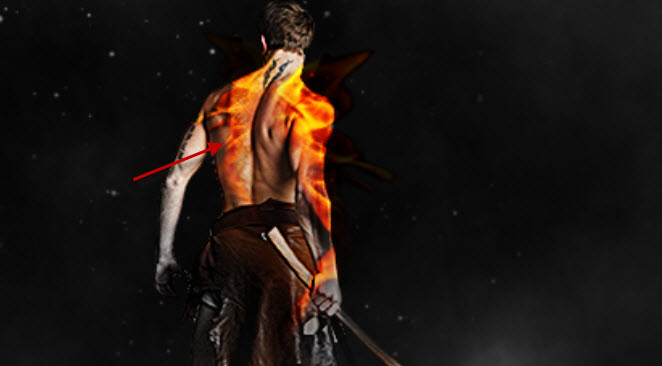
Copy and paste the selection over to our image, resize it and put it over the arm, set its blending mode to “Overlay”:

Then repeat this above process, copy and paste more fire texture over to the left shoulder as well:
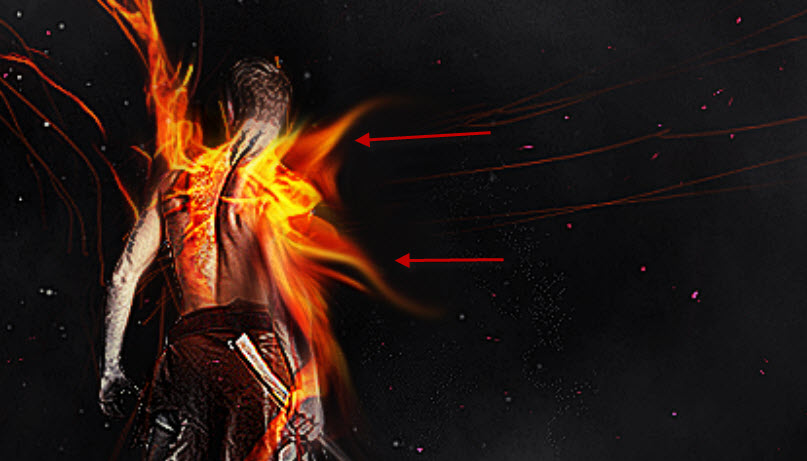
Go on and add more fire pattern to the model, remember to set the layer blending mode to “screen” for the rest of the fire texture layers:
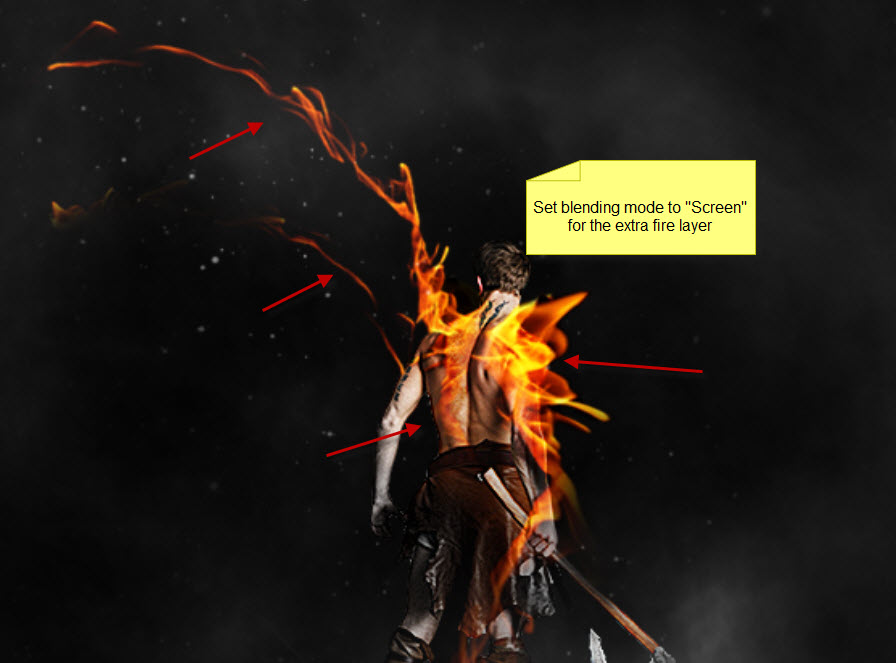
To spice up the effect, we can use a golden, 1 px hard brush, paint some fiery lines around the model, use eraser tool to fade the lines as you go:

Step 5
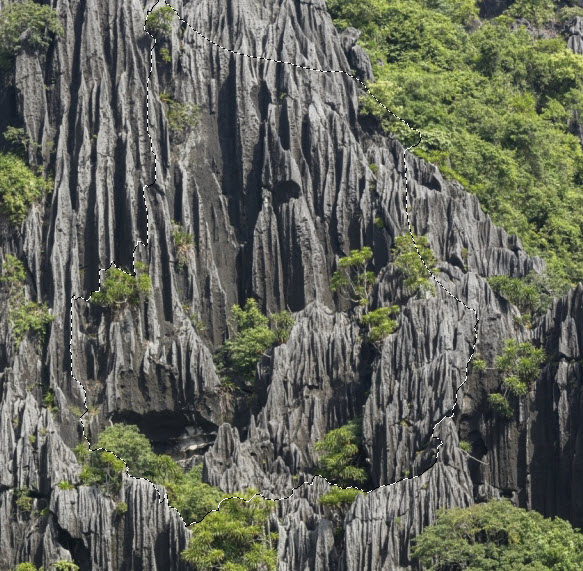
We will add some floating mountain in. It’s really simple to create a simple floating mountain, all you need is the right stock image as a starting point
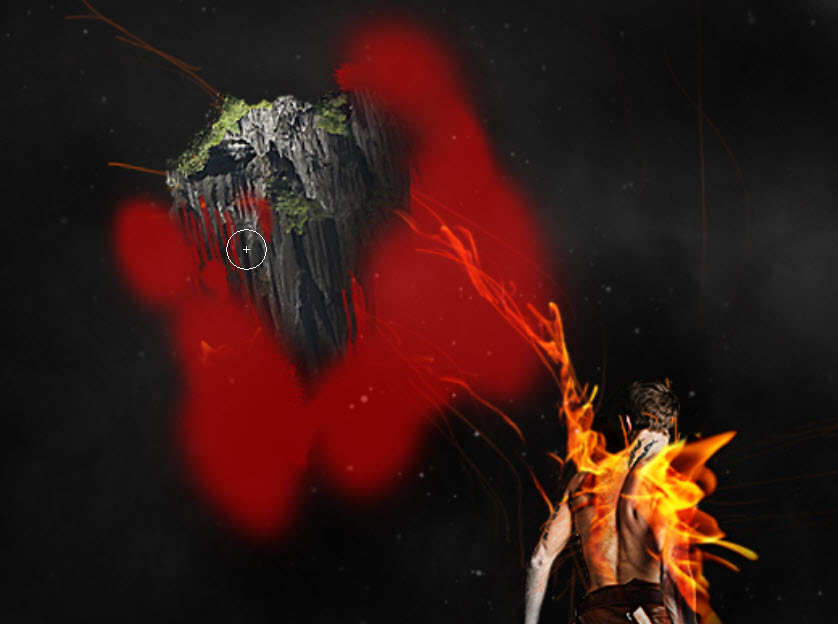
Let’s load the rock stock image you downloaded, and use the quick selection tool to select a rough piece as shown below:
Copy and paste the selection over to our canvas, resize and rotate it as shown below:
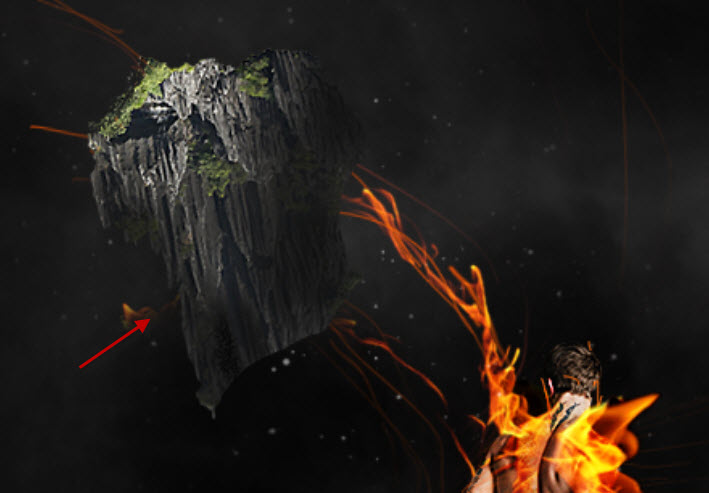
Use a soft eraser tool, fade the edges until it forms the following triangular shape:
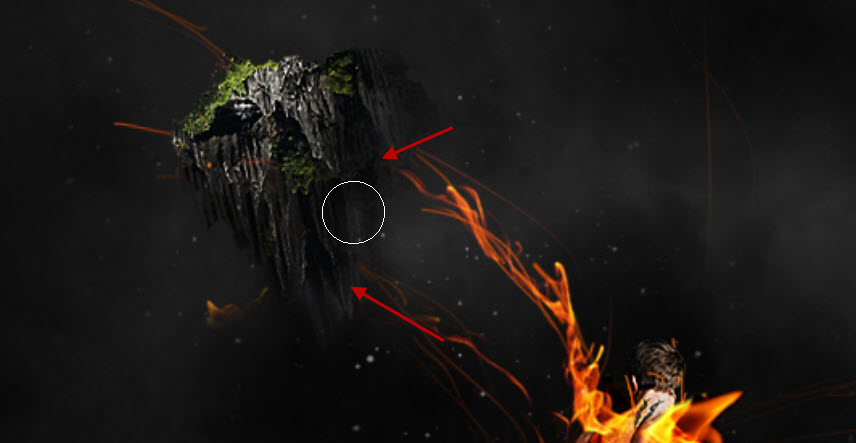
Use the burn tool with 50% exposure, darken the lower portion of the floating mountain as shown below:
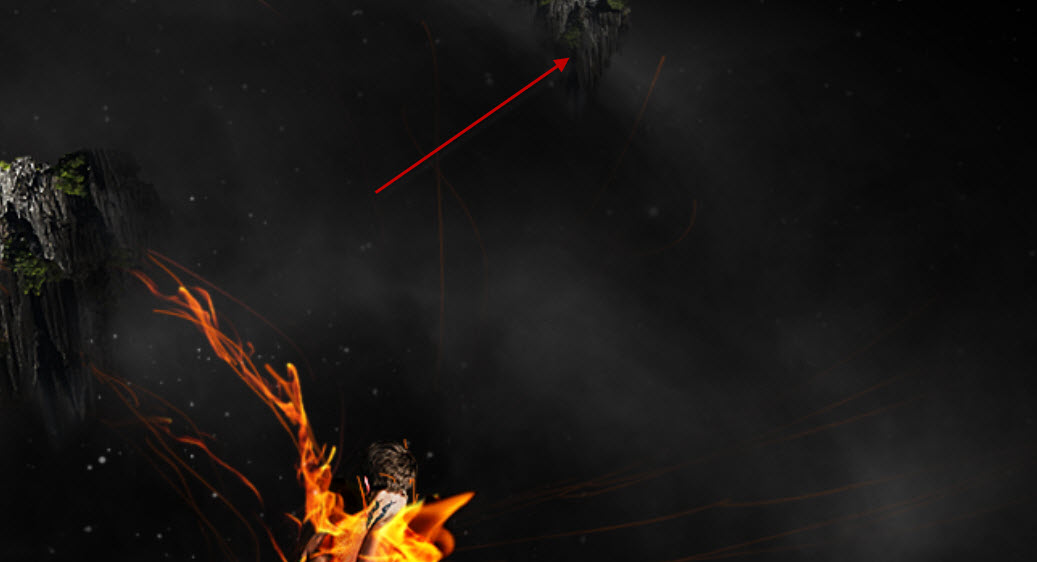
Then duplicate this mountain layer once, reduce the size and move it up to to the position shown below:
Step 6
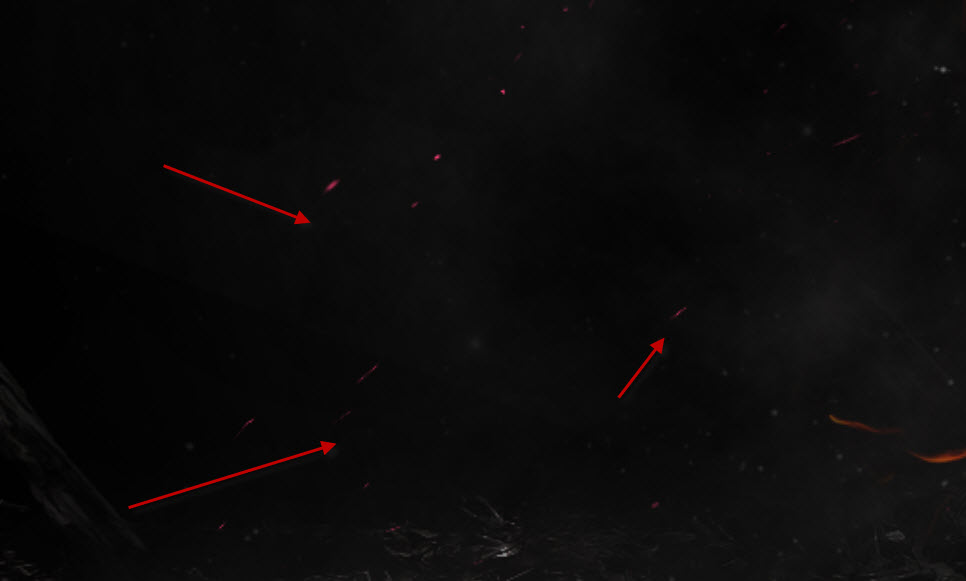
We will add some flying particles with a small dot brush, or a particle brush size with golden/red colour:

Then apply the following Liquify Filter setting to this particle layer:
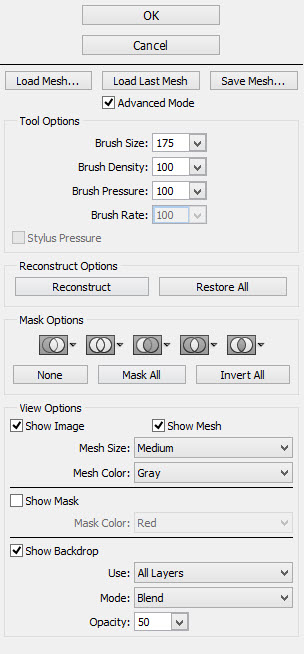
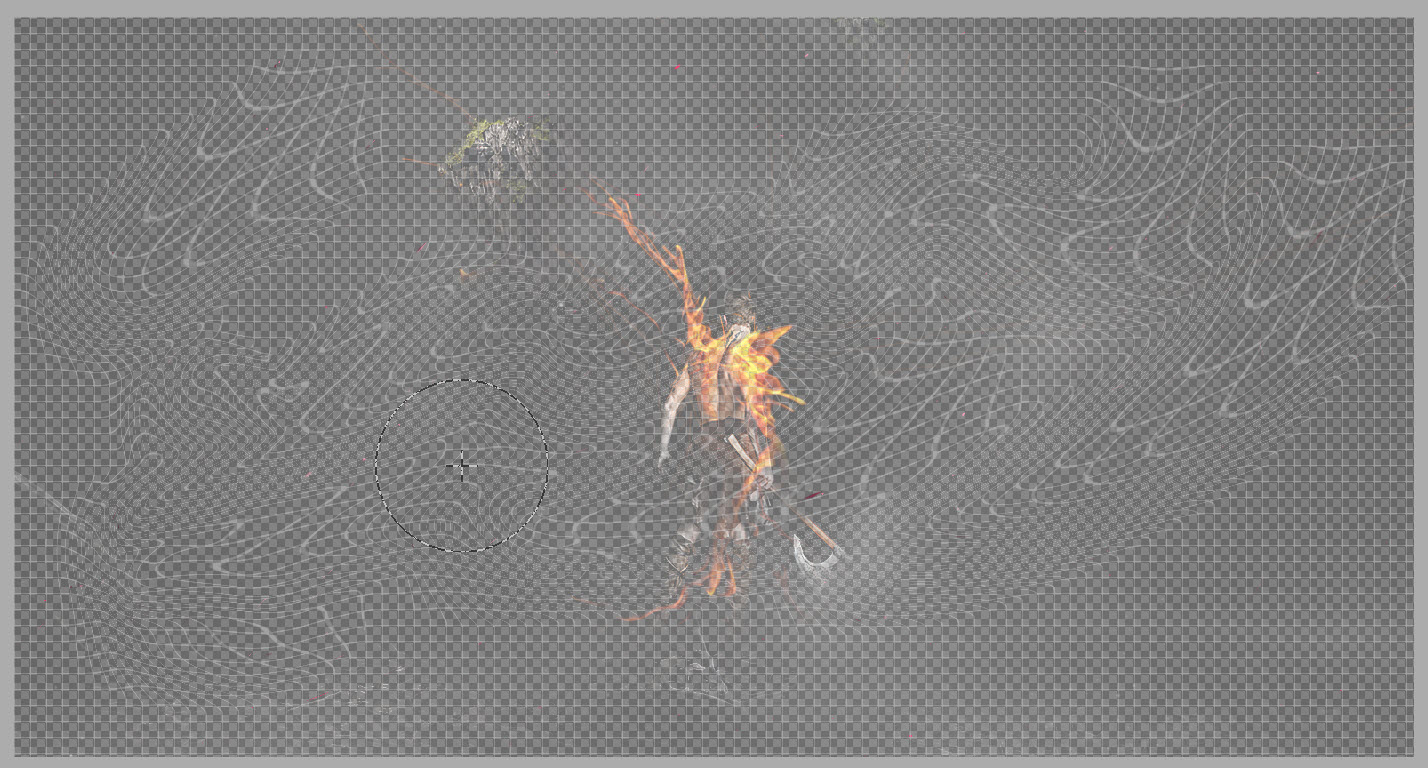
As you can see, by doing so we add some flying effect to those still particles, as shown below:
Step 7
We’re almost done! For some final retouches, I flattened the image and duplicated the background layer, applied the following Radial Blur settings:

Add the following layer mask to this radial blur layer, this way only the blur part of the cloud around the model is revealed:
We can also use the Smudge Tool to manipulate the fire:
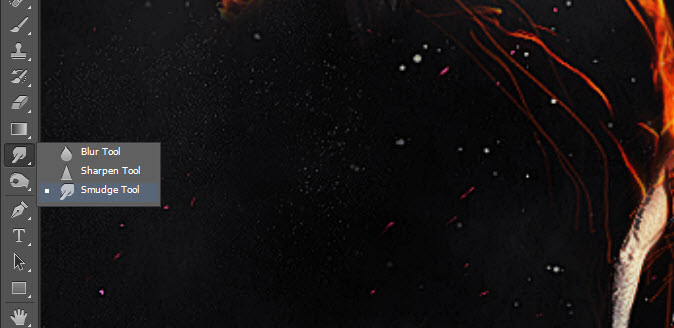

Warp the fire as shown below:
And this is the final effect I have: (click to enlarge)
Hope you enjoy this tutorial and find it useful. Drop me a comment below if you have any question.
Till next time, have a great day!
1 Comment
Simply easy to understand, nice techniques shown. Thank you :)