
In this Photoshop tutorial, I will show you the process used to make this mysterious, faraway land photo manipulation.
The PSD file of this tutorial is available to buy on PSD Vault Shop, or via the PSD Vault VIP members area.
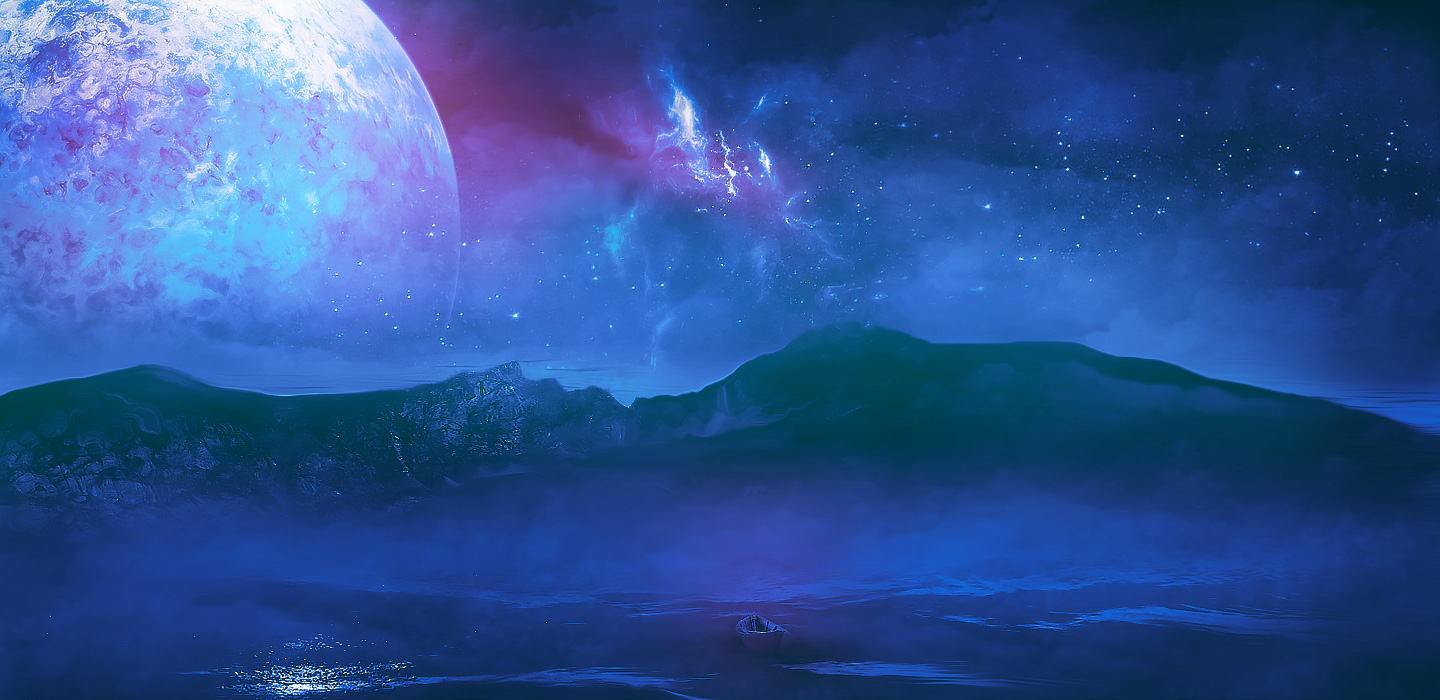
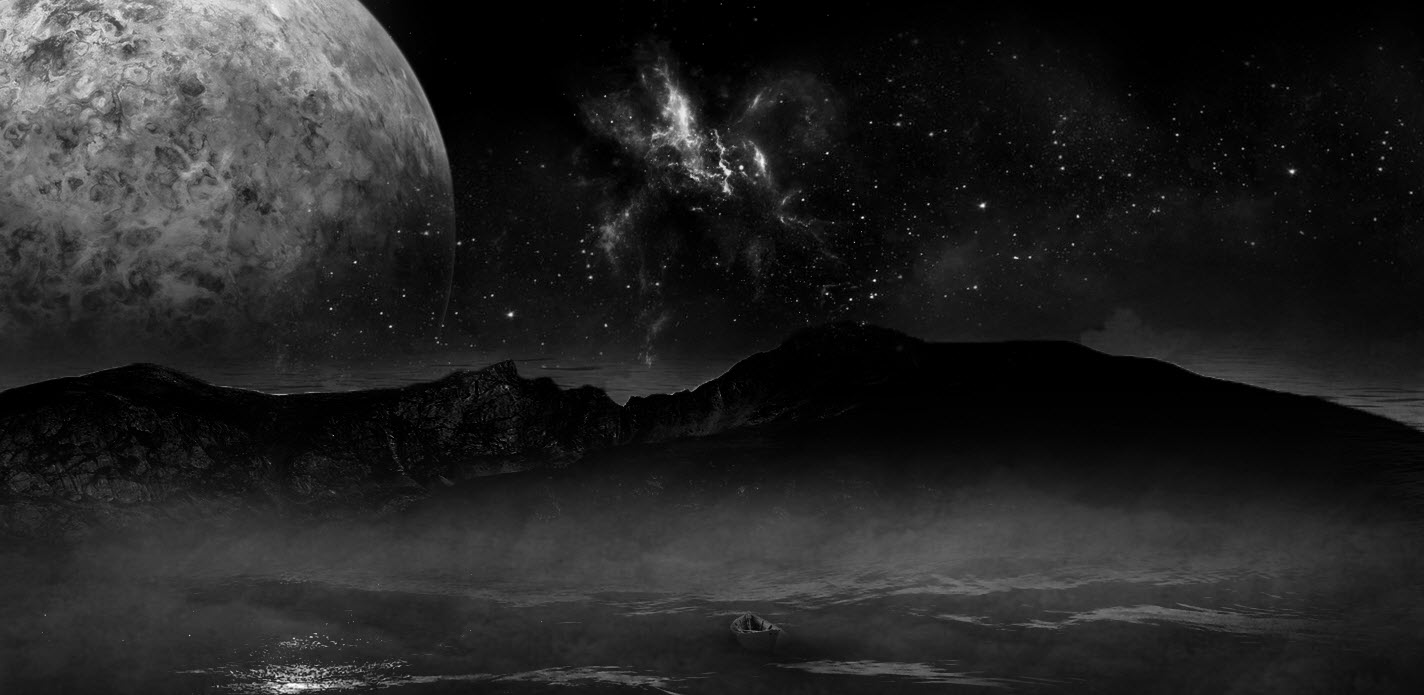
Here is a preview of the final effect I have for this tutorial: (click to enlarge)
Become a PSD Vault VIP Member!
You can download the PSD File for this tutorial via the VIP Members Area for only $6.95/Month (or less)! You will not only get this PSD File, but also 250+ other PSD Files + Extra Goodies + Exclusive Photoshop tutorials there. Signup now and get exclusive!

Stock Images Required
To complete this tutorial, you will need the following stock images:
Step 1
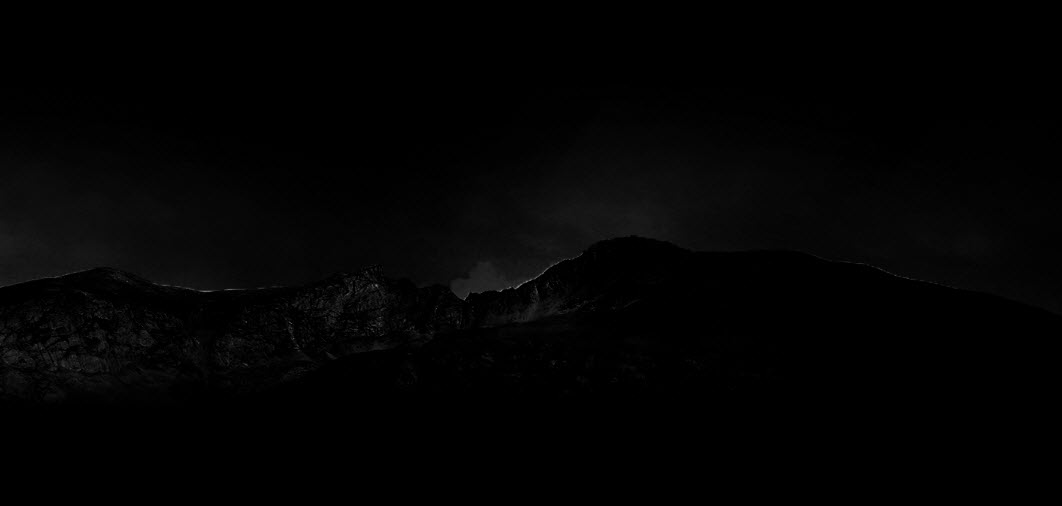
Create a new document sized 1400px * 720px with black background. Load the mountain stock image into Photoshop, select the mountain:
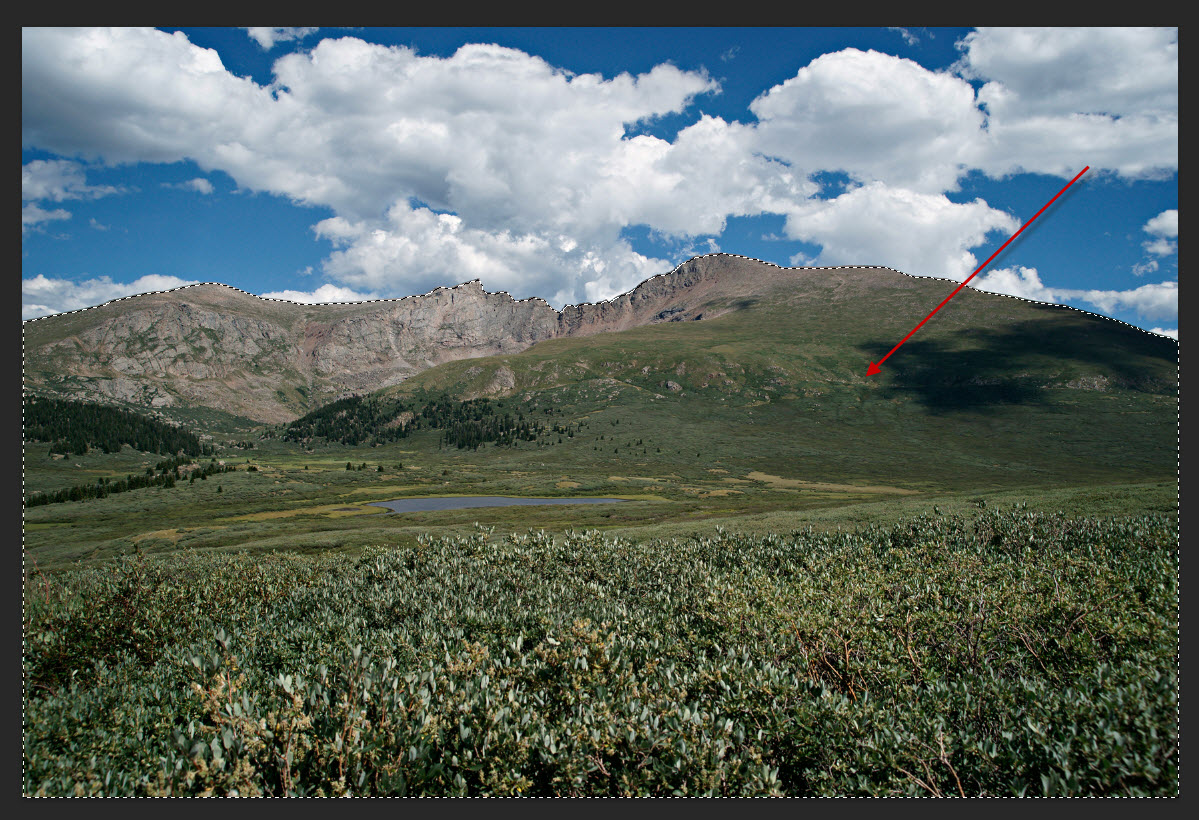
Copy and paste the selection onto our document, remove the bottom grass area off the mountain layer as shown below:

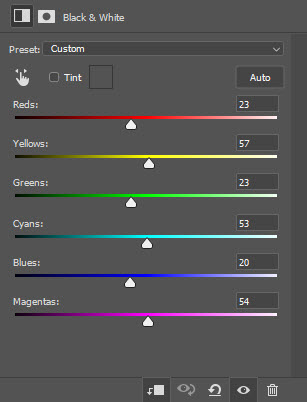
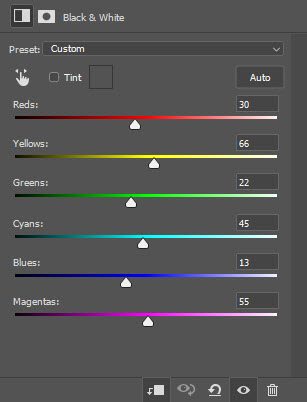
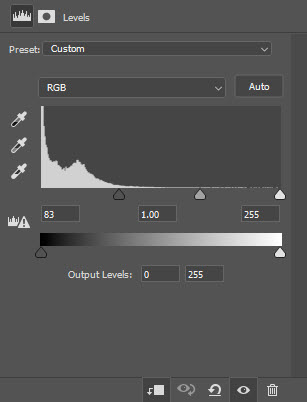
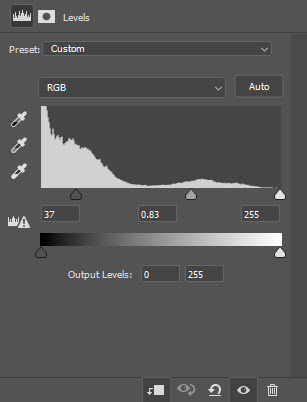
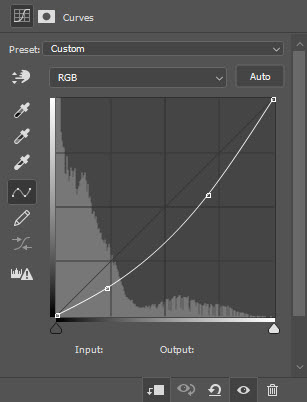
Apply the following image adjustment layers as clipping mask to the mountain layer:
Black and White
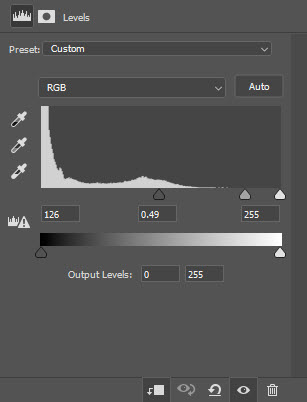
Levels
Curves
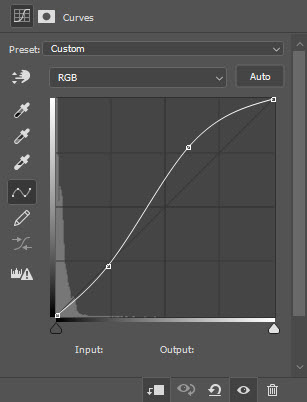
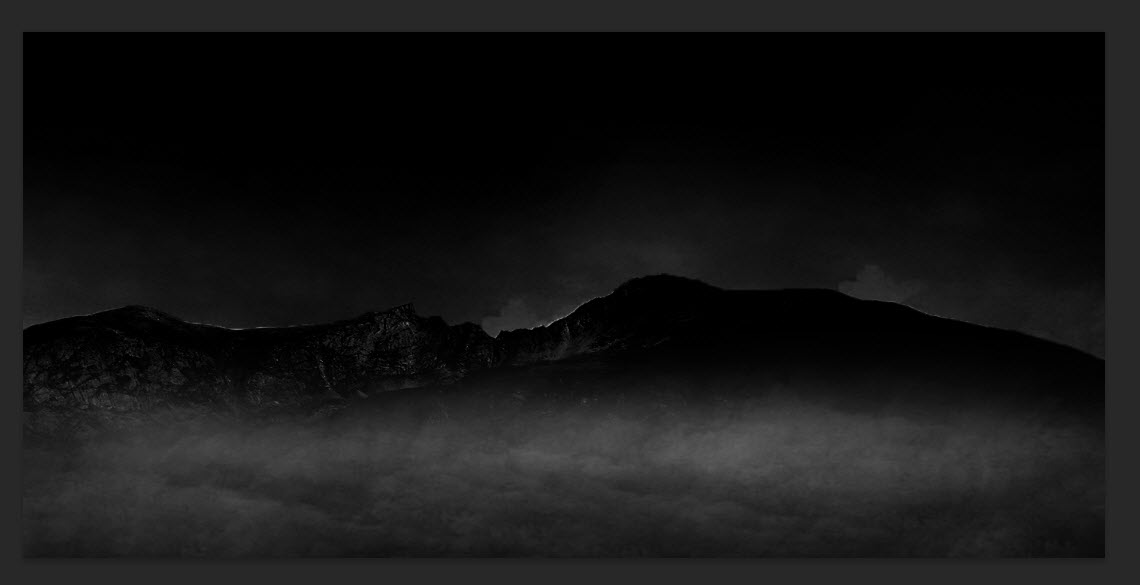
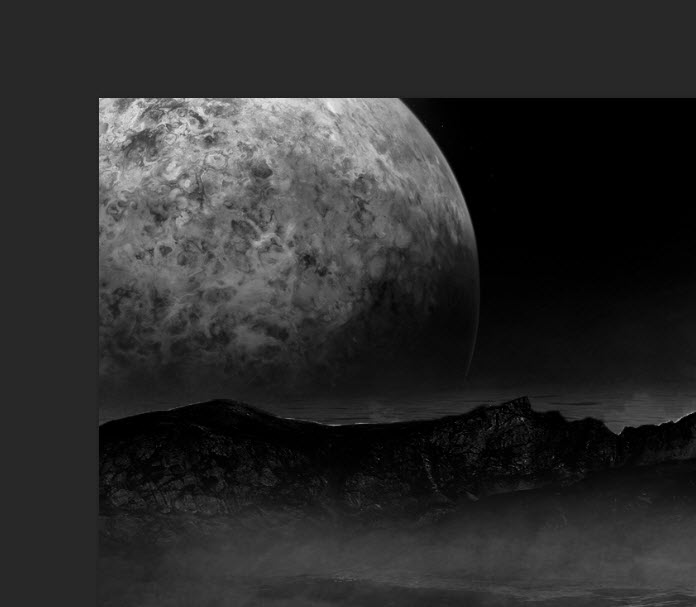
My intention was darken the mountain so it’s only barely visible for a far distance. By using the above image adjustments, we will achieve the following effect:
Step 2
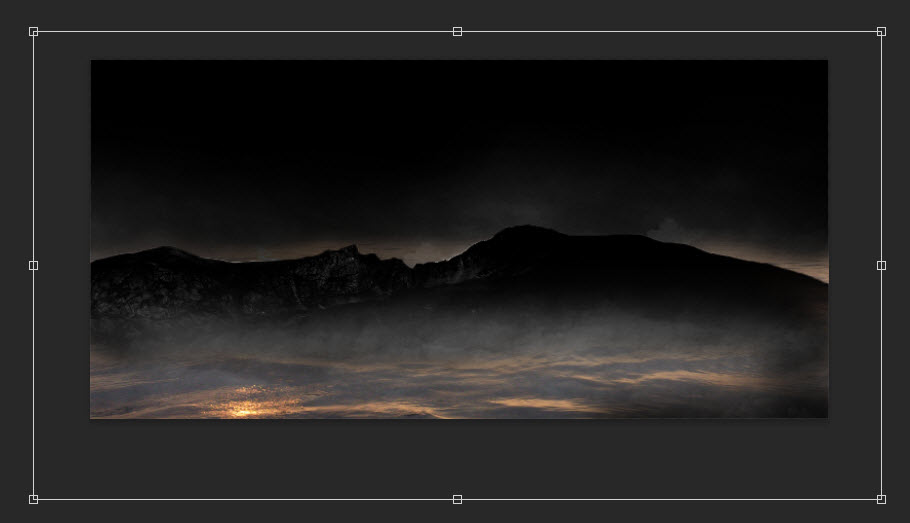
Load the ocean stock image into Photoshop, select the entire image, copy and paste it over to our document. Place the new layer below the mountain layer:
Apply the following adjustment layer as clipping mask to this ocean layer:
Black and White
Levels
Use a cloud brush, paint some cloud/fog effect over the ocean:
and here is the effect so far:

Step 3
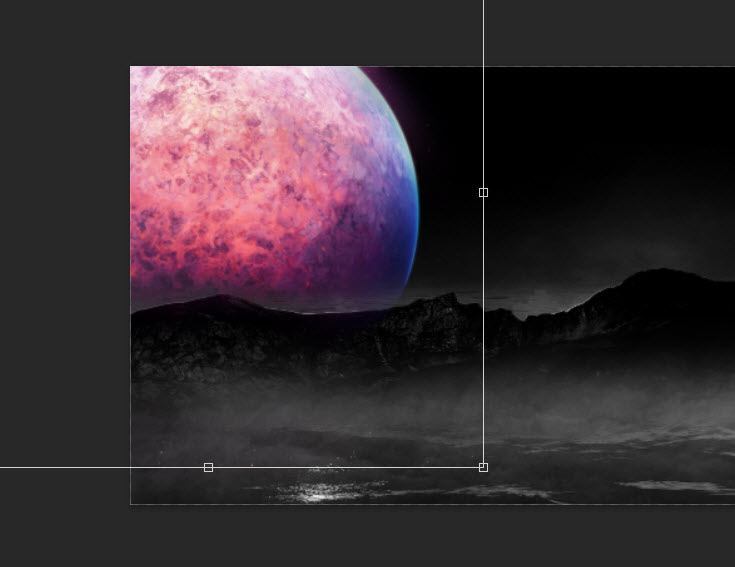
Load the planet stock into Photoshop. Copy and paste the planet into the position shown below. Make sure the planet layer is below the mountain layer:
Apply the following image adjustment layers as clipping masks to the planet layer:
Black and White
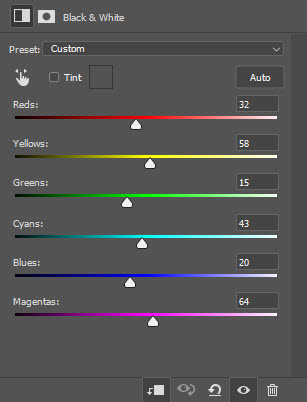
Levels
Curves
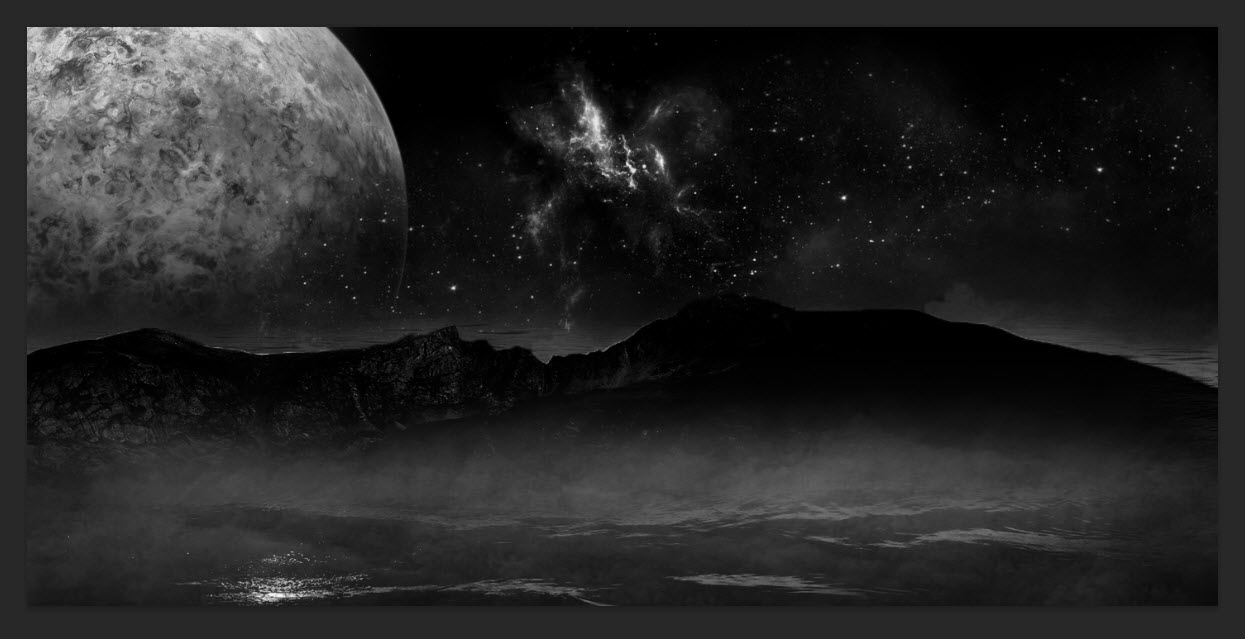
and here is the effect so far:
Step 4
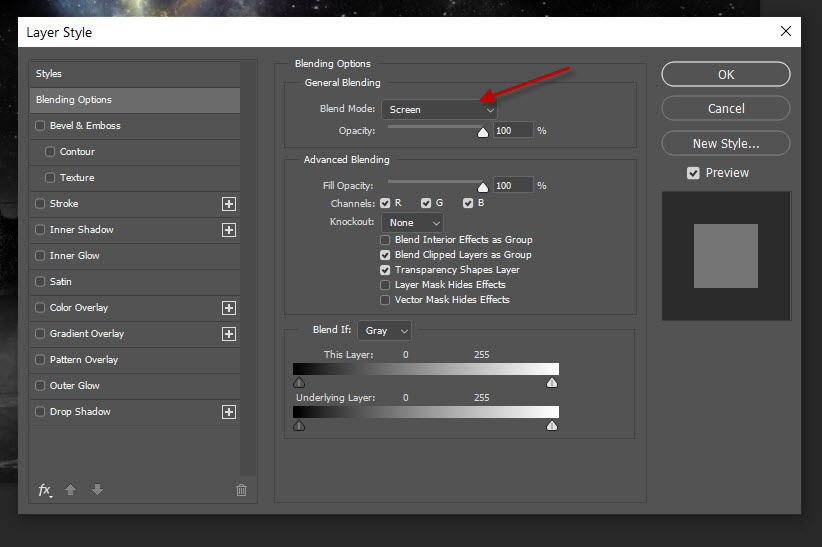
Load the nebula stock image into Photoshop, select some stars out of the image and place it over our image as shown below:
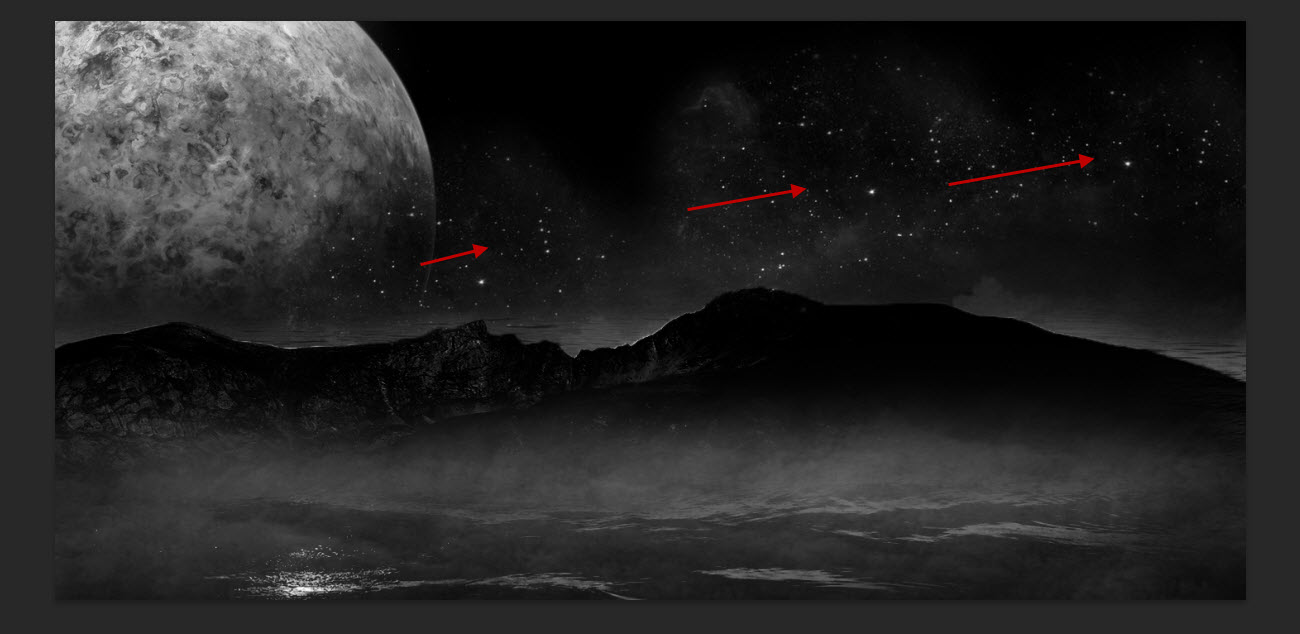
Make sure you use “screen” blend mode for these new star layer:
Select the nebula and paste it to our document, as shown below:
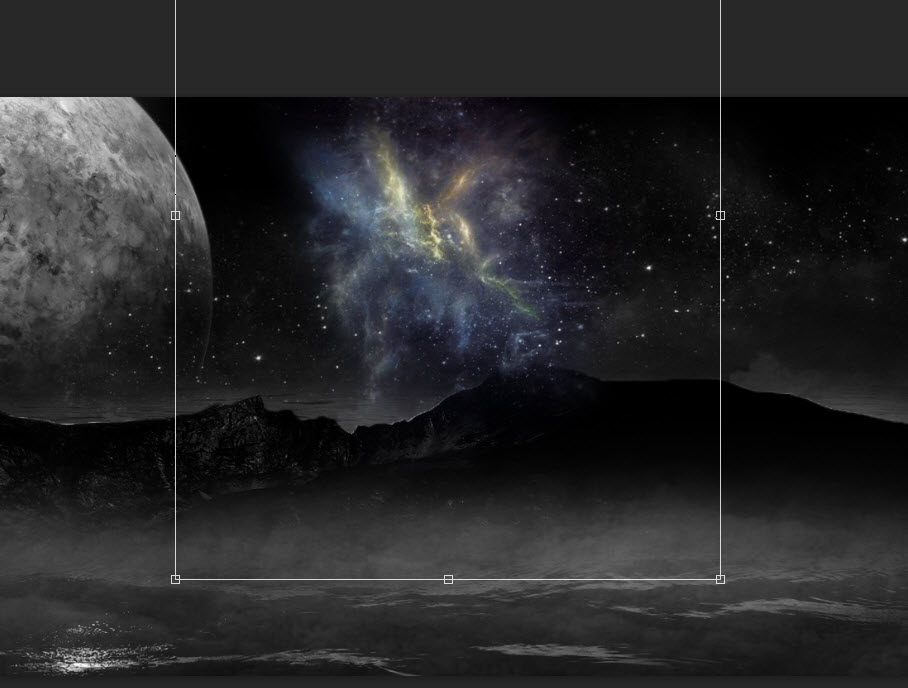
and here is the effect so far:
Step 5
Load the boat stock image into Photoshop and select the boat. Copy and paste the selection to our document as shown below, in the middle of the ocean:
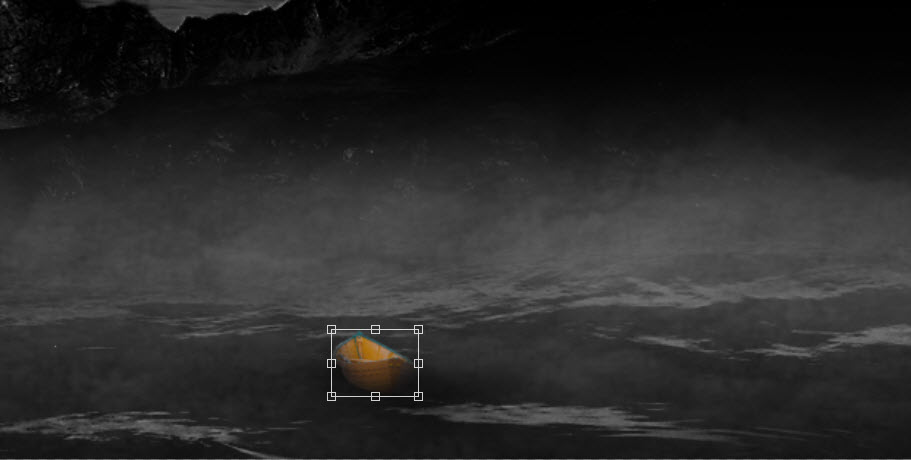
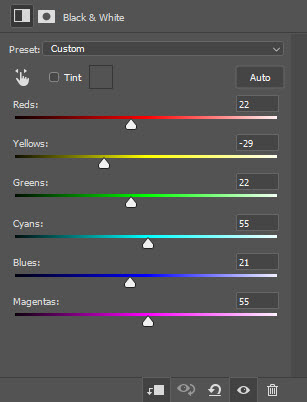
Apply the following Black and White image adjustment:
Use a soft black brush, paint a bit of shadow under the boat:
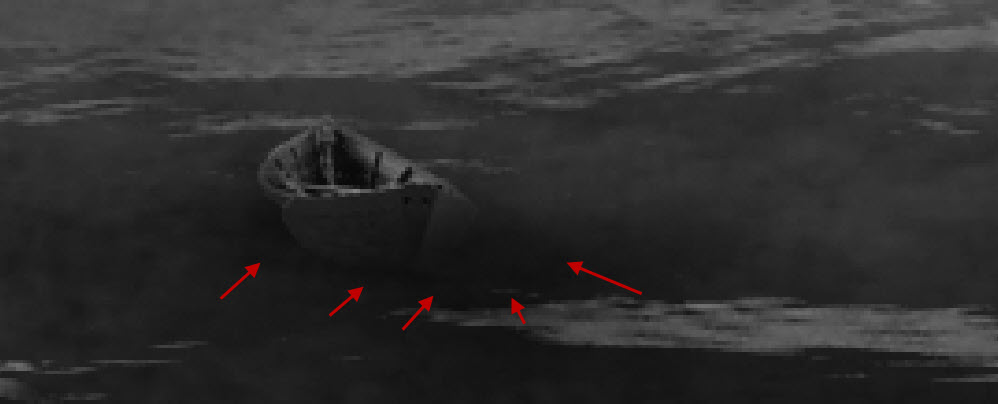
and here is the effect so far:
I further added some colours via a couple of image adjustment layers:
- Selective color
- Color Balance
and this is my final result: (click to enlarge)
That’s it for this tutorial! Hope you learn a thing or two from it and if you have any questions, just drop me a comment below.