Learn how to craft a mesmerizing “Dance on Fire” scene in Photoshop with this comprehensive tutorial. Follow along as we guide you through each step, from adding a grassy backdrop to incorporating flames and delicate rose petals.
The PSD file of this tutorial is available via the PSD Vault VIP members area.
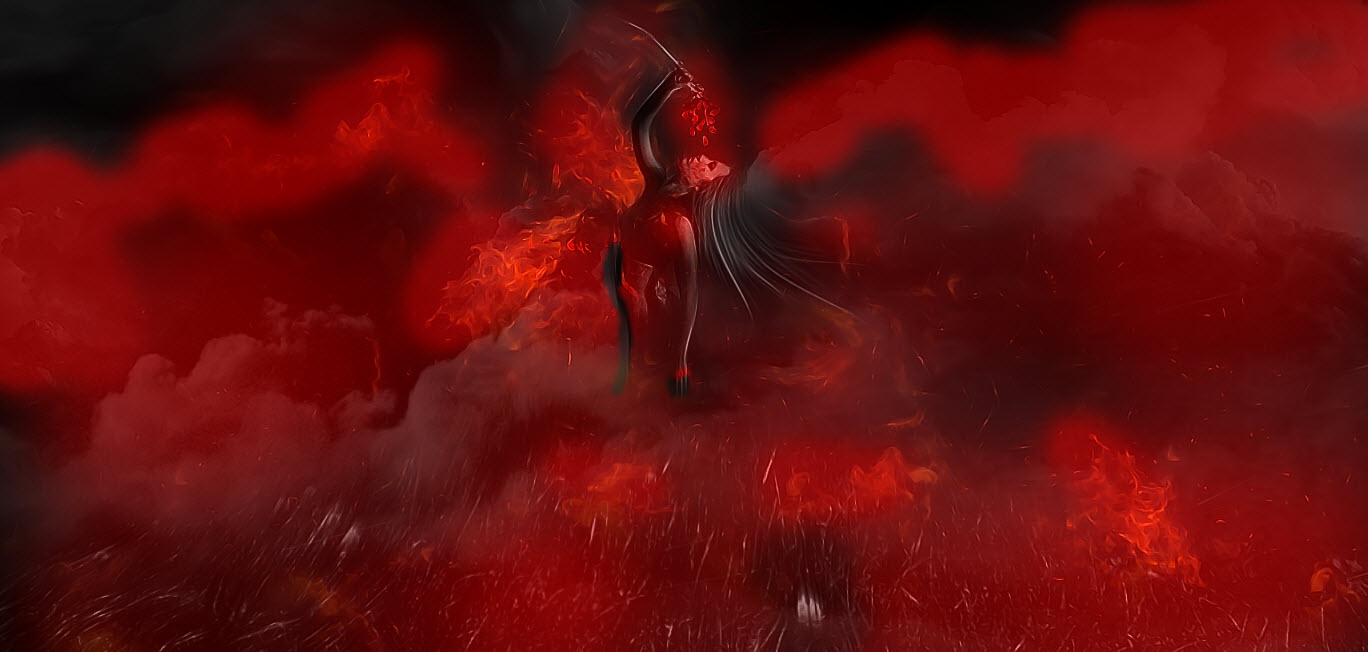
Here is a preview of the final effect I have for this tutorial: (click to enlarge)

PSD Vault VIP Membership
You can download the PSD File for this tutorial via the VIP Members Area for only $6.95/Month (or less)! You will not only get this PSD File, but also 250+ other PSD Files + Extra Goodies + Exclusive Photoshop tutorials there. Signup now and get exclusive!

OK Let’s get started!
To complete this tutorial, you will need the following stocks:
Step 1
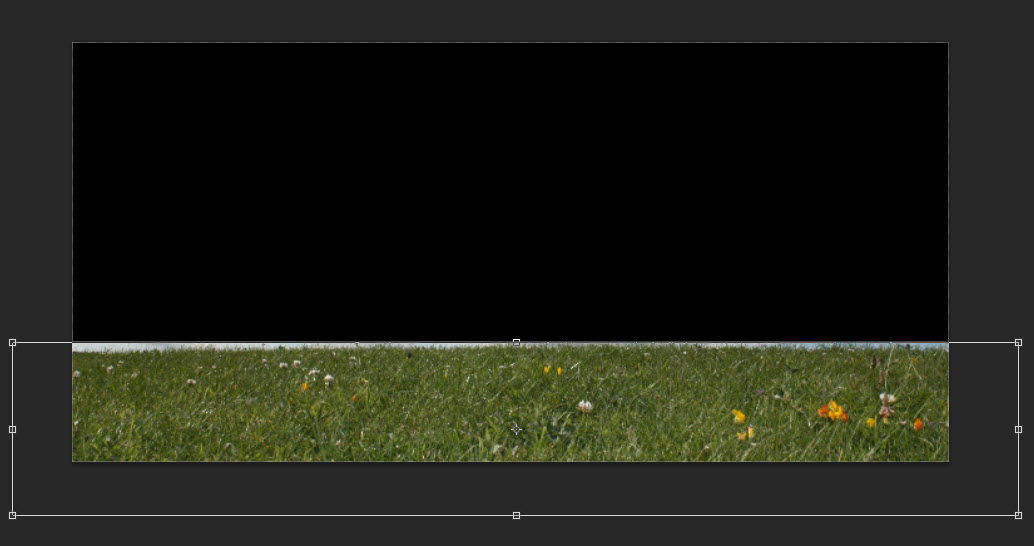
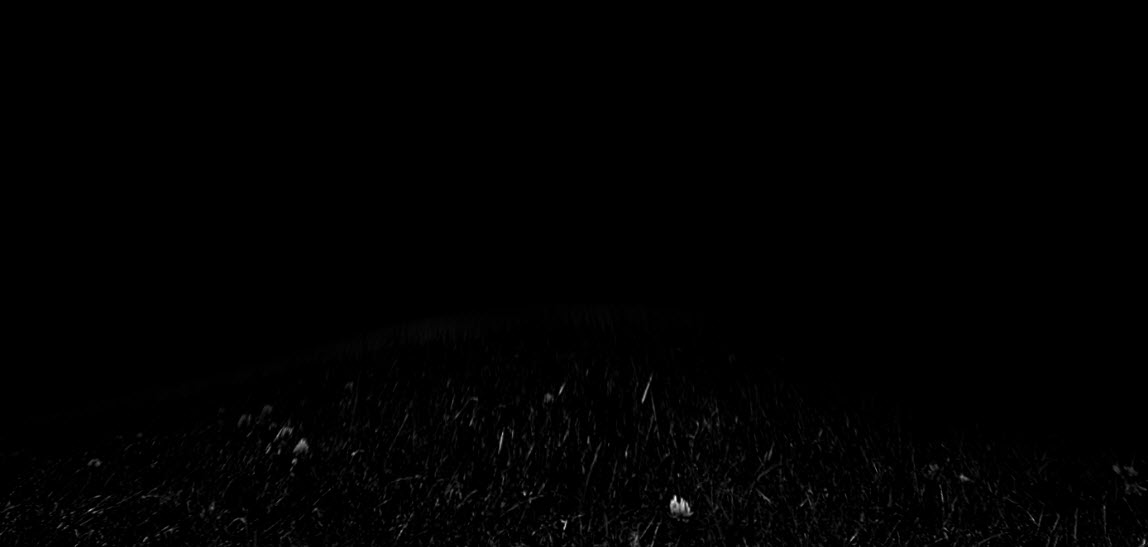
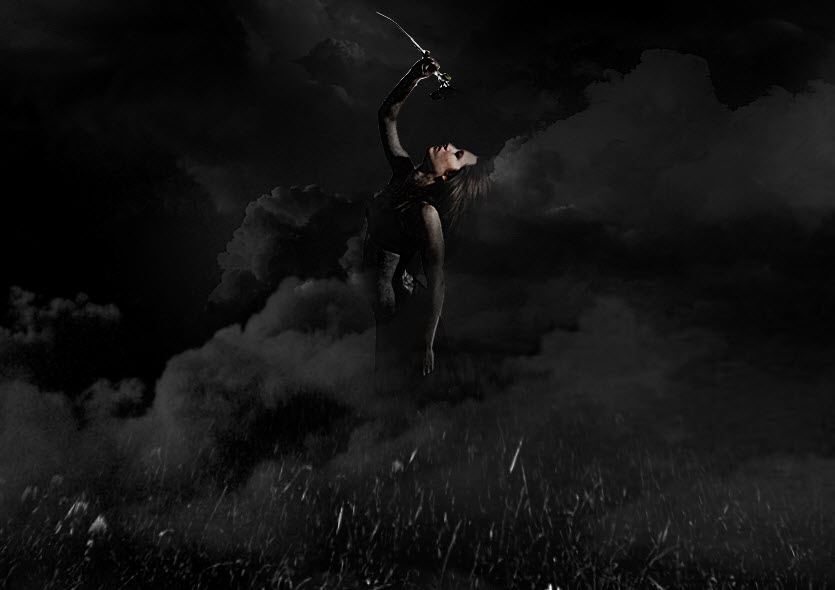
Create a new document sized 1400px *670px with black background. Load the grass image into Photoshop and select the grass portion. Copy and paste the selection to our document, place it down the bottom as shown below:
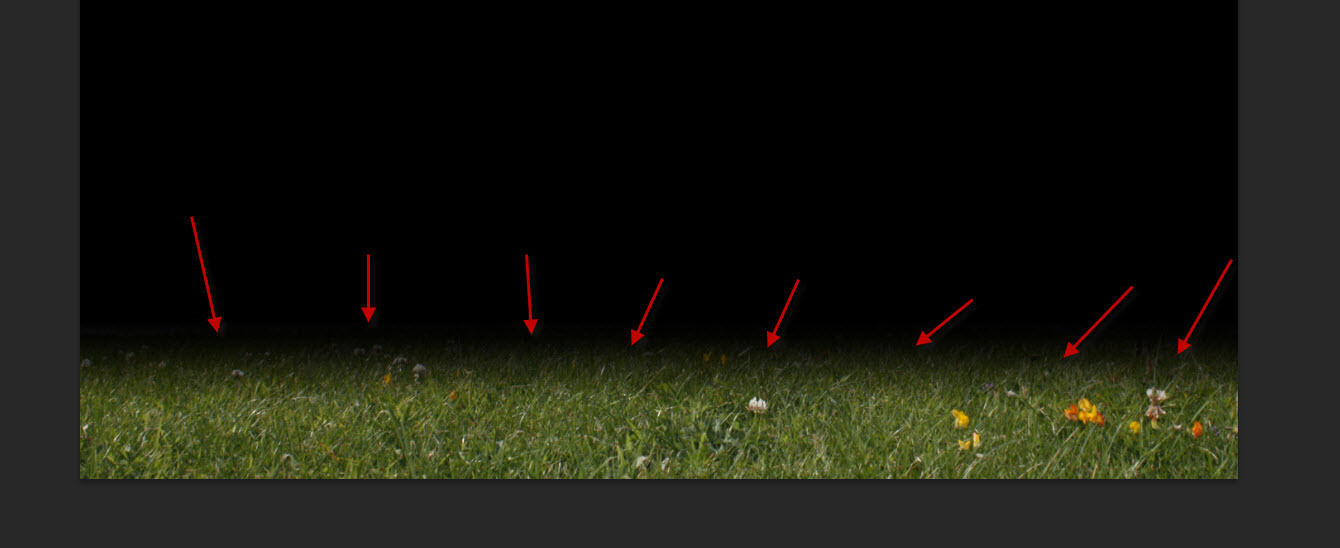
Fade the top edge of the grass with a soft eraser:
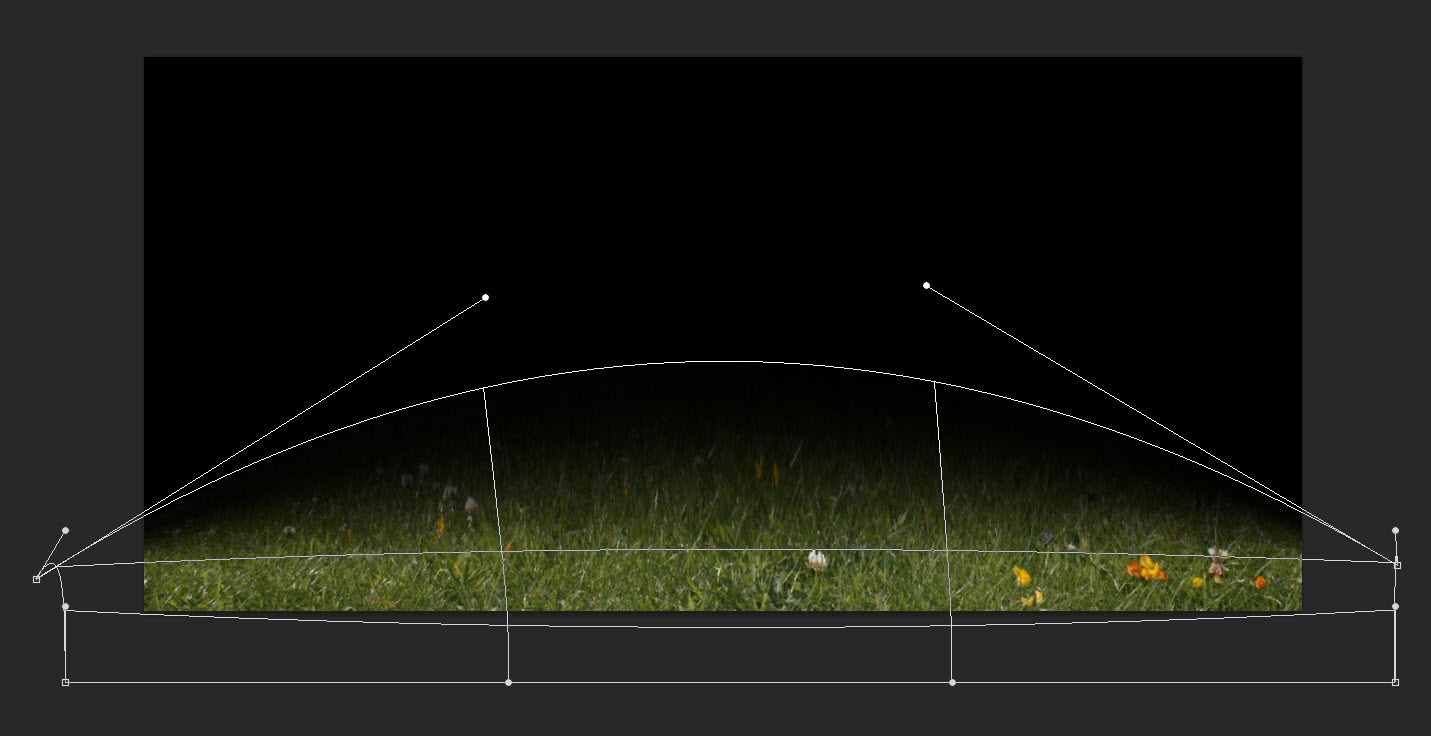
Use the Warp option of the free transform tool to warp the shape of the grass as shown below:
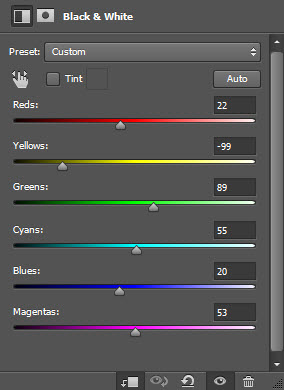
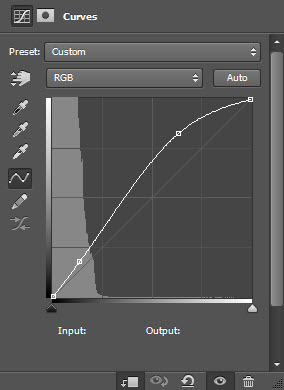
Apply the following 3 adjustment layers on top of the grass layer:
Black and White
Levels

Curves
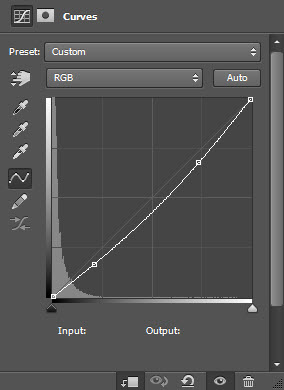
and here is the effect so far:
Step 2
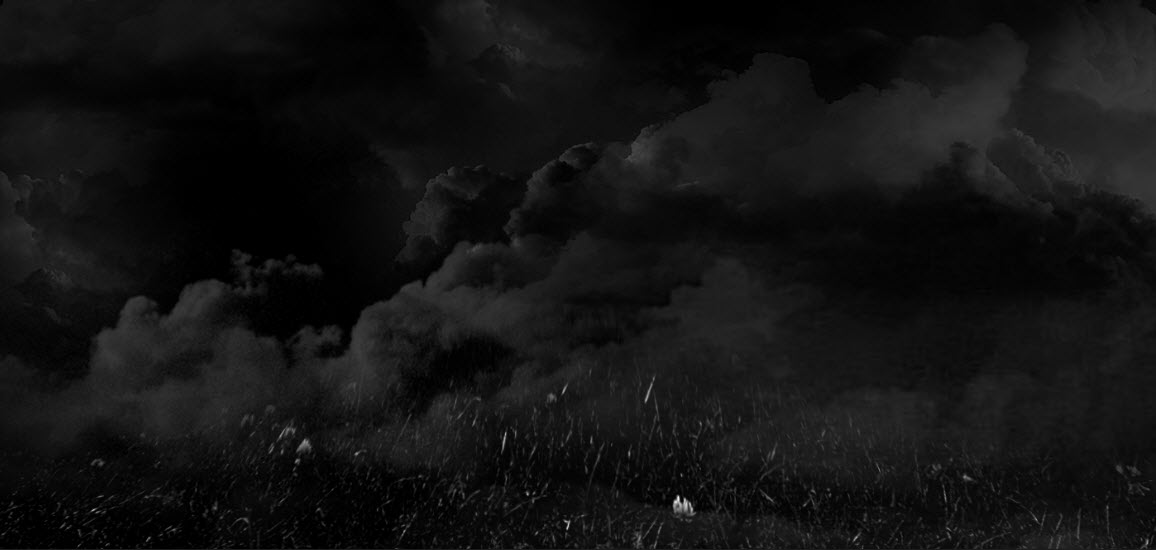
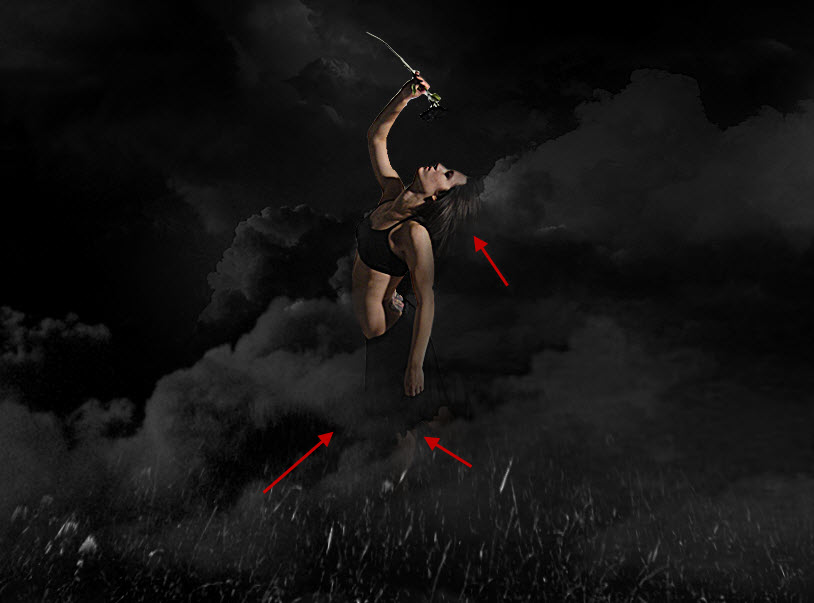
Use a cloud brush to paint some cloud over the grass as shown below:
Load the model image into Photoshop, select the model and move it over to our document:
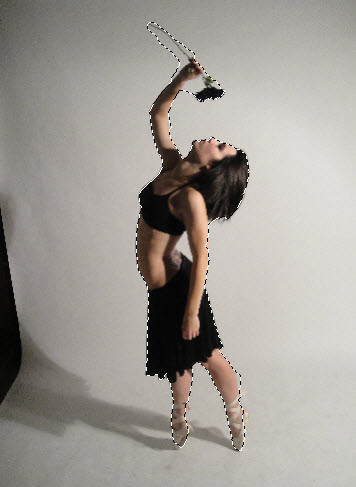
Position the model to the centre of the canvas, adjust the size of the new layer and use a soft eraser to fade the following areas of the model:
Apply the following 3 adjustment layers as clipping masks to this model layer:
Black and White
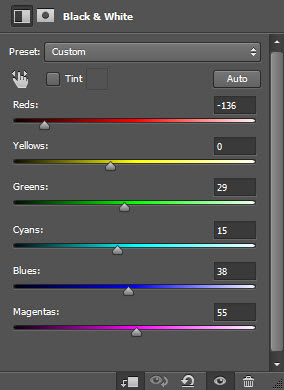
Levels
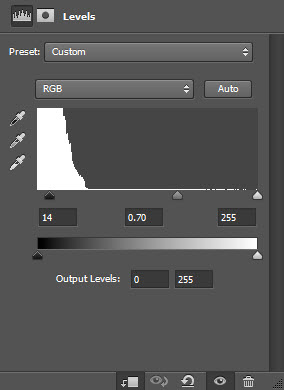
Curves
and here is the effect so far:
Step 3
We will add the flame effect to our image in this step. Load the fire stock image into Photoshop and select a portion of the fire with Lasso Tool (set feather to 40px):
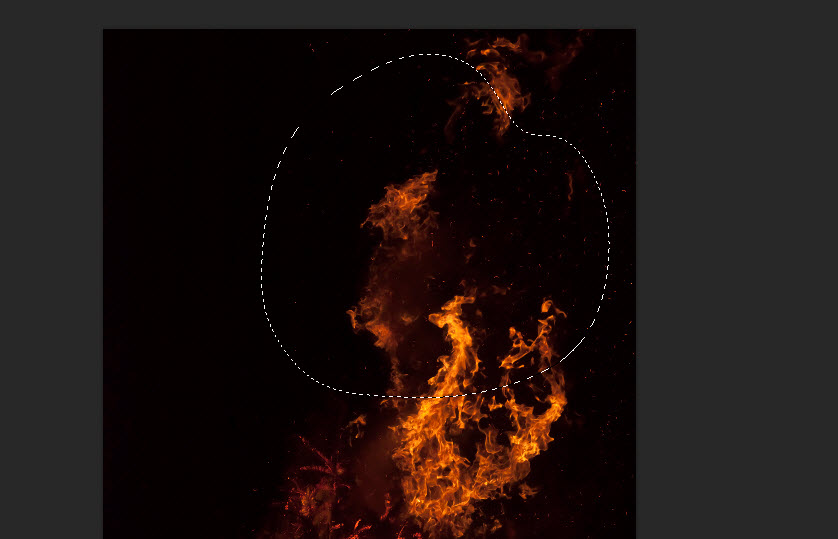
Copy and paste the selection to our document. Place this new layer under the model layer, and set its layer blend mode to “Screen”:

Use the free transform tool to adjust the size of the fire, and place the fire behind the model:
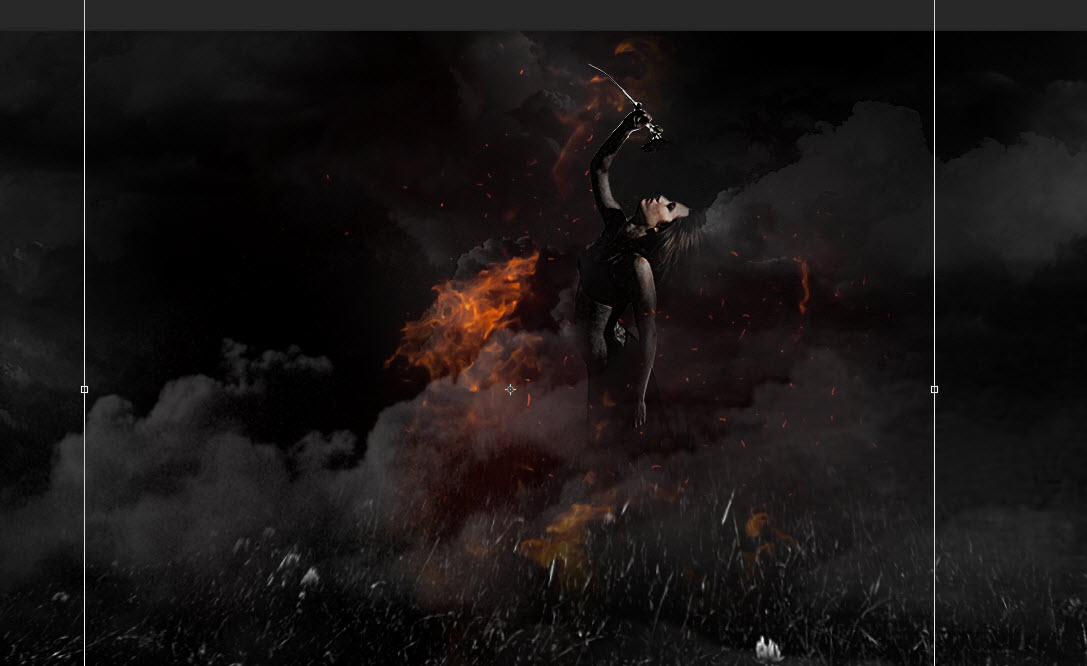
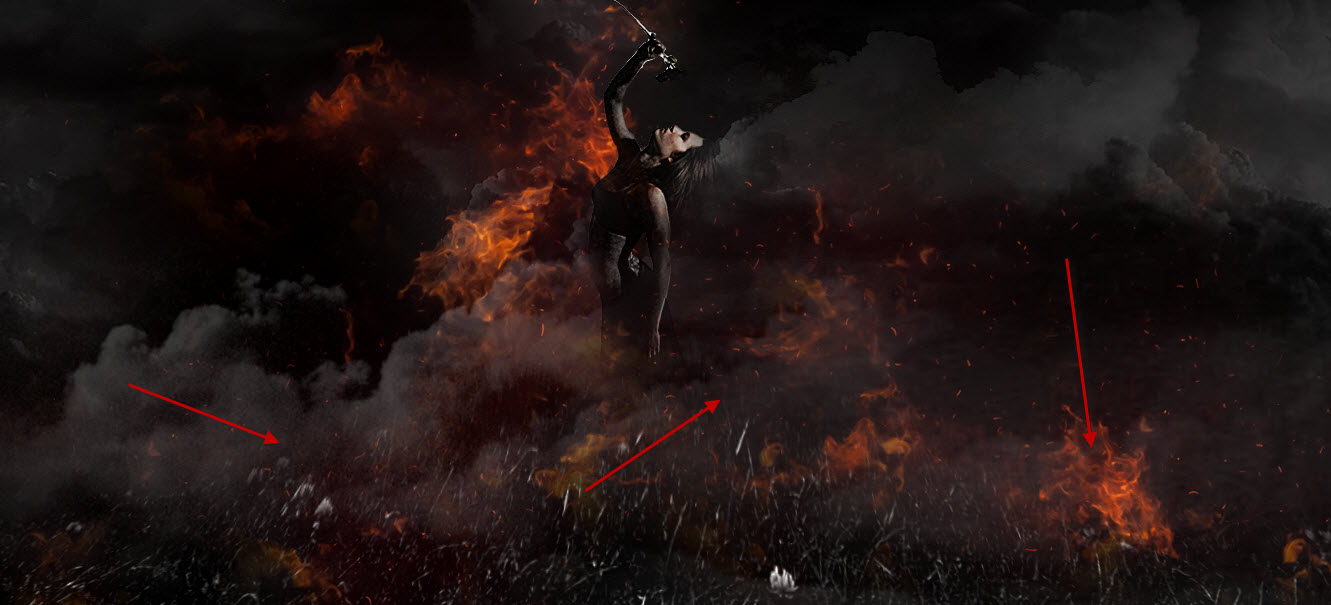
Repeat this process and add more fire to our document:
Step 4
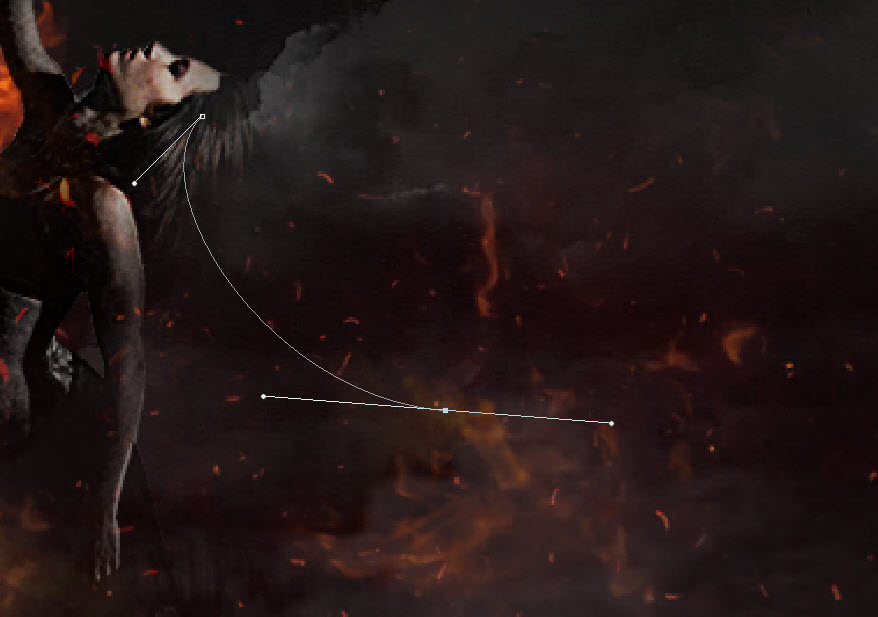
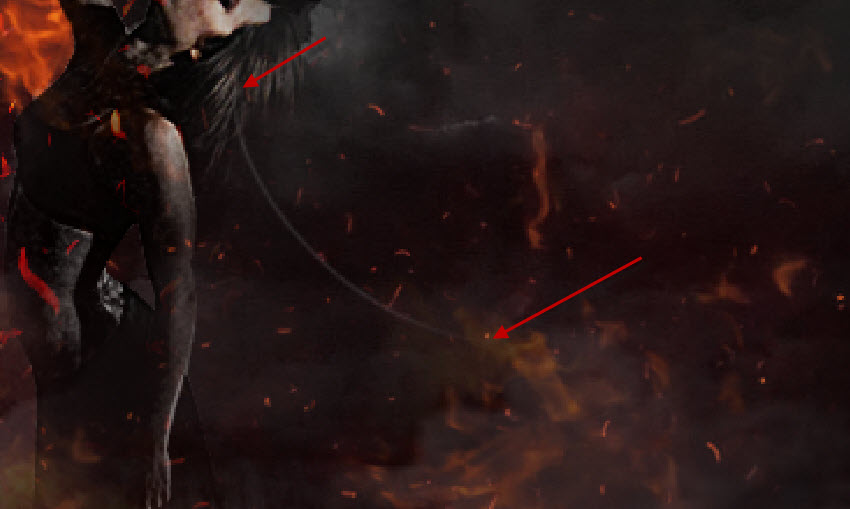
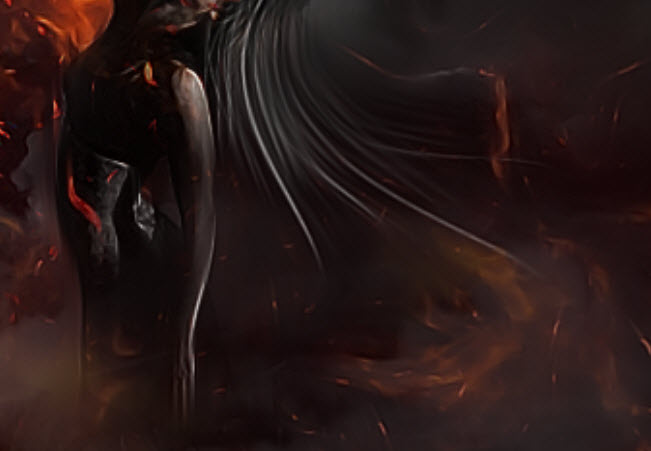
This step is optional. Personally I think adding some flying hair would make the overall effect look more dynamic. So I use the Pen Tool to create a path like this:
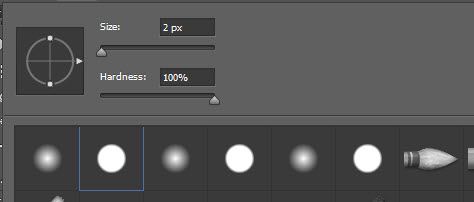
Choose a 2px, hard brush:
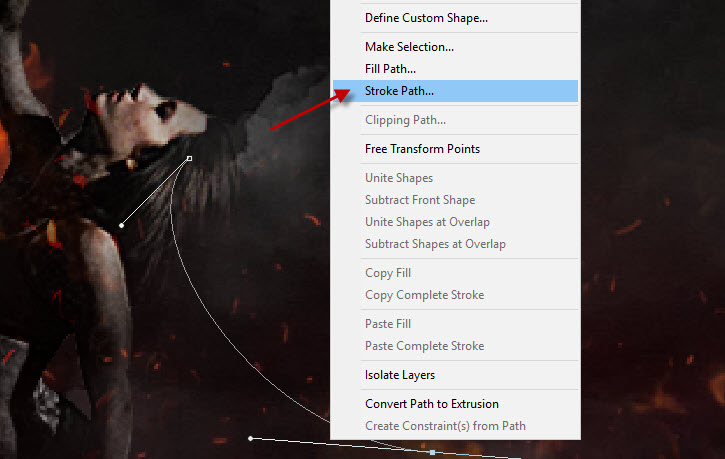
Then go back to the Pen Tool, right-click and choose “Stroke Path …”:
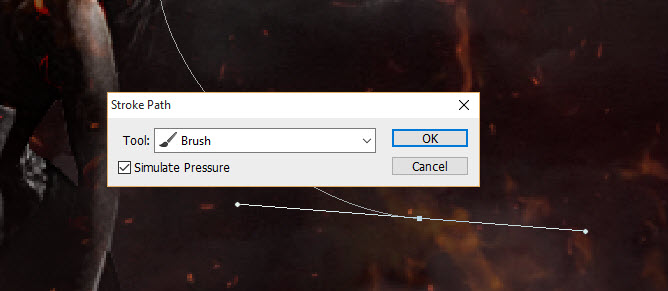
Use the brush we chose and add “Simulate Pressure”:
Here is the effect you will have:

Use a soft eraser to fade the top and bottom of this hair:
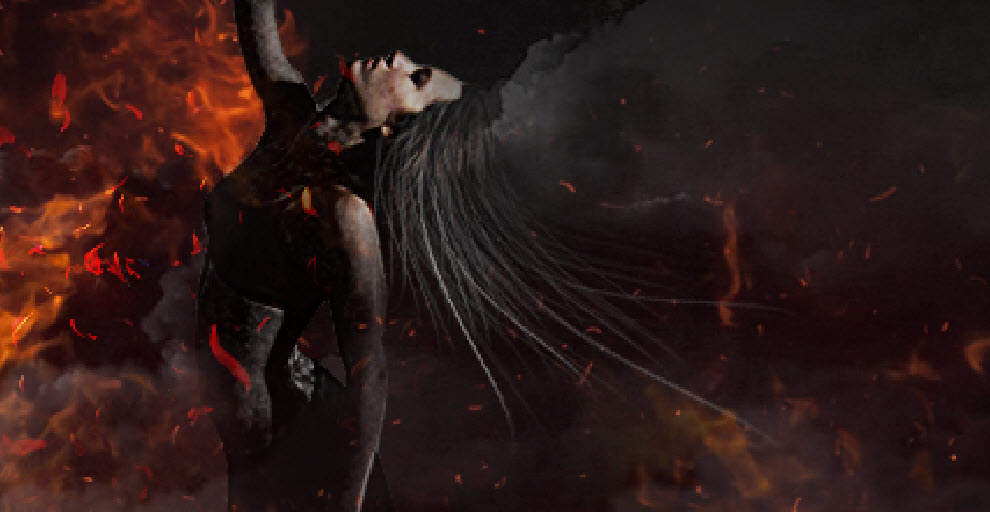
Duplicate this hair a few times – rotate, re-size the duplicated layers as you go. Also adjust the layer opacity of the duplicated layer.
Eventually you will have the following hair effect:
Step 5
Load the Rose flower petals image into Photoshop and select the petals:
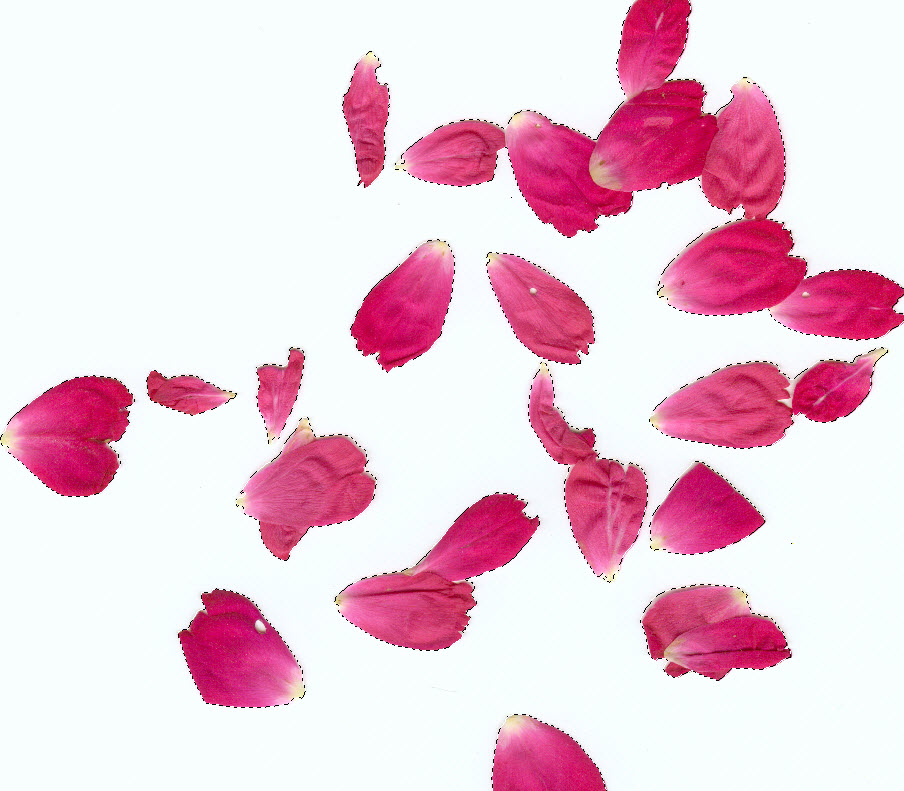
Paste it to the following area and it will look like the petals are falling:
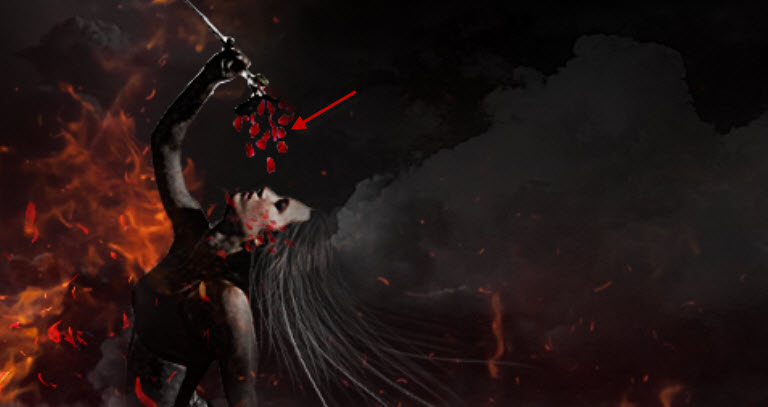
Also add some petals on the face area:

Step 6
We’re almost done! For final touches, I flatten the image and duplicated the background layer, then applied the following Oil Paint filter to the duplicated layer:
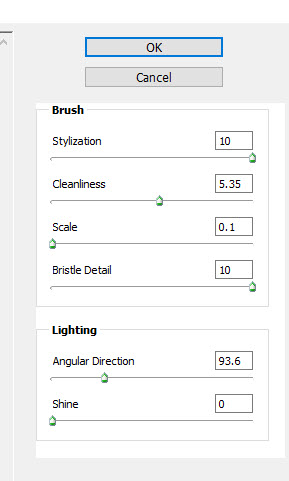
Layer mask on the duplicated layer (in red):
As you can see, the oil paint filter smooth out the skin and hair, giving the image a painting effect:
and here is the overall effect:

I further added some colours with image adjustment layers such as colour balance, selective colour and vibrance. Here is my final result: (click to enlarge)
That’s it for this tutorial! Hope you enjoy it and find it useful! If you have any questions about the steps, please contact me or leave a comment below. I will try my best to answer them.
Till next time, have a great day!
1 Comment
The last step to bring out all of the red color with the color adjustments. How did you do that? I keep trying with the three adjustments, but it isn’t coming out right.