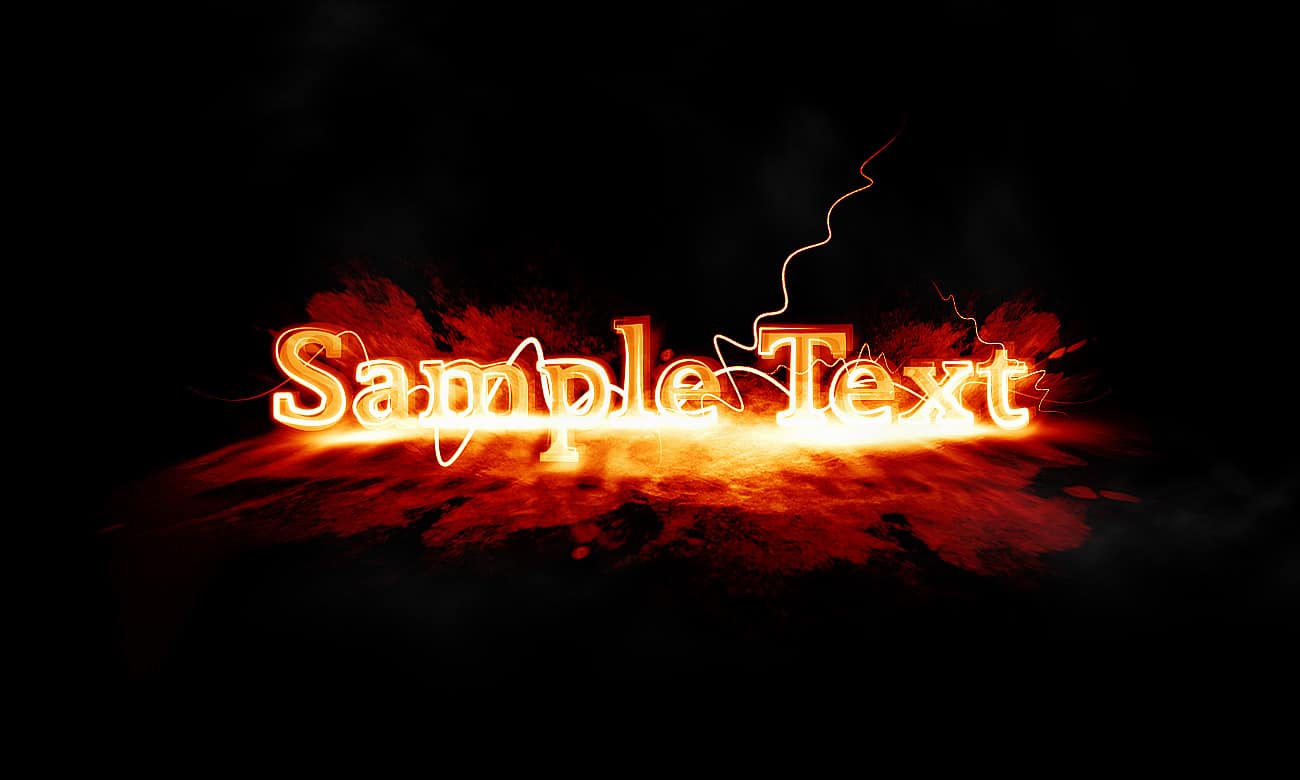
In this tutorial, I will show you the steps I took to create this cool-looking, awsome glowing edge text effect in Photoshop. Have a try!
The PSD file of this tutorial is available via the PSD Vault VIP members area.
Along the way, we will practice the use of Pen tool, layer blending options, texture painting and some image adjustments in Photoshop.
Here is a preview of the final effect I have for this tutorial: (click to enlarge)

PSD Vault VIP Membership
You can download the PSD File for this tutorial via the VIP Members Area for only $6.95/Month (or less)! You will not only get this PSD File, but also 200+ other PSD Files + Extra Goodies + Exclusive Photoshop tutorial there.

No Stock image is required for this tutorial. This tutorial is best for Photoshop CS2 or +.
Ok let’s get started!
Step 1
Create a new document sized 1300px * 780px, fill the background with black and create a new layer called “texture”, grab some grungy brushsets from the sites such as qbrushes.net or brusheezy.com, paint some texture on it:

After you’ve done the painting, hit “Ctrl + T” and right-click on the texture, choose “perspective” and narrow the top border the texture:

After you perspective the texture, scale the texture down as shown below:

Use a big soft brush to erase the edges of the texture so it blends into the background:

Duplicate this texture layer, resize it to a smaller piece, rotate and position the duplicated layer as shown below:

Duplicate the grungy texture layer once more, this time position it to the right:

Step 2
Now type some texts on the canvas. You can use any text you like, the one I used for this tut can be downloaded here.

Apply the following layer blending options to this text layer:
Drop Shadow

Outer Glow

Bevel and Emboss

Contour

Stroke

and you will have the following effect so far:

Step 3
Now we’re onto creating the level effect for the text. We can do this by simple duplicated the original text layer twice, adjust the layer opacity of each text layer according to the settings below:

Move each layer a bit away from each other:

and this is the overall effect so far:

Now we will add the glowing edge effect for the text layer. To do this, load the selection of the text layer (any one of the three):

Click on the Rectangular Marquee tool (or press “M” key):

then right-click inside the selection, choose “make work path”:

set tolerance to “2.0” pixels:

and you will have the following work path created around the text:

click the Pen tool symbol from the toolbox, right-click on the work path and choose “stroke path”:

Use the following 5px hard round brush:

and with “Simulate Pressure” setting enabled:

Stroke the work path. You will have the following effect:

Step 4
Now we can add some lights on the bottom of the text so it blends better with the texture. To do this, create a new layer on top of all previous layers called “light” and grab a big soft brush, do a single-click as shown below:

Compress this light layer and move it the bottom of the text:

Use Warp tool to adjust the light, in order to fit the curve of the texture:

Step 5
Now let’s add some shadow for the text. Create a new layer on top of all previous layer called “shadow”, load the selection of the one of the text layer, fill the selection with black colour:

Hit “Ctrl + T” and right-click, choose “Flip Vertical”:

Perspective this shadow layer as shown below:

Apply the following Gaussion Blur settings to it:

Move the shadow layer down and change its blending mode to “soft light”, you will have the following effect:

Step 6
Now create a new layer on top of all previous layer, name it “Abstract line” and grab the Pen Tool, draw a random path as shown below:

If you feel like some adjustments, you can hold “Ctrl” key and drag the anchor points to change the path:

Stroke the path using the same settings as previous step: (5px hard round brush, simulate pressure)

Now add a layer mask on this abstract line layer to hide some portion of the lines behind the text:
(Hint: to quickly add this mask, load the selection of the top-most text layer, then click on the layer mask, and go to Edit > Clear to clear out the text portion)

You can see by adding this layer mask we can hide the parts of the abstract line:

You can also duplicate this abstract line layer a few times for more effect (disable the layer mask for the duplicated layers, and resize those layers for depth)

Step 7
OK we’re nearly done. To finish up this effect, we can add a few adjustment layer to fine-tune the color and lighting contrast.
I added the following adjustment layers on top of all previous layers:
Color Balance


Curves

and here is the final effect for this tutorial:

I also made an alternative version with cloud and extra lights added to it: (click to enlarge)

OK that’s it for this tutorial! Hope you enjoy it and find it useful and inspirational. If you have any question, drop a comment below and I will try my best to help you out.
Cheers and have a nice day!
25 Comments
Thank you… :)
very nice:-) Thank you!
I am stuck at the part with the path….. I use the rectangular marquee tool I select Make Work Path Tolerance 2px but when I right click [with the Pen Tool selected] the Stroke path is grey and cant be used…. What’s wrong?
Please HELP MEE ASAP…!!
Photoshop CS3
windows XP
:)
thank youuuuuuuuu
i have the same problem as help, however I am using CS5. I am not able to select “stroke path” once I have my work path
I think I figured out the stroke path part. I too got stuck on that but you just have to right click on the layer and click Rasterize type and make sure your brush preset is already set before you stroke path bcuz it didnt let me change it during. so after you set the brush settings then click the pen tool and right click text and it should pop up…well for me it did anyways.
Hey – Worked great =) I took it and kind of added and did my own affects but it is an overall well produced tutorial and graphic application =) Thank you for the inspiration!
Here is what I came up with…
http://i14.photobucket.com/albums/a308/wazzup101/Club10910-Darker.jpg
Hi, I’m using Cs4. First rasterize the text layer ,then you load the type by right clicking with the rectangular marquee tool you will see near the bottom fill and stroke choose fill and continue on. I hope this helps. Great tutorial, I look forward to finishing it
I get up to the pen bit but then my stroke path wont go :/ its still there. anyone know how to help?
I did this a while ago but make sure you are on the correct layer or MAKE A NEW LAYER for the stroke path because you will be editing that stroke – It will not let you stroke a path on a text layer that is not rasterized and usually won’t tell you why it will not allow it. So try to create new layer and/or make sure you are on the right layer =)
yes exactly but those strock are not used in this Image, that is for i am sure.
thank you for posted meee
Thanks for the step-by-step guide!
I never thought it’s that simple to make but the result is kick-ass!
i had a same prob with the stroke path…
thanks a lot shawn T_T that helped me a lot…
and very much thanks for the tutorial~ keep it up…:)
Hi it’s very helpful website
i can say it thank you veymuch
this is a great work……… thanks for share…..
Thanks for the tutorial, it was extremely easy to follow and I had great results!
GOT IT BUT THE COLORING IS HORRIBLE SO IT MESSES UP THE PICTURE
Woo that awesome mu freinds how i cant to dat i want that tutorial in video plz
a big thanks
Awesome, Thanks but I cant get the last line vey fluid. and I don’t get the fading out at the ends…
Im having trouble selecting the ‘light’ so that I can then compress it as shown. Anyone know what I’m doing wrong?
I’m having a problem with the stroke path. I followed all the instructions and repeated the steps more than 10x over but still when I use the pen tool, the stroke path is unavailable. Help please?
i like this text-effects.thanks for
Many thanks… Great tut ! Has helped enormously ! I think I achieved what I wanted… My own effort is at the top of my page : http://www.strangecarrots.com/art—my-own-stuff.html
Hope you like it….