In this tutorial, I will show you the processes of creating this Deep Space Text Effect in Photoshop. We will use a handwriting font, combine it with nebula and fire textures to form the final effect. We will also be using some selection and image adjustment techniques along the way.
The PSD file of this tutorial is available via the PSD Vault VIP members area.
Here is a preview of the final effect I have for this tutorial: (click to enlarge)

PSD File Download
You can download the PSD File for this tutorial via the VIP Members Area for only $6.95/Month (or less)! You will not only get this PSD File, but also 300+ other PSD Files + Extra Goodies + Exclusive Photoshop tutorials there. Signup now and get exclusive :) Find out more about the VIP Members Areas
OK Let’s get started!
To complete this tutorial, you will need the following stocks:
Space image 2 by ex-astris1701
Step 1
Create a new document sized 1400px * 759px with black background. Load the ground image into Photoshop and copy the entire image to our document, resize and perspective it as shown below:

Use a soft eraser to remove the top edge as shown below:

Add the following adjustment layers to this ground texture:
Black and White

Levels

and here is the effect so far:

Step 2
Type some letters onto the canvas with the font we downloaded:

Load the text layer’s selection, move the selection over to the “space image 1” stock, as shown below:

Copy and paste the selection over to our document and cover the original text:

Apply the following layer blending mode to this new space texture layer:
Stroke

Inner Glow

Here is the effect so far:

Step 3
Load the fire texture into Photoshop and select the following portion with a 40px feather setting Lasso Tool:

Copy and paste to the selection to our canvas, reduce its size as shown below:

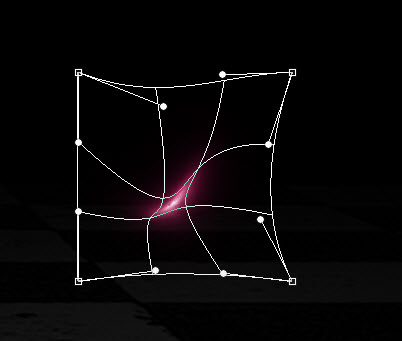
Warp this texture with the free transform tool:

Apply the following Hue/Saturation adjustment to change its colour:

Attach the texture to the letter:

Continue to add the texture to cover the entire letter, make sure your rotate, warp the texture to fit the shape of the letter:

Keep going until all letters are covered with the fire texture:

Step 4
We will add some special lighting effect into the image. Create a new layer and paint a small dot:

On the same layer, use a smaller white brush to paint another dot in the centre:

And use the warp tool to warp it as shown below:
Attach a few of these lighting stripes to the letters as shown below:

Step 5
We will add some extra nebula and cloud effect into our image. Select the following portion with a 30px feather Lasso Tool from “space image 2”:

Copy and paste the selection to our document and apply the following Hue/Saturation settings:

Add 3 of these to our document as shown below. Make sure you place the layers below the text layer:

Add one more nebula texture from “space image 1”:

Copy and paste the selection to our document and apply the following Hue/Saturation settings:

Add 2 of these to our document as shown below. Make sure you place the layers above the text layer and set the layer blending mode to “screen”:

Add some cloud effect on the ground with a cloud brush or the cloud filter:

Step 6
For final touches, I flattened the layers and apply this unsharp mask filter settings to the background layer in order to sharpen the image a bit:

Apply the following selective color adjustment layer on top to fine tune the colour:


and here is my final effect: (click to enlarge)
That’s it for this tutorial! Hope you enjoy going through it and find it useful. Drop me a comment below if you have any question.
Till next time, have a great day!
2 Comments
This is amazing. Thank you for the tutorial!
It’s the first time for me to create this of such style, I have always wanted to create such before. Thank you for your specific tutorial!