In this Photoshop tutorial, I will show you the methods I used to create intriguing fantasy matte painting in Photoshop. We will go through a series of methods of merging and combining different types of objects, as well as colouring techniques through image adjustment layers.
The PSD file of this tutorial is available via the PSD Vault VIP members area.
Here is a preview of the final effect I have for this tutorial: (click to enlarge)

PSD Vault VIP Membership
You can download the PSD File for this tutorial via the VIP Members Area for only $6.95/Month (or less)! You will not only get this PSD File, but also 250+ other PSD Files + Extra Goodies + Exclusive Photoshop tutorials there. Signup now and get exclusive!

OK Let’s get started!
To complete this tutorial, you will need the following stocks:
Step 1
Create a document sized 1440px * 500px with black background. Load the mountain stock image into Photoshop and select the lower half (mountain) portion of the image:

Copy and paste the selection over to our document, place it into the position shown below:
Hint: use the free transform tool to resize your selection as you see fit.

Use a soft eraser to remove the parts of this mountain layer as shown below:

Add the following 3 adjustment layers as clipping masks to this mountain layer:
Black and White

Levels

Curves

On top of the above adjustment layers, we will add some more mountain textures. Go back to the mountain stock image and select a few mountain tips:

Copy and paste the selection over to our documents. Apply the Black and White adjustment settings (leave the values as default) and use a soft eraser to fade the edges of the copied texture, so it blends into our previous mountain texture:

Optional: I painted some red textures over the ground with the soft brush (set blending mode to “color burn”) to give the image a more dramatic effect:
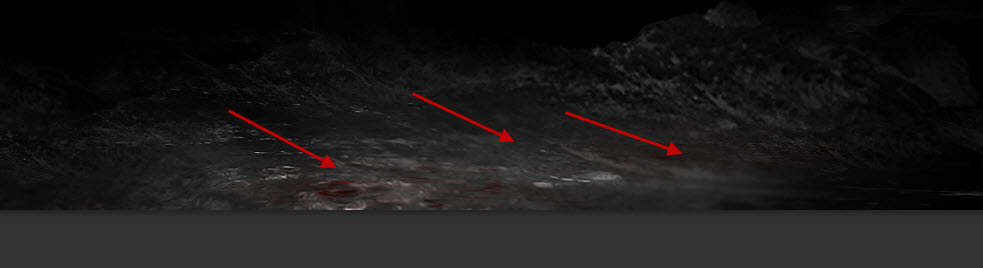
and here is the effect so far:

Step 2
We will the cloud into our image in this step. Load the cloud image into Photoshop and select the following portion:

Copy and paste the selection over to our image and place it above the ground:

Use a soft erase to the remove the following parts of the cloud:

Add the following 3 adjustment layer as clipping masks to the cloud layer:
Black and White

Levels

Curves


and here is the effect so far:

Step 3
We will ad the cliff parts into our image in this step. Load the rock texture into Photoshop and select the following portion from it:

Copy and paste the selection over to our document, flip it horizontally and move the layer to the bottom right position, resize it to a smaller scale:

Use a soft eraser to fade the bottom and right parts of the rock as shown below:

and here is the effect so far:

Step 4
We will be adding the model into our image in this step. Load the model image into Photoshop and cut out the model, then paste it over and above the cliff we’ve just constructed in the previous step:

Add the following 2 adjustment layers as clipping masks to this model layer:
Black and White

Levels

Use a soft brush to paint some shadow under the model:

Optional: you can add some cloud effect around the model for some extra effect:

Step 5
We will add a beacon of light shooting from our model in this step. Create a new layer and use a soft white brush to paint a dot to the position shown below:

Duplicate this layer and compress it down as shown below:

and you will have the following effect:

Create a new layer and use the line tool to draw a line above the model with white colour, set its layer opacity to around 75%:

Duplicate this line layer once and use the Gaussian Blur filter to blur it. Press Ctrl + F to reply this Gaussian Filter a few times:

and here is the effect so far:

I further painted some cloud for extra effect:

Step 6
OK we’re almost done! For some final touches, we will add some flying debris with the debris brush we download at the beginning of the tutorial. We will use the black colour to paint the debris, then apply the following Motion Blur filter to add some blur to the debris:

Lastly, add the following Selective Color adjustment layer on top to add some colours for our image:


and here is my final result: (click to enlarge)
That’s it for this tutorial! Hope you enjoy going through it and find it useful. Drop me a comment below if you have any question.
Till next time, have a great day!