In this Photoshop tutorial, I will show you the process of creating this “Escape from Hell” Digital Art in Photoshop. We will use a male model stock image and turn him into a fiery-winged angelic figure. We will combine a few images and form a hell environment. Have a try!
The PSD file of this tutorial is available via the PSD Vault VIP members area.
Here is a preview of the final effect I have for this tutorial: (click to enlarge)

PSD Vault VIP Membership
You can download the PSD File for this tutorial via the VIP Members Area for only $6.95/Month (or less)! You will not only get this PSD File, but also 200+ other PSD Files + Extra Goodies + Exclusive Photoshop tutorials there. Signup now and get exclusive!

OK Let’s get started!
To complete this tutorial, you will need the following stocks:
Step 1
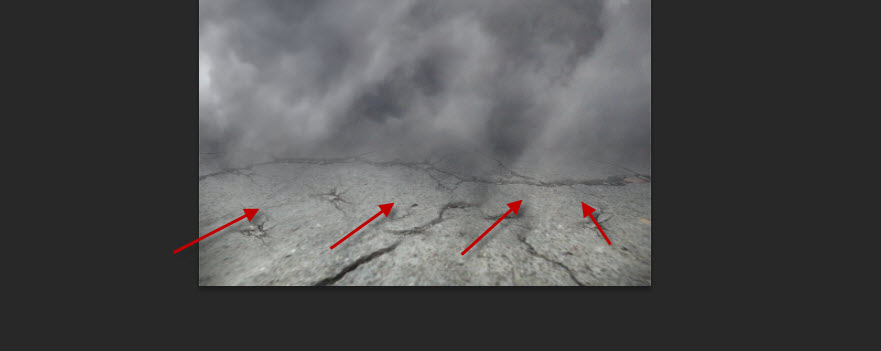
Create a new document sized 820px Width * 937px Height with black background. Load the Ground stock image into Photoshop. Select a portion of the ground stock as shown below:

Copy and paste the selection to our document, use the Free Transform Tool to set the following perspective:

Fade the top edge with a big soft eraser:

Step 2
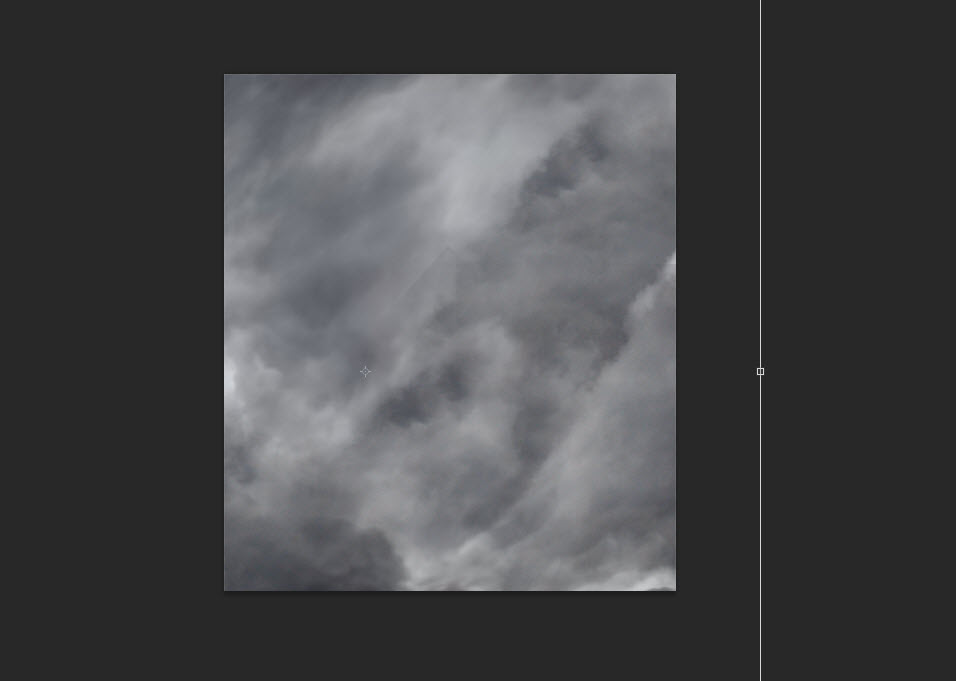
We will use the Cloud stock image in this step. Select the following portion of the image as shown below:

Copy and paste the selection to our document and re-size the image as shown below:
Use a soft eraser to fade the bottom edge of the cloud, so it blends into the ground:
Add the following adjustment layers as clipping masks to the cloud layer:
Black and White

Levels

Color Balance


and here is the effect so far:

Step 3
We will add some creepy burning hands reaching out from the ground. Load the Hands stock image (use this one below) into Photoshop and select the hand:

Copy and paste the selection to our document. Re-size and rotate it, place the hand above the ground as shown below:

Apply the following Levels adjustment to this hand layer:

And here is the hand after the levels adjustment:

To make it look more realistic, we can use the Clone Stamp tool to clone some cracks and place the crack under the hand:

Here is the setting for the Clone Stamp tool:
![]()

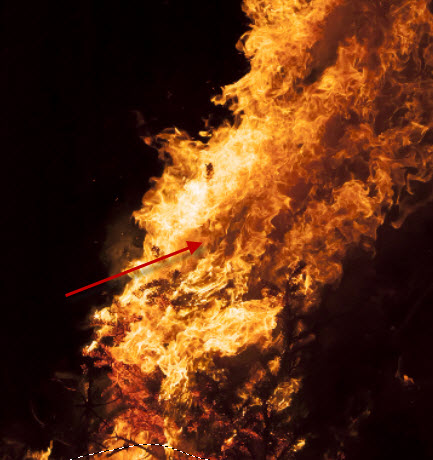
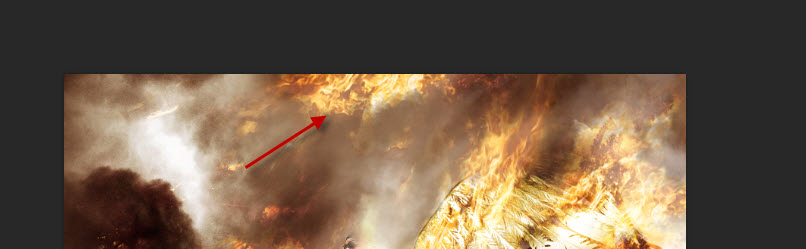
Load the Fire stock image into Photoshop and select a portion of the fire (with the Lasso Tool):
Copy and paste the selection of fire to our document, re-size the fire layer to around the size of the hand. Change the layer blending mode to “Screen” for this fire layer:

Use a soft eraser to fade the edges of the fire:
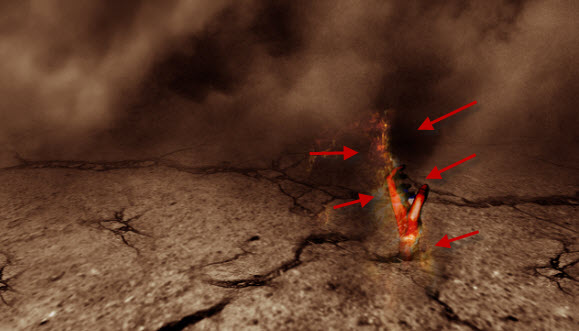
Repeat this process above, and add more burning hands as shown below:

Step 4
Load the model image into Photoshop and cut of the model. Paste it to the centre of the our document, re-size it to fit the size of our canvas:

Fade parts of the model’s body as shown below with a soft eraser tool:
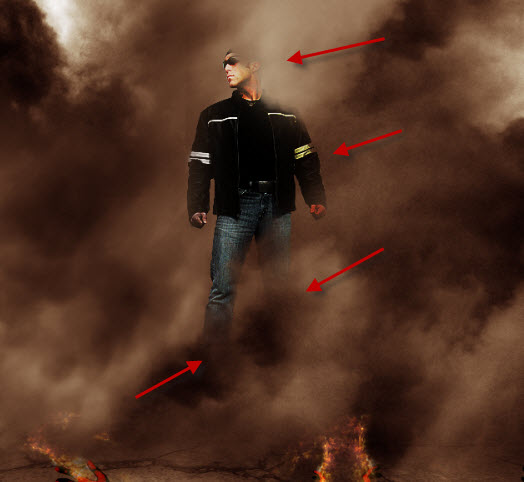
Load the Angel wing into Photoshop and select the wing:

Add the wing to left and right of the model, make sure they differ in size:

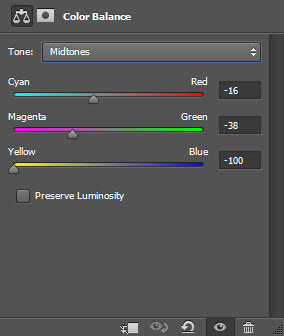
Add the following Color Balance adjustments respectively to the left and right wing:


and here is the effect so far:

Step 5
We will add some fire to the wings. Go back to the fire stock image and select a big portion of the fire:

Copy and paste the selection to our document. Use the “Screen” blend mode for this new fire layer:

Re-size and move the fire to the wing, rotate the fire a bit to fit the angel of the wing:

Use the same method, keep adding more fire to the wings as shown below:


Step 6
We will add some flying fiery particles to our image. Go back to the fire stock image and select the bottom part of the fire:

Copy and paste the selection to our document and set the blending mode to “Screen”. Add the particles to the top of the canvas as shown below. You will need to use free transform tool to adjust the size of those particles:


We can also can more fire texture on the top as shown below:
Step 7
We’re almost done! For final touches, we can flatten the image and duplicate the background layer, use the “Accented Edge” filter as shown below:

Change the blending mode of this duplicated layer to “Hard Light”:

This is the layer mask I used on the Accented Edge layer:

This is the final effect I have for this tutorial with some further colour adjustment:
That’s it for this tutorial! Hope you enjoy it and find it useful. Till next time, have a great day!