
In this tutorial, I will show you the process used to make an interesting abstract text effect with a Topography Map. We will practice the use of liquify filter, layer blending options, some simple image adjustments and custom brush painting. Have a try!
The PSD file of this tutorial is available via the PSD Vault VIP members area.
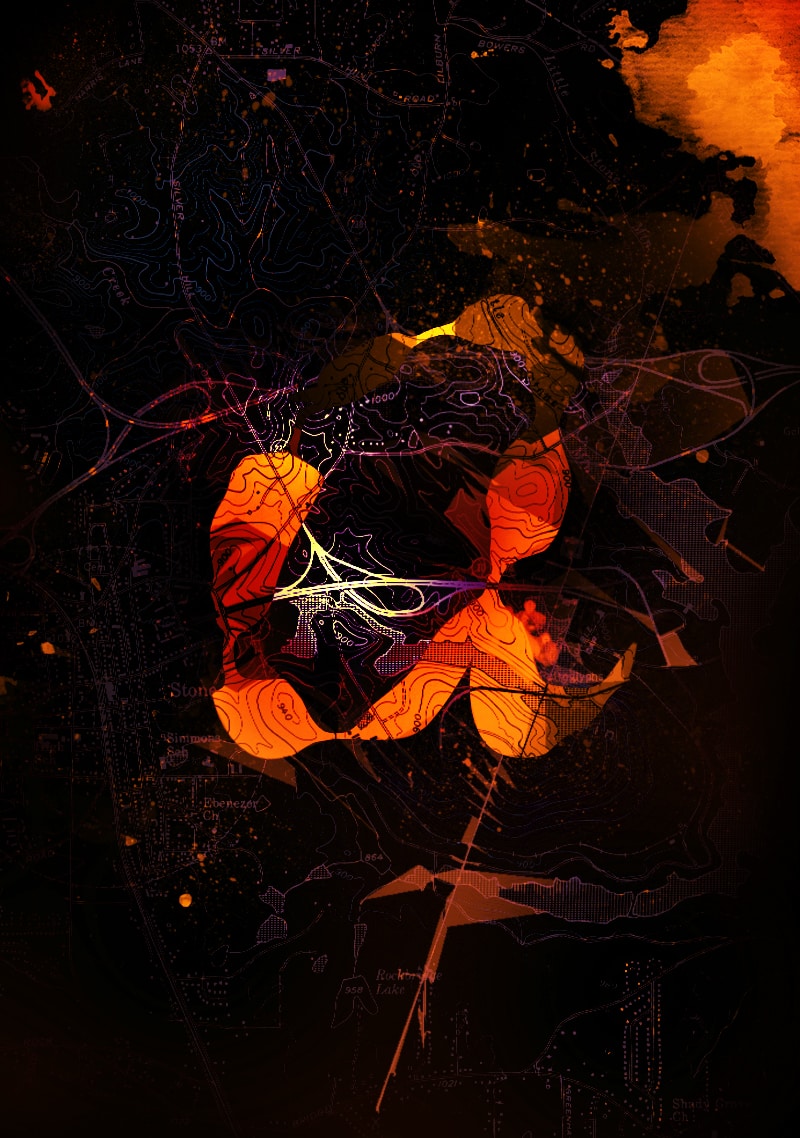
Here is a preview of the final effect I have for this tutorial: (click to enlarge)
PSD Vault VIP Membership
You can download the PSD File for this tutorial via the VIP Members Area for only $6.95/Month (or less)! You will not only get this PSD File, but also 250+ other PSD Files + Extra Goodies + Exclusive Photoshop tutorials there. Signup now and get exclusive!

OK Let’s get started!
To complete this tutorial, you will need the following stocks:
Step 1
Create a new document sized 800px * 1132px with black background. Load the topographic map image into Photoshop, select the whole image and copy it to our canvas. We will use it as the background of the text:

Invert this new map layer by going to Image > Adjustments > Invert, or press Ctrl + I:

Use a soft eraser to fade parts of the map layer as shown below:

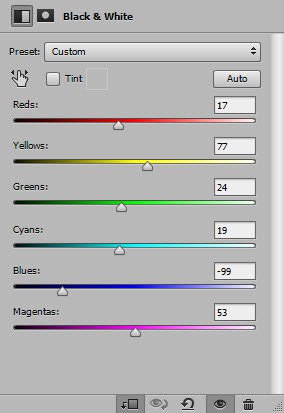
Apply the following image adjustments layers on top of this map layer:
Black and White
Layer mask on the above black and white layer:

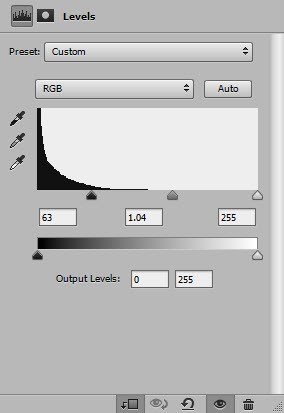
Levels
and here is the effect so far:
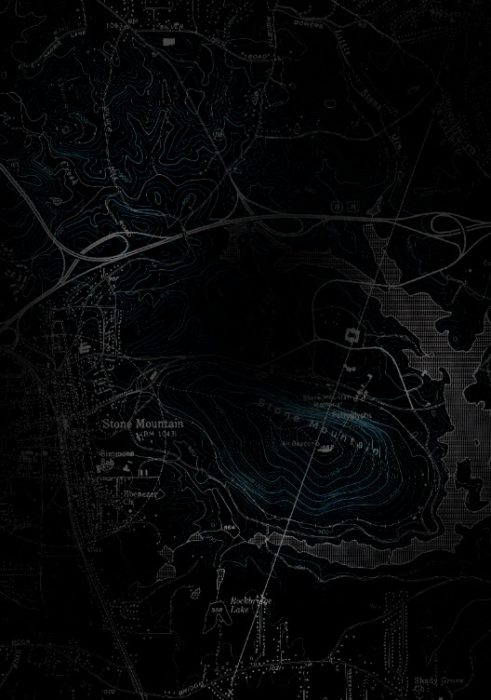
Step 2
We will work on the text in this step. Use any font you like, type a letter at the centre of the canvas:

Use the Liquify filter on this letter:

Press “Ok” to rasterize this letter layer:

Have fun with the liquify filter, warp and manipulate the letter as you see fit:

Step 3
We will add some map texture over the letter. Go to the map image and select a piece of it:

Copy and paste the selection to our document, set it as clipping mask to the letter layer:

Change the layer blend mode to “Multiply” for this new map texture layer:

Then create a new layer on top of the map layer and set it as clipping mask, use a hard brush with 50% opacity, 100% flow to paint some black parts over the map texture. The effect should look like this:

Use a watercolor brush, paint some watercolor pattern on the background:

and here is the effect so far:

Step 4
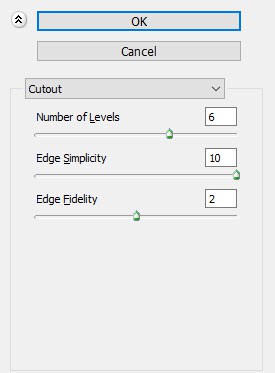
We’re almost done! For final touches, I flattened the image and duplicated the background layer, go to Filter > Artistic > Cut Out and apply the following settings to the duplicated layer:
Hide parts of the new duplicated layer the the following layer mask:

You will the “Cut Out” filter added some geometric shapes to our document:

If you’re happy with the letter you created, you can stop here.
I further adjusted the colour of the text a bit with a couple of image adjustment layers (selective color, hue/saturation), and this is my final result: (click to enlarge)
That’s it for this tutorial! Hope you enjoy it and find it useful! If you have any questions about the steps, please contact me or leave a comment below. I will try my best to answer them.
Till next time, have a great day!