Close Menu
PSD VaultPSD Vault
  • VIP Area
  • Photoshop Basics
  • Photo Effect
  • Text Effect
  • Premium Tuts
  • Resources
  • Drawing
  • Inspiration
  • Web Graphics
  • Abstract
  • Freebies
  • Advertise
  • Get in Touch
  • About PSD Vault
Facebook Instagram Pinterest YouTube TikTok
Facebook Instagram Pinterest YouTube TikTok RSS
PSD VaultPSD Vault
  • VIP Area
    • Sign Up
    • Log In
  • Photoshop Basics
  • AI
  • Photoshop Error Fixes
  • Video Tutorial
  • Photo Effect
  • Text Effect
  • Premium Tuts
  • Drawing
  • Opinion
PSD VaultPSD Vault
Home»Photo Effect»Manipulate a Man Portrait into Dark Wizard in Photoshop
Photo Effect

Manipulate a Man Portrait into Dark Wizard in Photoshop

By James QuOctober 21, 20144 Mins Read
Share
Facebook Twitter LinkedIn Pinterest Email

In this tutorial, I will show you the steps I took to manipulate a man portrait into dark wizard in Photoshop. We will use some bare metal texture and fire stock images, plus a number of image adjustment techniques to form this effect. Have a try!

The PSD file of this tutorial is available to buy on PSD Vault Shop, or via the PSD Vault VIP members area.

This is an intermediate level tutorial so some steps can be challenging.

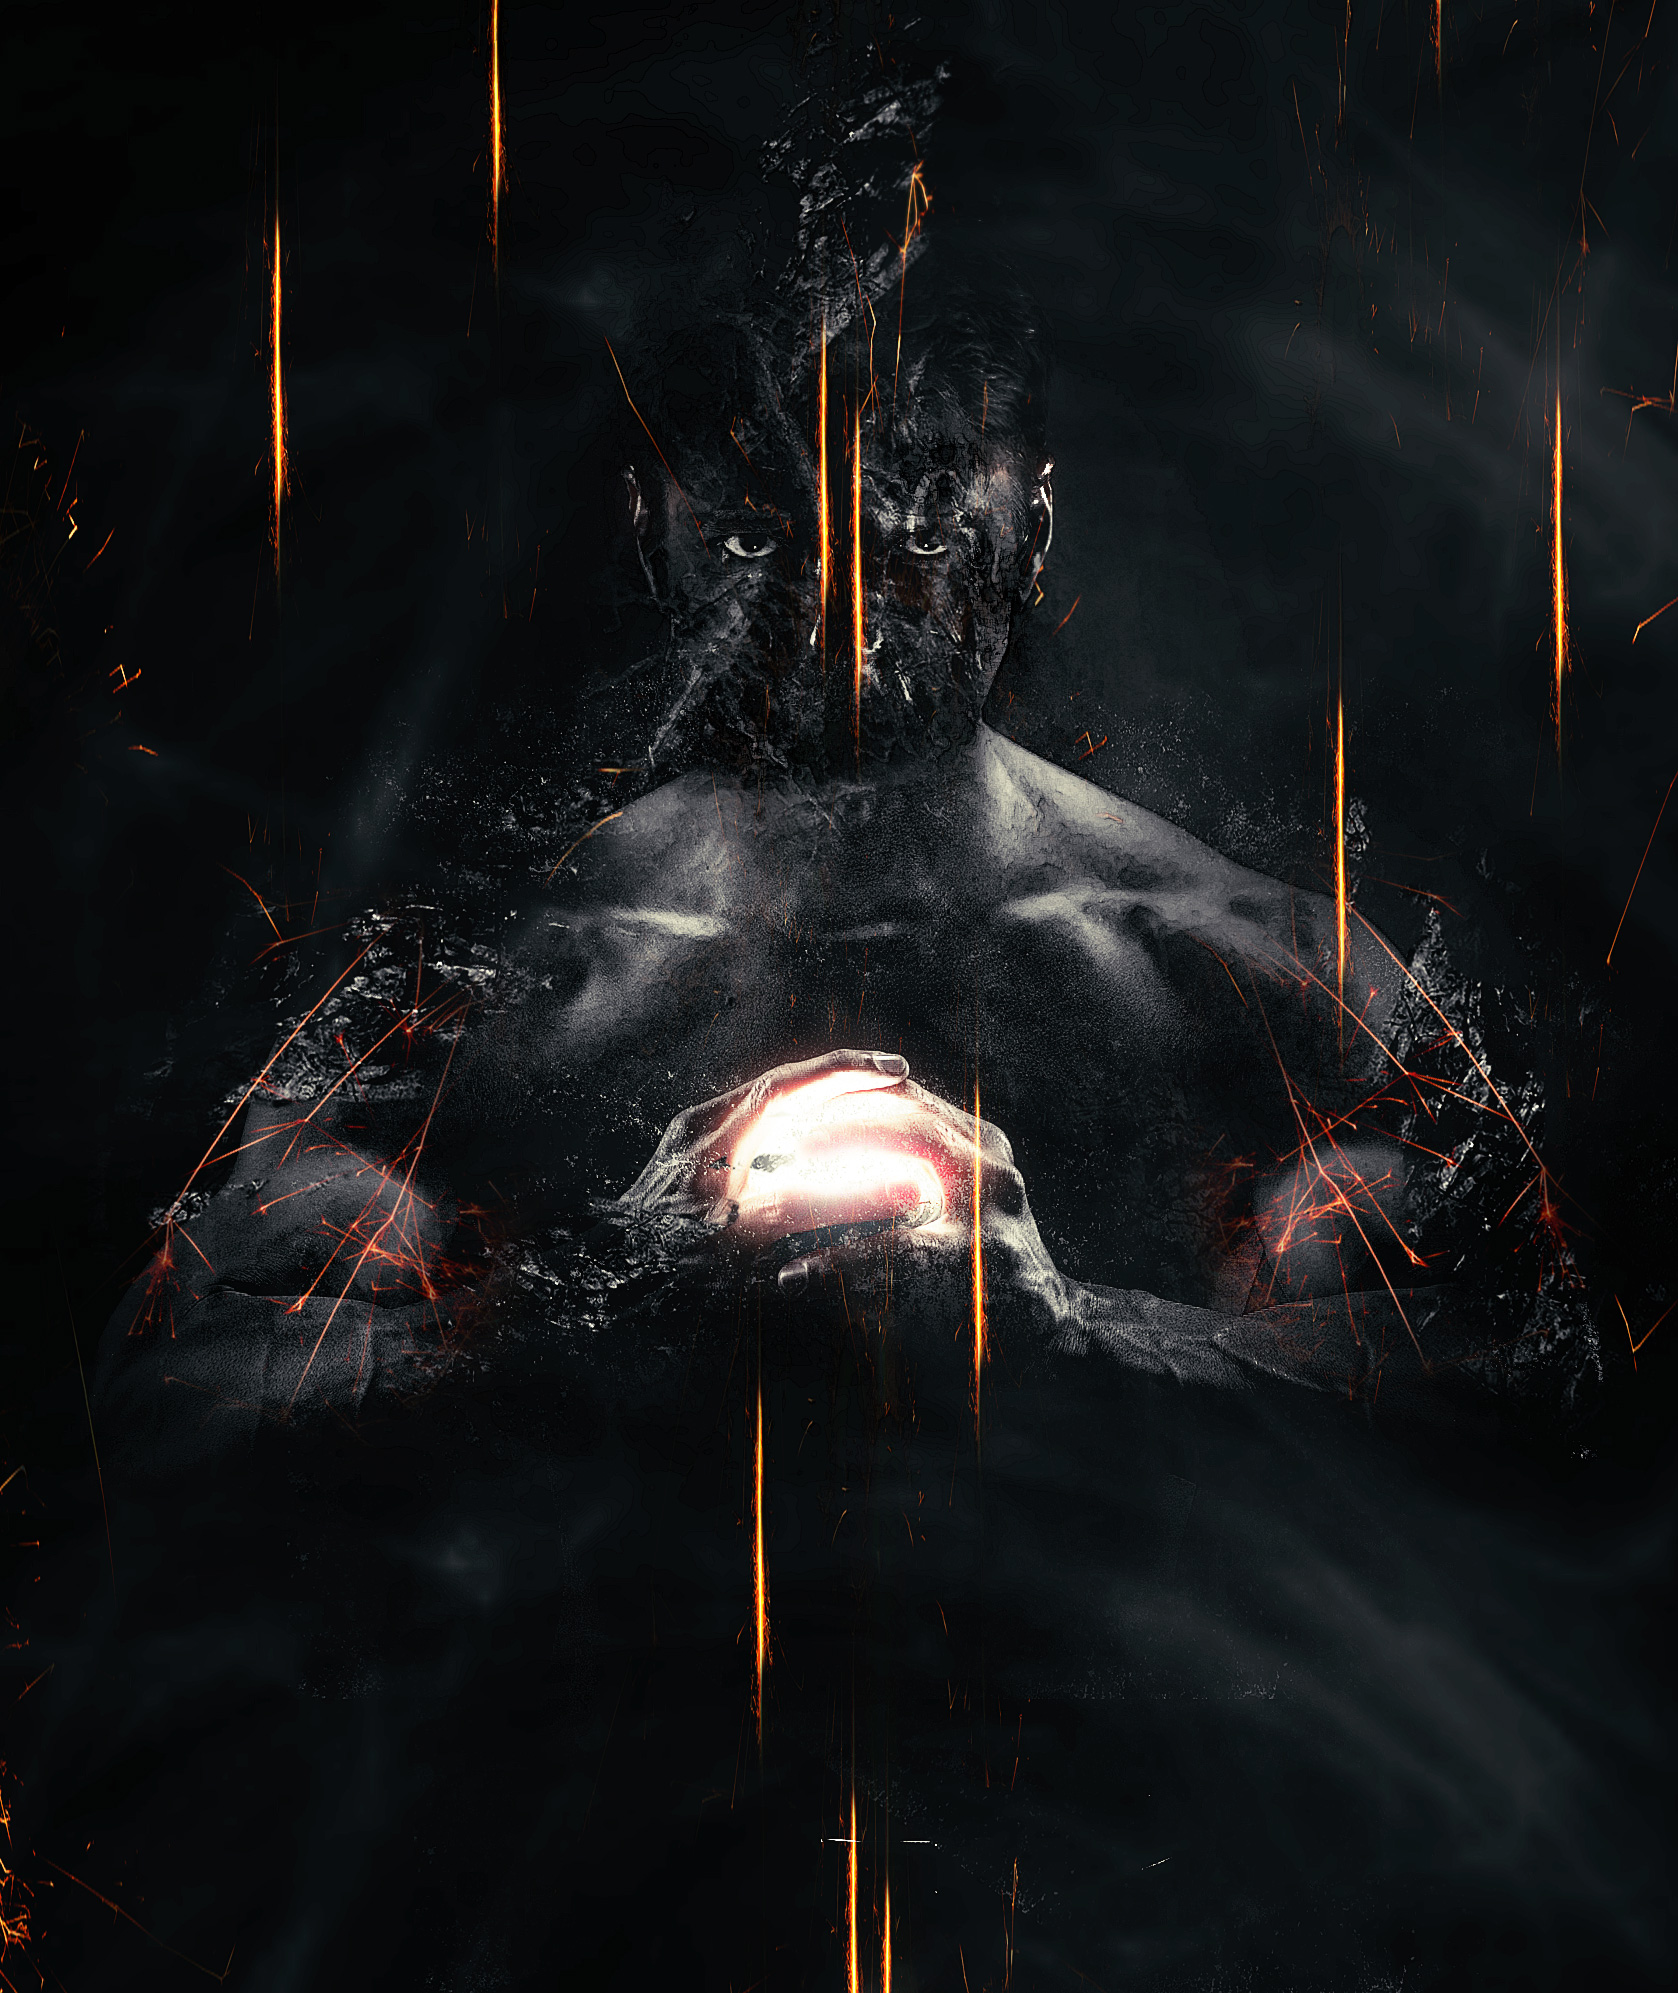
Here is a preview of the final effect I have for this tutorial: (click to enlarge)

PSD Vault VIP Membership

You can download the PSD File for this tutorial via the VIP Members Area for only $6.95/Month (or less)! You will not only get this PSD File, but also 200+ other PSD Files + Extra Goodies + Exclusive Photoshop tutorials there. Signup now and get exclusive!

OK Let’s get started!

To complete this tutorial, you will need the following stocks:

Model Stock Image (Photo by Portia Shao, Model Jason Aaron Baca)

Metal

Fire

Step 1

Load the model image into Photoshop. Firstly we can make some adjustments to his face and make a gap appear in the middle. Use the Pen Tool to select the left side of face as shown below:

Make a selection of this work path:

Duplicate this selection and move the left side of the face slightly to the left. Use the Burn Tool to darken the inside edge of the face:

Repeat the above process with the right side of the face, and move it slightly to the right:

Step 2

We will add the following image adjustment layers on top of the previous layers:

Black and White

Levels

Layer mask on the levels adjustment layer:

Curves

Layer mask on the curves adjustment layer:

Create a new layer and draw a selection as shown below and fill it with black:

Use a soft eraser tool to fade the edges of this black strip, and here is my effect so far:

Step 3

We will apply some texture over the model. Load the metal texture into Photoshop and select a portion of it. Copy the selection and paste it to cover the model’s face. Make sure you reveal the eyes and the middle part of the face:

Add the following adjustment layer as clipping mask to this texture layer:

Black and White

Levels

and here is my effect so far:

Repeat the above process and attach more texture around the arms and neck:

Step 4

We will add some fire sparks into the image. Load the fire stock image into Photoshop and select the following portion:

Copy and paste the selection over to our document, compress it as shown below:

Add more fire textures as shown below:

Step 5

We can go back to the fire stock image and select the following portion:

Copy and paste the selection to our document. Set the blending mode of this new layer to “Screen”:

Duplicate this new spark layer a few times and scatter them around the canvas as shown below:

Step 6

We’re almost done! To finalise the effect, we can add some particles around the model as shown below:

Use a cloud brush or cloud filter to render some cloud around the model:

We can also some extra fire sparks around the arms as shown below:

I apply some colour effect with the colour balance adjustment layer, and here is my final effect: (click to enlarge)

That’s it for this Photoshop tutorial! Hope you enjoy it and find it somehow useful. Drop me a comment if you have any questions. Till next time, have a great day!

dark portrait wizard
Share. Facebook Twitter Pinterest LinkedIn Tumblr Email
James Qu
  • Website

James is a seasoned Photoshop expert with over 25 years of experience based in Australia. As the driving force behind PSD Vault, he authors the majority of its in-depth tutorials and insightful articles.

Related Posts

How to Turn Day to Night in Photoshop: 2 Complete Methods

March 8, 2026

How to Create a Matrix Movie Effect in Photoshop

March 1, 2026

Create a Diablo-Inspired Dark Grunge Text Effect in Photoshop

February 22, 2026

2 Comments

  1. 334061981 on September 23, 2014 12:20 PM

    Fire material not to download link, a mistake

  2. tutorialsmu on February 12, 2015 12:50 AM

    great article, where i can get the material ?

Don't Miss

How to Turn Day to Night in Photoshop: 2 Complete Methods

March 8, 2026

How to Use Photoshop’s Remove Tool with AI Precision

March 4, 2026

How to Create a Matrix Movie Effect in Photoshop

March 1, 2026

For Beginners

AI

How to Use Photoshop’s Remove Tool with AI Precision

By James QuMarch 4, 20264 Mins Read

10 Genius Tips to Master Photoshop’s AI Object Selection Tool

February 27, 2026

Mastering Sky Replacement in Photoshop: A Comprehensive Guide

February 25, 2026

How to Use “Find Distractions” Feature in Photoshop for Easy Photo Clean-up

February 13, 2026

You May Also Like

Photo Effect

How to Turn Day to Night in Photoshop: 2 Complete Methods

By James QuMarch 8, 202618 Mins Read
Photo Effect

How to Create a Matrix Movie Effect in Photoshop

By James QuMarch 1, 202614 Mins Read
Text Effect

Create a Diablo-Inspired Dark Grunge Text Effect in Photoshop

By James QuFebruary 22, 202612 Mins Read
Facebook X (Twitter) Instagram Pinterest
  • About Us
  • Get in Touch
  • Advertise
  • VIP Area
  • Privacy Policy
  • Terms & Conditions
© 2026 PSD Vault. All Right Reserved.

Type above and press Enter to search. Press Esc to cancel.

Manage Consent
To provide the best experiences, we use technologies like cookies to store and/or access device information. Consenting to these technologies will allow us to process data such as browsing behavior or unique IDs on this site. Not consenting or withdrawing consent, may adversely affect certain features and functions.
Functional Always active
The technical storage or access is strictly necessary for the legitimate purpose of enabling the use of a specific service explicitly requested by the subscriber or user, or for the sole purpose of carrying out the transmission of a communication over an electronic communications network.
Preferences
The technical storage or access is necessary for the legitimate purpose of storing preferences that are not requested by the subscriber or user.
Statistics
The technical storage or access that is used exclusively for statistical purposes. The technical storage or access that is used exclusively for anonymous statistical purposes. Without a subpoena, voluntary compliance on the part of your Internet Service Provider, or additional records from a third party, information stored or retrieved for this purpose alone cannot usually be used to identify you.
Marketing
The technical storage or access is required to create user profiles to send advertising, or to track the user on a website or across several websites for similar marketing purposes.
  • Manage options
  • Manage services
  • Manage {vendor_count} vendors
  • Read more about these purposes
View preferences
  • {title}
  • {title}
  • {title}