
In this tutorial, I will show you the process I used to create valley of the dragons photo manipulation in Photoshop.
We will use 5 separate stock images and combine them into one piece, and use custom brushes and image adjustment layers to perform the final touch-ups. Have a try!
The PSD file of this tutorial is available via the PSD Vault VIP members area.
This is an intermediate level tutorial and knowledge of layers, masking, filter and image adjustments in Photoshop is required.
Here is a preview of the final effect I have for this tutorial: (click to enlarge)

PSD Vault VIP Membership
You can download the PSD File for this tutorial via the VIP Members Area for only $6.95/Month (or less)! You will not only get this PSD File, but also 200+ other PSD Files + Extra Goodies + Exclusive Photoshop tutorials there. Signup now and get exclusive!

OK Let’s get started!
To complete this tutorial, you will need the following stocks:
Step 1
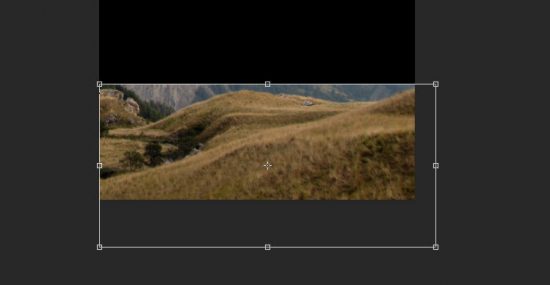
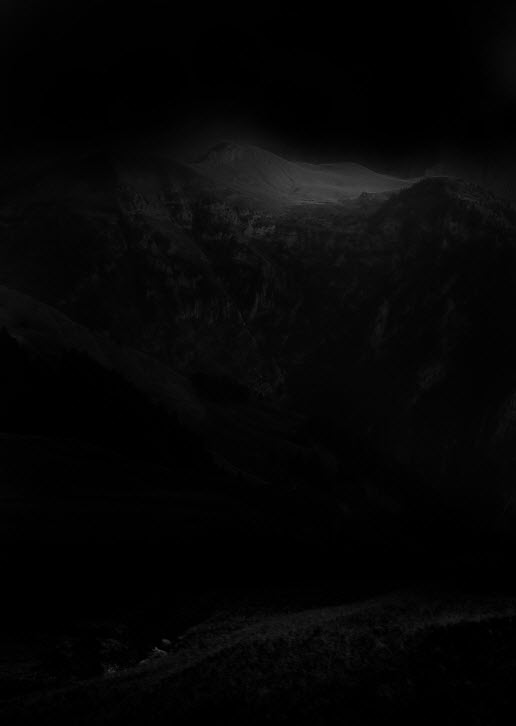
Create a new document sized 780px in width and 1100px in height, with black background. Load the Mountain stock image into Photoshop, select the following portion:

Copy and paste the selection to our document, place it at the bottom of the canvas as shown below:
Fade the edge of this ground layer with a soft eraser:
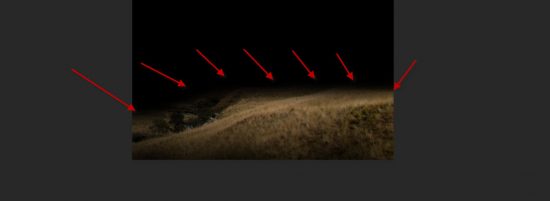
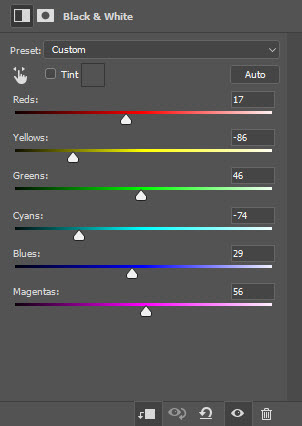
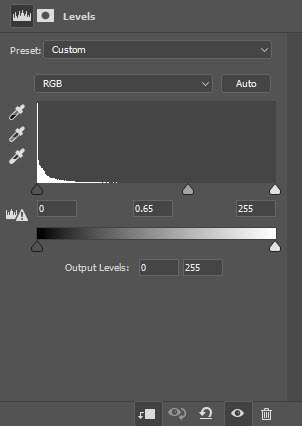
Apply the following image adjustment layers on top:
Black and White
Levels
This is the effect so far:
Step 2
We will add a distant mountain to our image in this step. Go back to the mountain stock and select this following portion:

Copy and paste the selection to our document, place it as shown below:
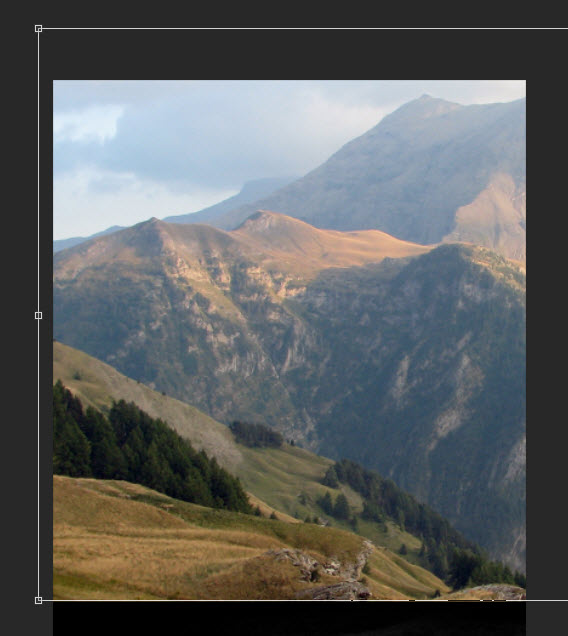
Fade the following area with a big, soft eraser:

Apply the following image adjustment layers as clipping masks to this mountain layer:
Levels
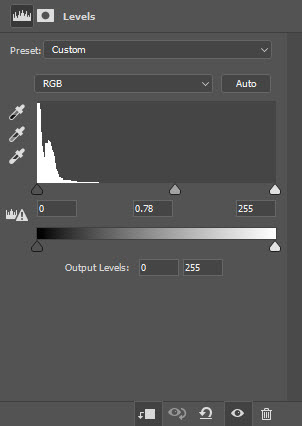
Curves
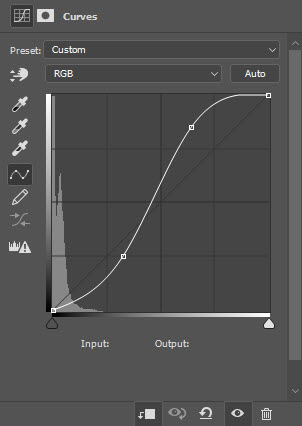
and here is the effect so far:
Step 3
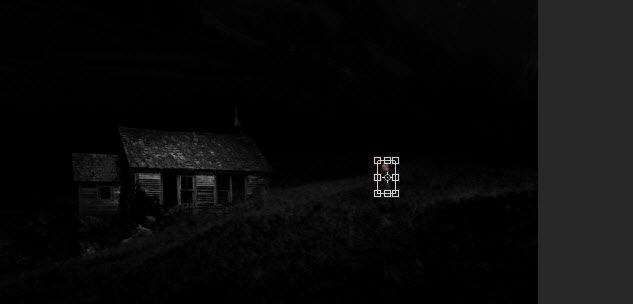
Load the house stock image into Photoshop and select the following area:
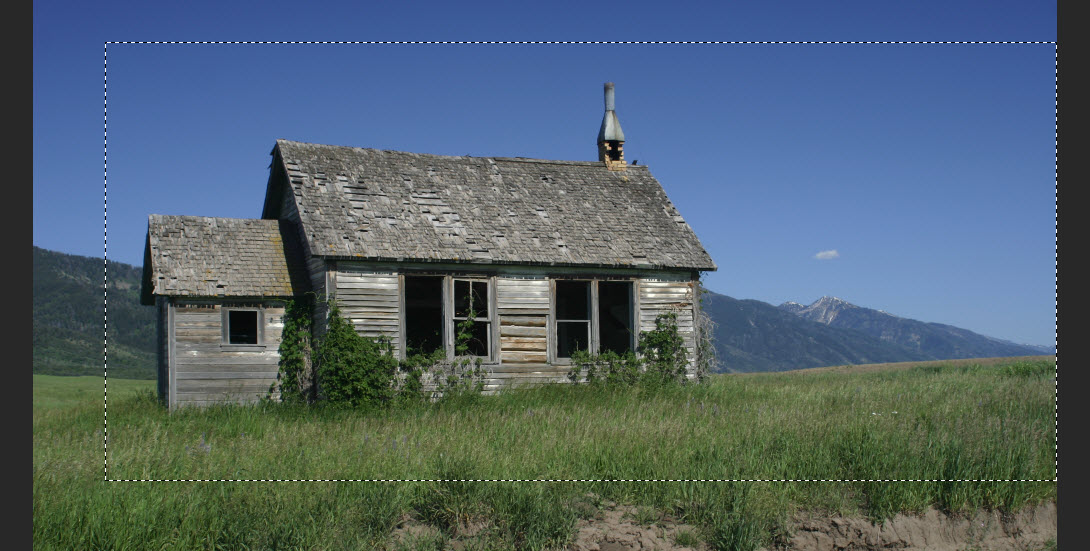
Copy and paste the selection to our document, re-size and place the new layer over to the following position:
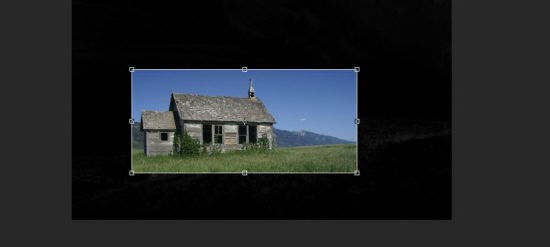
Use the eraser tool to remove the surrounding so we just have the house left:
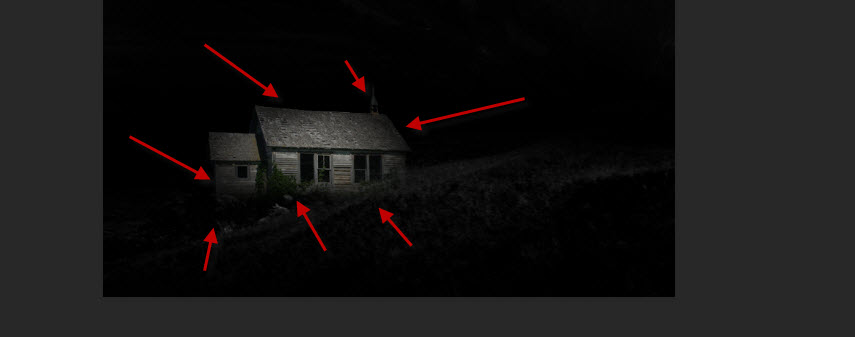
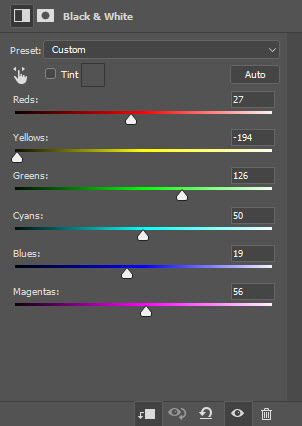
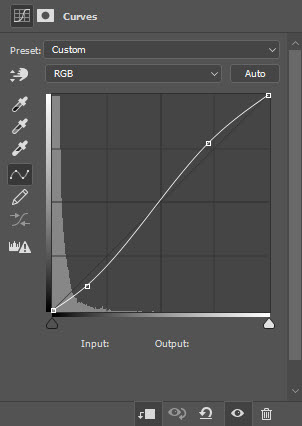
Apply the following image adjustment layers as clipping masks to this house layer:
Black and White
Levels

Curves
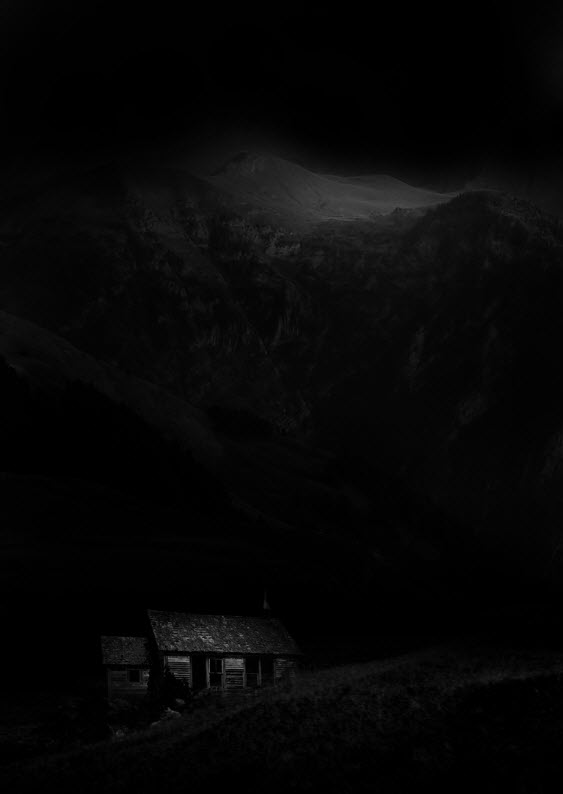
and here is the effect so far:
Step 4
I decided to add a girl to the stock so we can create a scene that she lives in the valley with the dragon. Load the girl stock image into Photoshop, select the girl and paste it over to our document.
Reduce the size of this girl layer and place it to the following position:
Apply the following image adjustment layers as clipping masks to this girl layer:
Black and White
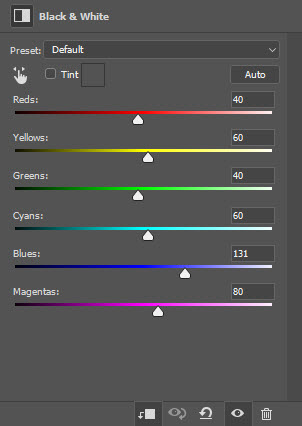
Levels

Curves

Grab a soft, red colour brush as shown below:

Use this soft red brush, paint some red glow behind the girl:
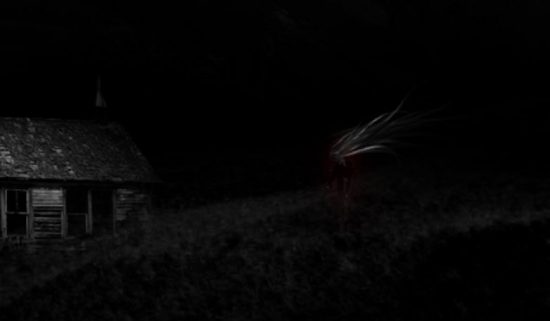
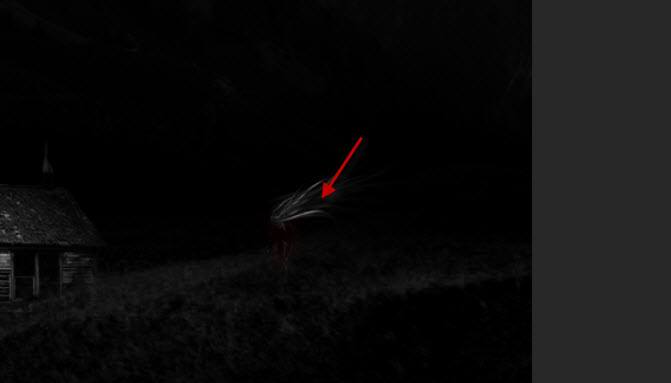
This is optional – I painted some hair for the girl with the Pen Tool + Brush strokes (2px, soft brush). If you wish to learn this hair painting technique, I have a video tutorial available here.
Step 5
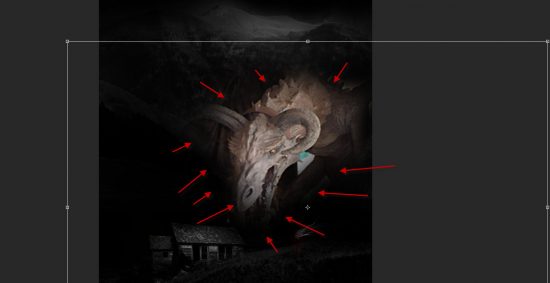
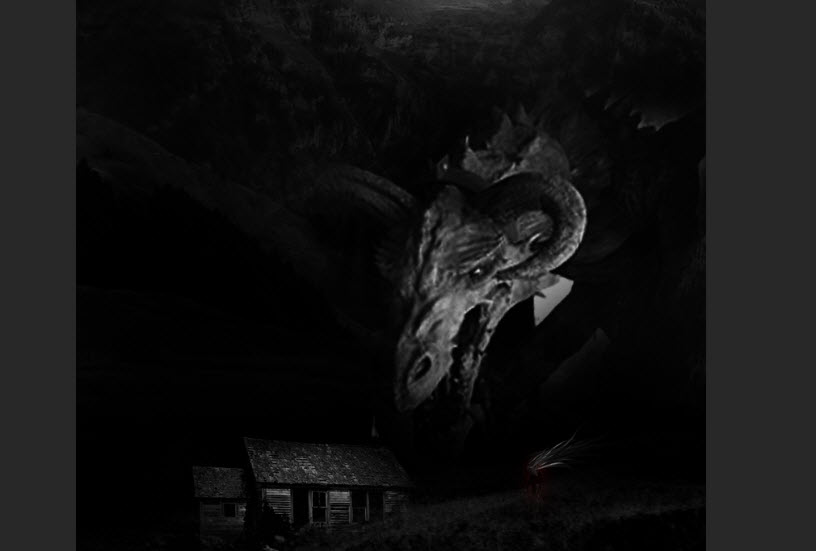
Load the dragon stock image into Photoshop, select the dragon and paste it to the following position. Use a soft eraser to remove the edges of the dragon so it blends with the rest of the objects:
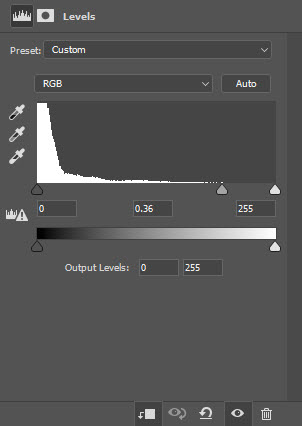
Apply the following image adjustment layers as clipping masks to this dragon layer:
Black and White
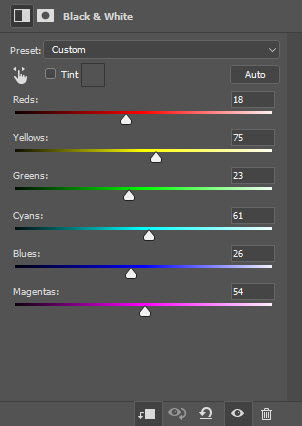
Levels
Curves
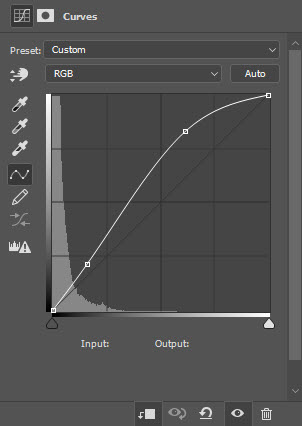
and this is the effect so far:
Step 6
We’re almost done! For final touches, we can use the lantern stock image to add a few floating lanterns around the canvas:
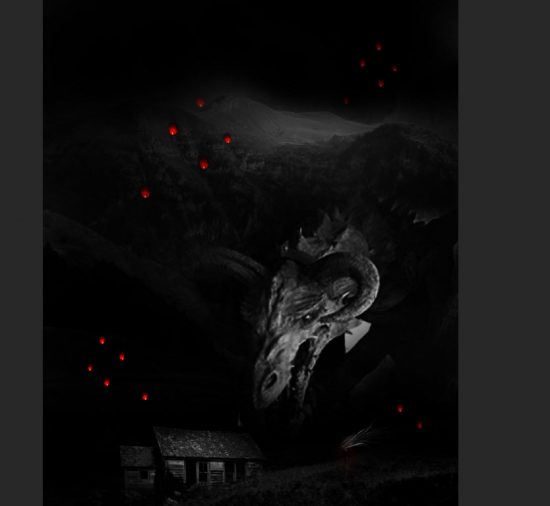
Use a cloud brush, paint some clouds around the canvas:
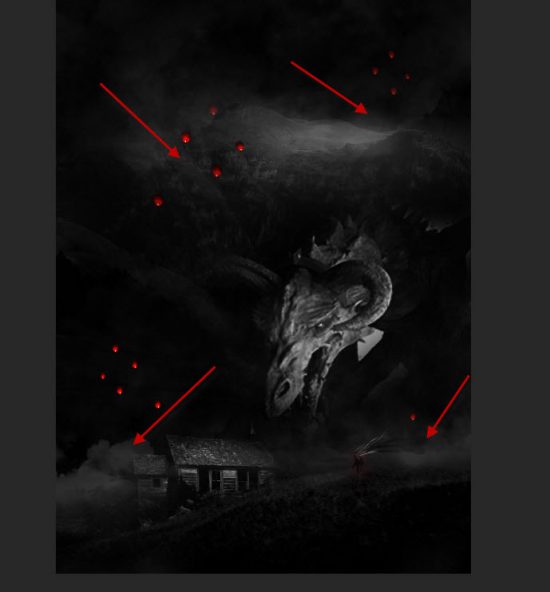
Use a particle brush to paint some red particles around the lanterns:
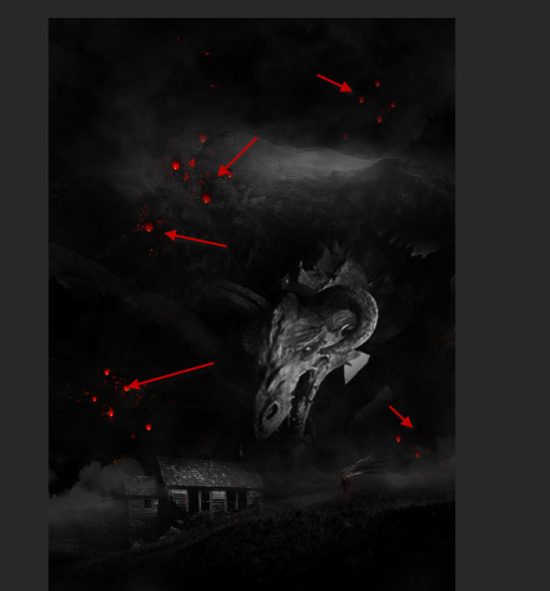
I further applied some colours with a few selective colours adjustment layers, and this is my final result: (click to enlarge)
That’s it for this tutorial. Hope you enjoy making this dissolved text effect in Photoshop! If you have any questions for this tutorial, please let me a comment below and I will try my best to answer it.