
Over the past few months, I’ve been switching between Adobe’s own Firefly and the new third-party partner models in Generative Fill & Generative Expand. Based on my personal experience, I’ve found each model has its sweet spot… and some definite no-go zones.
In this article, I will share key findings of these third-party AI models in Photoshop with you guys, so you can pick the best AI models for your graphic project.
Background on the Third-party AI Models
With Adobe Photoshop’s recent update, the integration of third-party AI models has revolutionised how we approach graphic design.
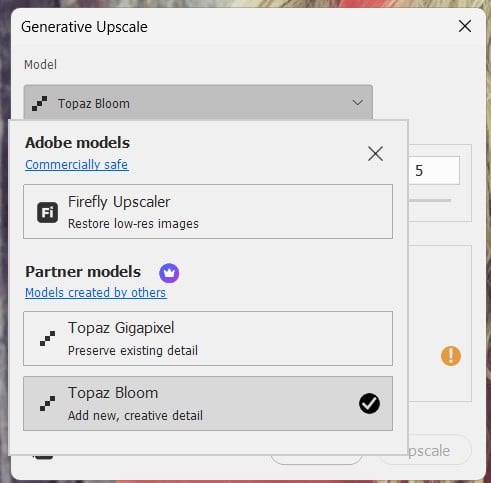
No longer limited to Adobe’s Firefly, you can now select from AI models like Google’s Gemini (Nano Banana), Black Forest Labs’ Flux.1 Kontext, and Topaz Labs’ Gigapixel (and Bloom variants) right within tools like Generative Fill, Generative Upscale, AI sharpen and AI denoise.
The model selector is dead simple: update Photoshop, select your area/prompt, and choose from the dropdown. All these third-party ones require internet and generative credits.

Here’s my real-world take on the ones I’ve been using most, including credit costs (as of early 2026 – Adobe can tweak these, so check your app tooltip or account dashboard).
Exploring Third-party AI Models
1. Gemini 2.5 with Nano Banana
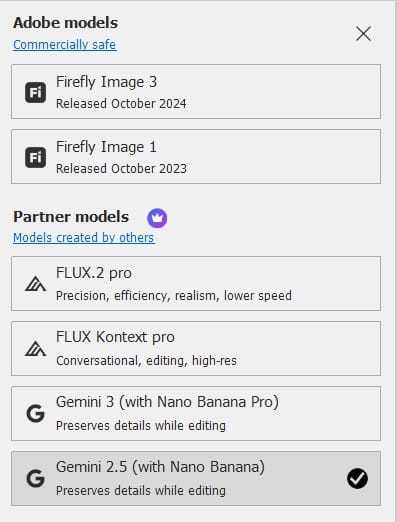
- Credits: 10 per generation
- My experience: This is my speedy go-to for quick ideation. It nails prompt accuracy fast – great for brainstorming logos, simple illustrations, or mood board fills.
- Best for: Rapid concepts, text-to-image sketches, quick Generative Fill/Expand where precision > ultra-detail.
- What I avoid: Heavy photoreal composites or anything needing flawless high-res anatomy/lighting. It can drop minor inconsistencies (hands, shadows) and resolution feels capped for big prints.
2. Gemini 3 with Nano Banana Pro
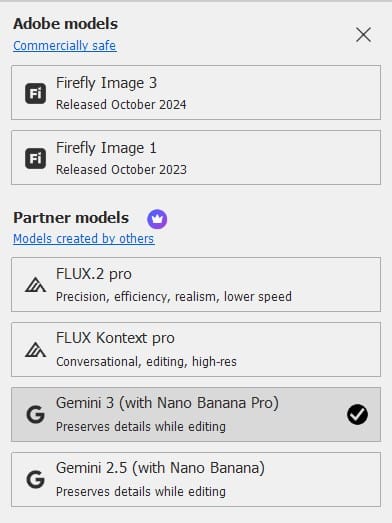
- Credits: 40 per generation (pricey!)
- My experience: The “pro” upgrade is noticeably sharper and more refined – better at complex prompts and subtle details. I’ve used it for polished mock-ups when I need that extra fidelity.
- Best for: Pro-level ideation, detailed illustrations, or when Nano Banana 2.5 feels a bit soft.
- What I avoid: Everyday quick tasks or high-volume generations – the 40-credit hit adds up fast if you’re experimenting.
3. FLUX.2 Pro
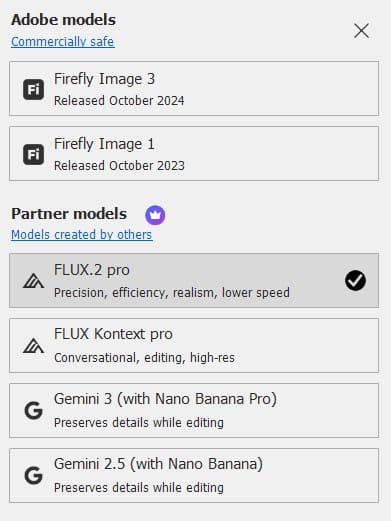
- Credits: 20 per generation
- My experience: This one’s a beast for production-quality detail. Outputs look ready for print or ads straight away – insane textures, lighting, and coherence in complex scenes.
- Best for: Intricate illustrations, product visuals, marketing graphics, detailed fantasy/landscape fills (e.g., “hyper-realistic Brisbane riverfront at golden hour, 4K”).
- What I avoid: Lightning-fast brainstorms or minimalist/simple prompts.
4. FLUX Kontext Pro
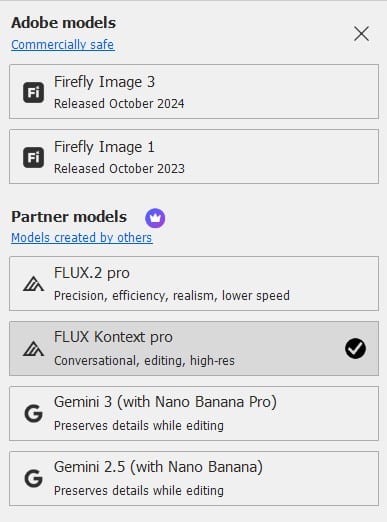
- Credits: 10 per generation
- My experience: A lighter Flux sibling with strong contextual awareness—perfect for seamless integrations into existing photos. I use it when I want Flux-level quality but don’t need the full Pro firepower.
- Best for: Contextual edits, background/texture generation, composites where the AI needs to “understand” the scene.
- What I avoid: Ultra-rapid iteration or very basic fills—still slower than Nano Banana, and sometimes adds unintended artistic flair.
5. Topaz Gigapixel
- Credits: Usually 10-20 per upscale (depends on resolution jump; often ~10 for standard 2–4x)
- My experience: My resolution lifesaver. Clean, artifact-free upscaling that sticks close to the original—no weird inventions. Essential for prepping web assets for print.
- Best for: Enlarging low-res images/logos to print-ready sizes, restoring old scans.
- What I avoid: Creative reinterpretation or stylised upscales – if I want dramatic hallucination, Flux or Gemini wins.
6. Topaz Bloom
- Credits: Similar to Gigapixel, ~10-20 per operation
- My experience: Adds a creative/artistic twist to upscaling – great for giving flat images a dreamy, enhanced glow without going full generative.
- Best for: Artistic/enhanced upscales, adding subtle flair to photos or illustrations.
- What I avoid: Strict photoreal preservation or clean technical enlargements – it’s more interpretive.
7. Topaz Sharpen
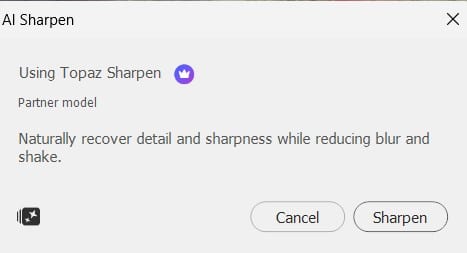
- Credits: Often lower, ~5–10 per sharpen pass (enhancements tend to be lighter)
- My experience: Quick fix for soft edges or motion blur. Non-destructive and precise.
- Best for: Final sharpening on photos, product shots, or upscaled results.
- What I avoid: Over-sharpening noisy images – pair with Denoise first.
8. Topaz Denoise
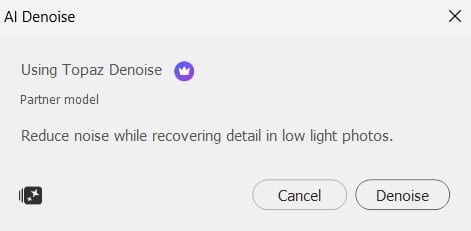
- Credits: ~5–10 per denoise operation
- My experience: Magic for high-ISO shots or old scans. Removes noise while preserving texture better than built-in tools.
- Best for: Cleaning noisy photos, astrophotography elements, or pre-upscale prep.
- What I avoid: Already clean images – can soften details if over-applied.
My top tip after a few credit-draining sessions: Always preview 2 – 3 times with your prompt before hitting generate. Switch models if the first feels off – it saves credits and time. Firefly at 1 credit remains king for everyday safe use, but these partners level up specific jobs massively.
Why Did Adobe Feel the Need to Integrate Third-party AI Models?
You might question why it was necessary to bring into many third-party :
- User choice and flexibility — Adobe wanted to give creatives control over which AI model best fits their specific task, since no single model (including Firefly) excels at everything – speed, style, photorealism, vectors, detail, etc.
- Keeping pace with rapid AI innovation – The AI landscape moves extremely fast; partnering with leading models (Gemini, Flux, GPT Image, Ideogram, Runway, etc.) allows Adobe to quickly offer the latest and best capabilities without building every one in-house.
- Making Photoshop the ultimate creative hub – By adding a model selector directly in Generative Fill, Expand, and Upscale, Adobe keeps users inside one familiar tool instead of forcing them to switch between external websites or apps, reducing workflow friction.
- Delivering better, more specialised results – Different models shine in different scenarios (e.g., Nano Banana for fast ideation, Flux for high-res production quality, Ideogram for vectors); this lets professionals achieve higher-quality, more tailored outputs faster.
- Responding to user demand and staying competitive – Many Photoshop users were requesting more variety beyond Firefly’s safe-but-sometimes-limited style; integrating third-party models addresses that feedback while keeping Adobe’s app feeling cutting-edge against rivals.
In short: it’s about empowering you with the best tools available, right where you already work.
Other Third-party AI Models available in Firefly (Not in Photoshop)
I also experimented with GPT Image and Runway in Firefly and here is my take:
GPT Image
Key Features & Strengths: Precise, photorealistic outputs with multimodal accuracy (handles text, edits, and realism well).
Best-Suited Graphic Applications: Suited for photo manipulation and realistic renders in graphic projects. Use in Generative Fill for adding lifelike elements to photos (e.g., “insert a realistic car into this urban scene”). It’s fantastic for e-commerce graphics, architectural visualisations, or retouching where photorealism blends with existing images.
Graphic Work to Avoid: Strongly stylised or artistic illustrations, abstract concepts, heavy text integration in images, or workflows requiring perfect anatomical consistency in humans/animals.
Runway Gen-4
Key Features & Strengths: Unprecedented stylistic control, allowing for artistic flexibility in image generation.
Best-Suited Graphic Applications: Best for creative, stylised graphics and experimental designs. In Photoshop’s Firefly integration, it’s useful for Generative Fill in generating abstract art, custom patterns, or branded visuals with unique styles (e.g., “a cyberpunk city in watercolor style”). While Runway shines in video, its image side is great for motion graphics stills.
Graphic Work to Avoid: Strictly photorealistic photo edits, precise product visualisation, or any task where you need medically accurate/forensic-level realism. It’s not the strongest for seamless, invisible photo manipulations.
Quick Tip for Real-World Use
In Photoshop, always preview a few generations with your actual prompt before committing credits. If the first model gives weird artifacts or misses the vibe, switch models – it takes seconds and saves a lot of clean-up time later.
These models aren’t one-size-fits-all; experiment in Photoshop (Beta or full release) to see what clicks with your style. What’s your favourite third-party model so far? Drop a comment below – I’d love to hear how you’re using (or avoiding) them in your design workflows!
For more AI tips, check out our recent tutorials in our AI section. Stay creative!