
In this tutorial, we will be creating a simple break-apart rock text effect in Photoshop. We will use a number of basic selection techniques and texture manipulation techniques to achieve this effect.
The PSD file of this tutorial is available via the PSD Vault VIP members area.
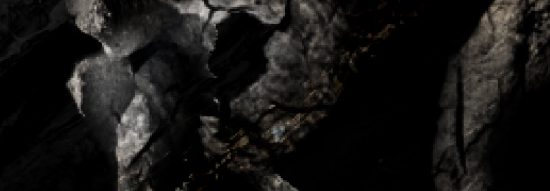
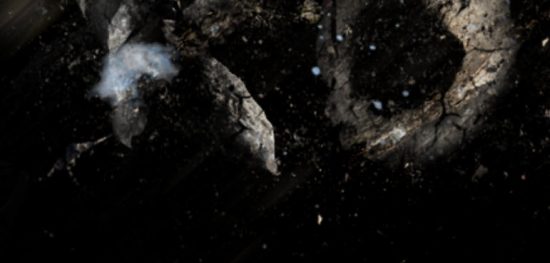
Here is a preview of the final effect I have for this tutorial: (click to enlarge)

PSD Vault VIP Membership
You can download the PSD File for this tutorial via the VIP Members Area for only $6.95/Month (or less)! You will not only get this PSD File, but also 200+ other PSD Files + Extra Goodies + Exclusive Photoshop tutorials there. Signup now and get exclusive!

OK Let’s get started!
To complete this tutorial, you will need the following stocks:
Debris Brush or Splatter Brush
Step 1
Create a new document sized 1440px*800px with black background. Load the Rock 1 stock image into Photoshop, make a rectangular selection as shown below:
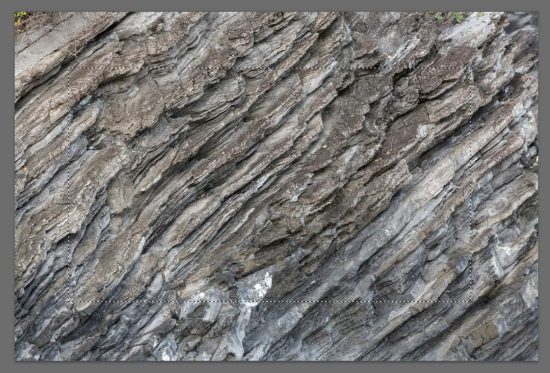
Copy and paste your selection to the canvas:

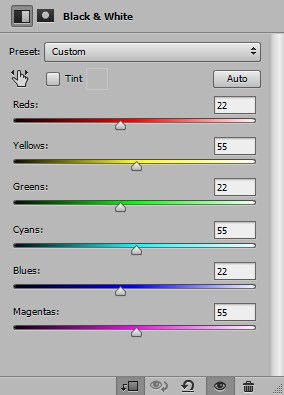
Apply the following image adjustments to this rock texture layer:
Black and White
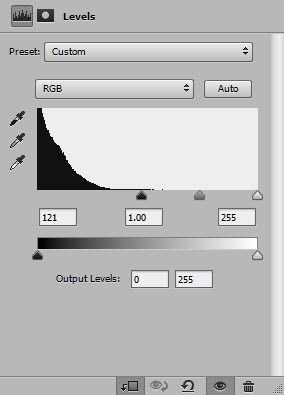
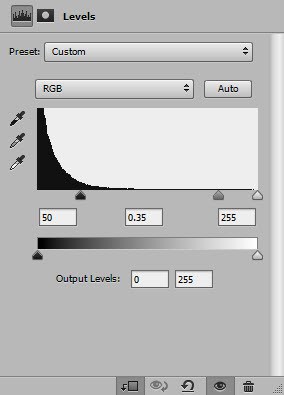
Levels
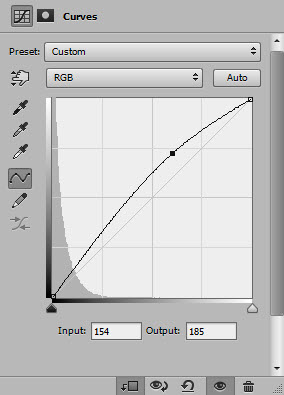
Curves
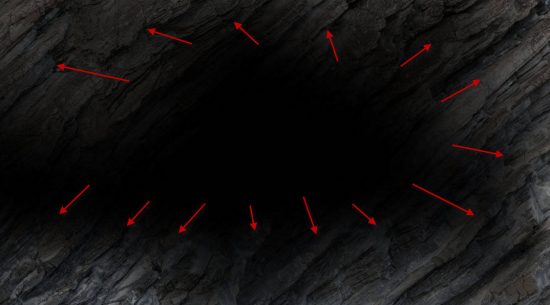
Use a soft eraser, fade the centre portion of the rock texture as shown below:
Step 2
Use any font you like, type some letters onto the canvas. We will them as a guide when we add the rock texture over them.

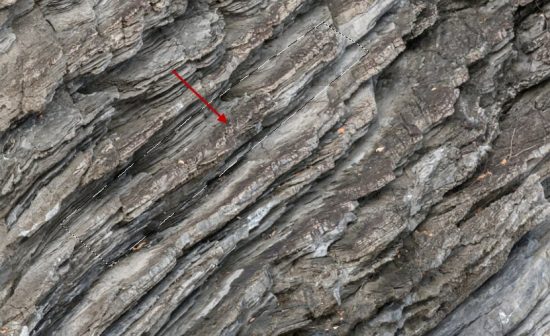
Load the Rock 2 image into Photoshop. Pay attention to the various rock shapes within this image:

Use the Quick Selection Tool to select a few pieces of rocks:

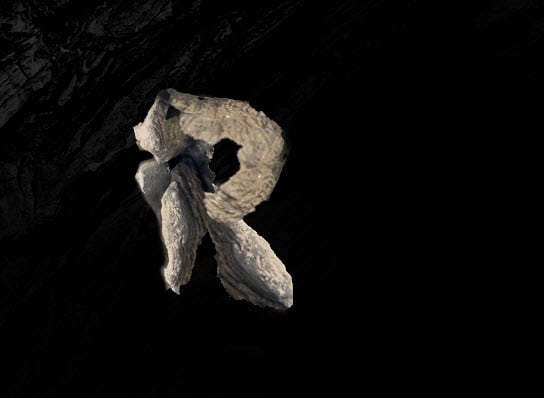
Use your selection of rocks to form the letter, use the Free Transform to adjust the rock shape when required:

Here is my letter “R”:
I used the following piece for the letter “O”:

Remove the centre portion with a soft eraser:

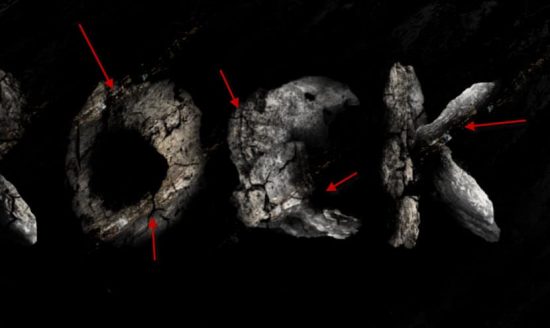
Continue and finalise the rest of the letters as shown below:

Step 3
Use the Crack Brush you downloaded as eraser:

Merge all the rock texture layers into 1 layer, then apply the crack eraser for some break apart effect:

Apply the following image adjustment layers as clipping mask to this merged text layer:
Black and White

Levels
Apply the following layer mask on the levels adjustment layer:

Step 4
We will add some extra textures for our text. Use the Polygonal Lasso Tool:

Select the following piece from the Rock 1 stock:
Copy and paste the selection to our document , place it over the letter as shown below:

Change the layer blending mode to “Hard Light”:

And here is the effect so far:
Repeat the above process and apply more textures for the rest of the letters:
Step 5
We will apply some snow texture onto our texts. Use this brush (should come with Photoshop by default):
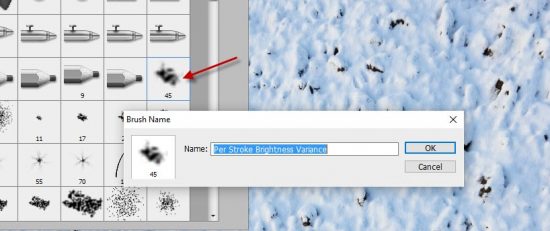
Load the snow stock image into Photoshop and create a new layer on top of, paint the following pattern on the new layer and select it:

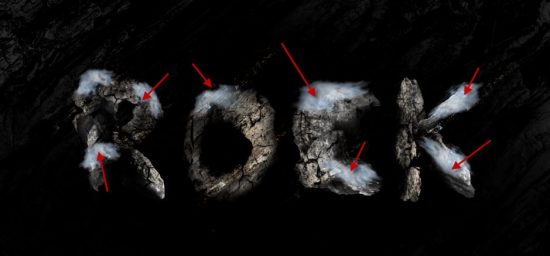
Go back to the snow layer, copy and paste a piece of snow onto our texts, place it to the following position. Adjust its shape with the Free Transform tool:

Repeat the above process and add more snow textures to our texts:
Step 6
We will add some particles around the text in this step. Use the debris brush you download and the same method described in Step 5, grab some rock particles from the Rock 1 stock image:

Place the rock particles around the texts:
Use the same method, place some snow particles using the Snow stock image around the canvas as shown below:

Step 7
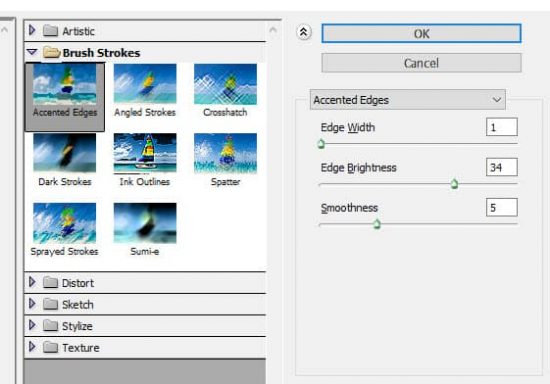
We will work on some final touches in this step. Flatten the layers and duplicate the background layer, apply the following Accented Edges filter to the duplicated layer:
Add the following layer mask to this duplicated layer, this will reveal the background layer below:

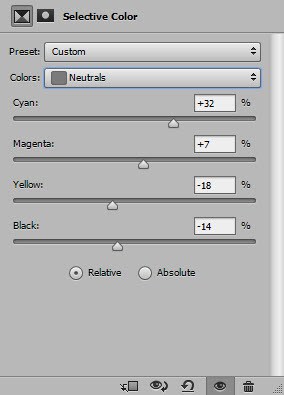
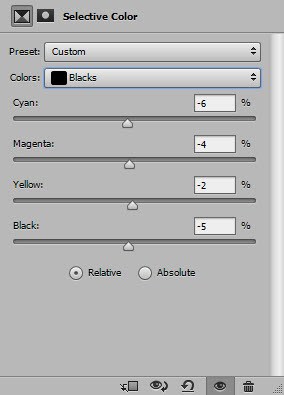
Add the following adjustment layers on top:
Selective Color

Layer mask on the selective color adjustment layer:

Vibrance

and this is my final effect: (click to enlarge)
That’s it for this tutorial! Hope you enjoy it and find it useful! If you have any questions about the steps, please contact me or leave a comment below. I will try my best to answer them.
Till next time, have a great day!