
In this tutorial, I will show you how I create a Wizard Summoning Lightning Magic Scene in Photoshop. We will construction a surreal landscape with a few stock images (castle, mountain, etc) first, then add the lightning effect with custom brushes.
The PSD file of this tutorial is available via the PSD Vault VIP members area.
This is an intermediate level tutorial and prior knowledge of Photoshop layers, image adjustments, layer masks are required.
Here is a preview of the final effect I have for this tutorial: (click to enlarge)

PSD Vault VIP Membership
You can download the PSD File for this tutorial via the VIP Members Area for only $6.95/Month (or less)! You will not only get this PSD File, but also 200+ other PSD Files + Extra Goodies + Exclusive Photoshop tutorials there. Signup now and get exclusive!

OK Let’s get started!
To complete this tutorial, you will need the following stocks:
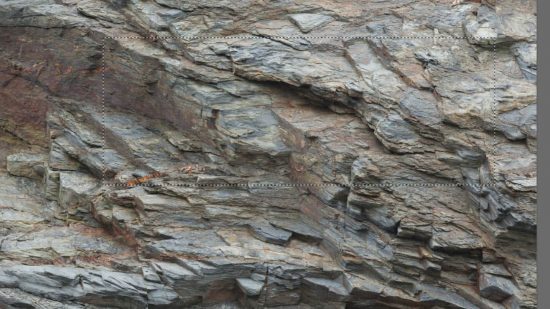
Rock ground image (use “Image 3” on the page)
Rock mountain image (use “Image 1” on the page)
Wizard by AilinStock
Step 1
Create a new document sized 1400px * 765px with black background. Load the rock ground image into Photoshop and select the following portion:
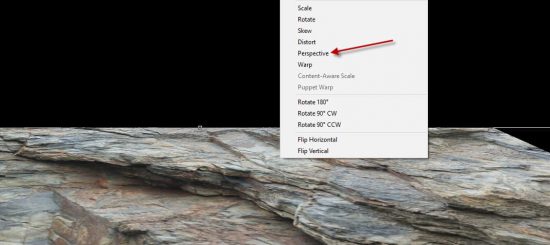
Copy and paste the selection to our document, use the Perspective option in Free Transform tool to add some perspectives to form the ground:
Fade the following parts of the ground with a soft eraser:

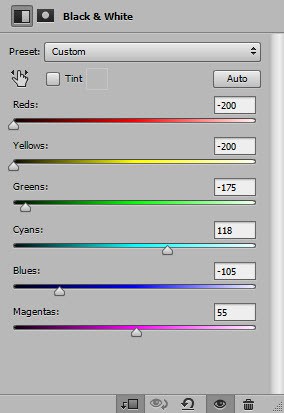
Apply the following black and white adjustment to this ground layer:
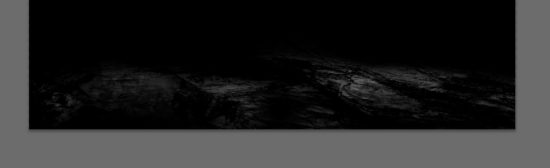
and here is the effect so far:
Step 2
Load the rock mountain image into Photoshop and select the following portion:
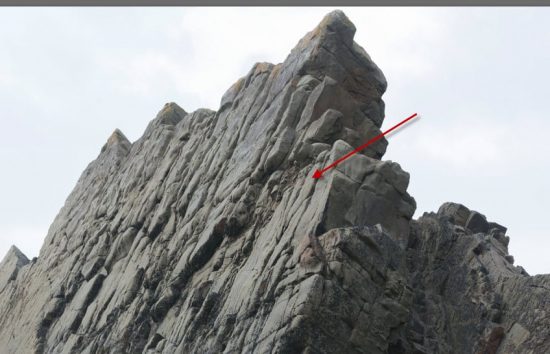
Copy and paste the selection to our document, place it to the right side of the canvas as shown below:
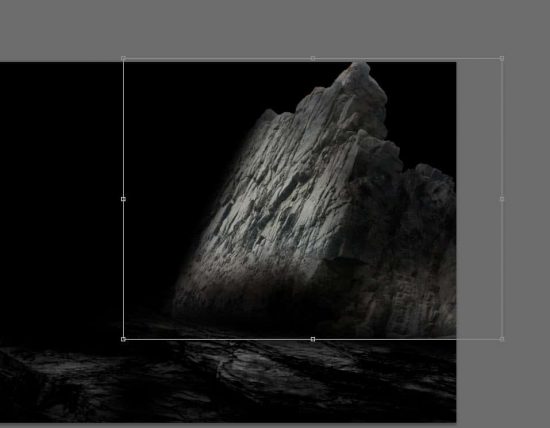
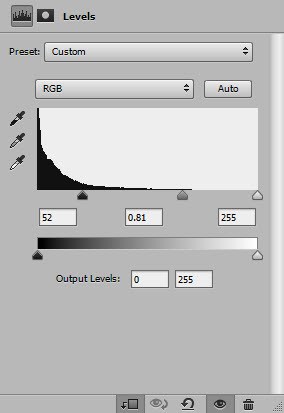
Apply the following adjustment layers to this rock layer:
Black and White

Levels
and here is the effect so far:

Repeat the above process and add another rock to the right side of the canvas:

Step 3
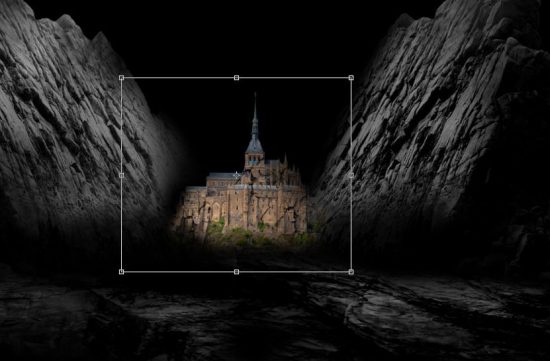
Load the castle stock image into Photoshop and select the castle:
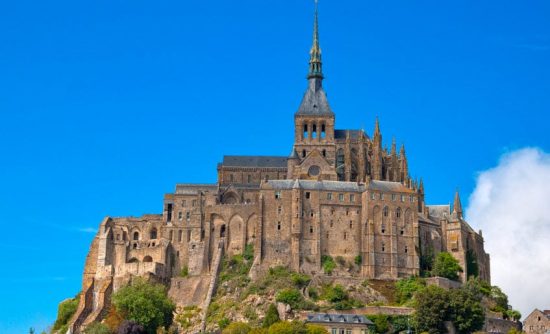
Copy and paste the selection to our document, place it in the middle of the canvas as shown below:
Apply the following adjustment layers as clipping masks to this castle layer:
Black and White
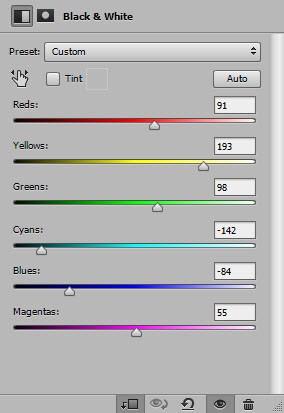
Levels
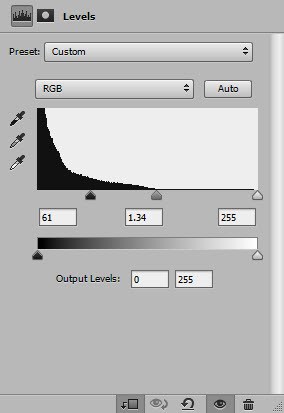
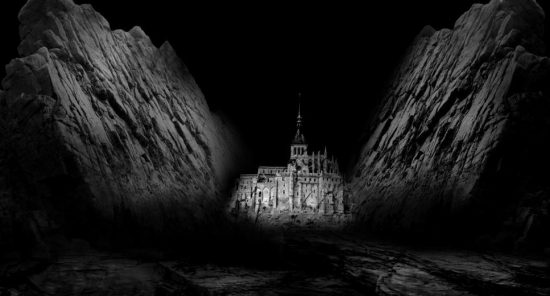
and here is the effect so far:
Step 4
Load the stair stock into Photoshop and select the stone stair from the image:

Copy and paste the selection to our document, re-size and place it to the following position:
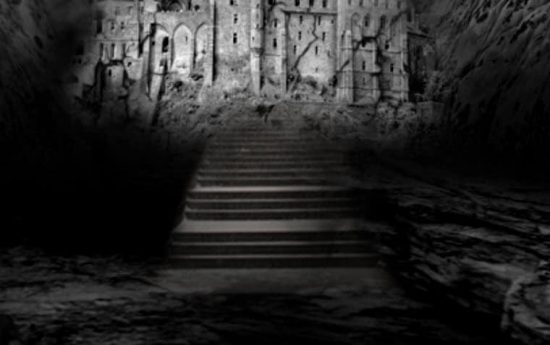
Use a soft eraser to fade the edges of the stair to blend it with the surrounding objects.
Step 5
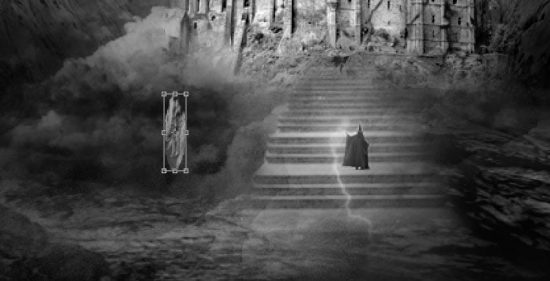
Load the wizard image into Photoshop and select the wizard:
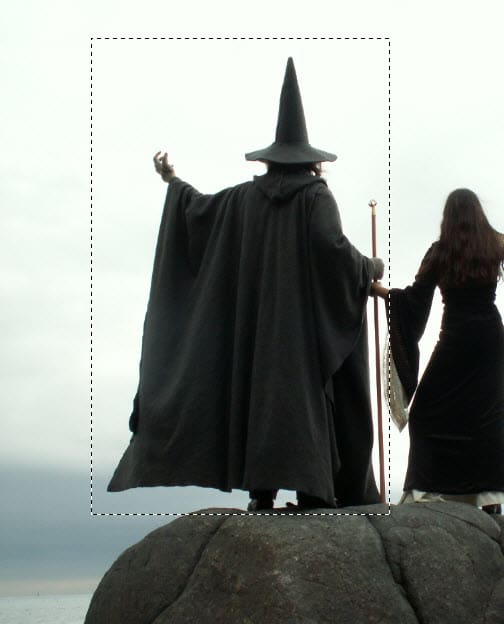
Place it to the following position on our document:

Use the lightning brush, add a bolt of lightning to the wizard:

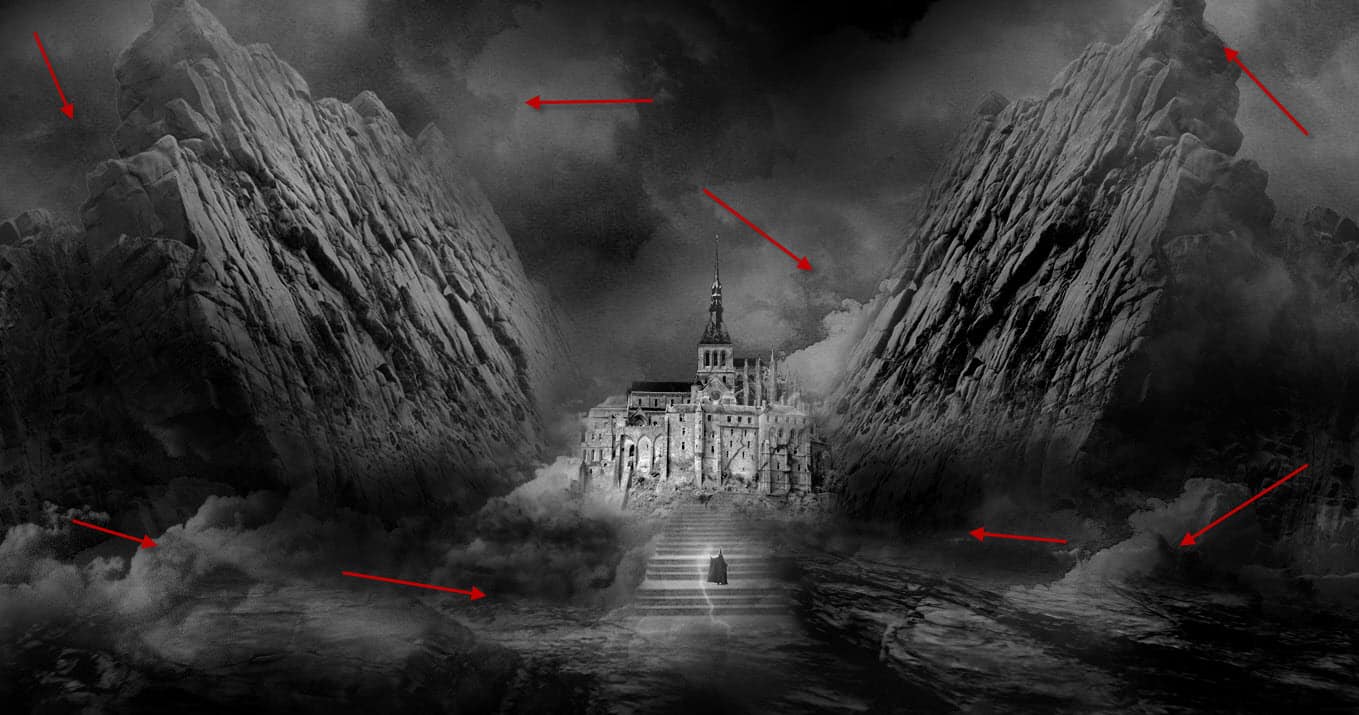
Use a cloud brush, paint some cloud/smoke effect around the document:
Step 6
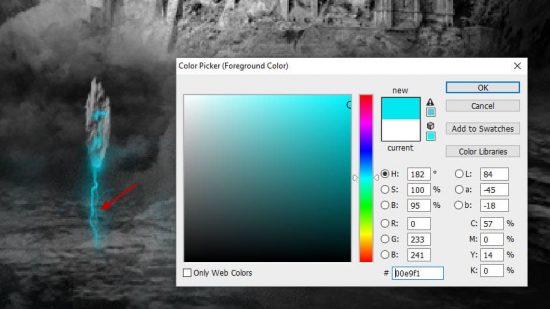
We will create some floating stones with lightning energy around the canvas. Go to the rock mountain image and select a piece of it:
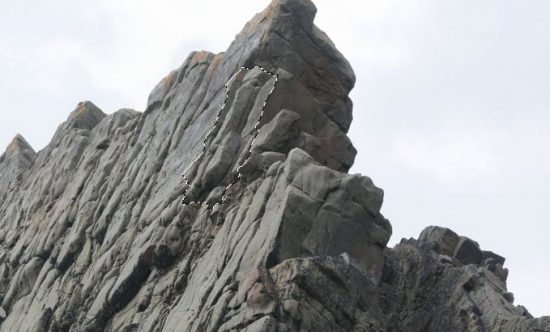
Copy and paste the selection to our document, reduce its size:
Use a cyan colour brush, paint some lightning effect below the rock with the lightning brush:
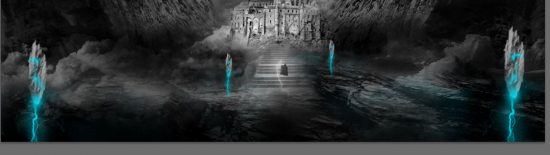
Repeat the above process and add more floating stones around the canvas:
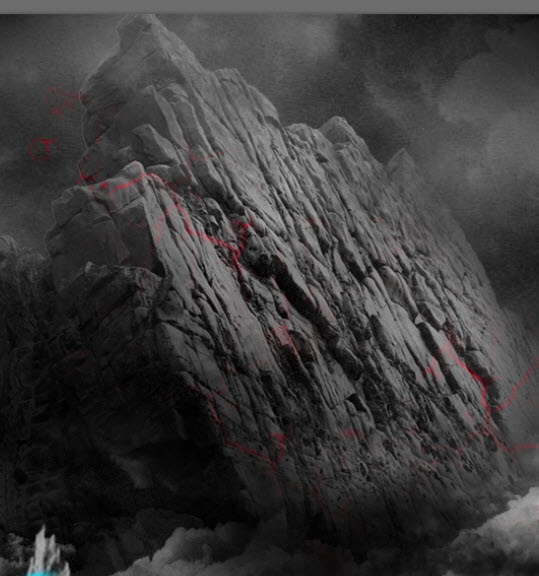
Use a red lightning brush, paint some lightning pattern over the mountain to form a “Lava Flowing” effect:

Add some lightning over the sky as well:

Step 7
We’re almost done! I decided to apply some brush strokes filter effect to the image. Flatten the image and duplicate the background layer, apply the following “Accented Edges” filter to the duplicated layer:

Apply the following layer mask (red) on the duplicated layer:

I further added some colour to the image with a couple of adjustment layers, and this is my final result: (click to enlarge)
Please experiment your own colour scheme and the adjustment layers, and see what result different colour brings you.
That’s it for this tutorial! Hope you enjoy it and find it useful! If you have any questions about the steps, please contact me or leave a comment below. I will try my best to answer them.
Till next time, have a great day!
9 Comments
Hi James, your post is very easy to understand. You made it very easy. And your final picture looks exactly a wizard’s world. Thanks buddy!
Thanks James for this great post. I am a newbies in Photoshop but I understand your every steps clearly and get the same looks after practicing this tutorial.
Another great tutorial. I am also a creative designer and I often make image manipulation just for my self pleasant. Now I have one more idea and I will defiantly try this out.
Extraordinary ! !!Really so nice oneyour tutorial ..Thanks for sharing with us
Amazing Photoshop tutorial. It will be helpful for everyone. I personally isn’t good in Photoshop and really learn a lot from your post. Hope that will get more informative tutorial soon.
First of all you got some amazing Photoshop skills , and i must say that this was a great help for me. as i got to do it step by step .
Step by step clear photoshop tutorial.
This is a really informative idea. thank you so much for this best idea
#James wow it’s really informative idea ……….. helpful post for new learner …… tnx