In this tutorial, I will show you the steps I took to Create a Surreal Natural Landscape Scene in Photoshop. This is an intermediate tutorial so some steps can be tricky, but why not have a try :)
Along the way, we will transform a day photo into dusk scene, plus some image adjustment techniques and the use of pen tool for abstract lines.
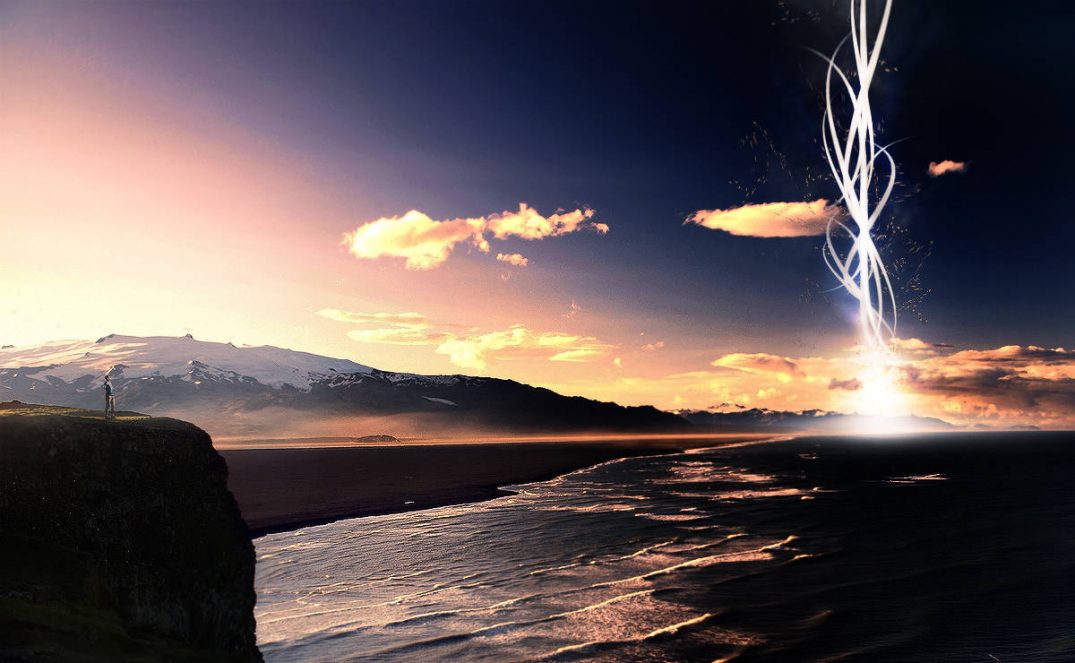
Here is a preview of the final effect: (click to enlarge)
PSD Vault VIP Membership
You can download the PSD File for this tutorial via the VIP Members Area for only $6.95/Month (or less)! You will not only get this PSD File, but also 200+ other PSD Files + Extra Goodies + Exclusive Photoshop tutorials there. Signup now and get exclusive!
Ok Let’s get started!
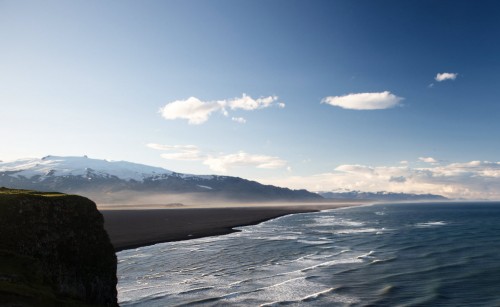
To complete this tutorial, you will need the following stock:
Cliff
Step 1
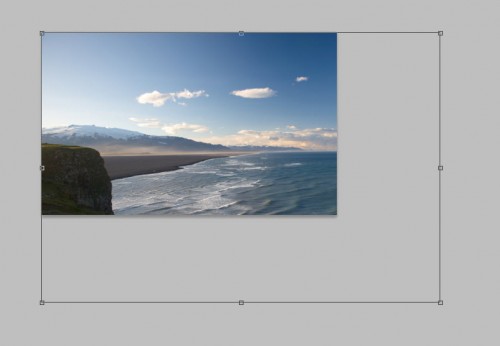
Create a new document sized 1200px * 740px with white background. Load the Cliff image into Photoshop, copy and paste the entire image onto our document, resize and position it as shown below:
Now let’s reduce the brightness and colour of the image a bit – firstly add the following two image adjustment layers to this landscape layer:
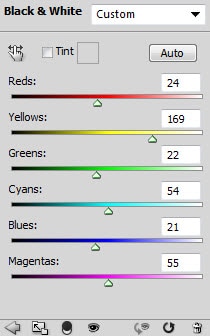
Black and White (set layer opacity to around 70%)
Levels
Layer mask on the Levels adjustment layer: (this will hide the sky portion)
and here is the effect so far:
Step 2
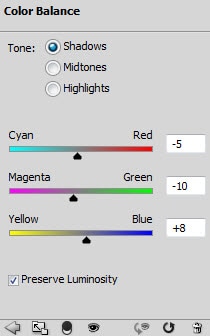
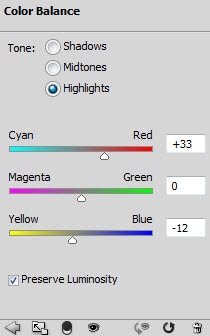
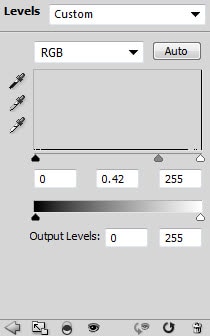
Now we can turn this day photo into a dusk photo with a darker colour scheme. So let’s add the following 2 adjustment layers:
Color Balance
Layer mask on the colour balance adjustment layer:

Levels

Layer Mask on the Levels adjustment layer:

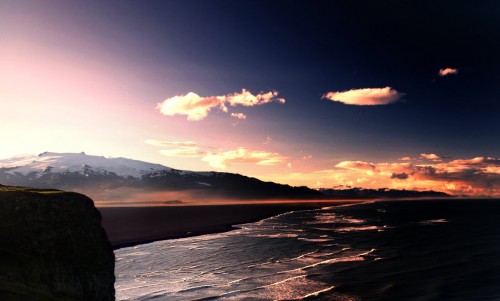
and we will have the following effect after the adjustments:
Step 3
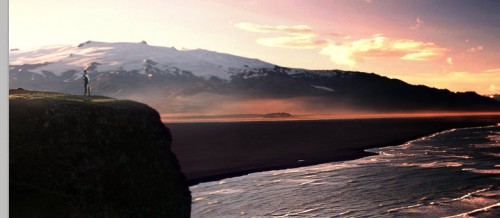
Load the Man on top of mountain image into Photoshop, cut out of the man’s body and paste it to the position shown below: (resize it with free transform tool)
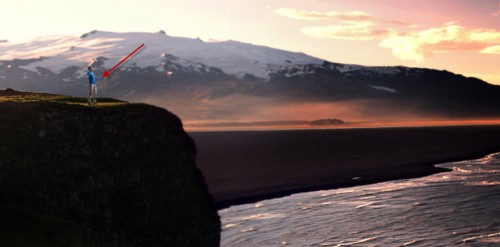
Add the following 3 adjustment layers as clipping mask to this man standing layer:
Black and White

Levels
Color Balance
Use a soft black brush, carefully paint some shadow under the man:
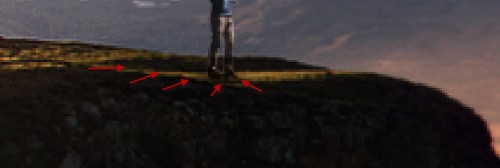
and here is the effect so far:
Step 4
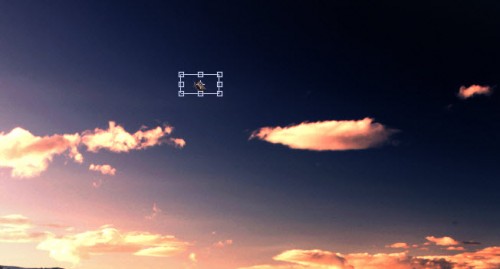
Now we can add some flying rock into the image. Go to the Man on the mountain image and use the quick selection tool to select a piece of rock:

Copy and paste the selection onto our canvas, resize it to a smaller scale:
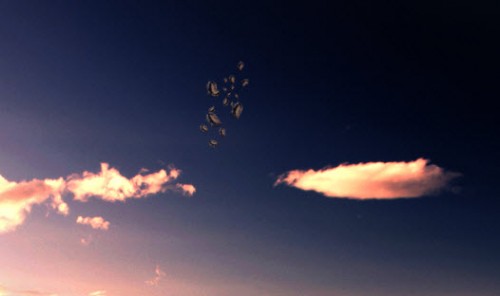
Duplicate this rock layer a few times, resize and rotate each layer so they vary in size:
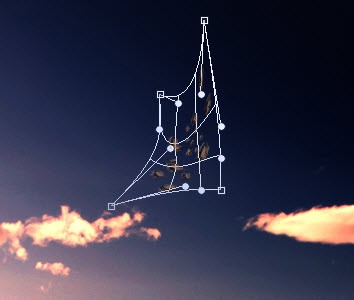
Merge those duplicated rock layer together, apply the warp tool on the merged layer:
Duplicate this layer a few times, adjust the size of each layer with free transform tool, from them into a shape as shown below:
Step 5
Now let’s add some lighting effect to the bottom of the flying rocks. Use a soft white brush to do a single-click on the position shown below:
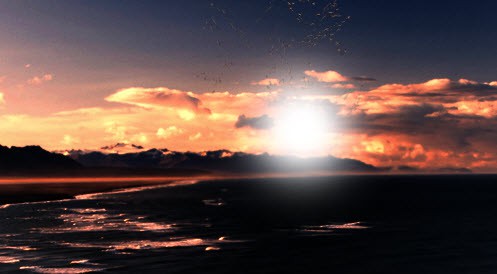
Compress it down with the free transform tool:

and you will have the following effect:

Duplicate this layer once, and again use the free transform tool to expend its height, then perspective it a bit as shown below:
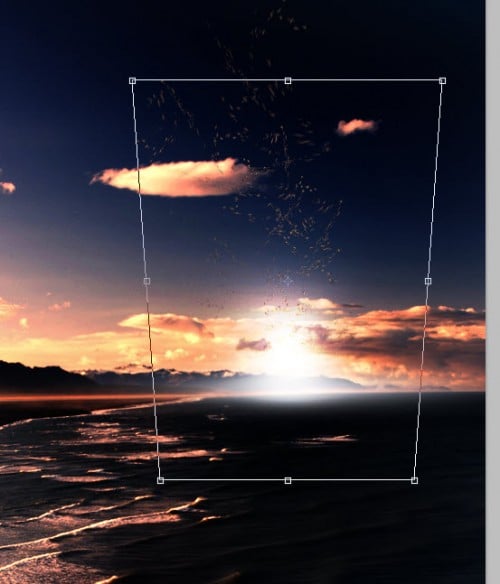
Step 6
Now let’s practice some Pen Tool skills with adding some simple abstract lines on the sky. So grab the Pen Tool and draw the following Path:

Stroke this path with 5px hard white brush: (tick “simulate pressure” box)
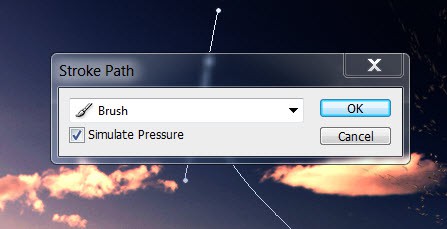
and you will have the following effect:
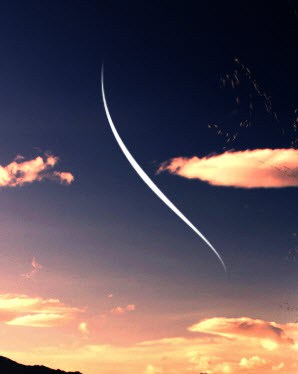
Duplicate this line layer a few times and free transform them, attach those layers together and form a shape as shown below:
Keep duplicating and free-transforming until you’re happy with the shapes:
I adjust the brightness and contrast of the image a bit, and here is the final effect for this tutorial: (click to enlarge)
That’s it for this tutorial! Hope you enjoy this tutorial and find it useful! Till next time, have a great day!







5 Comments
Great tutorial and techniques well explained!
Thanks for sharing…
Bookmarked!!
it very very nice
Cool! Simply and beautifuly!
Bro this was so awesome……
nice blog…