
In this tutorial, I will show you the process I took to create this “Quantum Break (Source)” Game Box Art inspired Photo Manipulation in Photoshop. Along the way, you will learn a number of tricks such as clipping masks, layer blending, and how to define a brush using shapes you draw in Photoshop.
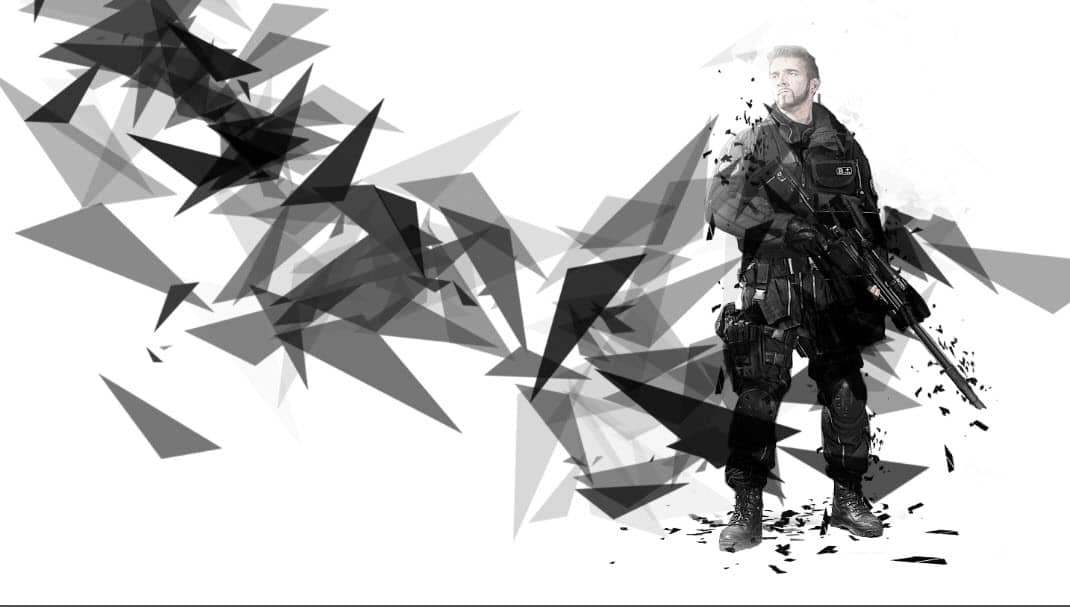
Here is a preview of the final effect I have for this tutorial: (click to enlarge)

PSD Vault VIP Membership
You can download the PSD File for this tutorial via the VIP Members Area for only $6.95/Month (or less)! You will not only get this PSD File, but also 200+ other PSD Files + Extra Goodies + Exclusive Photoshop tutorials there. Signup now and get exclusive!

OK Let’s get started!
To complete this tutorial, you will need the following stocks:
Step 1
Create a new document sized 1440x 810px with white background. Load the model stock into Photoshop and select the model, copy and paste it onto our document. Place it on the right side of the canvas:

Add a layer mask for this model, use a big soft eraser to fade the top left of the model:

You will have the following effect:

Apply the following image adjustment layers as clipping masks to this model layer:
Black and White

On the black and white adjustment layer’s layer mask, erase the facial area of the model:

Levels

Curves

and there is the effect so far:

Step 2
Load the following C4D render into Photoshop:

Copy and paste the render and place it on the feet area of the model, compress it with the free transform tool:

Add more render around the model’s body as shown below, make sure you adjust their size accordingly:


Step 3
We will define a brush in this step. Create a new document size 300px * 300px, create a new layer and draw a shape as shown below, then turn off the background layer:

Go to Edit > Define Brush Preset:

Name your brush:

Press “F5” and bring up the brush options, apply the following settings:


Use this brush to paint a pattern as shown below:
Step 4
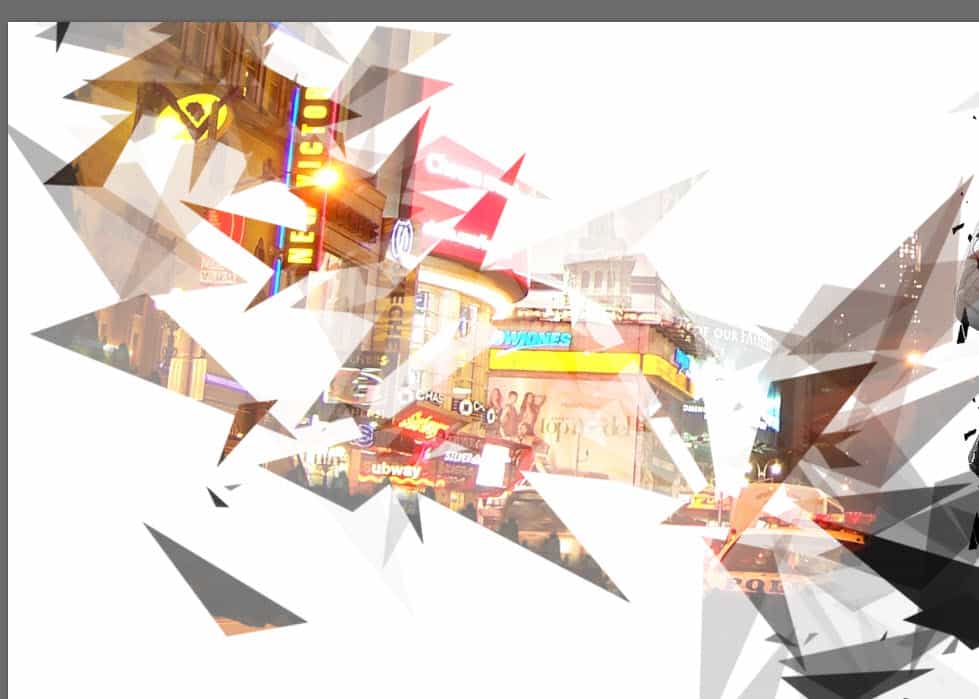
Load the city stock image into Photoshop. Select the following area:

Copy and paste the selection onto our document, place it above the custom brush paint layer in the previous step, then set it as clipping mask:

You will have the following effect:
Step 5
Load the war scene stock into Photoshop. We will use it to add some dramatic effect for our design:

Copy and paste the selection to our document, set the layer blending mode to “Screen”:

Move this layer over this previous city layer in order to mix both layers together:

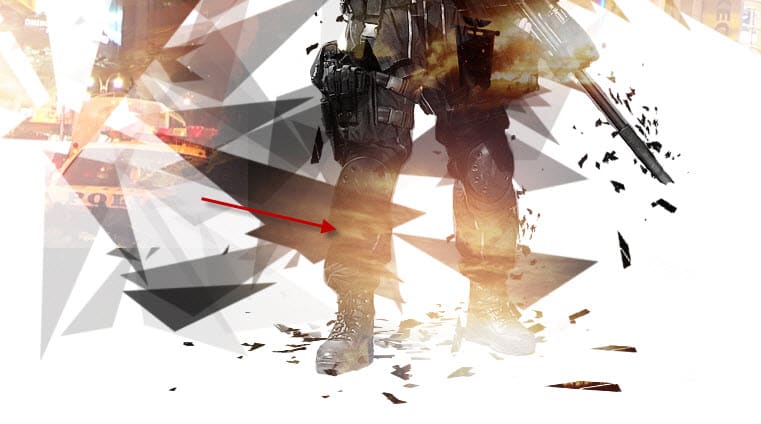
Grab another piece from the war scene stock image:

This time we apply it over the legs of the model, still using the “Screen” blend mode:
Step 6
Optional: you can use some grunge/watercolor Photoshop brush to paint some pattern around the model:

Final touch:
Flatten the image and duplicate the background layer, apply the following Unsharp Mask filter on the duplicated layer to sharpen the image slightly:

Add the following adjustment layers to fine-tune its colour:
Color Balance
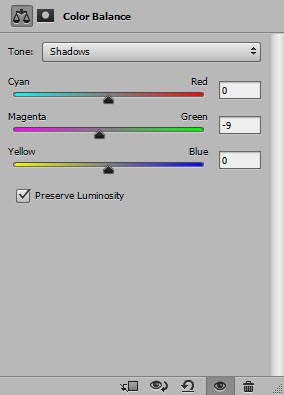

Photo Filter (Untick Preserve Luminosity)

Here is my final result: (click to enlarge)

That’s it for this tutorial! Hope you enjoy it and find it useful! If you have any questions about the steps, please contact me or leave a comment below. I will try my best to answer them.
Till next time, have a great day!
2 Comments
Very cool!!!
Wow! It’s magic. Your tips and tricks really effective.