
If you just started using Photoshop and is working on adjusting some landscape, nature, or architecture images, try the Photoshop LAB color mode. Combine it with the Curves adjustment tool, you can add powerful changes to the previous dull-looking photos, making them look colourful and attractive.
What’s Photoshop Lab Color Mode
You’re probably familiar with the RGB colour mode, which simply mean Red, Green & Blue. The lab color mode has a similar meaning – the “L” stands for lightness, the “A” covers the green-red channel, and the “B” covers the blue-yellow channel.
The colors in Lab mode are made of green, red, blue & yellow.
The Main Benefit of Using Photoshop Lab Color Mode
There are numerous advantages of using Lab color mode, but the main benefit to me is the separation of lightness and color channels. That means you can edit colours of the photo without affecting the lightness/contract of photo.
How to Use Photoshop Lab Color Mode & Curves Adjustment Layer to Enhance Your Image
We will practice using Lab color mode & curves adjustment layer to enhance the look of a photo in this part.
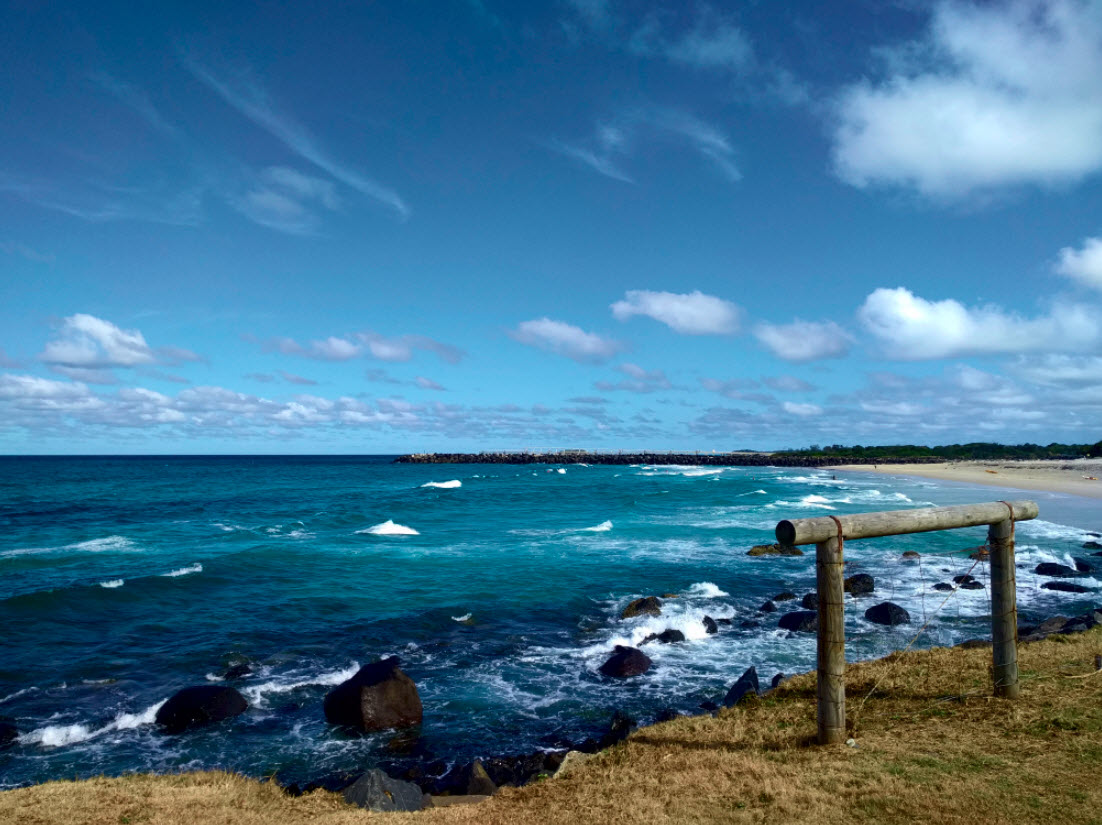
Firstly, download this photo (I’m the copyright owner of this photo) and load it into Photoshop. Have a look at this photo, you probably will feel the colour and contrast needs to adjustment.
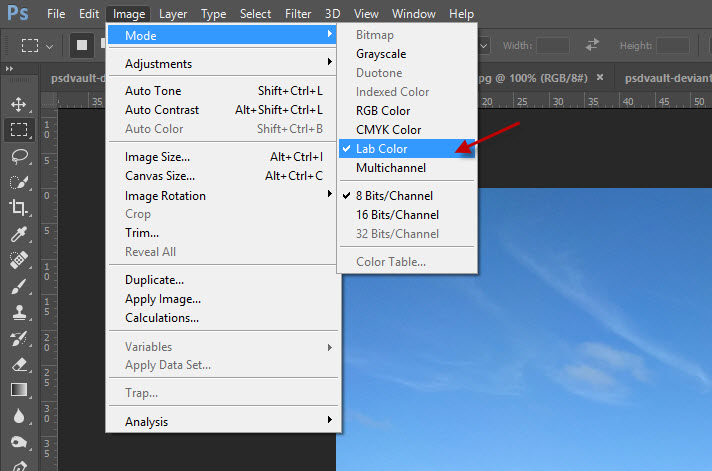
Let’s go to Image > Mode and select Lab Color:
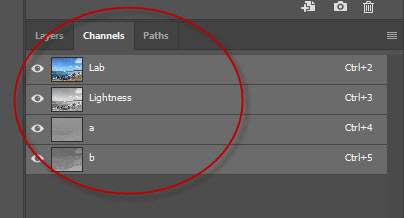
Now, if you have a look the Channels panel, you will see instead of the normal RGB channels, you have the following channels instead:
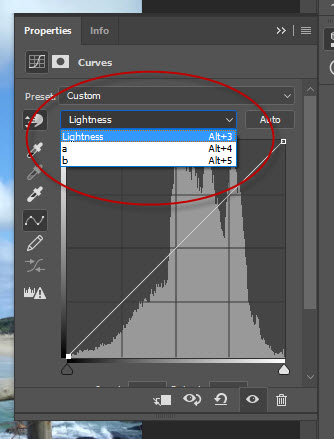
Now go to Layer > New Adjustment Layer and select the Curves options:

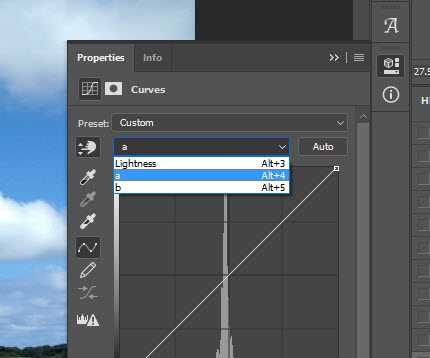
As you can see, the Curves adjustments now can be applied to the following Lab channel: Lightness, a and b channel:
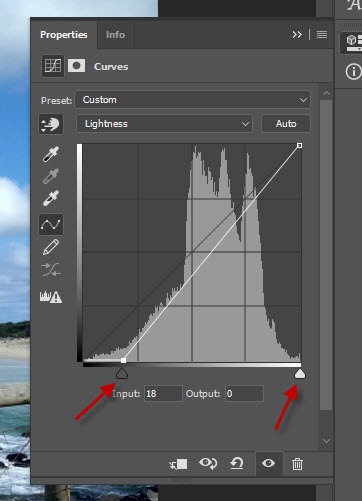
Let’s experiment with the Lightness channel first. Drag the arrow indicators below and see what effect they bring to your photo. For me, I’m using the following settings to darken the photo slightly:
Now change the channel to “a”:
Click on the colour sampler button below and move your muse onto the photo:
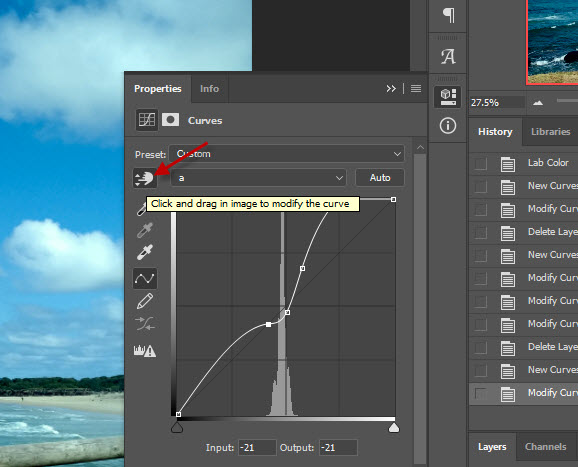
You will notice as you move your mouse across the photo, there is a small dot on curves adjustments panel that moves at the same time. This means you can set a few of anchor points on the curves, as shown below:
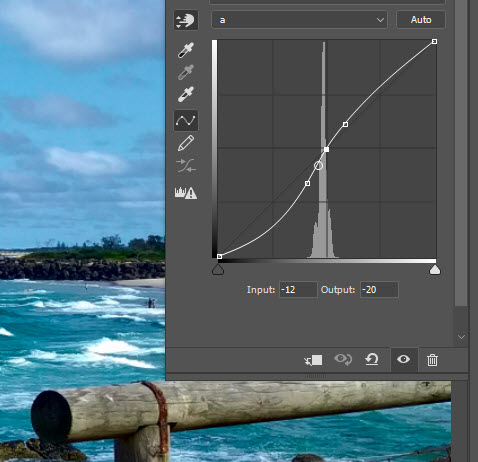
You can apply the same process on the “b” channel as well:

Here is my before & after effect for this photo:
Before:
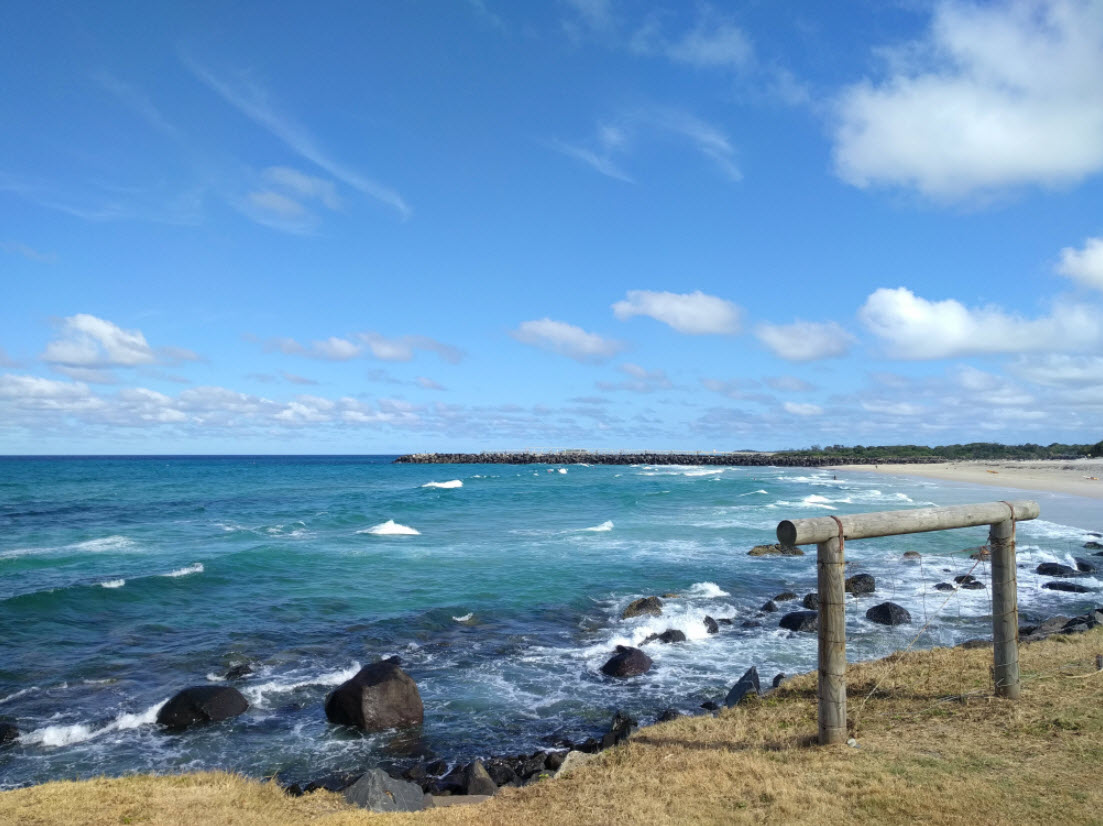
After:
As you can see, now this photo looks much more colorful compare with the original image.
That’s it for this tutorial! I would like to emphasize that there are many ways of enhancing colour & contrast of an image. But I found the Lab mode + curves adjustment the most effective method when it comes to landscape & nature photo adjustment.
Now go ahead and load a few more photos of your own and experiment!