
Removing backgrounds is a key skill for creating stunning visuals, whether for product photography, portraits, or graphic design. The Quick Selection Tool in Photoshop 2025 makes this process fast and beginner-friendly, with enhanced AI-driven edge detection and smoother selections.
In this tutorial, we’ll guide you through removing backgrounds using the Quick Selection Tool, highlight its improvements in Photoshop 2025, and share tips, tricks, and potential shortcomings.
Why Use the Quick Selection Tool in Photoshop 2025?
The Quick Selection Tool is ideal for isolating subjects by automatically detecting edges based on colour, texture, and contrast. Photoshop 2025 introduces improvements like enhanced edge refinement, better handling of complex edges (e.g., hair or fur), and integration with AI-powered Select and Mask features, making it more precise and efficient than ever.
Step-by-Step Guide to Remove Backgrounds in Photoshop 2025
Follow these steps to remove backgrounds using the Quick Selection Tool in Photoshop 2025. This guide assumes basic familiarity with Photoshop. For more foundational skills, explore our Basics category.
Step 1: Open Your Image
- Launch Photoshop 2025.
- Go to File > Open and select a high-resolution image (e.g., a portrait or product shot).
- Duplicate the layer (Layer > Duplicate Layer) to work non-destructively.
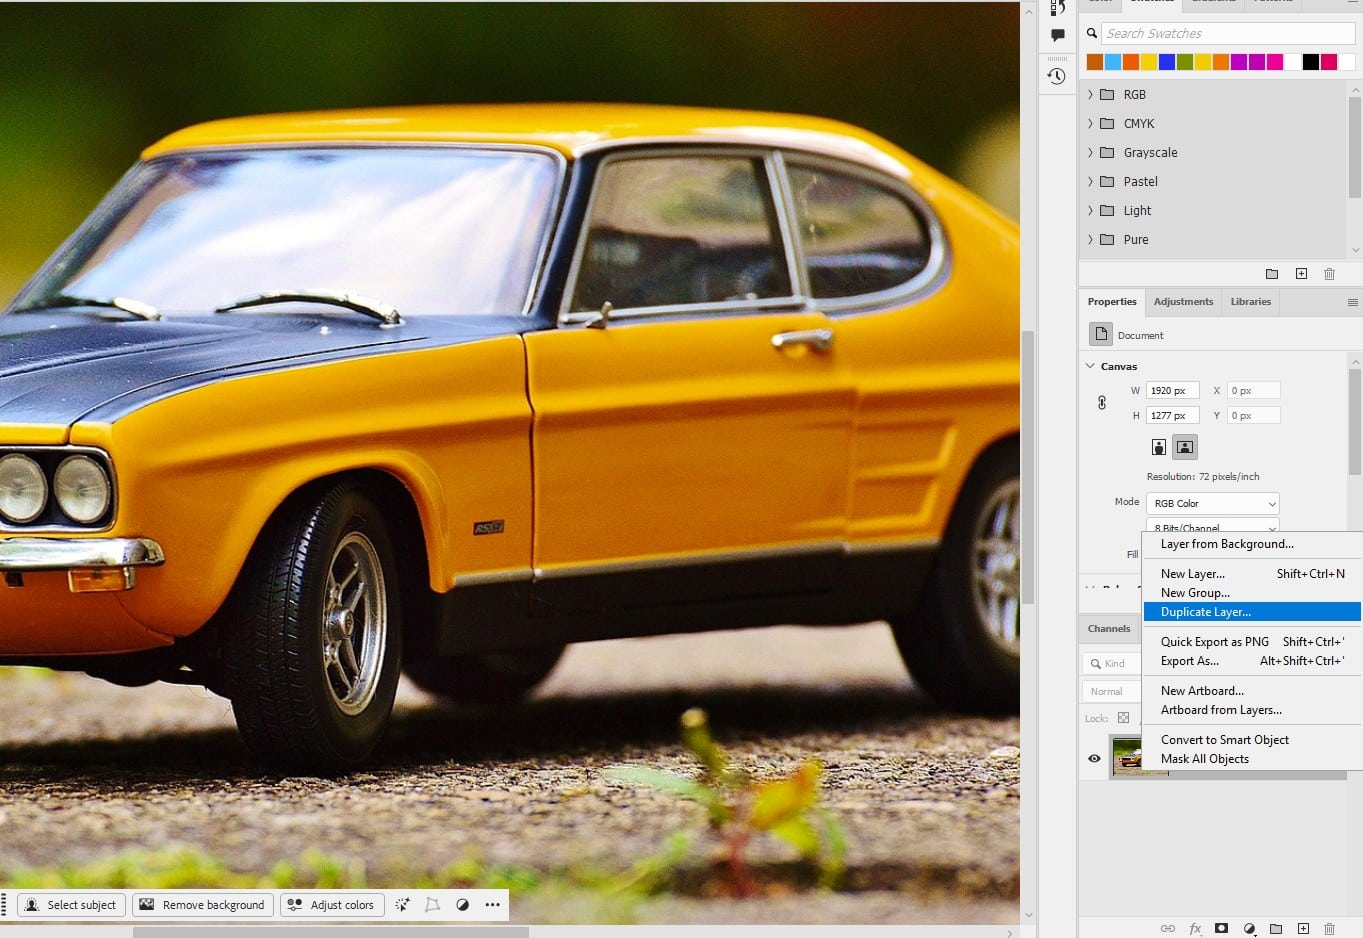
Step 2: Select the Quick Selection Tool
- Locate the Quick Selection Tool in the toolbar (shortcut: W) or under the Magic Wand Tool group.
- In the Options Bar, choose New Selection and set the brush size (e.g., 20–50 pixels for medium-sized images).
Trick: Press [ or ] to quickly adjust the brush size for precise selections.

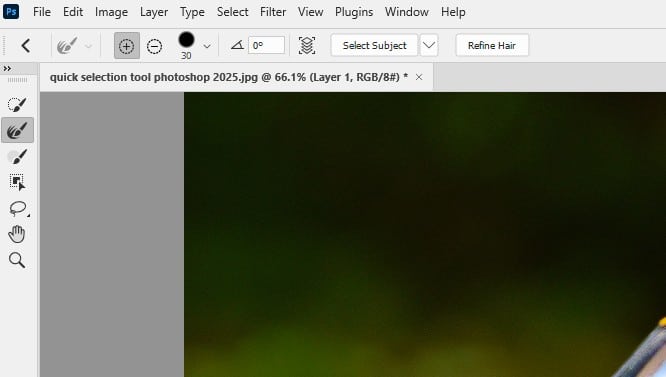
Step 3: Make the Initial Selection
- Click and drag over the subject you want to keep (e.g., a person or object). The tool automatically detects edges, creating a “marching ants” selection.
- To add to the selection, keep dragging over missed areas.
- To subtract unwanted areas, hold Alt (Windows) or Option (Mac) and drag over them.
Tip: Enable Sample All Layers in the Options Bar to include details from all visible layers, ideal for multi-layered projects.
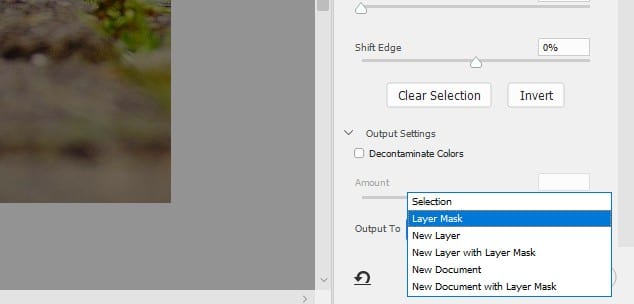
Step 4: Refine the Selection with Select and Mask
- Click Select and Mask in the Options Bar or go to Select > Select and Mask
- Use the Refine Edge Brush to paint over tricky areas
- Adjust sliders (e.g., Shift Edge or Feather) to fine-tune the selection
- Set Output To: Layer Mask and click OK.
Step 5: Remove the Background
- With the layer mask applied, the background is hidden, isolating the subject.
- To replace the background, add a new layer below the subject (e.g., Layer > New > Layer) and fill it with a color, gradient, or new image.
Tip: Use Layer > New Fill Layer > Solid Color for a quick solid background or drag a new image from your computer for a composite.
Step 6: Save Your Work
- Go to File > Export > Export As for web formats like PNG (to preserve transparency).
- For print or further editing, use File > Save As and choose PSD or TIFF.
- Name the file and save.
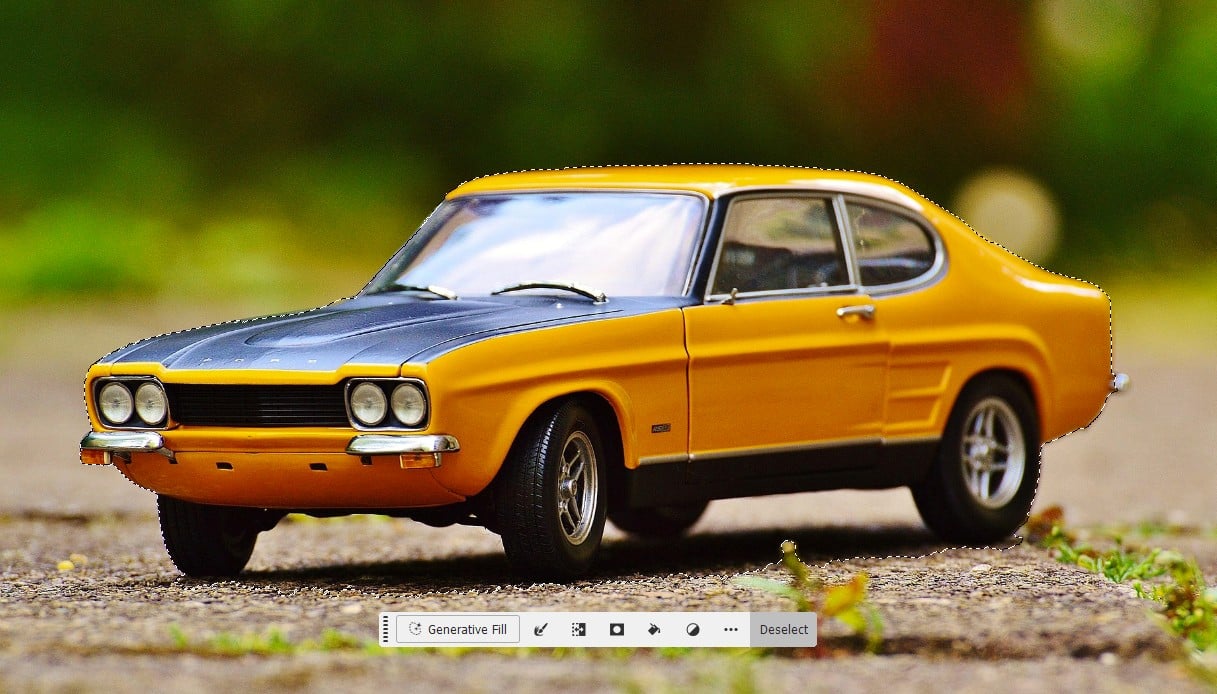
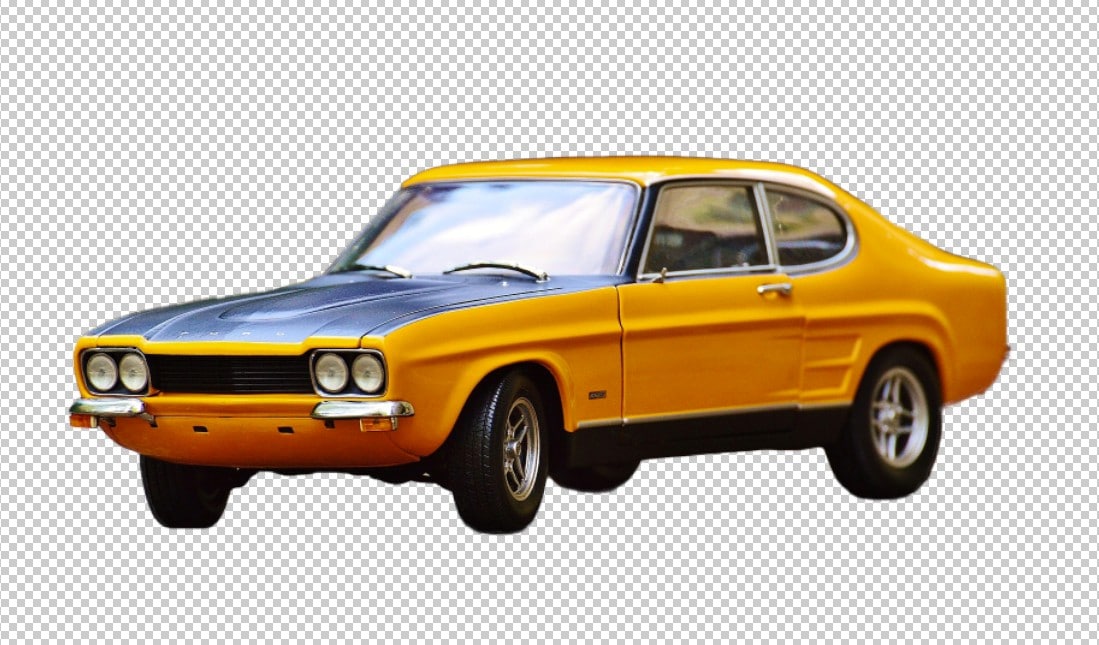
This is my result after filling the transparent background with Generative Fill:

Tips and Tricks for Using the Quick Selection Tool
- Start with High-Contrast Images: The tool excels with clear edges (e.g., a dark subject against a light background).
- Use Auto-Enhance: Check Auto-Enhance in the Options Bar for smoother edges, especially with Photoshop 2025’s improved algorithm.
- Combine Tools: Use the Quick Selection Tool for broad areas and switch to the Lasso Tool for small corrections.
- Zoom In for Precision: Zoom to 100% (Ctrl + 1 or Cmd + 1) to refine detailed areas like edges or corners.
- Practice with Complex Subjects: Experiment with hair or textured objects to master Select and Mask’s AI features.
Why It’s Preferred Over Alternatives
- Vs. Magic Wand Tool: The Magic Wand selects based on color alone, often resulting in patchy selections. The Quick Selection Tool’s edge-based approach is more precise and adaptable.
- Vs. Pen Tool: The Pen Tool offers unmatched precision but is complex and time-consuming, unsuitable for beginners. The Quick Selection Tool is faster and easier to learn.
- Vs. Object Selection Tool: While the Object Selection Tool (also enhanced in 2025) is great for automatic subject detection, the Quick Selection Tool offers more manual control, allowing users to guide selections for specific areas, which is ideal for learning and customization.
- Vs. Manual Masking: Manual layer masking requires advanced skills and time. The Quick Selection Tool automates much of the process, with 2025’s AI improvements reducing manual cleanup.
Potential Shortcomings of the Quick Selection Tool
- Struggles with Low-Contrast Images: If the subject blends with the background (e.g., similar colors), the tool may select unwanted areas. Use the Subtract option or refine manually.
- Complex Edges: Fine details like wispy hair or fur may require extra refinement in Select and Mask, even with 2025’s improvements.
- Over-Selection: The tool may grab too much if textures are similar. Hold Alt/Option to subtract excess areas.
- Processing Speed: On large images, real-time edge detection may lag on lower-end computers, despite 2025’s performance boosts.
- Not Ideal for Tiny Details: For intricate selections (e.g., jewelry), the Pen Tool may be more precise.
Tip: For challenging backgrounds, try the Object Selection Tool for AI-assisted selections or combine with Generative Fill for seamless results.
Conclusion
The Quick Selection Tool in Photoshop 2025, with its AI-enhanced edge detection and Select and Mask integration, makes background removal accessible for beginners. Practice these steps to create clean, professional composites for your projects.