
In this article, I share some quick Photoshop tips for beginners such as opening an illustrator file in Photoshop, highlighting menu items with colour, plus more!
How to Open & View Illustrator Files (.ai & .eps) in Photoshop
Occasionally you would receive an Illustrator file in .ai or .eps format from your client or fellow designers, and you might only have Photoshop installed on your computer. Instead of downloading 3rd party software, you can simply open & view the Illustrator file with Photoshop.
To open the Illustrator file, go to File > Open as Smart Object in Photoshop:

I used an .eps file as an example for demo purpose:

You will get a window pop-up asking to rasterize the EPS format, simply press OK to proceed:

That’s it! You can now view the illustrator file in Photoshop. I wouldn’t recommend that you use Photoshop to edit an illustrator file, as its rasterized state may cause some quality loss.
Show Pen Tool Drawing Path with the “Rubber Band” Option in Photoshop
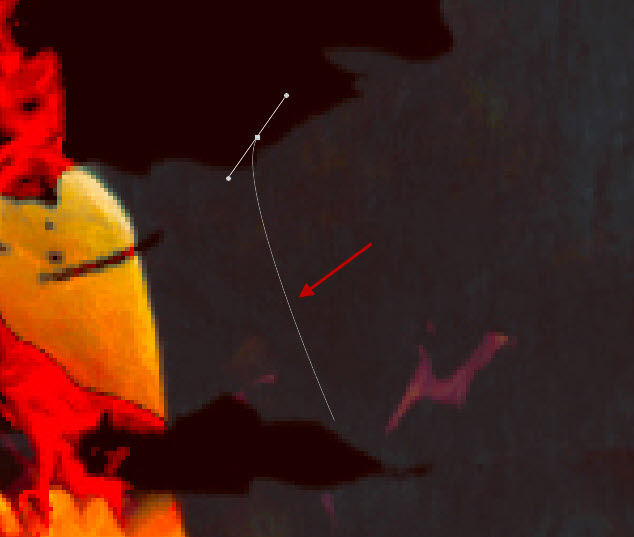
When you use Pen Tool to draw a path, you may want to see the actual path of the Pen Tool when you draw. To see the path, simply go to the Pen Tool option bar, click on the Gear Icon and tick the “Rubber Band” option:

Now you can see the path as you draw with Pen Tool:
Highlight Menu Items With Colour
You can assign your favourite menu item in Photoshop with a colour, so they can be more visible and stand out from the rest!
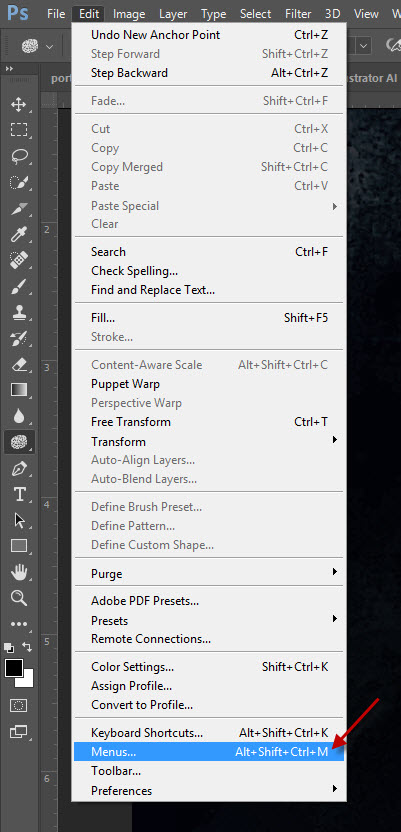
To do this, Go to Edit > Menus:
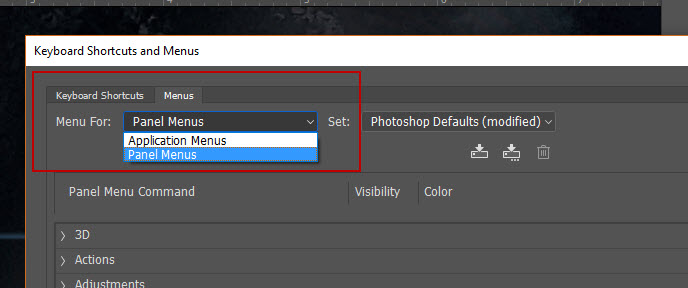
On the following window, click on “Menus” tab, you will see two options:
- Application Menus – this covers all standard top menus in Photoshop
- Panel Menus – this covers the menus from panels, such as Brushes, Layers & actions.
For demo purpose, I chose “Panel Menus”:
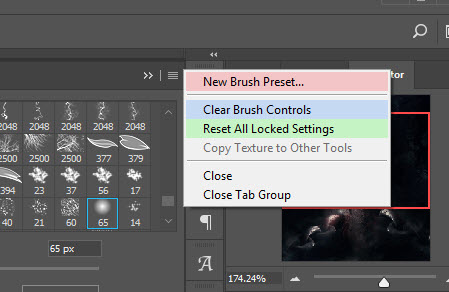
From the options below, I assigned colours for a number of menus in the Brushes Panel:
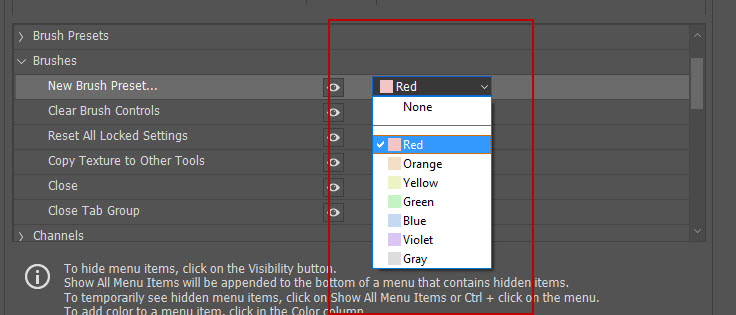
Apply the change. Now you will see the colours highlighting the menu items as shown below:
Fast Revert All Changes in Photoshop
Sometimes you make lots of changes to your photo, but in end they weren’t as good as you hoped.
To revert all changes, simply press “F12” on your keyboard. This will cancelled all changes and revert your photo to original format.
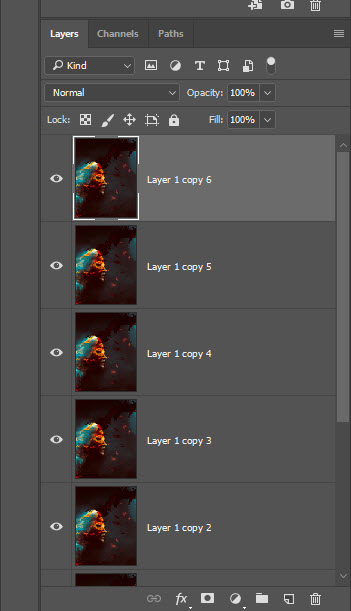
Below is an example of the many layers I made for this photo:
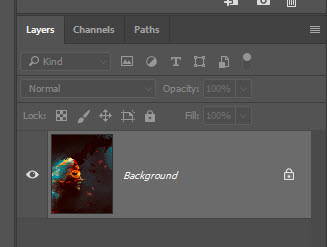
Pressing “F12” quickly cancelled all changes for me:
Fast Hide All but the One Layer You Selected
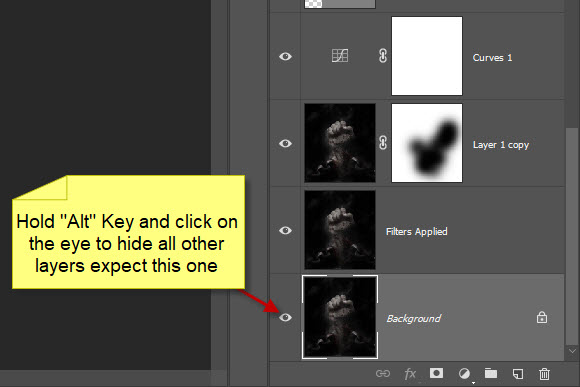
This is a simple trick you can use to check the before & after effect of your photo editing. Simply hold “Alt” key and click on the eye icon on the layer palette – this keeps the selected layer visible only, and turn off all other layers:
That’s it for this post! Hope you find these Photoshop quick tips useful. You can also check out the Basics Photoshop Tutorial for Beginners section on my blog for more useful tips and tricks.
Happy Photoshopping!