Close Menu
PSD VaultPSD Vault
  • VIP Area
  • Photoshop Basics
  • Photo Effect
  • Text Effect
  • Premium Tuts
  • Resources
  • Drawing
  • Inspiration
  • Web Graphics
  • Abstract
  • Freebies
  • Advertise
  • Get in Touch
  • About PSD Vault
Facebook Instagram Pinterest YouTube TikTok
Facebook Instagram Pinterest YouTube TikTok RSS
PSD VaultPSD Vault
  • VIP Area
    • Sign Up
    • Log In
  • Free Image Tools
  • Photoshop Basics
  • AI
  • Photoshop Error Fixes
  • Video Tutorial
  • Photo Effect
  • Text Effect
  • Premium Tuts
  • Drawing
PSD VaultPSD Vault
Home»Basics»Master the Photoshop Adjustment Brush: A Beginner’s Guide
Basics

Master the Photoshop Adjustment Brush: A Beginner’s Guide

By James QuJanuary 24, 20253 Mins Read
Share
Facebook Twitter LinkedIn Pinterest Email

Do you have a stunning landscape photo that could be even more breath-taking? The Adjustment Brush in Photoshop is a powerful tool that allows you to selectively edit specific areas of your image, adding depth and dimension. This guide will walk you through this great tool to elevate your photo to the next level.

Before We Begin – Update Your Photoshop to version 25.9

Make sure you update your Photoshop to the latest version – the Adjustment Brush tool in Photoshop became available in the May 2024 release (version 25.9) for all users.

It was initially introduced in a beta version in February 2024, but as of today (June 1, 2024), it’s part of the standard Photoshop experience.

Step 1 – Open Your Image in Photoshop

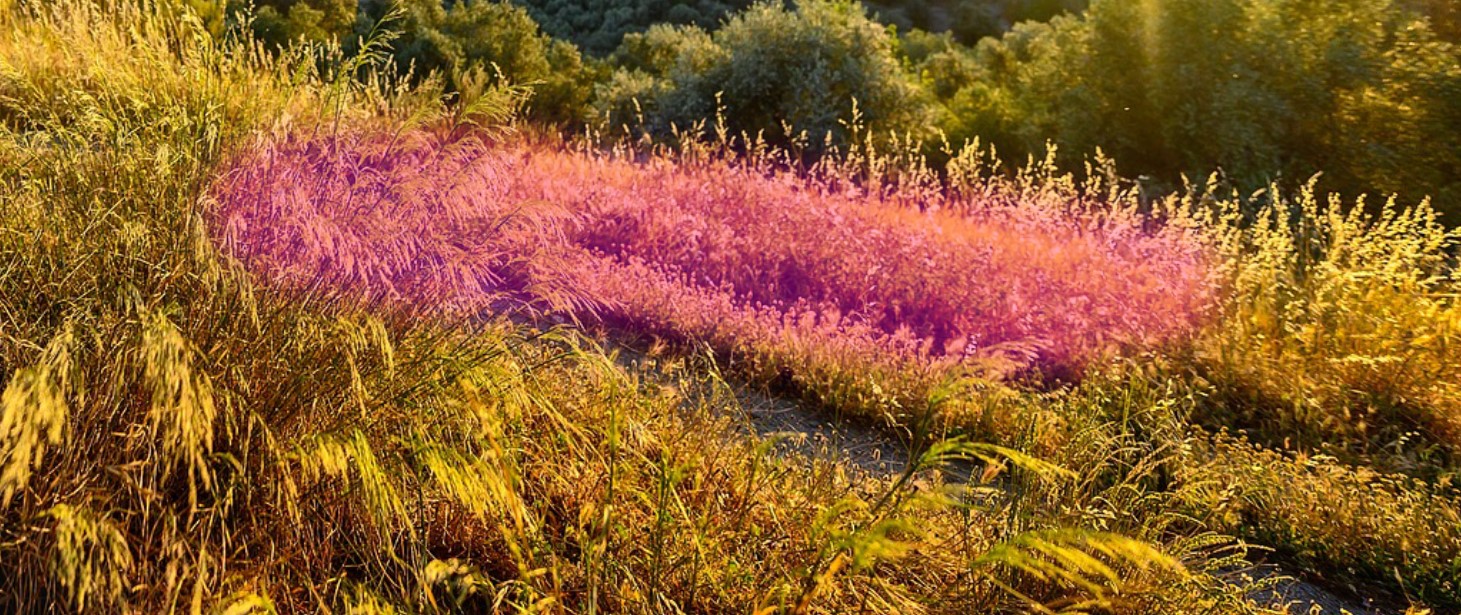
First, launch Photoshop and open your image (I used this beautiful sunset image here for this tutorial). You can do this by going to File > Open and selecting your desired photo from your computer’s folders.

Step 2 – Access the Adjustment Brush Tool

Locate the Brush Tool (B) on the toolbar. Click and hold on the Brush Tool icon to reveal a hidden menu. From this menu, select the Adjustment Brush tool.

Step 3 – Define Your Adjustments

With the Adjustment Brush tool selected, an option panel will appear on the top:

Play around with these options to see how they affect the preview on your image. For example, increasing exposure will brighten a specific area, while decreasing contrast can create a softer look.

There is also a floating bar appearing on top of your image:

The adjustment options are a scaled-down version of the option bar. You can click on the 3-dot icon

Step 4 – Brush on Your Adjustments

Now comes the fun part! Click and drag your mouse to paint the adjustments onto your image. The brush size can be adjusted using the size slider in the top control panel.

Tip: Use a lower flow (around 50-70%) for more subtle adjustments, and gradually build up the effect if needed.

Additional Tips for working with the Adjustment Brush Tool

Tip 1: Combine Adjustment Brush Tool with the Select Tool – quite often you will only need to adjust a portion of the image, the selection tool with come in handy:

Tip 2: Use the “Overlay” option to see what you’ve painted – sometimes it is difficult to see what area you apply the Brush Adjustment to, the “Overlay” option fixes this and will apply a coloured overlay to these areas:

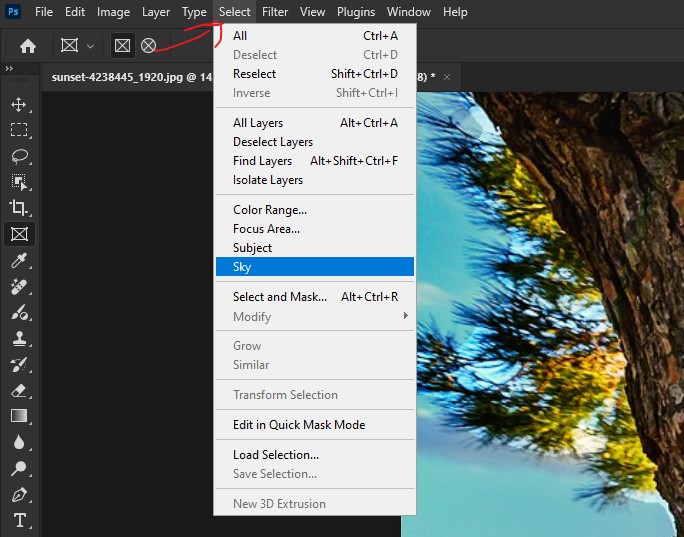
Tip 3: If you need to apply adjustment to certain object within the image, use the built-in object selection option here to quickly select the object:

Summary

The Adjustment Brush is a powerful tool that can truly transform your images by adding depth and drawing the viewer’s eye to specific areas.

Remember that you can always experiment with different brush sizes and adjustment combinations to achieve your desired creative vision. With a little practice, the Adjustment Brush will become a valuable tool in your photo editing arsenal.

adjustment brush tool
Share. Facebook Twitter Pinterest LinkedIn Tumblr Email
James Qu
  • Website

James is a seasoned Photoshop expert with over 25 years of experience based in Australia. As the driving force behind PSD Vault, he authors the majority of its in-depth tutorials and insightful articles.

Related Posts

Live Gradients in Photoshop – How to Master It

June 27, 2026

Dodge and Burn in Photoshop: 3 Methods From Basic to Professional

June 20, 2026

How to Use “Find Distractions” Feature in Photoshop for Easy Photo Clean-up

June 12, 2026

Comments are closed.

Don't Miss

Live Gradients in Photoshop – How to Master It

June 27, 2026

How to Create Vintage Photo Effects in Photoshop – A Step-by-Step Guide

June 26, 2026

Create Epic Wormhole Space Scene in Photoshop

June 25, 2026

For Beginners

Basics

Live Gradients in Photoshop – How to Master It

By James QuJune 27, 20263 Mins Read

Dodge and Burn in Photoshop: 3 Methods From Basic to Professional

June 20, 2026

How to Use “Find Distractions” Feature in Photoshop for Easy Photo Clean-up

June 12, 2026

How to Invert a Layer Mask in Photoshop (Complete Guide)

June 6, 2026

You May Also Like

Basics

Live Gradients in Photoshop – How to Master It

By James QuJune 27, 20263 Mins Read
Basics

Dodge and Burn in Photoshop: 3 Methods From Basic to Professional

By James QuJune 20, 202616 Mins Read
Basics

How to Use “Find Distractions” Feature in Photoshop for Easy Photo Clean-up

By James QuJune 12, 20265 Mins Read
Facebook X (Twitter) Instagram Pinterest
  • About Us
  • Get in Touch
  • Advertise
  • VIP Area
  • Free Image Tools
  • Privacy Policy
  • Terms & Conditions
© 2026 PSD Vault. All Right Reserved.

Type above and press Enter to search. Press Esc to cancel.

Manage Consent
To provide the best experiences, we use technologies like cookies to store and/or access device information. Consenting to these technologies will allow us to process data such as browsing behavior or unique IDs on this site. Not consenting or withdrawing consent, may adversely affect certain features and functions.
Functional Always active
The technical storage or access is strictly necessary for the legitimate purpose of enabling the use of a specific service explicitly requested by the subscriber or user, or for the sole purpose of carrying out the transmission of a communication over an electronic communications network.
Preferences
The technical storage or access is necessary for the legitimate purpose of storing preferences that are not requested by the subscriber or user.
Statistics
The technical storage or access that is used exclusively for statistical purposes. The technical storage or access that is used exclusively for anonymous statistical purposes. Without a subpoena, voluntary compliance on the part of your Internet Service Provider, or additional records from a third party, information stored or retrieved for this purpose alone cannot usually be used to identify you.
Marketing
The technical storage or access is required to create user profiles to send advertising, or to track the user on a website or across several websites for similar marketing purposes.
  • Manage options
  • Manage services
  • Manage {vendor_count} vendors
  • Read more about these purposes
View preferences
  • {title}
  • {title}
  • {title}