In this tutorial, I will show you the steps I took to create this unique, Abstract Surreal Text Effect with Metal Texture in Photoshop. This is an intermediate tutorial so some steps can be tricky, but why not have a try :)
The aim of this tutorial is to show how you can manipulate texture/stock image with layer masks and blending options to create special effect. Also I will show you how to use adjustment layer to add colours in the end.
The PSD file of this tutorial is available to buy on PSD Vault Shop, or via the PSD Vault VIP members area.
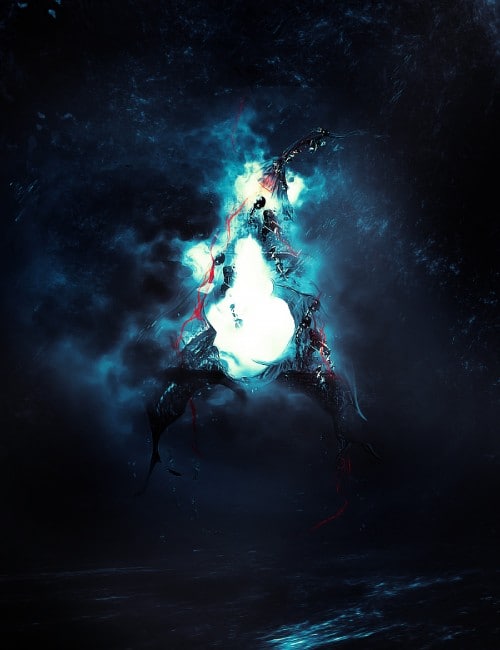
Here is a preview of the final effect I have for this tutorial: (click to enlarge)
PSD Vault VIP Membership
You can download the PSD File for this tutorial via the VIP Members Area for only $6.95/Month (or less)! You will not only get this PSD File, but also 20+ other PSD Files + Extra Goodies + Exclusive Photoshop tutorials there. Signup now and get exclusive!
OK Let’s get started!
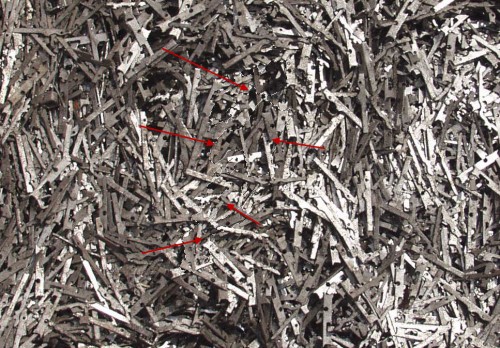
To complete this tutorial, you will need the following stocks:
Step 1
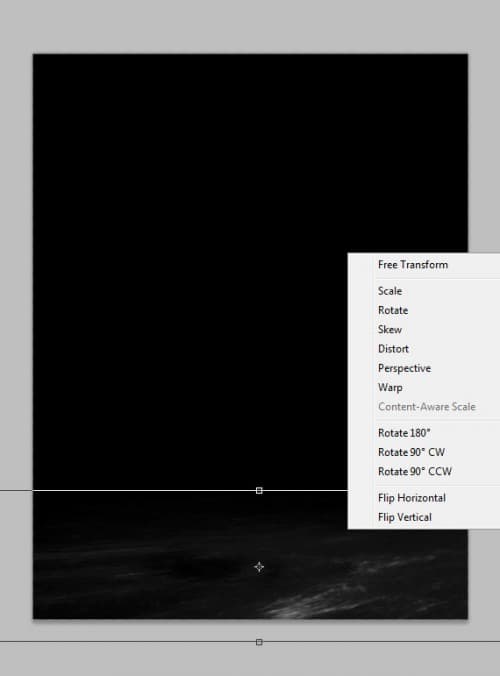
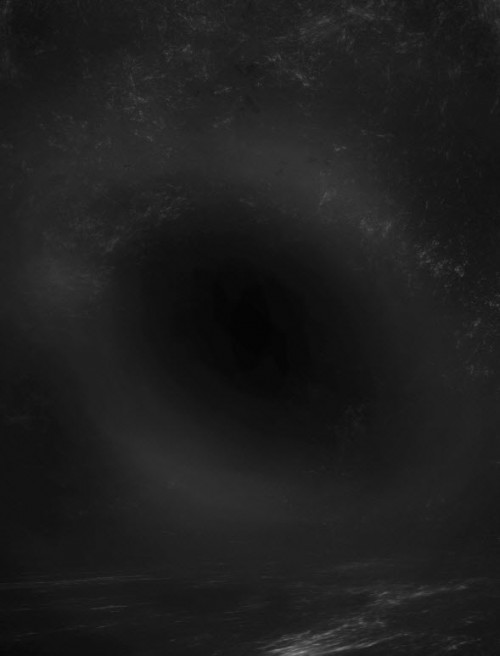
Create a new document sized 800px * 1040px with black background. Create a new layer and use the space brush to paint a background pattern, compress it down and set some perspective to it as shown below:
Create a new layer and further add some space pattern, reduce the layer opacity to around 80% and use a soft eraser to erase the centre portion as shown below:
Hint: by performing the above two things, we added some depth to the image and get ready for adding the text in the following step.
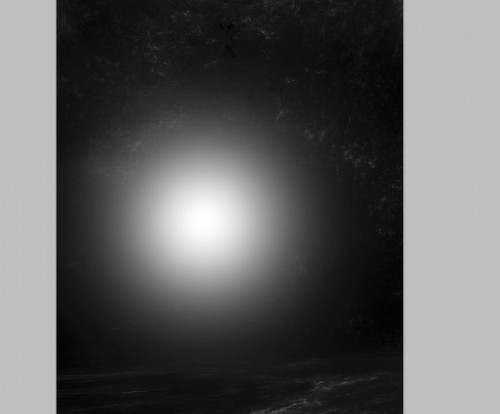
Let’s add some simple light effect – create a new layer and use a big white brush to paint a dot light as shown below:
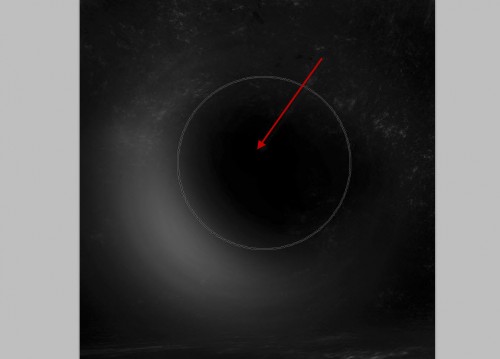
Use a soft eraser with smaller brush size than the dot light, erase the top right part of the dot as shown below:
Duplicate this layer and rotate the duplicated layer 180 degrees, you will have the following effect:
Step 2
We can now work on the letter. Type a letter on the centre of the canvas, as shown below:
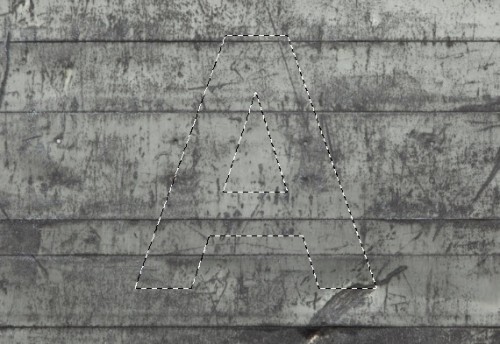
Load the “metal texture 1” image into Photoshop. Then load this text layer selection and move it to the metal texture, copy and paste it back onto our text:
Turn off the original text layer, and you will have the following effect:
Open up the liquify filter, grab the forward warping tool and make sure you enable “Show Backdrop” and use the following setting: (this will make the background visible, easier to apply the liquify effect)
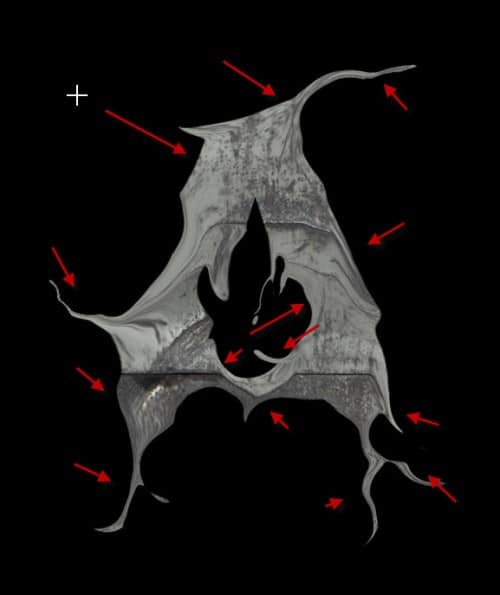
Go crazy with the liquify tool, add some flowing effect around the text edges as shown below:
Then erase the following area with the a soft eraser:
Step 3
We can now apply some adjustments layers on the metal texture as clipping mask:
Black and White

Levels
Curves
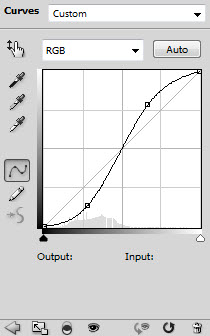
Then use the Lasso Tool with 30px feather, draw a selection on the following area:
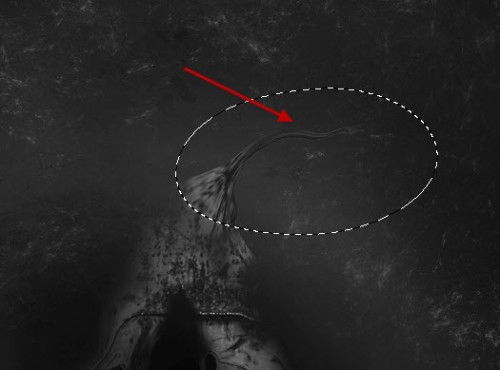
Then add another Levels adjustment layer as clipping mask: (this will darken the Lasso Selection)
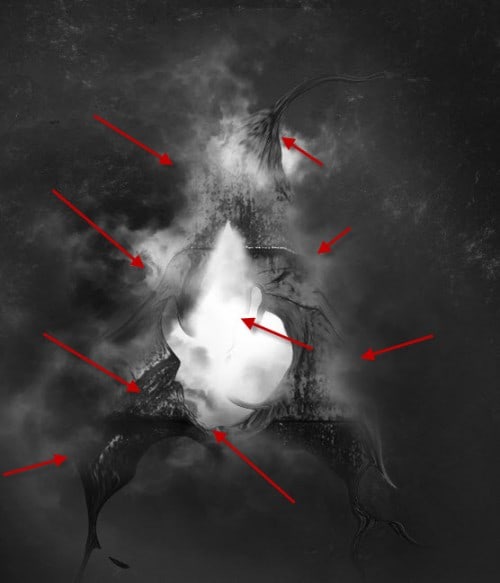
Render or paint some cloud (with cloud or smoke brush, plenty of them on the internet) around the text to add dramatic effect:
Step 4
We can now add some small metal particles into the image – load the “metal texture 2” image into Photoshop and use the quick selection tool to select a few small pieces on the image:
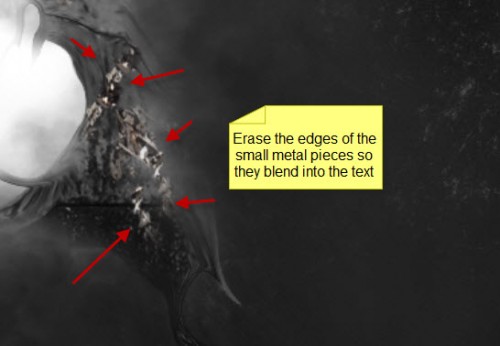
Copy and paste the selection onto our document, erase the edges to blend those small pieces into the main text:
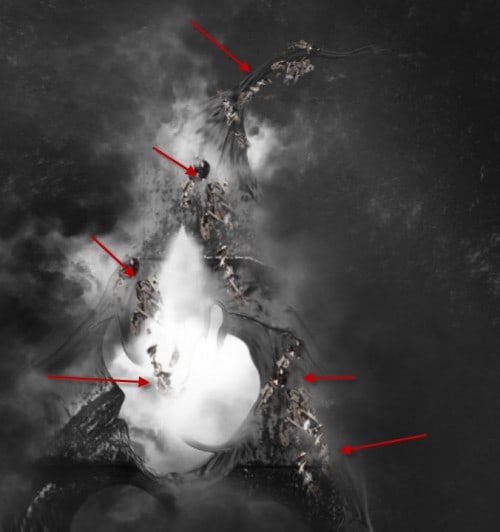
Duplicate the selection a few times, attach them to different parts of the text, as shown below:
Merge the duplicated layers and apply the following black and white adjustments to it:
and here is the effect so far:
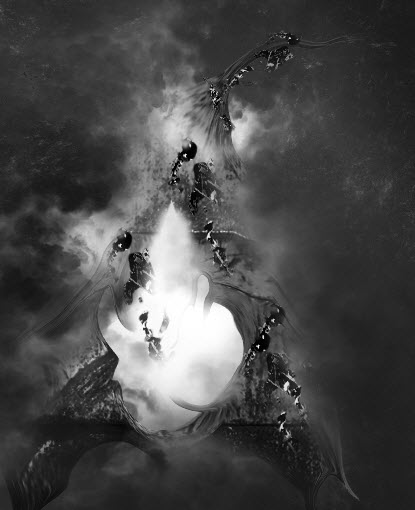
You can also further duplicate this metal texture layer a few more times, resize them to small scale and move them around the text, as shown below:
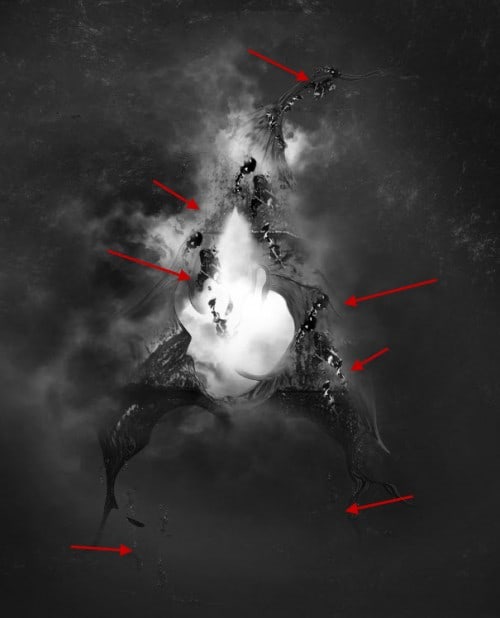
Step 5
To add some extra effect, I decided to use the Pen Tool to draw some red lines around the text. So let’s use the Pen Tool to draw a work path as shown below:
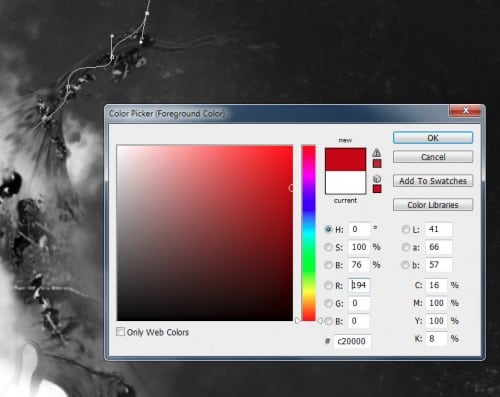
Prior to stroking the path, go to the brush panel and set the brush size to 3px, hardness 95%, red colour as shown below:
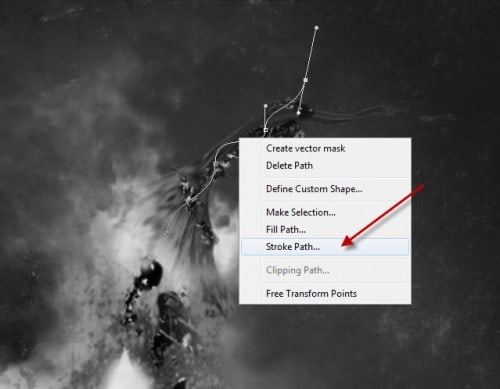
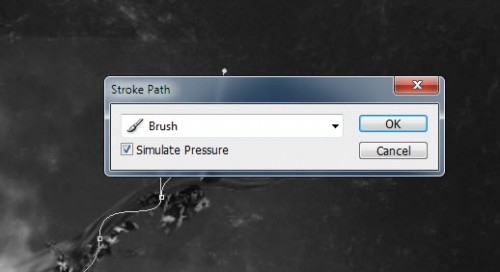
Then go back to select the Pen Tool, right-click and choose “Stroke Path”:
Stroke this path with the following settings:
and you will have the following effect:
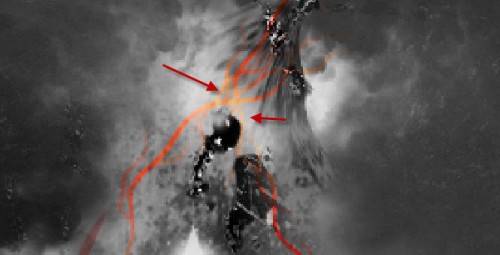
Duplicate this line layer a few more times and resize each duplicated layer and rotate them, attach the lines to different part of the text:
You can also mix some yellow lines via adjusting the Colour Hue, in order to add some variety on the text:
Step 6
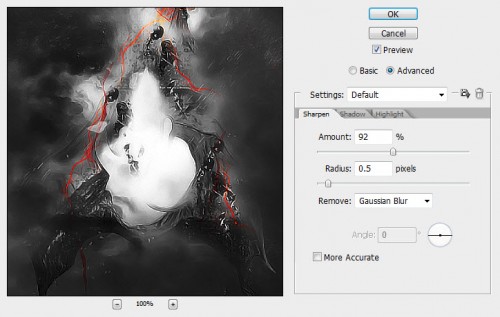
OK we’re almost done! For some final retouches, we can flatten the image and apply the following Smart Sharpen filter to the image to sharpen the text a bit:
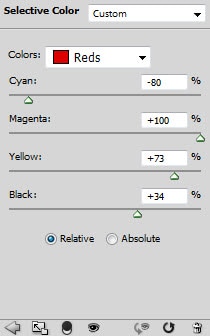
To add some colour effect to image, I apply the following image adjustment layers to the image:
Selective Color
Curves
Brightness and Contrast
I then further added some slight colour adjustment and here is the final effect I have: (click to enlarge)
That’s it for this tutorial! Hope you enjoy it and find it useful! Till next time, have a great day!















3 Comments
Some nice effects, thanks.
Nice result, thanks. Shared this.
it looks nice!