In this tutorial, I will show you the steps I took to create this black and white, dreamy style sureal artwork in Photoshop. Have a try!
The PSD file of this tutorial is available to buy on PSD Vault Shop, or via the PSD Vault VIP members area.

If you have been following my tutorials for a while, you will notice that I very rarely publish anything that is black and white – I love colours, but I think sometimes black and white style can produce effect that colour can’t – for example, a sense of dark and gloom.
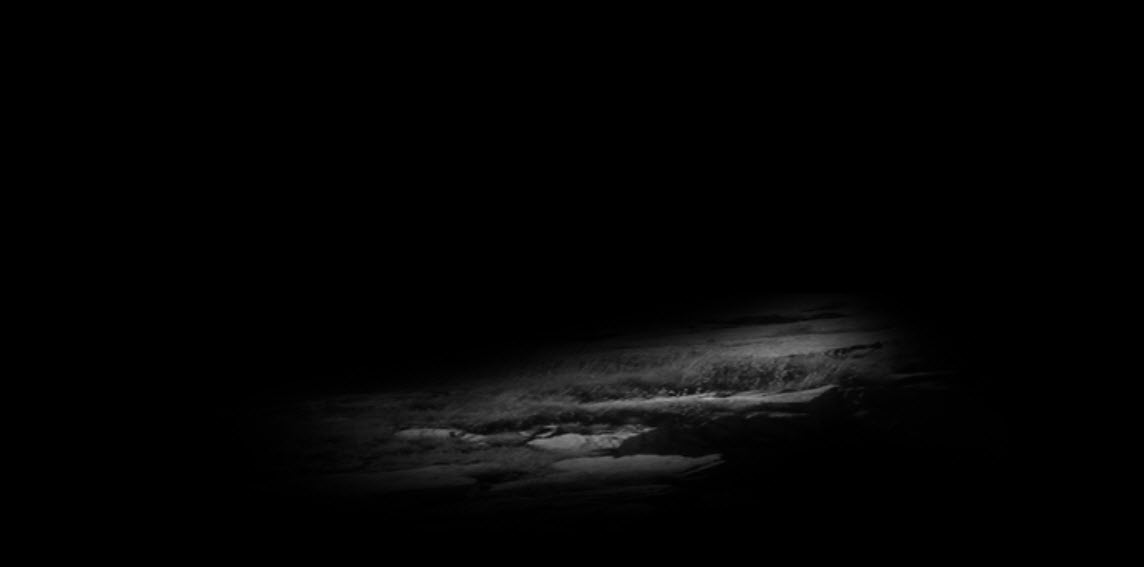
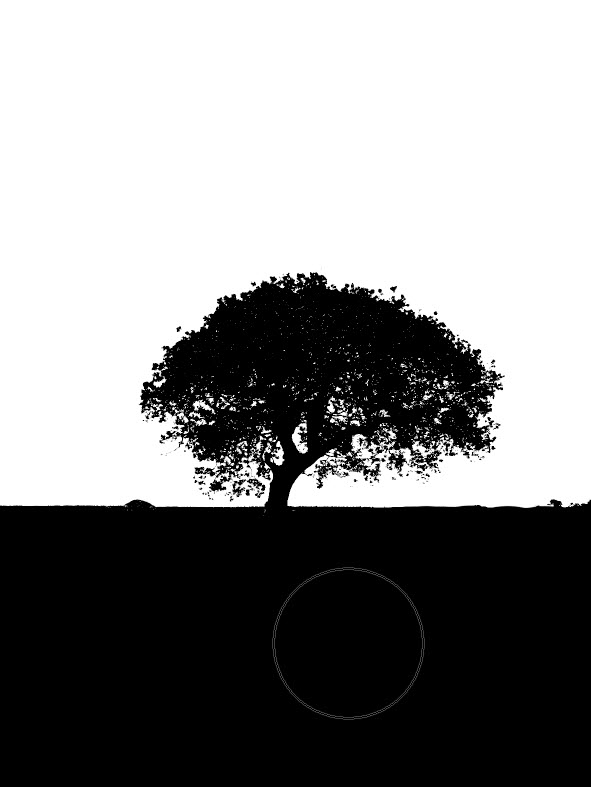
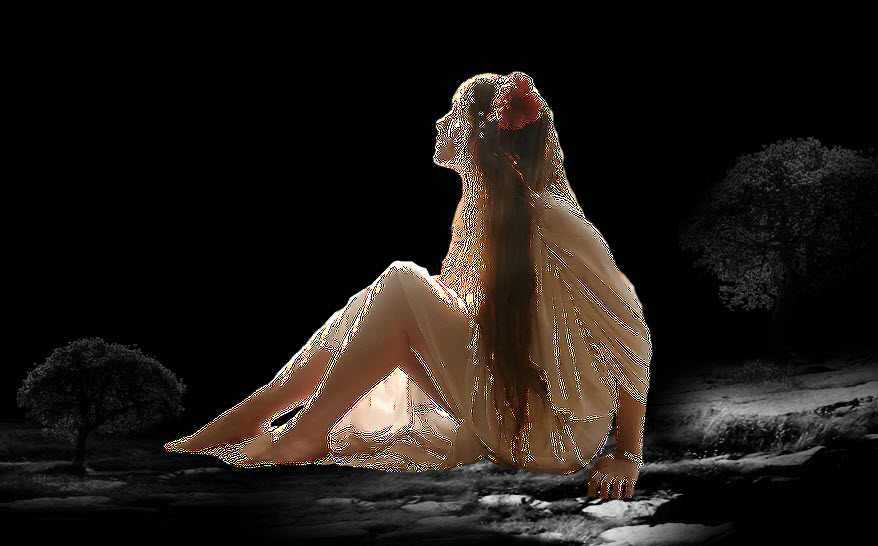
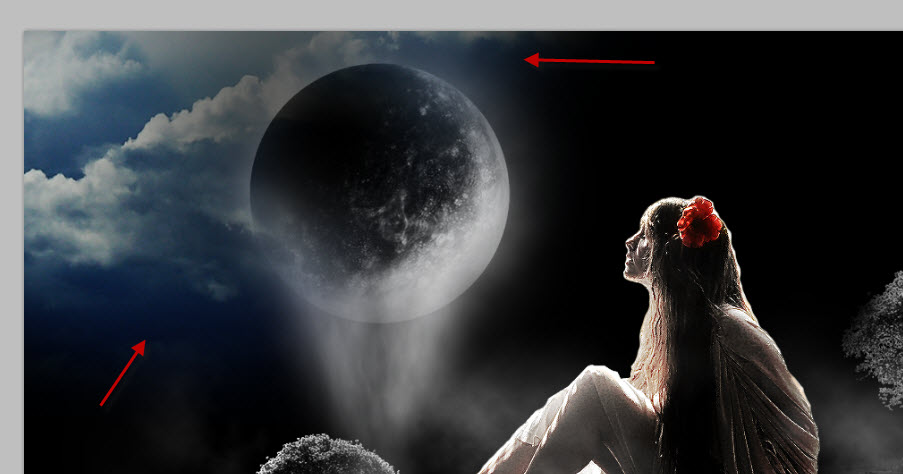
Here is a preview of the final effect I have for this tutorial: (click to enlarge)

PSD Vault VIP Membership
You can download the PSD File for this tutorial via the VIP Members Area for only $6.95/Month (or less)! You will not only get this PSD File, but also 200+ other PSD Files + Extra Goodies + Exclusive Photoshop tutorial there. Signup now and get exclusive!

OK let’s get started!
To complete this tutorial, you will need the following stocks:
Step 1
Create a new document size 1300px *700px. fill the background layer with black colour. Now let’s start laying the foundation.
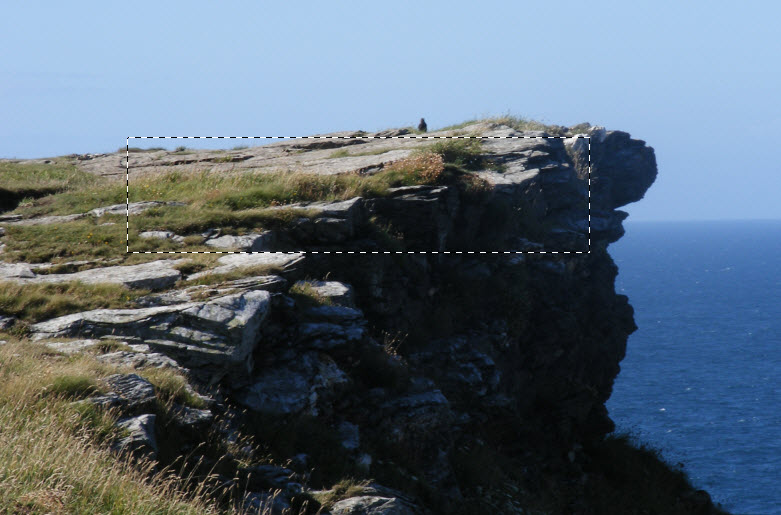
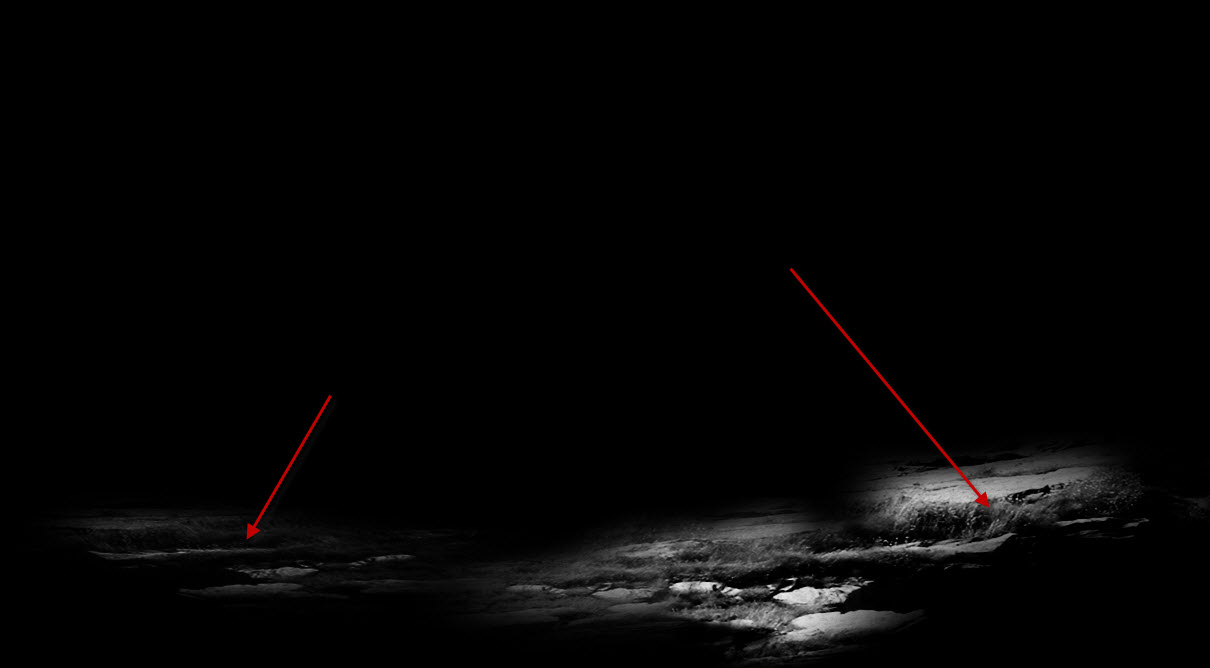
Load the “Cliff” image into Photoshop and use the Rectangular Marquee tool to select a portion of the cliff:
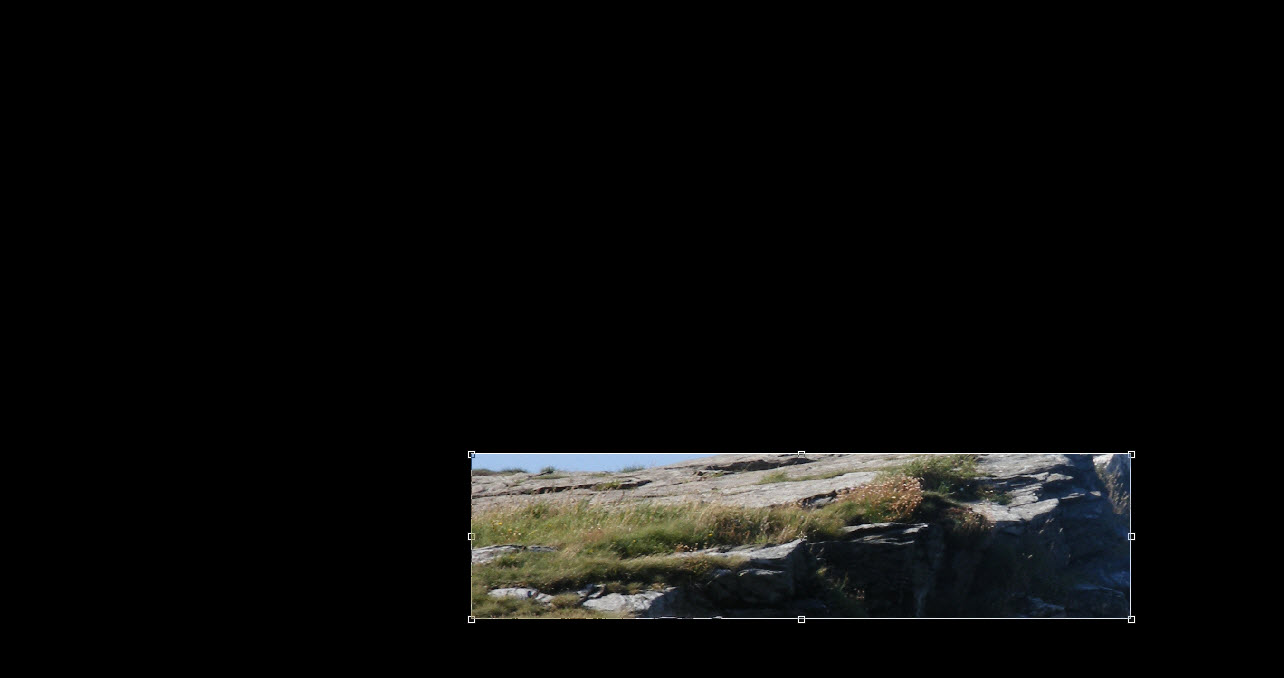
copy and paste your selection onto our canvas, resize it and position it as shown below:
Name this layer as “Rock 1”, add a layer mask to it and on the mask, use a soft round brush (20% hardness) to erase the edges of the rock:
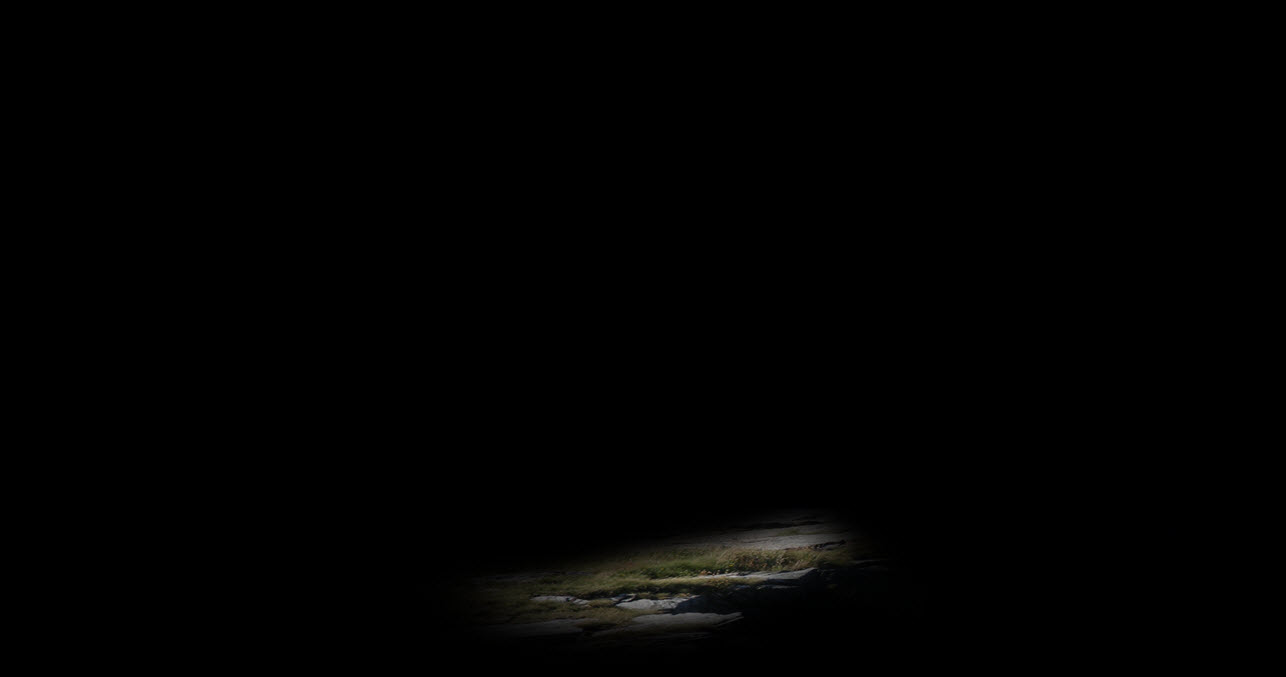
As you can see, I erased a large portion of the texture and left only a fraction of it – the reason I did it is because initially it was hard to judge what portion of the texture would be suitable, and I could only experiment with it until I get the right piece.
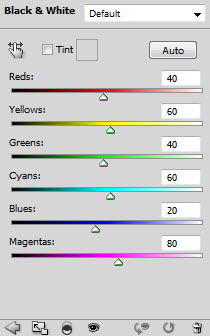
Add a black and white adjustment layer onto this rock 1 layer:
and you will have the following effect:
Step 2
Now duplicate this Rock 1 layer twice (along with the black and white adjustment layer), name the duplicated layers as “rock 2” and “rock 3” respectively. Drag the duplicated layer around and position them to the left and right of the Rock 1 layer, as shown below:
Adjust the mask on those duplicated layer by using a soft eraser to remove the edges, especially the parts where each rock joins together:

Step 3
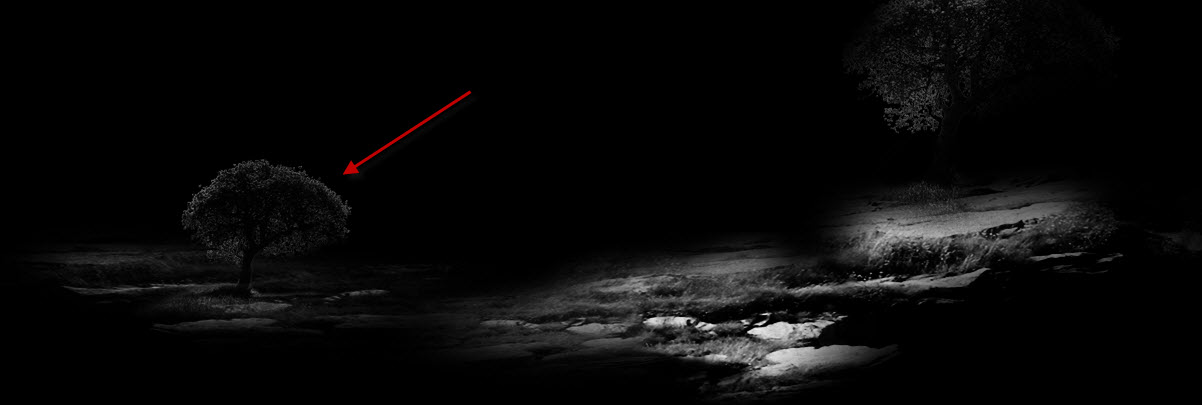
Now we pretty much finished with the rock texture. Let’s add the tree image onto our canvas. Load the “Tree” stock image into Photoshop, cut out the tree and the grass texture using the following channel mask technique:
(you can use other method if you prefer, but I think channel mask here is the most effective one.)
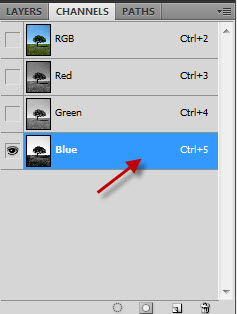
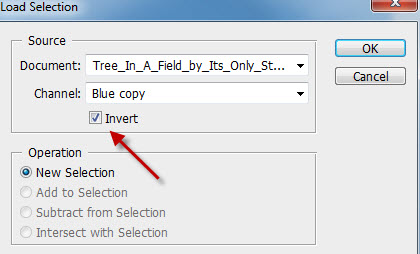
On the background layer, click on the “Channel” tab on the layer palette, then click on the “Blur” channel (the reason is this channel provides the biggest contrast)
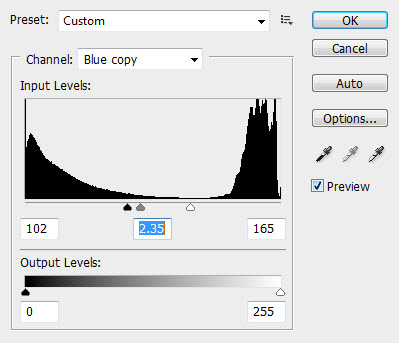
Duplicate this Blue channel once, apply the following Levels adjustment to the duplicated channel:
Use a black brush to fill the area:
Load the selection of this blue copy channel by going into Select > Load selection, then apply the following options then click on “OK”:
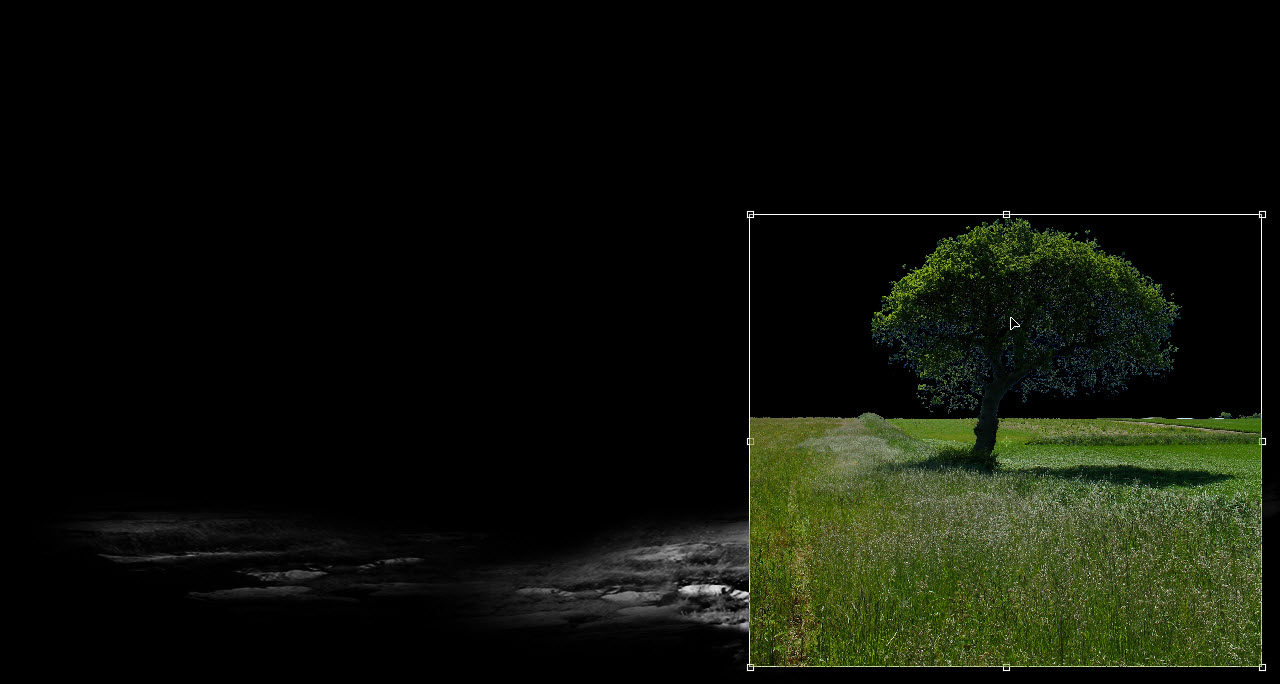
Copy and paste the selection onto our document, name the layer as “Tree Right”, resize it and position it as shown below:
Erase the bottom part of the grass with a soft brush:
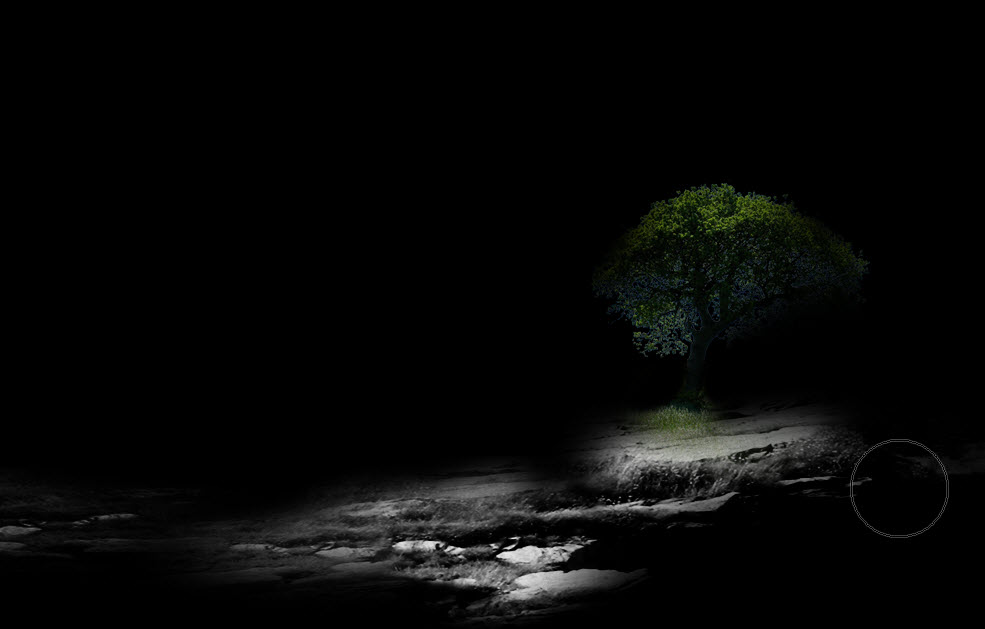
And the following two adjustment layers to this tree right layer: (make sure you tick the “use previous layer as clipping mask” option)
Black and white

Curves
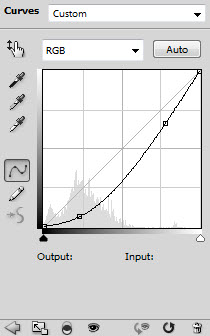
Curves Mask

and you will have the following effect:
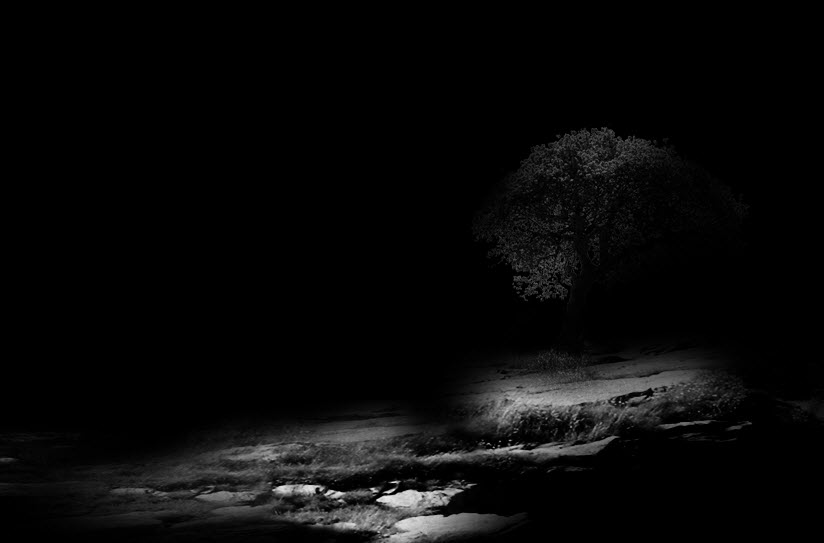
Duplicate the Tree right layer once along with its adjustment layers (leave all adjustment layers as they are, apart from canceling the layer mask on the Curves adjustment layer). Name the duplicated layer as “tree left”, drag and resize this layer smaller, and position it as shown below:
Step 4
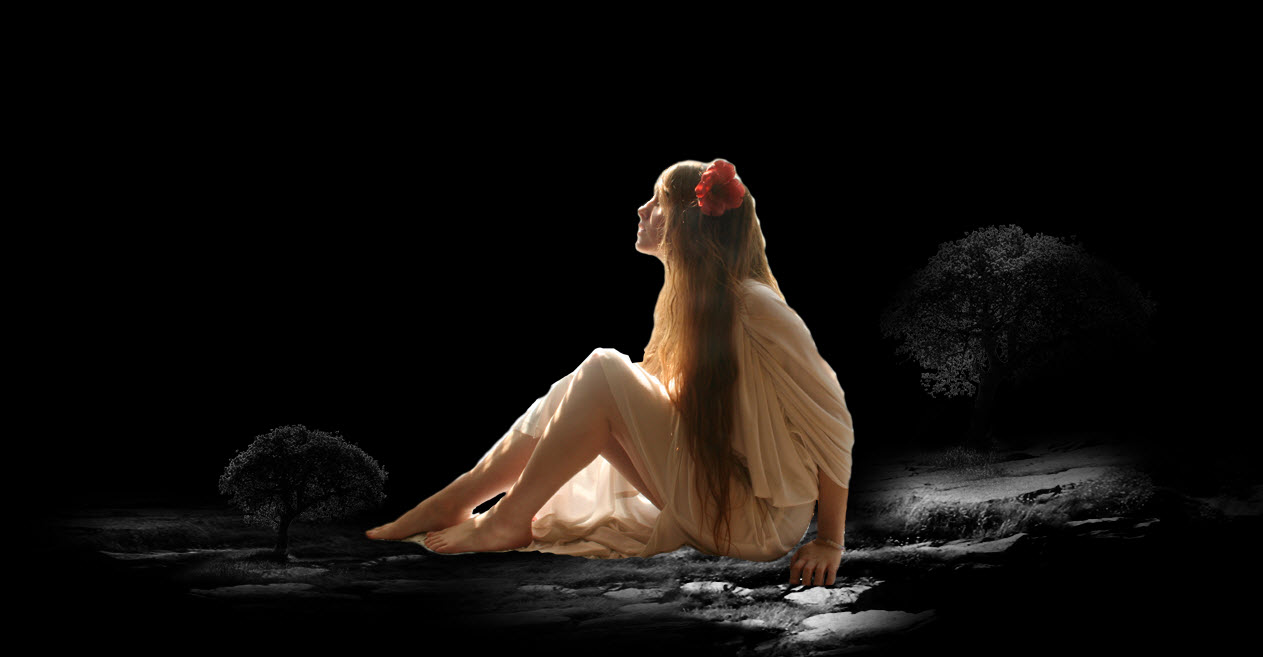
Load the “Female Model” stock image into Photoshop, cut out the model and paste it into the centre of our canvas:
Don’t worry if your selection is not perfect, it doesn’t really matter in this tutorial.
Name this layer as “Model Original”, duplicate it once and go to Filter > Sharpen > Sharpen Edge and apply this filter a few times on the duplicated layer:
As you can see this sharpens all edges of the model – an effect may look horrible right now, but will add extra details as we go deeper into the tutorial.
Duplicate the original model layer once more and drag it above the previous sharpen edge layer, make this layer a clipping mask to the sharpen edge layer (right-click the layer, then choose “create clipping mask”), reduce the layer opacity to 80%, you will have the following effect:
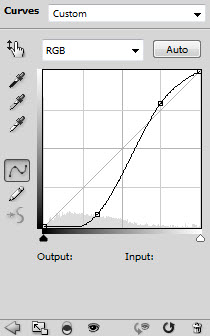
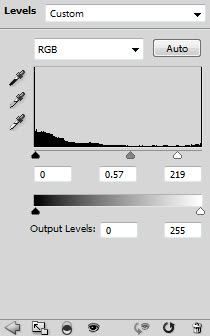
Add the following image adjustment layers to it: (make sure you tick the “use previous layer as clipping mask” option)
Curves
Mask:

Levels
Black and White
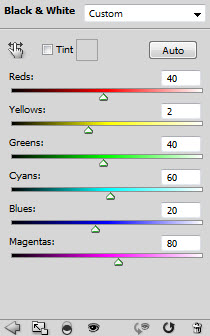
On the Black and white adjustment layer, use a soft brush eraser to do a single click on the spot where the flower is: (this reveals the flowers, adding a bit of colour to the image)
Duplicate the original model layer once more and drag it above all the adjustment layer, change the blending mode to “hard light” and opacity to 30%, you will have the following effect:
Step 5
Load the “Planet” image into Photoshop, cut out the planet and paste it onto our document. Name this layer as “planet”, resize and position it as shown below:
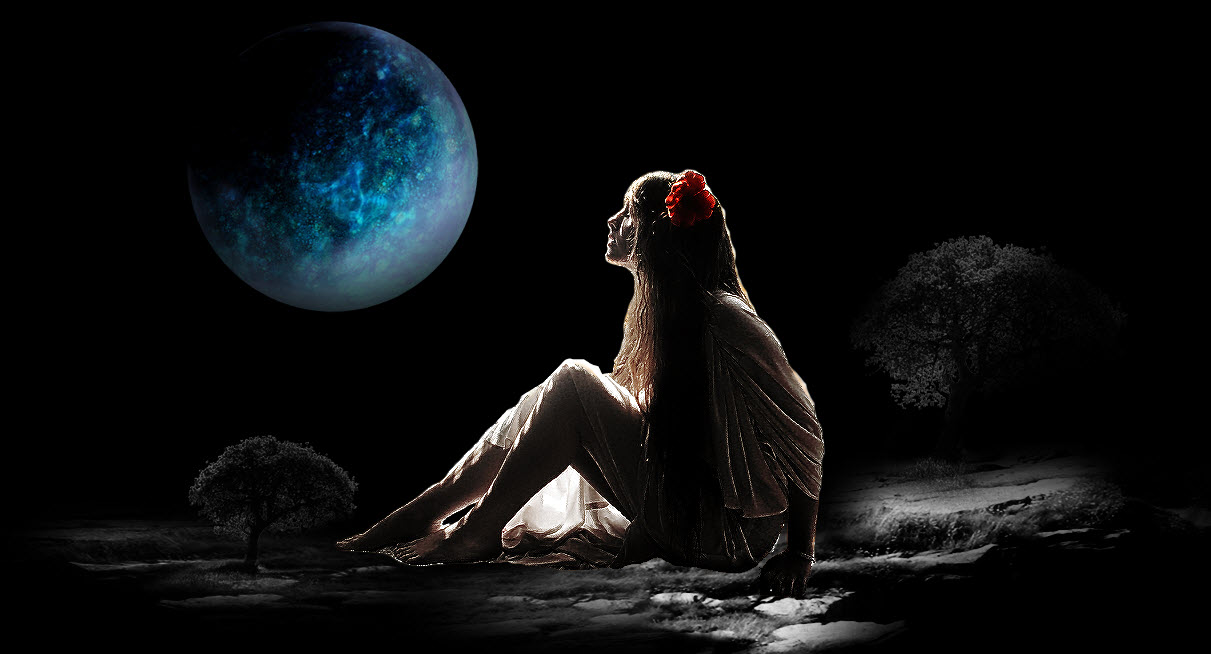
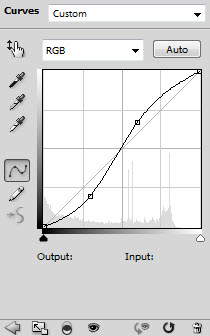
add the following image adjustment layer to the planet:
Black and White

Curves
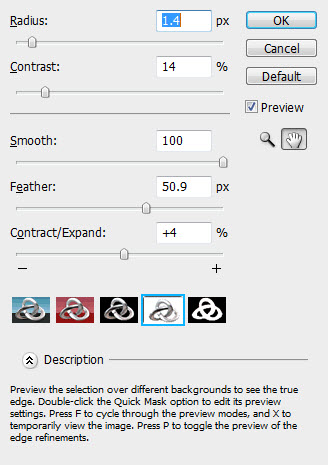
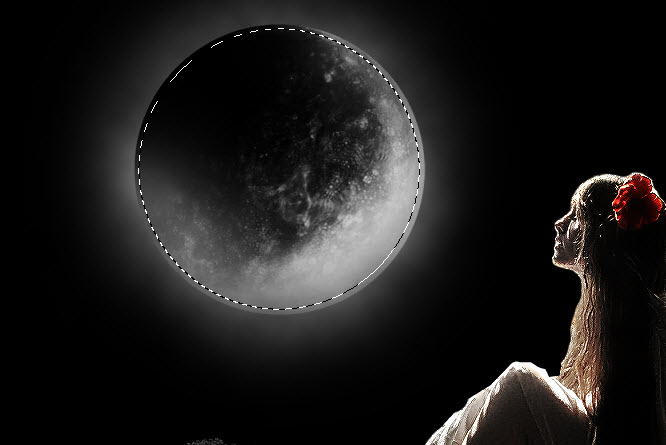
We can also add some aura around the planet for more effect. To do this, load the selection of the planet layer (ctrl+left-click the thumbnail of the planet layer on the layer palette), apply the following refine edge option to it:
Create a new layer called “aura” under the plaent layer, render some cloud in it:
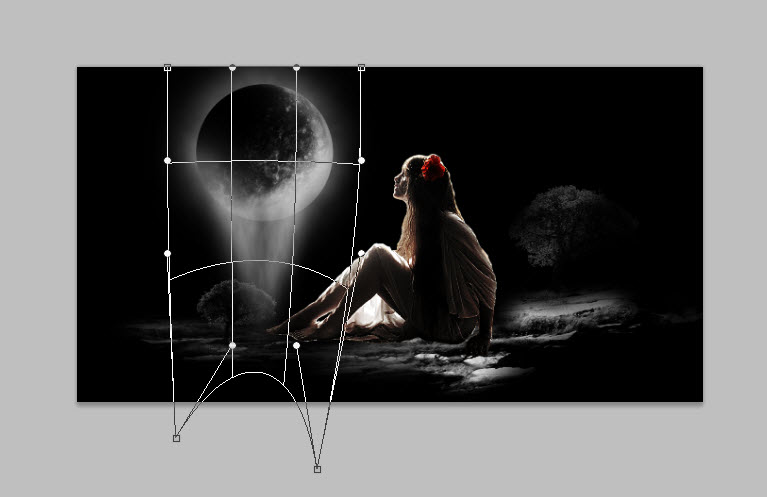
Duplicate this aura layer once, then use the Warp Tool (Ctrl + T then right-click choose warp) to manipulate it so it looks like dropping down from the planet:
Step 6
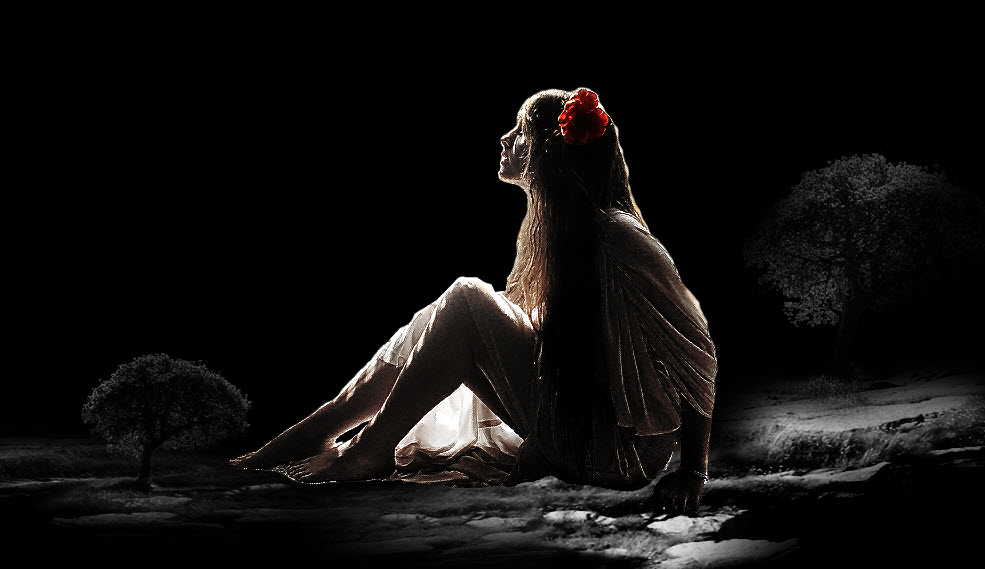
Load th “Sky” image into Photoshop, copy a portion of it and paste it onto our document, above all previous layers. Resize the layer and position it as shown below: (Erase the Edge with a soft eraser, if necessary)
Add the following two adjustment layers to it:
Black and White

Curves
Optional: it would be good to add variety onto the image by applying more cloud texture. Make sure you black and white them as you add them in:
Step 7
Now we’re getting into an interest part of the tutorial. As you can see the image so far looks ok, but it lacks that surreal, dreamy sort of effect. So to enhance those effect, we can use cloud warping, especially on the area just above the ground, below the model.
To do this, create a new layer above the last duplicated Model layer, use the Lasso Tool with 50% feather to draw a selection on this layer, render some cloud in it:
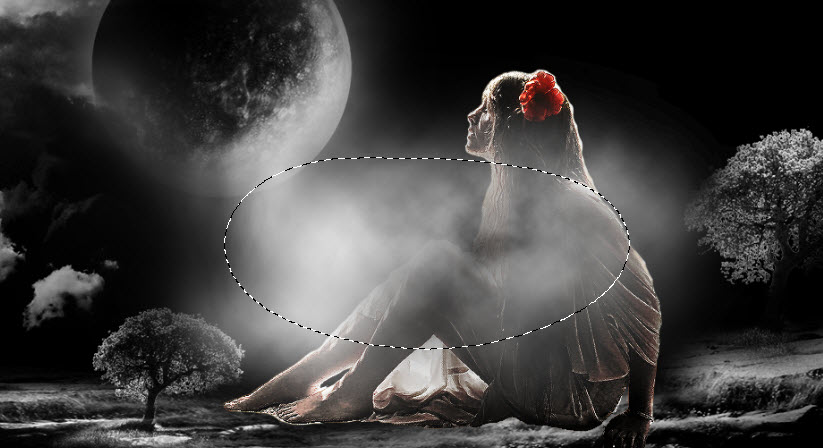
Then use the warp tool, manipulate the cloud as shown below:
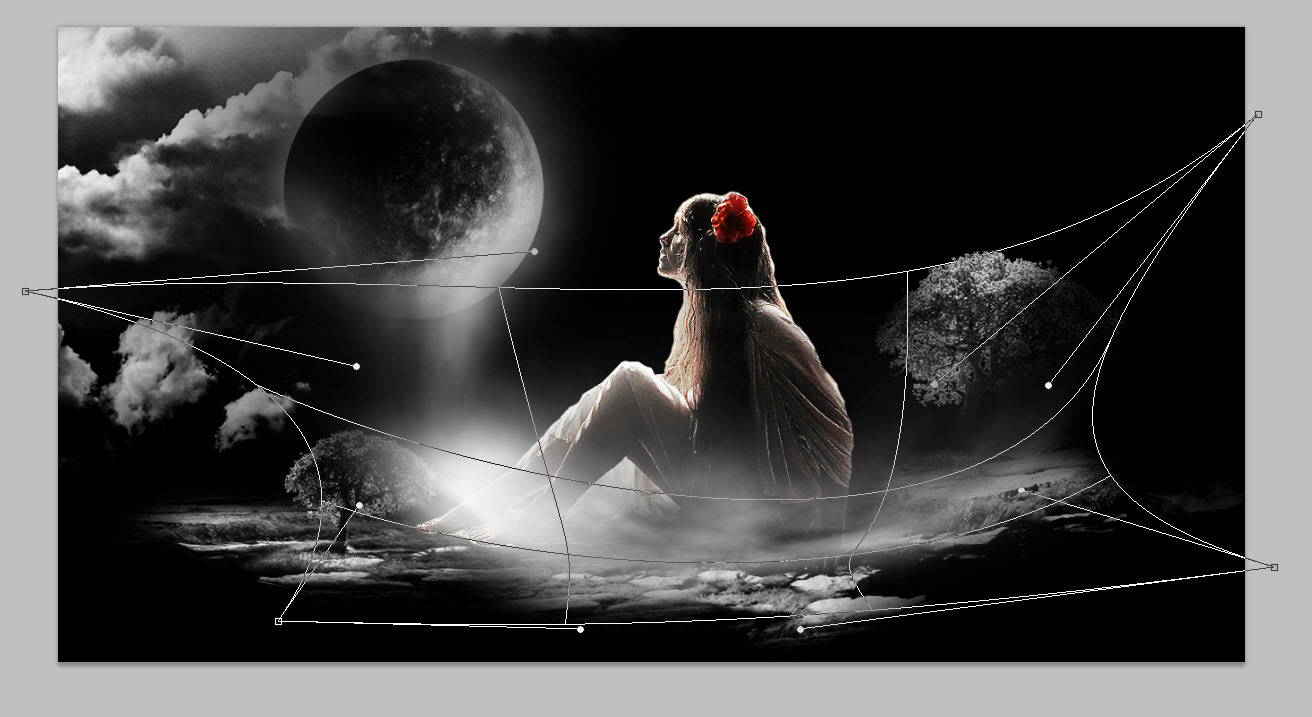
You can them duplicate and re-size this cloud layer for more effect:
I also added some abstract brush effect on the background, mixing it with the Warp Tool for more effect: (There are tons of brushsets on qbrushes.net, or brusheezy that will do the job)
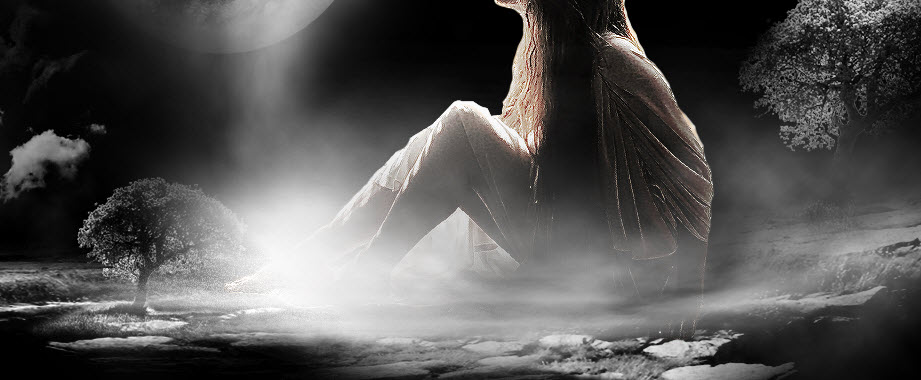
This is the overall effect so far:
Step 8
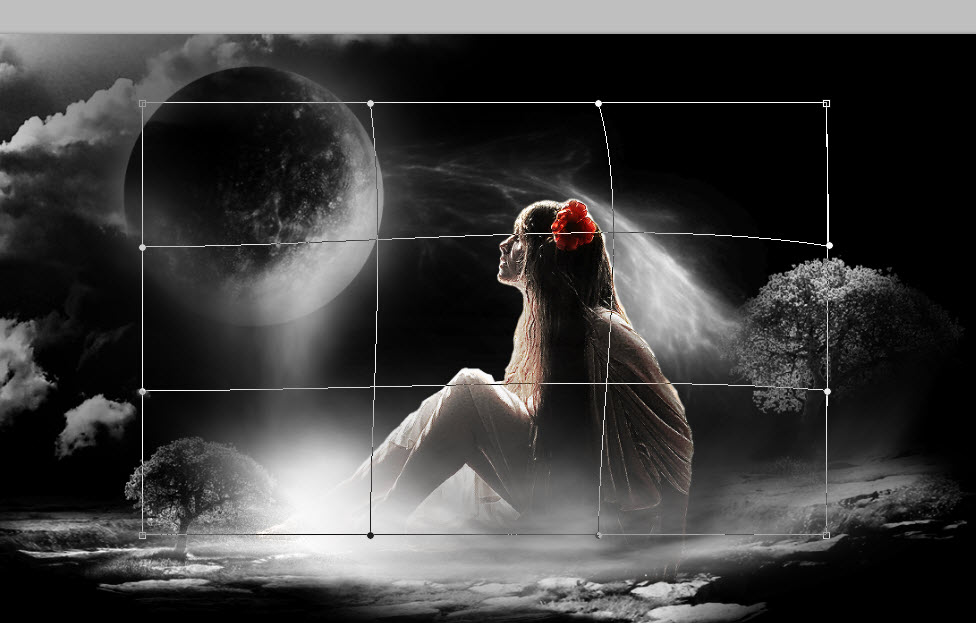
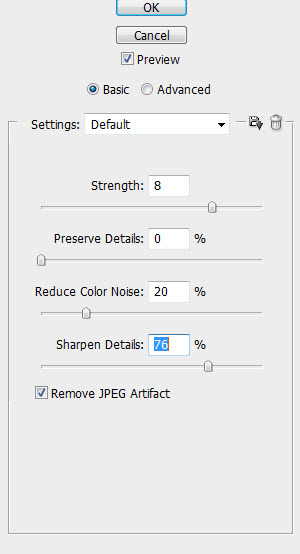
We’re almost done! In the last fine-tuning step, I add the following Reduce Noise Filter to make the image smoother:
with the following layer mask:

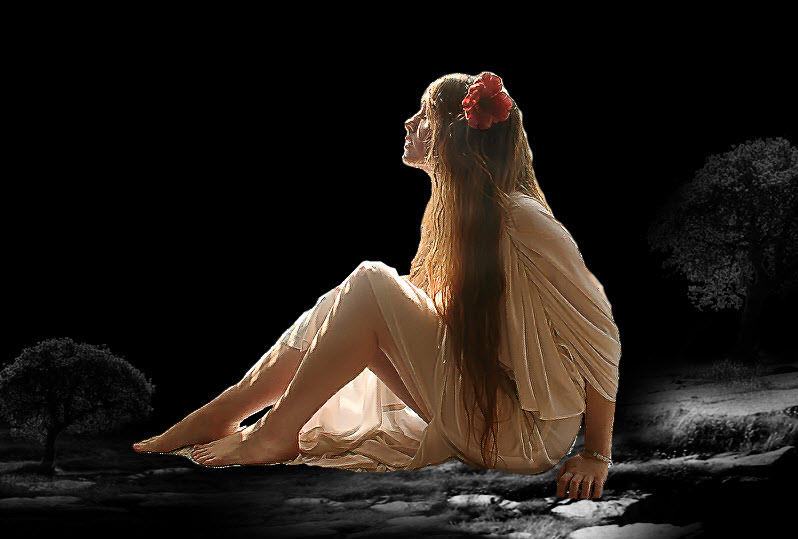
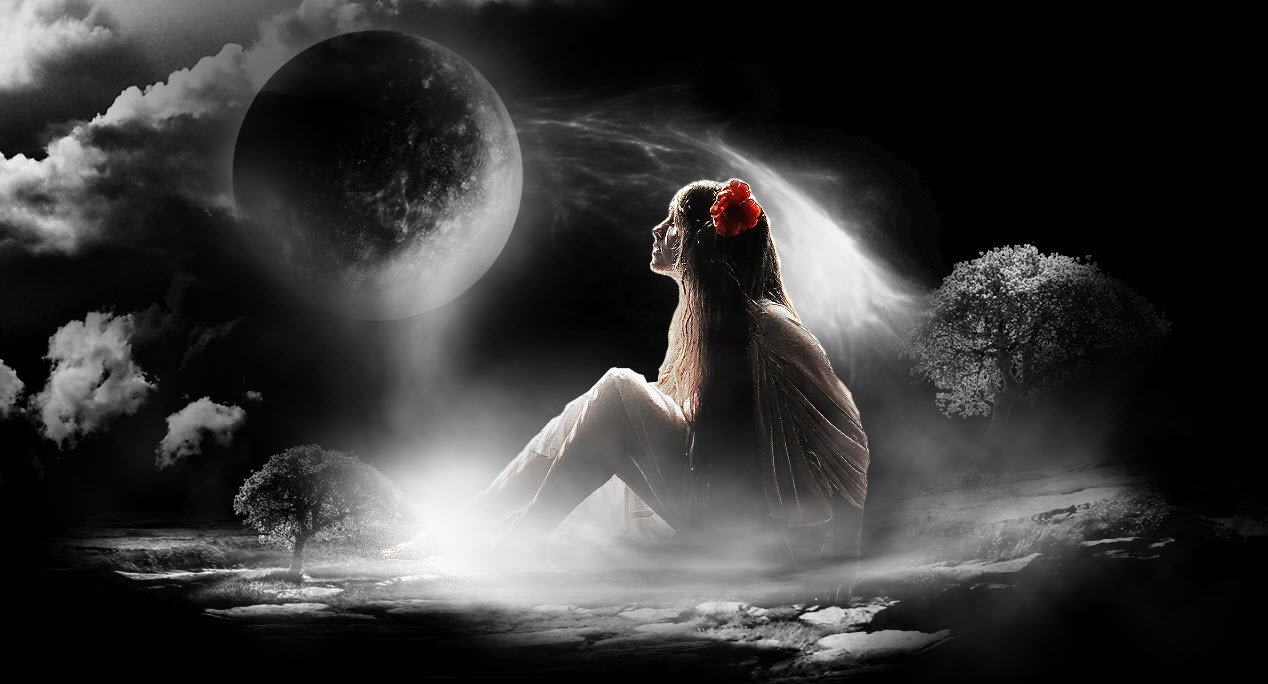
and this is the final effect: (click to enlarge)
That’s it for this tutorial! Hope you find it useful and learn something new!
Till next time, have a nice day!
21 Comments
Great tutorial, although I never liked using stock images, something I really should try and change.
Please correct “blur” word spelling which should be “blue”. and thanks 4 this tutorial. it give me new idea that i sure will use in my next project.
wow , really good work babe .!!! i have an ask :) can u design some thing about chef or food with your amazing skill ,….. thanks bye
Awesome tut! Thanks!!
Amazing tutorial. Very subtle and a charming one.
Wow… what a technique… I must must have to learn… Previously before knowing the layer presentation in most professional manner.. I supposed its too hard to know how its done.. but now I am just happy to knew the technique.. but yeah.. one must have to work very hard to go with this… and the above picture is just beautiful.
Marvelous tutorial!!!!!
Thanks…
WOW this tutorial is amazing :)
cool stuff…………..thanks!
web designer
http://www.scrapsforever.com
I first time visit in this blog. I find this blog have relevant information.
regards.
awesome result dude
You somehow always pick the perfect stock images, your tutorials are great. This one resulted in an absolutely charming effect. I never thought of effectively mixing stock photography to create a landscape of my choosing before. Thanks so much for the idea!
nice work keep it up, it really helps us
I learn a lot, you inspire some people not only me, as a amateur PS users. keep sharing your knowledge and a lot of people you will inspire.. keep up the good work! excellent.
非常喜欢 支持~~~~~~~~在这学了很多~~~~~
This is a really cool tutorial! Can’t wait to try these effects on other things. Thanks for sharing.
Hi.I like your tutorial but, I don’t have warp tool. I’m only using adobe photoshop 7,0.Any suggestion or any replacement for warp tool? Amazing tutorial!
Best site best tutorial. All the relevant information with my work. Like this one because it will be helpful for my daily work. Thanks for share
Very inspiring.
Very good stuff.
Well explained tutorial.