
In this tutorial, I will show you the processes I used to create this unique photo effect with abstract brushes and coloring techniques in Photoshop. We will also go through some interesting layer blending and filter tricks, to achieve the final effect. Have a try!
The PSD file of this tutorial is available via the PSD Vault VIP members area.
Here is a preview of the final effect I have for this tutorial: (click to enlarge)

PSD Vault VIP Membership
You can download the PSD File for this tutorial via the VIP Members Area for only $6.95/Month (or less)! You will not only get this PSD File, but also 200+ other PSD Files + Extra Goodies + Exclusive Photoshop tutorials there. Signup now and get exclusive!

OK Let’s get started!
To complete this tutorial, you will need the following stocks:
Step 1
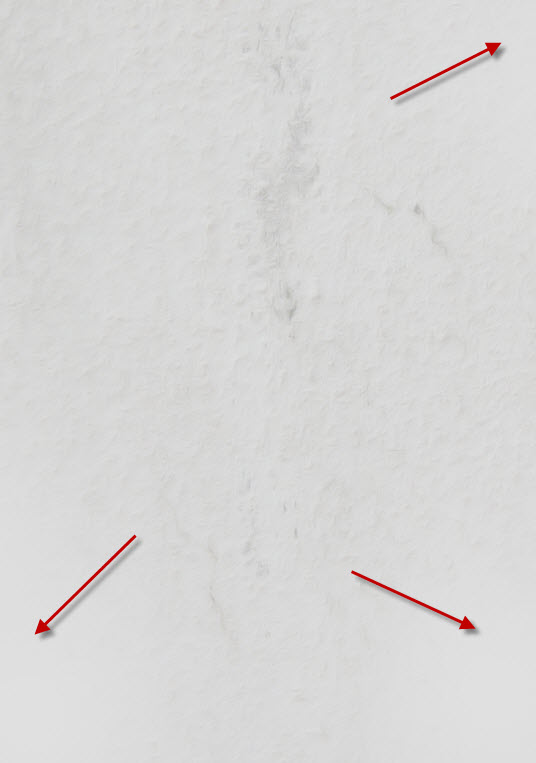
Create a new document sized 800px * 1135px with white background. Load the wall texture image into Photoshop and select the following portion with the rectangular marquee tool:

Copy and paste the selection over to our document. Re-size the texture to fit the width and height of the canvas, reduce the layer opacity to around 70%, and use a big soft eraser to remove the following portion: (this will be add variety and depth for our background)
Step 2
We will work on the model in this step. Load the model image into Photoshop and cut out the head/neck/shoulder portion of the model, and paste it over to our document.
Re-size this new layer and position it to the centre of the canvas, then use a grunge brush from the Deharme Brushes set we downloaded as an eraser, work on the edge of the model. You will have the following effect:

Add the following adjustment layers as clipping mask to this model layer:
Black and White

Apply the following layer mask on this black and white adjustment layer to reveal the eyes:

and here is the effect:

Levels

Curves

Add some splatter effect around edge as shown below:

and paint some hair with the hair brush you download over the model’s face:

Step 3
We will add some abstract patterns into our image. I found this great ice texture image and thought I could do something with it. So let’s select a portion from the image:

Copy and paste the selection over to our document, place the layer below the original model layer and distort it as shown below:

Apply the following image adjustments to this layer:
Black and White

Levels

and here is the effect:

We can duplicate this layer once the reduce its size to a smaller scale, and move it to a lower position to add some variety to this abstract pattern:

We can use the set method to add another one of the left side, as shown below:

Step 4
We will apply some brush painting effect in this step. Use this brush from the Deharme Brushes we downloaded:

Paint some abstract pattern around as shown below:

Add some particle effect to the top and bottom of the model as shown below, make sure you use a soft eraser to fade the edges to create some depth for the image:
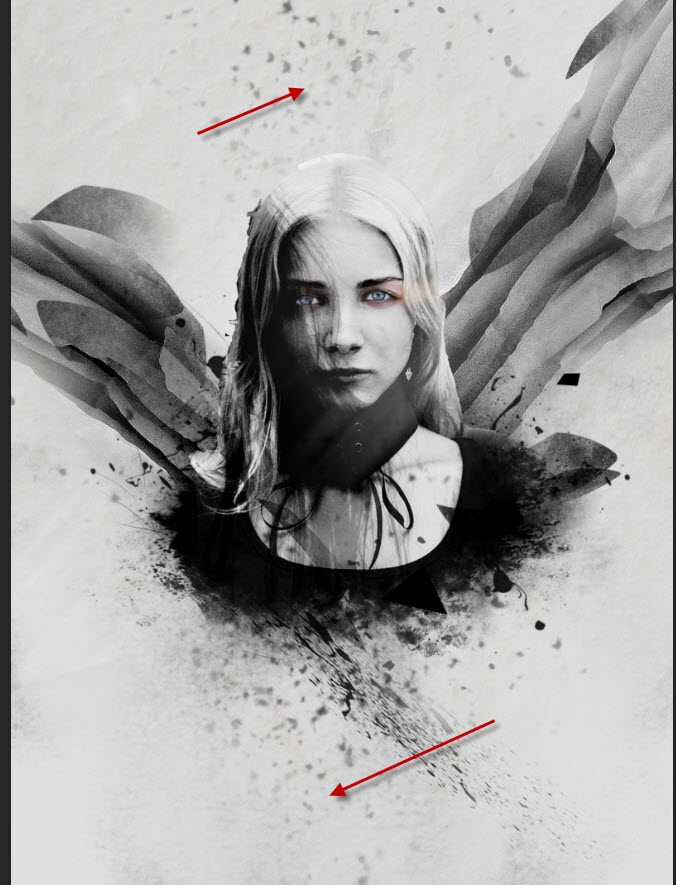
and here is the effect so far:


Step 5
We’re almost done! For final touches, we can flatten the image and duplicate the background layer, apply the following Oil Paint (CS6 only) filter on the duplicated layer:

Apply the following layer mask on this duplicate layers to reveal the original layer below:

Create a new layer mask on top and use a light blue soft brush to paint some blue colour over the face area as shown below, make sure you set the layer opacity to around 30% for this new layer:

Let’s add some more colors for the image with the following image adjustment layers:
Selective Color


Vibrance

and here is the effect so far:

We can further utilise the ice texture to create an overlay for our image. Go back to the ice texture image and select a piece, copy and paste the selection over to our document as shown below, make sure you place it in an angel like this:

Change the blending mode of this new ice layer to “Hard Light” and reduce its opacity to 60%:

and this is my final effect: (click to enlarge)
That’s it for this tutorial! Hope you enjoy going through it and find it useful. Drop me a comment below if you have any question.
Till next time, have a great day!
2 Comments
Amazing tutorial, we have featured it here : http://theneodesign.com/best-adobe-photoshop-tutorials-april-2014/
Awesome tutorial. We have added it in the list of best photoshop tutorials on our blog http://designcular.com/