In this Photoshop tutorial, I will show you the steps I took to Create an Unique, Dark Surreal Photo Manipulation with Nebula Effect in Photoshop. This is an intermediate level tutorial so some steps can be a bit tricky, but why not have a try :)
The PSD file of this tutorial is available via the PSD Vault VIP members area.
Along the way, we will be using some simple retouch skills, as well as some custom brushes and the liquify filter to produce special effect.
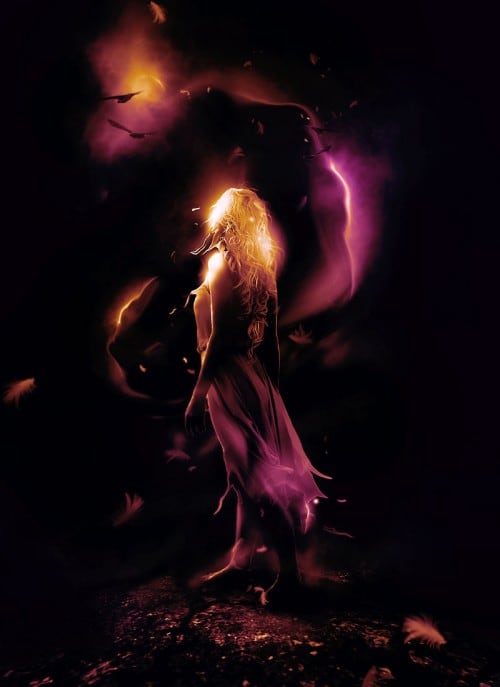
Here is a preview of the final effect I have for this tutorial: (click to enlarge)
PSD Vault VIP Membership
You can download the PSD File for this tutorial via the VIP Members Area for only $6.95/Month (or less)! You will not only get this PSD File, but also 200+ other PSD Files + Extra Goodies + Exclusive Photoshop tutorials there. Signup now and get exclusive!
To complete this tutorial, you will need the following stocks:
Step 1
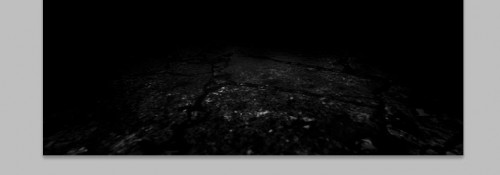
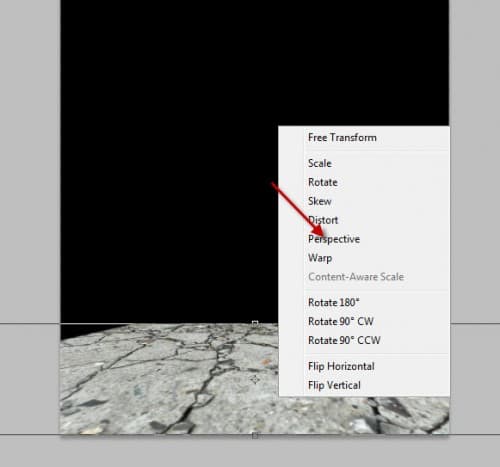
Create a new document with black background sized 800px * 1100px. Load the crack texture into Photoshop and cut out a piece of it and paste it onto our document, compress it down and perspective it with the free transform tool:
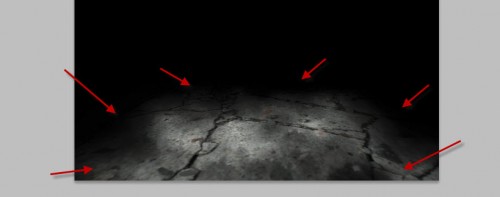
Use a soft eraser to remove the edges off the texture as shown below:
Hint: set the eraser flow and opacity to around 50% both. This will help creating depths and light on the ground.
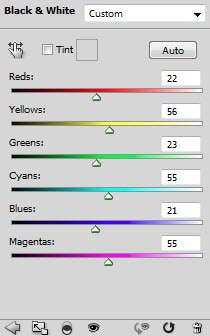
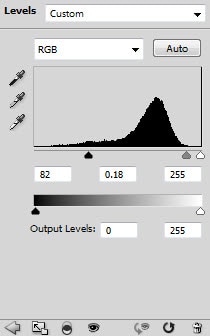
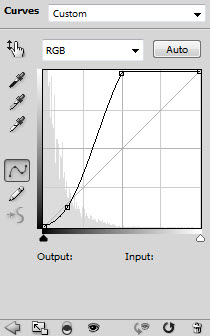
Add the following 3 adjustment layers to the ground texture layer as clipping mask:
Black and White
Levels
Curves
and here is the effect so far:
Step 2
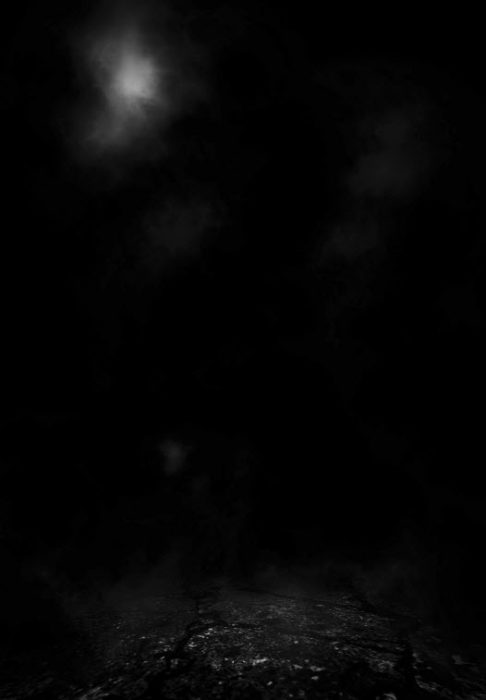
Create a new layer and use either the smoke brushset and the cloud filter to add some cloud effect
Load the model image into Photoshop, cut out the model and paste it onto our document – don’t worry if the edges is a bit rough, it’s not important in the tutorial:

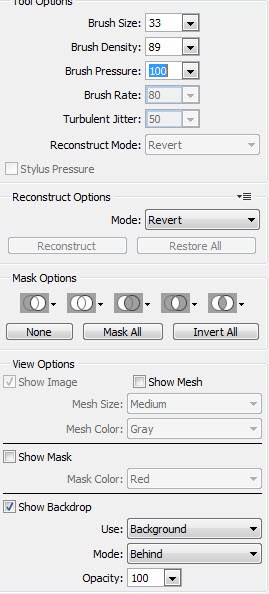
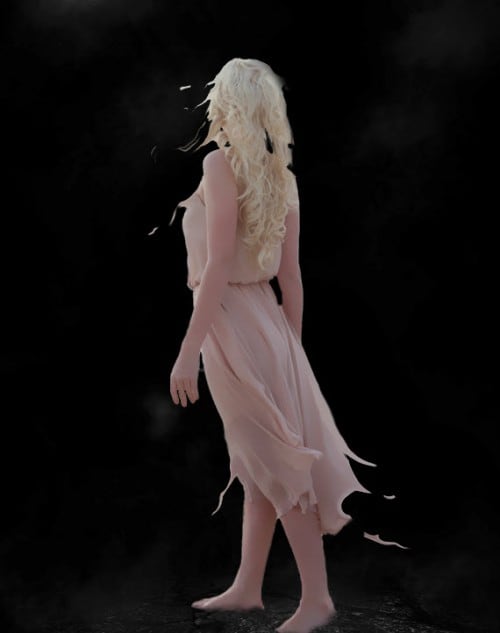
We would be adding some flying/liquid effect to the model – so bring up the liquify filter and apply the following settings to the forward warp tool:
Apply this to the model’s skirt and some other areas as shown below:
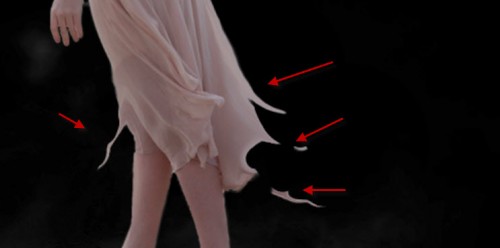
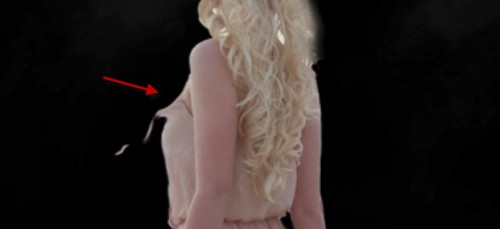

and here is the effect so far:
Step 3
Now let’s add the following 3 adjustment layers to this model layer as clipping mask:
Black and White

Levels
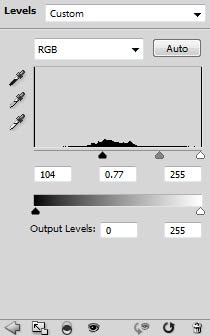
Curves
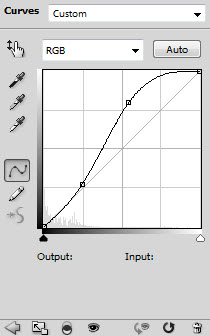
Use a soft black brush to paint some shadow under the model:
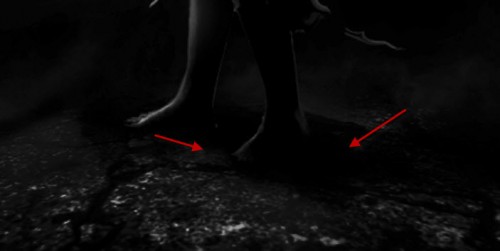
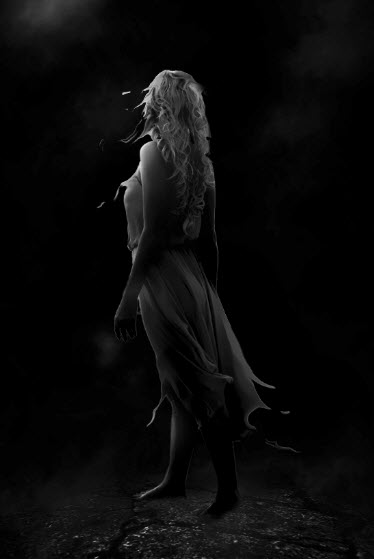
and here is the effect so far:
Step 4
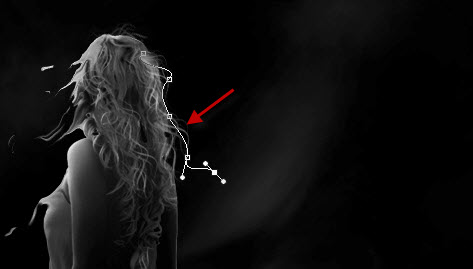
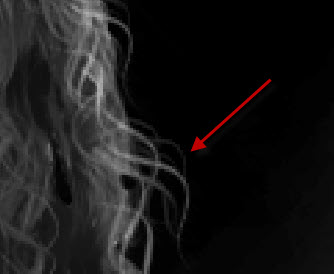
Now let’s add some hair to the model to make up for the selection – create a new layer and draw a curvy path as shown below:
Right-click the path and choose “Stroke Path” option:

Stroke the path with a 3px hard white brush (with simulate pressure option turned on), duplicate the stroked line layer a few more times, adjust each layers opacity for some depth:
Duplicate this hair group a few more times, resize and attach them to different part of the model’s hair for some variety:
Step 5
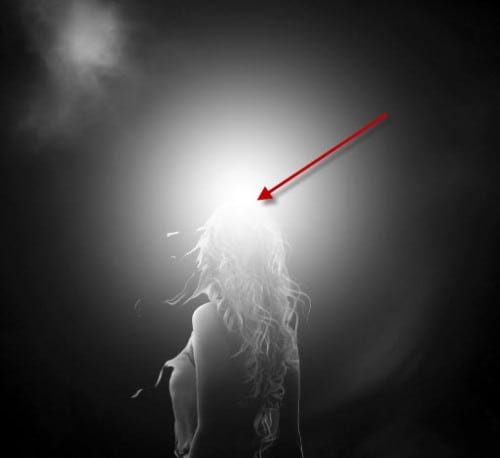
Now let’s add some simple nebula effect around the model – Create a new layer and use a soft white brush to paint a big white dot over the model:
Use the smoke brush set as an eraser, erase some parts off the white light (specially in the centre and around the edge) as shown below:
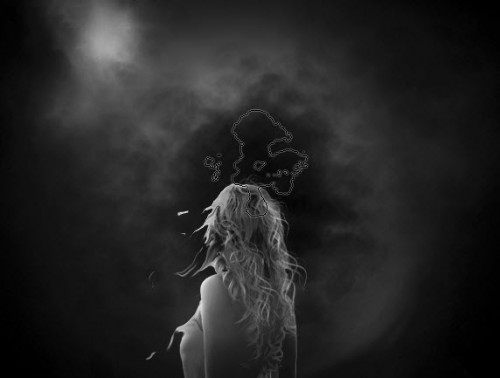
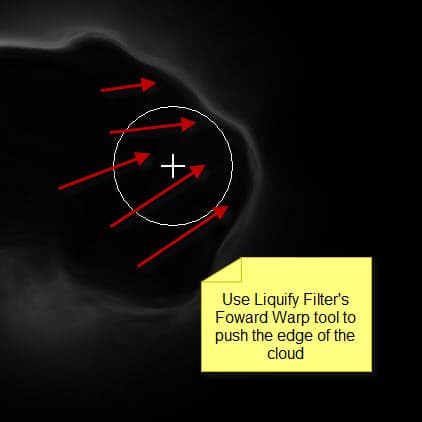
Use the liquify filter’s forward warp tool, push the cloud from the centre toward the edge, you will have the effect below:
Erase the left half of the cloud and leave only the liquified part, and here is the effect so far:
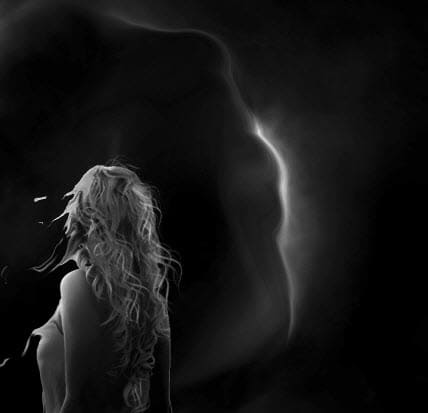
Duplicate this layer a few times, resize and scatter them around the model as shown below:
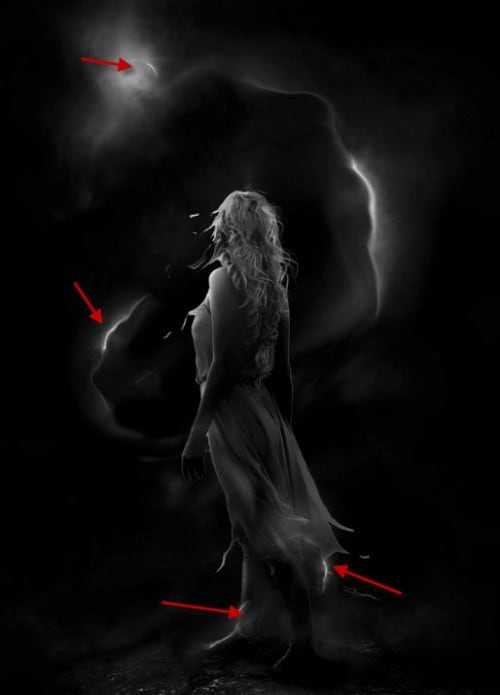
Step 6
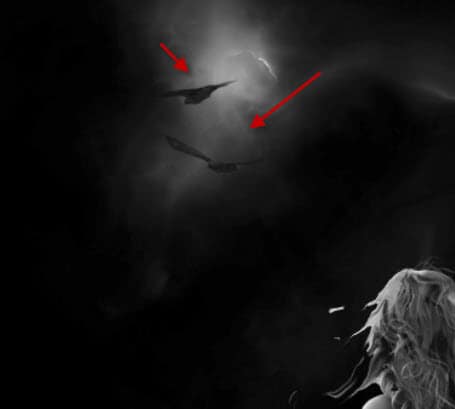
Now let’s adding flying creature into the image. I decided to go with eagles – and let’s load the eagle stock image into Photoshop, cut of two of them from the image and paste it onto our document, resize them to a smaller scale, place them above the cloud as shown below:
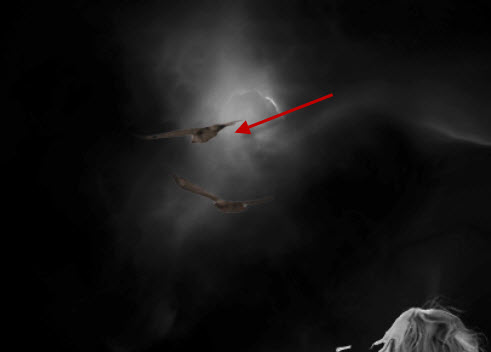
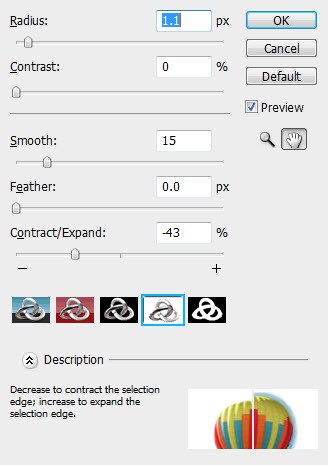
If the edges of the edges happen to a be rough, we can apply some refine edge filter settings to smooth them out:
Hint: you will need to select the layer first before applying the refine edge filter.
Add the following 2 adjustment layers as clipping mask to this eagle layer:
Black and White
Levels
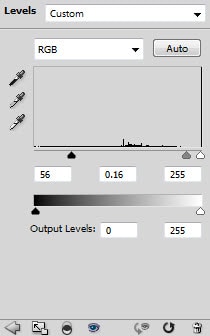
and here is the effect after the adjustments for the eagles:
Step 7
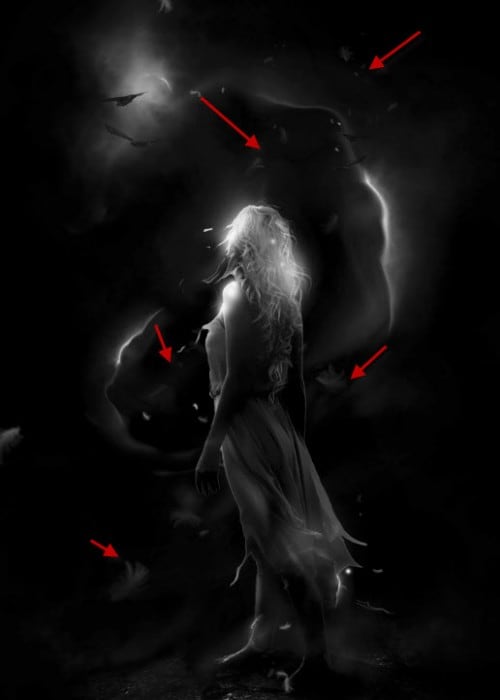
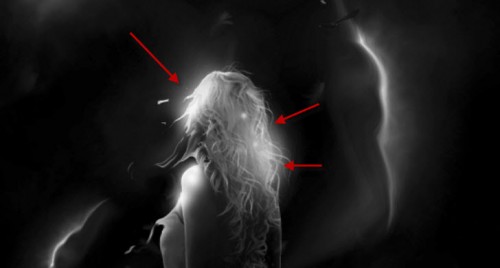
OK we’re almost done! For some final retouches, I added some highlight with a soft white brush painting over the hair area shown below:
Also I used some feather brushes to paint some falling feather to add some more surreal effect:
Further added some colour with a few colour balance adjustment layers on top of the all layers, and here is the final effect I have: (click to enlarge)
That’s it for this tutorial! Hope you enjoy it and find it useful! Till next time, have a great day!




8 Comments
the result looks really nice!
it would be really nice if you show us how to add color balance or how you achive it on this image.
Will make a video tutorial for this part soon.
I would really like to see this video tutorial. How many time it will take to make it?
Genial
what was asome :) fnx will try it :)
Have you ever made this video? Because as a beginner I’m kinda stuck on step 2 already. xD
In the liquify part of this tutorial (where you’re editting the dress and hair to look more whimsy) how do you get the separate parts to detach from the dress/hair? I am able to “push” the dress around, but it never detaches to have that effect where it look like small pieces are floating away.