In this tutorial, I will show you the steps I took to Create a Crystallized Water Girl Figure with Disintegration Effect in Photoshop. I will introduce a few tricks with quickly combine texture with stock image to create great looking effect, plus a few lighting techniques to give your work a great finishing touch. Have a try!
This is an intermediate tutorial so some steps can be tricky – if you’re having difficulty with it, I suggest you go to the basic section of PSD Vault and practice those tutorials first, then come back and do this one.
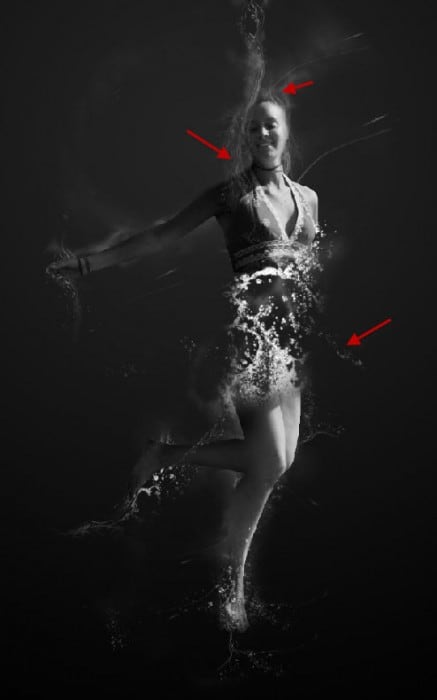
Here is a preview of the final effect I have for this tutorial: (Click to Enlarge)
PSD Vault VIP Membership
You can download the PSD File for this tutorial via the VIP Members Area for only $6.95/Month (or less)! You will not only get this PSD File, but also 200+ other PSD Files + Extra Goodies + Exclusive Photoshop tutorials there. Signup now and get exclusive!
Ok Let’s get started!
To complete this tutorial, you will need the following stock:
Water Splash Brush
OK let’s get started!
Step 1
Create a new document sized 720 * 1100px with black background, fill the background layer with a dark grey radial gradient:
Create a new layer and render some cloud on it, then use a big soft eraser to remove some parts of the cloud, until it forms a flowing pattern as shown below:
Hint: you can use a Lasso Tool with 40px feather to draw a circle selection, and render cloud inside the selection, or use a cloud brush.
Step 2
Load the model image into Photoshop and cut out the model, paste it on to our document. Don’t worry if the hair selection is not perfect – we will remove it in coming steps.
Use the Pen Tool to draw a work path as shown below:

Make a selection of this work path with the following settings, then clear the selection:
Erase the upper and lower portion of the cleared area with a soft eraser:
Select the hair portion of the model via either quick selection tool or magic wand tool:

Remove the hair portion from the model by clearing the selection:

and here is the overall effect so far:
Step 3
Go back to the cloud layer we made in Step 1 and duplicate it once, resize it to a smaller scale, move it up the girl’s head area to create some extra pattern:
Duplicate this resized cloud a few more times, rotate and scatter them around the body, made sure you keep all cloud layers below the model layer:
Add the following two adjustment layers to the model layer as clipping mask:
Black and White
Levels

Mask on Levels adjustment layer:

and here is the effect so far:

Step 4
Now we can add a few water splash to the body. Create a new layer below the model layer and use the water splash brush you download, paint some water texture on the middle part. Use a soft eraser to remove the edge:
Duplicate this water splash layer once and go to the Luquify filter, set the tip size as shown below:

Use the forward warp tool on the water splash, and manipulate it to form a stream pattern:

Once you’re done with the liquify filter, duplicate this layer a few times, resize and rotate them to create some variety, then scatter them around the girl’s body:

Duplicate these water stream patterns a few more times and move those layers above the model layer for some overlay effect:
Step 5
We can add the following two image adjustment layers on top of all previous layers to fine tune the effect a little:
Levels
Layer mask on Levels adjustment layer:
Curves


and here is the effect so far:

Step 6
We’re almost done! To finalise the effect, we can flatten the image, duplicate the background layer and apply the following Reduce Noise filter to the duplicated layer:
Duplicate this layer once more and go to Filter > Pixelate > Crystallized and apply the following settings:
Change the layer blending mode to “hard light”, attached the following layer mask to this crystal layer to hide certain portion”
Let’s add a few spot lights to the image. Create a new layer on top and fill it with black colour, apply the following Lens Flare filter to it:

Change the blending mode of this lens flare layer to “color dodge”, duplicate it a few times and scatter them around the body:

and here is the final effect I have for this tutorial: (click to enlarge)
Hope you enjoy this tutorial and find it useful! Till next time, have a great day!


3 Comments
hi, can’t download the brushes, please reupload, thanks. great tutorials you got here.. :D
you need a video tutorial, Im definitely not a pro but this tutorial was bad, lot of areas in your tutorial that was just a blurr
Thanks for sharing this tips.
Regards,
Flyers Printing